




















⏱ Read time: 8 min | 🌿 Difficulty: Beginner | ⏰ Time: 1 day (8 hrs) | 👷 2 person
Around a quarter of the heat in an uninsulated home drifts straight out through the roof.The good news? Installing loft insulation is one of the simplest winter jobs you can do yourself, and with a mate on hand you’ll have it sorted in a day.
HSS DIY is here to help every step of the way. Here’s all you need to know about how to insulate your loft before winter.
Why should you insulate your loft before winter?
Heat rises and without a thick layer of insulation above your ceilings, the warmth you pay for leaks straight out through the roof. The Energy Saving Trust recommends at least 270mm of mineral wool, which matches current building regulations.
Autumn is the best time to tackle insulating your roof. In summer your loft is a sauna, and by January it's a fridge. Get it done between September - early November and you'll notice the difference, in your comfort and your heating bills, from the first cold snap.
Is your loft suitable for DIY loft insulation?
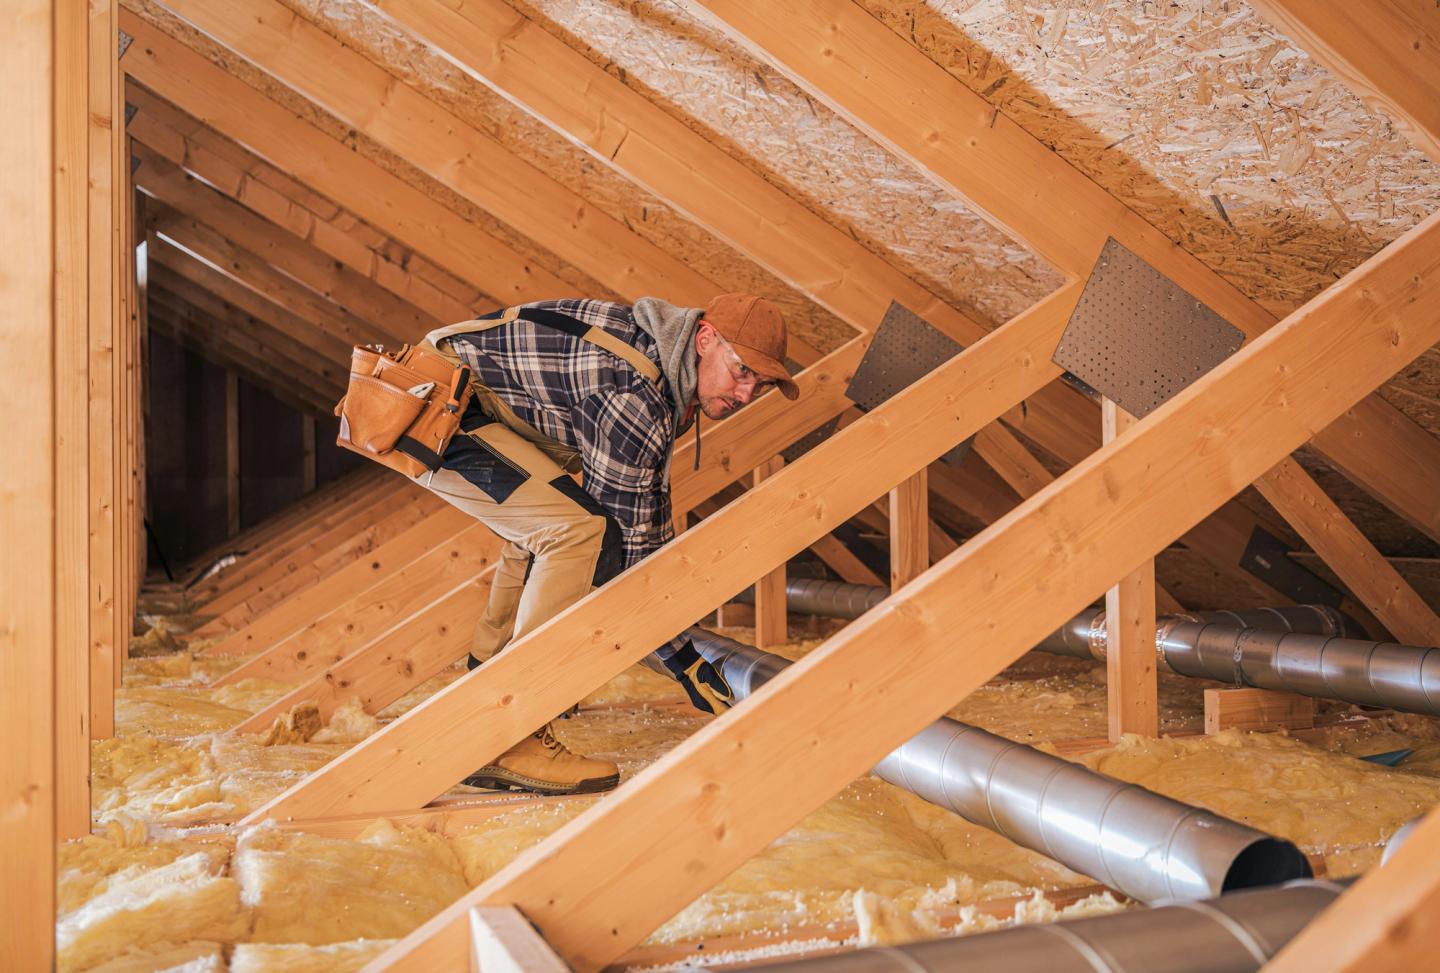
Most lofts are fine for DIY if they’re dry, easy to get into and have regular joists. Insulating between and over the joists keeps the rooms below warm and leaves the loft cold and that’s what this guide covers.
Loft roof insulation, fitted between the rafters to create a warm loft, is a different job. It needs careful ventilation planning, so we’d recommend finding a qualified installer.
Stop and get advice if you spot damp patches, mould or daylight through the roof, if your loft is flat roof or if there’s old loose-fill insulation you can’t identify. It’s important you fix the cause of any damp before you add insulation.
How much loft insulation do you need?
How do you work out how many rolls to buy?
Multiply the length and width of your loft floor in metres. Divide by the roll coverage, then add 10% for cutting.
Example: a three-bed semi with a 40m² loft and no insulation.
- First layer (100mm): 40m² ÷ 11.087m² per roll = 3.6, so buy 4 rolls.
- Second layer (170mm): 40m² ÷ 8.01m² per roll = 5, plus 10% spare, so buy 6 rolls.
🪚What tools and materials do you need?
⚠️ Health and safety tips
- Cover up. Wear gloves, long sleeves or a disposable coverall, safety glasses and a P2 respirator or better.
- Only stand on the joists. Lay a sturdy board across several joists to kneel on. The plasterboard between them won’t hold you, and nothing ruins a weekend like a leg dangling through the landing ceiling.
- Use ladders properly. Check it’s locked and level, and keep three points of contact. See the HSE’s safe use of ladders guide.
- Mind the electrics. Lift cables to sit on top of the insulation, as buried cables can overheat. Keep insulation clear of recessed downlights unless they’re rated for contact. If in doubt, ask an electrician.
- Keep the eaves clear. Air needs to flow in from the soffits to stop condensation, so don’t pack insulation into the eaves.
🏠 How to insulate a loft in 8 steps
Step 1: Clear the loft and check for damp
Move everything out and check the roof timbers for damp, mould or leaks.
Top tip: Nobody needs three broken lampshades. Now’s your chance.
Step 2: Measure and order your materials
Measure the floor area and existing insulation depth, then order your rolls, PPE and tool hire.
Top tip: Get everything in one order. Orders with several items may arrive separately, so check it all off before you start.
Step 3: Set up safe access and lighting
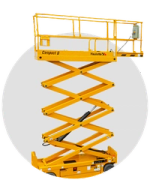
Position the ladder, put the work light in the middle of the loft and lay your kneeling board.
Top tip: A helper passing rolls up the ladder saves dozens of trips. Pay them in tea.
Step 4: Lift cables and lag the pipes
Raise cables above the finished insulation level and lag any exposed water pipes.
Top tip: See our guide to protecting your home from freezing weather for more on frozen pipes.
Step 5: Lay the first layer between the joists
Start at the eaves and work back towards the hatch. Unroll the 100mm layer between the joists with no gaps, using the perforations to split it to width.
Top tip: Only unwrap rolls in the loft. They’re compression packed and puff up like a sleeping bag that won’t go back in its bag.
Step 6: Lay the second layer across the joists
Roll the 170mm layer at right angles to the first, covering the joists, with edges butted tightly.
Top tip: Don’t squash it. Insulation works by trapping air.
Step 7: Leave the tank floor bare and insulate the hatch
Leave the area under a cold water tank uninsulated so warmth from below stops it freezing. Insulate the tank sides and lid, and the top of the hatch.
Top tip: Draught-strip the hatch frame to keep warm, damp air out of the loft.
Step 8: Add raised storage boards if you need them
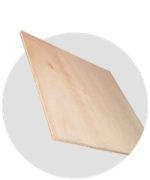
Fit raised loft legs to the joists and screw chipboard loft boards on top so the insulation isn’t crushed. A cordless drill makes it quick.
Top tip: Only board the area you actually need.
How long does installing loft insulation take?
What does it cost to insulate a loft yourself?
Prices checked September 2026 and correct at the time of writing. If you’re only topping up from 100mm, you’d just need the six 170mm rolls, which brings the job in at around £322 plus PPE.
Should you hire or buy the tools?
What do HSS DIY customers say?
⭐⭐⭐⭐⭐ “Hss is my go to company when I need to hire ladders tools etc good customer service always on hand to help if anything goes wrong highly recommend.” - John’s review on ladder hire
⭐⭐⭐⭐⭐ “Very good prompt service. We were informed when we would receive our purchase and it arrived on time.” - Raymond’s review on our service.
Your loft insulation checklist
To keep on track of your
Before you start
☐ Loft is dry with no signs of damp, mould or leaks
☐ Loft floor measured: ______ m long x ______ m wide = ______ m²
☐ Existing insulation depth measured: ______ mm
☐ Insulation rolls ordered (with 10% extra)
☐ PPE ready: P2 mask, gloves, coveralls, safety glasses
☐ Work light and ladder hired or ready
☐ Loft cleared and a helper booked (bribe with biscuits)
On the day
☐ Kneeling board laid across the joists
☐ Cables lifted above insulation level
☐ Water pipes lagged
☐ First layer laid between the joists, no gaps
☐ Second layer laid across the joists, not compressed
☐ Eaves kept clear for airflow
☐ Recessed downlights kept clear (unless rated for contact)
Finishing off
☐ Tank sides and lid insulated, floor under tank left bare
☐ Loft hatch insulated and draught-stripped
☐ Storage boards fitted on raised legs (if needed)
☐ Offcuts bagged and loft tidied
☐ Hired tools returned
Frequently asked questions
Can I lay new loft insulation on top of old insulation?
Yes, if it’s dry and mould-free. Lay the new layer across the joists. Remove anything damp or badly squashed first.
Do I need to wear a mask when installing loft insulation?
Yes. Fibres and loft dust irritate your nose, throat and lungs, so wear a P2 respirator or higher.
How long does loft insulation last?
Mineral wool loft insulation lasts around 40 years if it stays dry and uncompressed.
Will loft insulation cause condensation?
It can if ventilation is blocked. Keep the eaves clear, draught-strip the hatch and never lay plastic sheeting over insulation in a cold loft.
Can I store things on top of loft insulation?
Not directly, as the weight squashes it. Use raised loft legs and boards.
Is loft roof insulation the same as loft insulation?
No. Loft insulation sits on the loft floor. Loft roof insulation fits between the rafters to create a warm loft and usually a job for a professional.
Insulate your loft this winter with HSS DIY
Loft insulation is one of the cheapest, quickest home improvements you can make, and it pays you back every winter. A lot of the heat you pay for escapes through an uninsulated or thinly insulated loft.
Spend a day up there now and you'll have a warmer home, lower energy bills and a boiler that doesn't have to work as hard.You don't need a tradesperson for it, either. With the right materials and a bit of planning, most people can lay or top up loft insulation themselves in a weekend.
Buy your insulation and PPE online, 24/7. Hire the lighting and access equipment to get the job done safely, and choose next-day delivery so you're sorted before the cold sets in. Tackling more than one winter job? Our project bundles put everything you need in a single order, so you can get your whole home ready for winter in one go.
Buy the materials. Hire the tools. One order. All in one place.
Get DIY Happy with The Home of Great Projects.