


Do-it-yourself tiling projects are popular, and since they are an easy way to add function, colour, art and style to a space, it’s easy to understand why. Tiling can add design and interest to a floor in your bathroom, kitchen or entryway. Or, it can be used to create a shower wall or backsplash that is custom designed for your home.
Even if you already know how to install tile, these tips will help you take your tiling skills to the next level, so your projects will look like they were done by a pro.
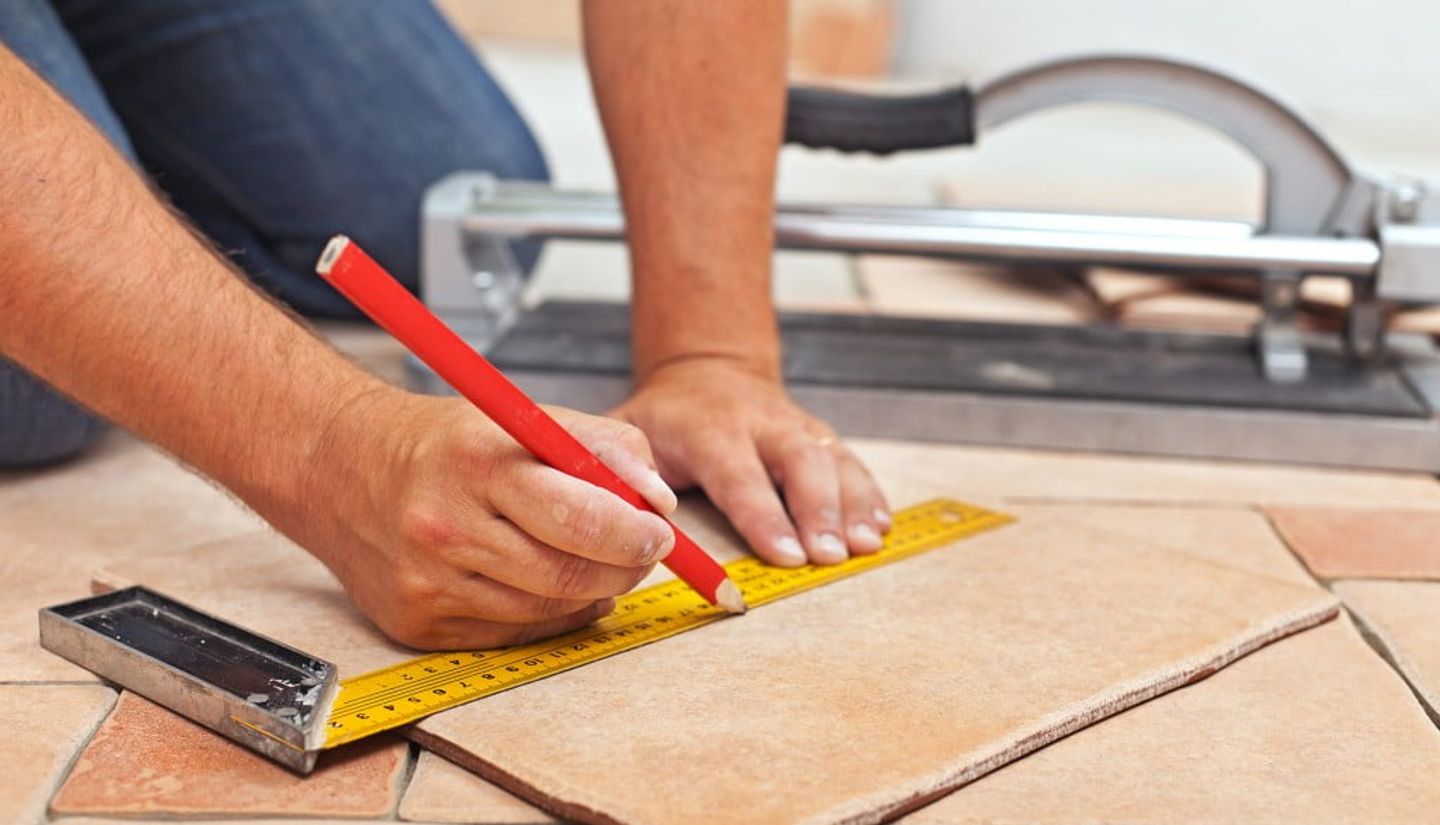
Plan, Measure and Cut in Advance
The first pro tiling tip is to plan, measure and cut in advance. Decide exactly what kind of pattern you want to create and then lay out the tiles in the pattern, taking exact measurements and making sure they will fit in your space. Measure tiles and use tile cutters to cut pieces down to size, and then remeasure them to make sure they are the perfect fit.
When you do this kind of preparation before you break out the adhesive and grout, you can be sure that the tiles will be an exact fit, making the rest of the project easier. Of course, we all make mistakes, so be sure to buy a few extra tiles in each colour just in case.
Clean the Tiles First
After you have cut the tiles, or even unpackaged them, use a damp rag to wipe them clean and remove dust and tile chips. Then, make sure the tiles are completely dry before you use them. Removing debris will prevent dust and small pieces of tile from getting stuck under or beneath the tiles, making your job look unprofessional.
Remove Doors, Fixtures and Appliances
Before you start, remove doors and fixtures like light switch and outlet plates, towel bars and anything else that could get in the way while tiling. This way, you won’t have anything to work around as you install tile and you will avoid letting obstacles ruin your workflow and pattern.
Mix Adhesive and Grout in Small Batches
You may have a good idea of how much adhesive and grout you will need, but mix it in smaller batches anyway. Doing this makes it easier to work with it, but it also helps prevent mixtures from drying before you can use them.
Start in the Centre and Work in Small Areas
The best way to install tile is to find the exact centre of the surface and then work your way out from there. To do this, use a measuring tape and mark the centre of the surface and then using a ruler or chalk line, divide the space into four sections, with the intersection of the two lines marking the centre.
Then, start in the middle and lay tile in one quadrant before moving on to the next. Starting in the middle will ensure your pattern looks its best and working in small sections will make it easier to work with the adhesive.
Use the lines you created to make sure you lay the tile in straight lines. If your pattern is detailed, you may need to make a sketch of how the tiles should be laid and use it as a guide as you install each section. Don’t forget to use spacers as you install the tiles.
Notch Your Adhesive
After you apply grout to one of the small, marked sections, use a floor trowel to create notches in a diagonal direction. This helps you apply just the right amount of adhesive. If you use too much, the adhesive will leak between the tiles, which won’t look very good on the finished product. But, if you don’t apply enough adhesive, the tiles won’t be firmly installed.
Allow for Open Time
“Open time”, or the amount of time you should let adhesive set before you start installing tile, is very important. It ensures that the adhesive will be strong enough to hold the tile securely and that it will work properly. Check the label on the adhesive to find the open time, and then follow it exactly.
Compensate for Imperfect Walls or Floors
While your walls or floors may look perfectly level and smooth, there is a chance they aren’t. Some walls aren’t perfectly flush, and some floors actually slant slightly in some areas. You can check for this with a level before you start tiling.
By taking a few steps you can actually compensate for these imperfections. As you are laying tile, use a level to make sure they are perfectly level. If they aren’t, add or take away adhesive under the tiles to correct the problem.
Don’t Use Grout Immediately After Tiling
After you have tiled that new floor or backsplash, it’s tempting to finish the job right away by adding grout between the tiles. But, resist the temptation, since doing this could ruin your perfect tiling job. As you work grout between tiles while the adhesive is wet, the tiles could move out of place, messing up the job. Instead, make sure the adhesive is completely dry before you start using grout.
Apply Grout Diagonally
When you apply grout, use a grout float and apply it in smooth, diagonal motions. Doing it this way, instead of in straight horizontal or vertical lines, will help you get an even finish.
Keep Extra Tiles on Hand
When you bought tiles, you should have bought some extras just in case you needed them during installation. Now that your project is done, keep some extras on hand so that you can easily make repairs. This is especially important if you are using specialised tiles or very specific colours or designs that may be hard to find if you need to make repairs later.
Installing tile is a simple DIY project that you can take on in just one weekend and that can help you add a custom floor, shower or wall feature that will make your room feel like new. Use these tips for your next project and your tiling will look like it was done by a professional. For all your tool hire needs, please visit our website and browse our tiling equipment collection.


