


Whether you are building a bookcase from scratch or redoing a piece of furniture, getting the perfect sand job is extremely important. When your surface is smooth, level and free of bumps and imperfections, the entire piece will look better and the finish you choose will adhere more smoothly.
All kinds of projects require sanding and this is a do-it-yourself step most people think they have mastered or blow off as unimportant. But, here’s how you can do a professional job so that your entire project will work better and look its best.
Choose the Right Sandpaper
The first, and perhaps most important, step is to choose the right sandpaper. If you’ve never worked with it before, sandpaper may all seem the same, but there are actually all kinds of grits and styles out there.
Grit is measured with a number, with bigger numbers for more coarse sandpapers. When you use a coarser paper, you will be removing more wood at once and making a bigger impact on the surface. Fine sandpaper should be used for detail work and removing smaller imperfections.
It can be a good idea to test sandpaper on a hidden spot of your wood, or a scrap piece, to see what kind of results it brings before you use it on your project.
Decide if you Need a Sanding Tool
Depending on the type of project you are working on, you may need to use a tool for best results. Some tools move the paper very quickly so the result is better while others allow you to reach tight spots or cover oddly shaped surfaces more easily.
Belt Sander
A belt sander makes it easy to cover a large surface very quickly. This tool removes imperfections very quickly and is best when you need to remove major dents or bumps. Belt sanders don’t allow for much detailed work, so you’ll likely need to follow up with another paper or tool after you use this one.
Orbital Sander
Orbital sanders are very similar to belt sanders but move the paper in a tight circle. This is another way to cover a large surface quickly. Use this tool to work on a smooth surface. Orbital sanders are easier to work in a vertical motion, so are a good fit for sanding walls, large furniture or even cupboards while they are still installed.
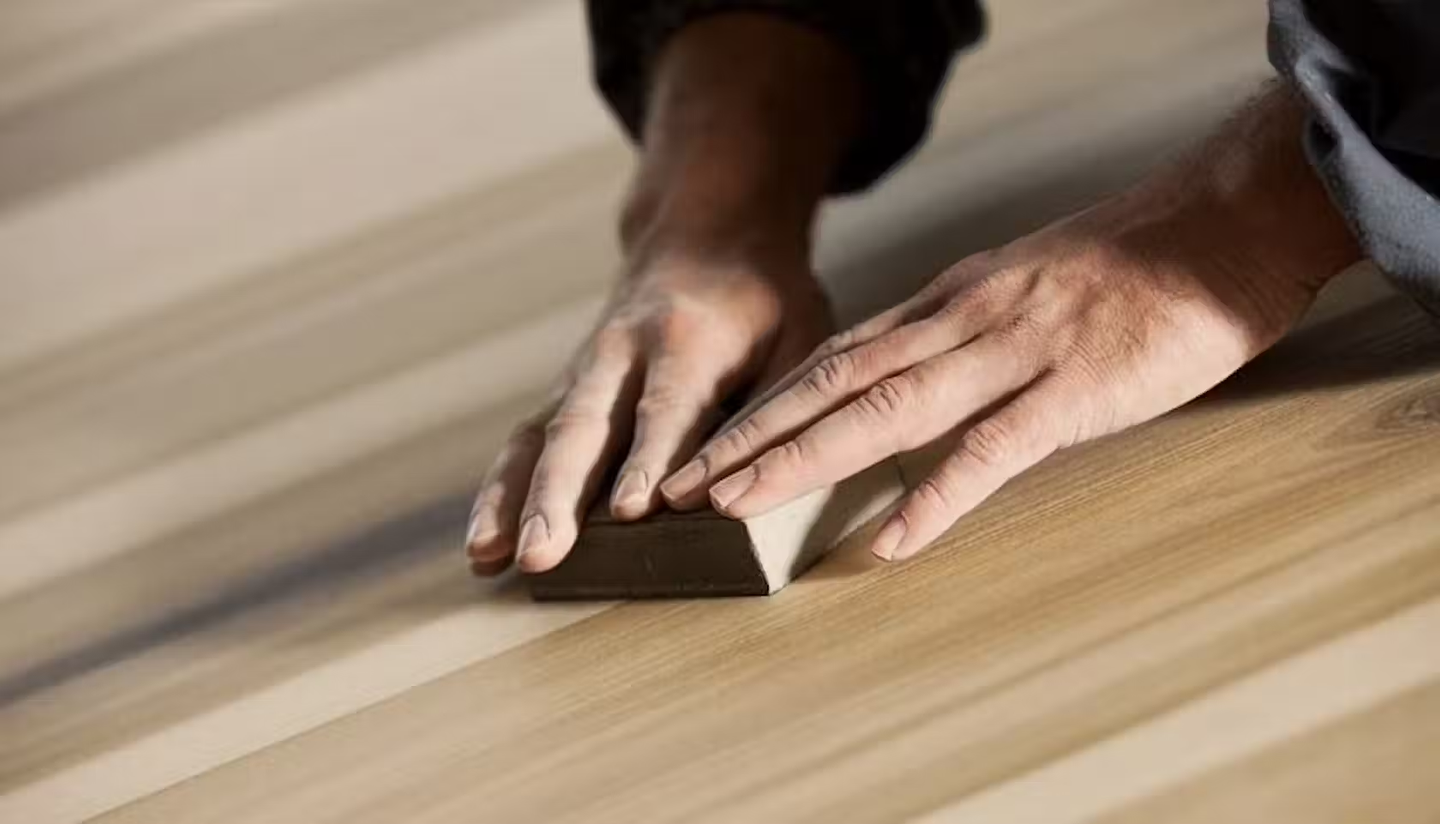
Sanding Sponge
Sanding sponges are ideal when you need to sand curved surfaces or areas that have lots of detail. The sponge is flexible so you can work it into tight spots and around all kinds of shapes.
If you’re working on a large project or if your wood requires a lot of deep sanding, a sanding tool is a must. This equipment makes your job much easier and will make the finished project look more professional.
However, if you decide not to use a tool, don’t just use the paper by itself. This is a common mistake and can actually interfere with your results as the paper starts to mould around your hand and doesn’t cover the entire wood surface. Instead, staple a piece of paper to a block of wood to allow for smoother and easier sanding.
Use the Right Techniques
If you are working with lumber from a hardware store or mill, each board probably has some marks from the milling machinery, which you want to remove. Your wood could also have some dents, scratches and imperfections, which a good sanding job will remove.
Even if the surface looks smooth to you, remember that any kind of finish, like paint or stain, will make bumps and dents stand out, taking away from the way your piece looks. So don’t be afraid to spend some time sanding and making sure that the surface really is completely smooth before you move on to the next step.
The best approach is to start with a paper with a coarse grit to remove these larger marks and then use a finer sandpaper to finish the surface and make it perfectly smooth.
Don’t be tempted to start with a very coarse paper, 80 grit for example, and then skip to a much finer grit, like 150. To get the best results, you need to slowly increase the grit and patiently work out the imperfections in wood to make it perfectly smooth. So, start with 80-grit paper, and then move up to 100-grit, and so on until you are using very fine paper and the surface is completely smooth.
Be sure to remove all the dust that accumulates as you work. Dust makes it hard for you to see what areas still need to be sanded and if it gets between the surface and your sander, it will prevent the sandpaper from working.
As you get to the edge of your piece don’t just sand over it. This can make the edges slightly rounded. Keep them straight by laying a piece of scrap wood, that is of the same width, next to the piece and continue to sand over the edge and onto the scrap.
Check for Smoothness and Know when to Stop
We’ve already talked about how it can be hard to tell when your wood is perfectly smooth and even the smallest imperfections will be magnified with paint or stain. So how do you know when you are done?
There are a few tricks you can use. To make sure your surface doesn’t have marks, sanding imperfections or other problems, hold a bright against the surface at different angles. This makes it easy to spot problems. Then, put your hand in a nylon sock and slowly move it across the surface of the wood. Any bumps, dents or splinters will catch the sock so you can find them easily.
Sanding might feel like an obligation and a small part of your project. But, if your sanding isn’t done properly and surfaces aren’t smooth and perfectly level, your entire project will suffer. Make sure your furniture, crafts and home improvement projects look professionally done by doing the best sand job possible.
To explore our range of orbital and belt sanders follow this link.


