


You've got a DIY job to complete but you're completely new to power tools.
If you're a beginner looking for guidance on how to use a drill, we're here to help.
Drills are the most convenient tool for hundreds of home projects. From assembling wardrobes to hanging photographs and installing new shelving - the uses for drills are infinite.
By the end of this blog, you'll have obtained the knowledge you need to successfully finish that project you've been putting off.
The best part? Here at HSS, we stock a wide range of breaking and drilling equipment for hire - why purchase a drill when you can use one temporarily?
Choosing the right drill for the job
The time has come to upgrade your drill, but which type should you choose? Are you looking for a power tool that you can plug in at all times, or would you prefer a battery-powered tool that offers you freedom and agility? Are you working with wood and drywall or will you need to punch through concrete and stone?
These factors should all be taken into consideration before selecting a drill type. There are three main types of drill to choose from:
Drill drivers: These are the most common types of drills. They're typically used for drilling holes and driving screws and nails.
Hammer drills: This type of drill is used for drilling through masonry and concrete.
Impact drivers: This type of driver is used for driving large screws into hard materials, and it also helps remove them.
When you're on the hunt for the perfect drill for your project, you should take into consideration:
- The surface you need to work with
- The size of the project
- Is there a particular position or angle you may need to work at?
- Will you require a portable solution for moving around a lot?
- How much time will be required?
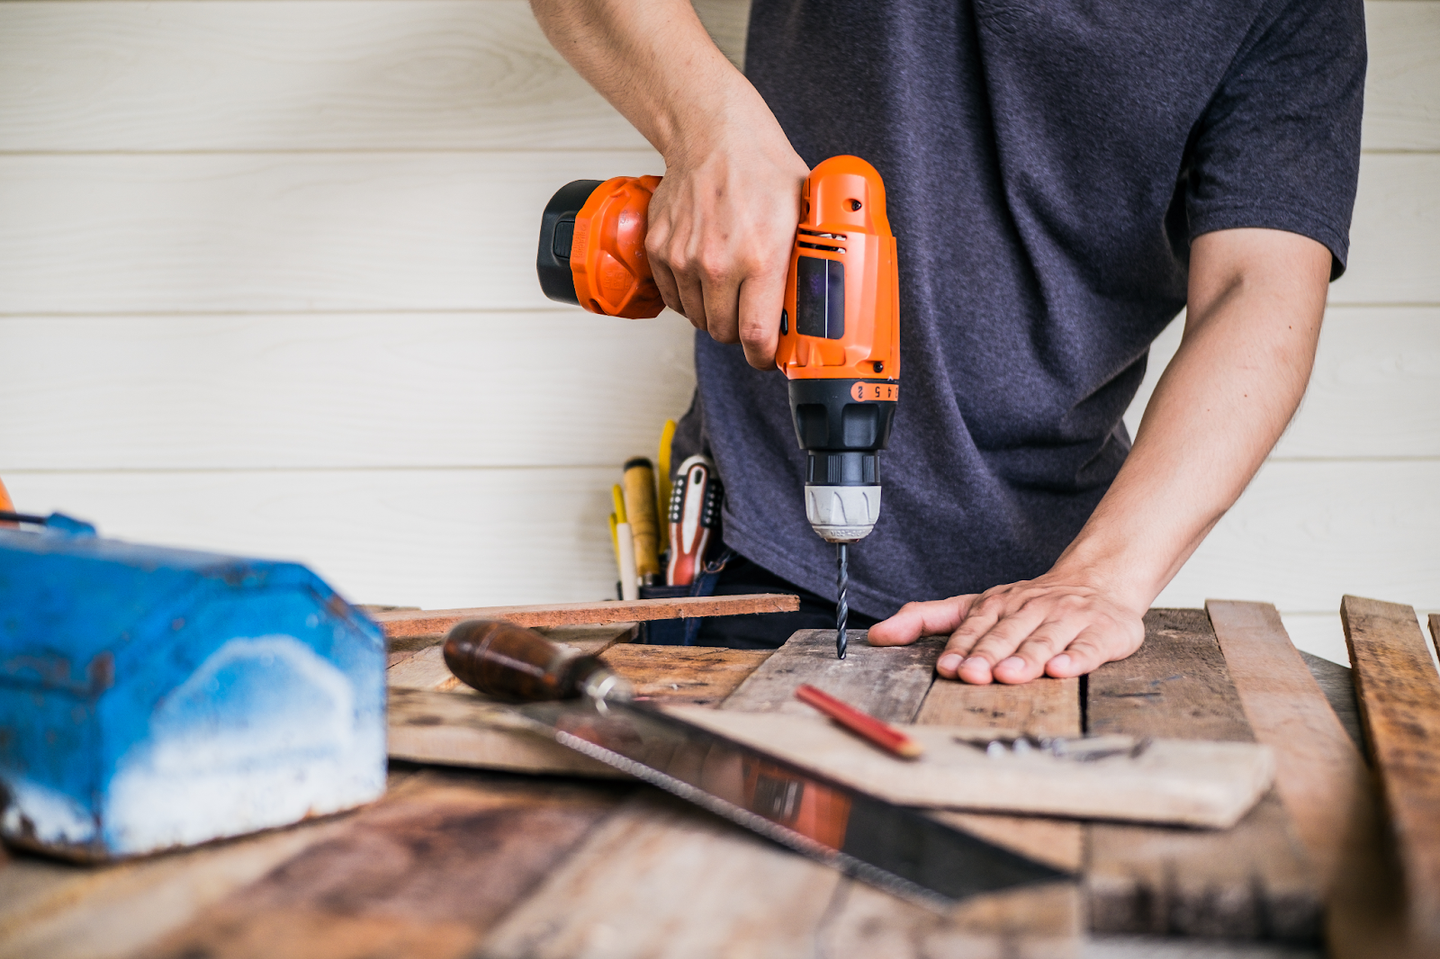
How to use a drill: Understanding each part
As you can imagine, every drill is different. But we're here to run you through the basics of how to use a standard power drill. Before we explain the step-by-step basics of operating a drill, you should become familiar with the components.
The first thing you'll notice is the chuck. This part of the power drill holds your bit in place. This adjustable part comes in different sizes to accommodate different bits, enabling you to twist and insert the correct bit for the job. A larger chuck means that you can use bigger bits, which means that your holes will be more uniform and clean-looking.
The next thing you'll see is the trigger. This controls how fast or slow you are drilling into whatever material you're working on. If your project requires fast drilling, push down on the trigger to get more speed; if it requires slower drilling, release some pressure from the trigger so that less force is being applied to your materials (which will help prevent cracking).
The reverse switch is usually used with screws and allows for quick changes when drilling holes in opposite directions. The reverse switch is handy for extracting screws and other materials.
The drill bits are what actually make holes in whatever material you're working with. Drill bits come in different sizes and shapes, so you'll want to make sure that you have the right one for the job. If you're drilling into wood, for instance, then use an auger bit that's designed for wood instead of metal.
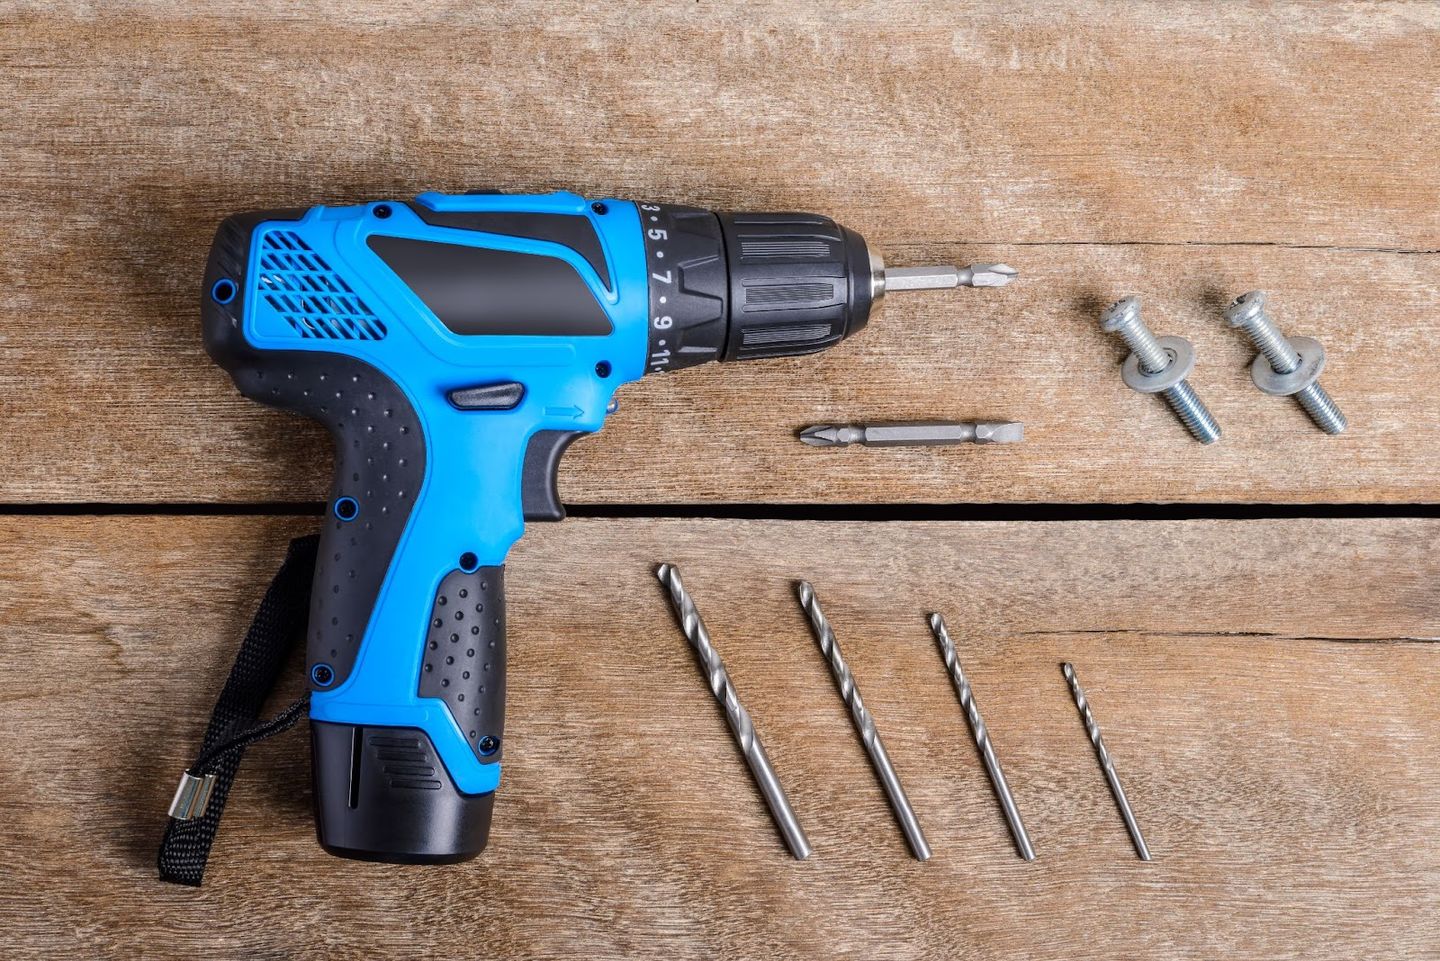
Step 1: Choose a drill bit
If you want to choose the right drill for your activity, it is first necessary to consider the material that will be drilled. The mechanical properties and firmness of each material differ. It is for this reason that drill bits come in so many varieties.
The drill bit you select will need to be capable of piercing through the material at the right accuracy. Some drill bits may be ideal for clean cuts whilst others may produce rough cuts - examine the job requirements before picking the correct bit.
- Multi-purpose drill bits: Most standard drills come with twist bits due to their versatility. You can often purchase or hire a mixed set of bits from 4mm to 10mm, all capable of drilling through metal, wood and stone.
- Auger drill bits: Working in a similar way to standard multi-purpose drill bits, this type should be used specifically for piercing holes in wood. The sharp spur makes auger drill bits perfect for precise, neat edges. Typically, you can get these bits in sizes 8mm to 32mm and are great for working with floorboards and joists.
- Spade drill bits: If you need to drill large holes quickly, spade drill bits are designed to do just that. Because they come in larger diameters, they are perfect for caballing and cutting holes into timber posts.
Step 2: Insert the bit into the drill
During this step, it's crucial that you ensure that the drill bit is firmly inserted into the drill to avoid any injuries or mistakes.
- Widen the chuck by twisting it counterclockwise to allow for the bit to slide into it. You'll then need to insert the smooth part into the hole, before re-tightening the chuck until the drill bit is firmly secured.
- It is best to gently grab the drill chuck, avoiding holding the drill bit itself, and slowly run the drill clockwise to tighten the chuck more quickly and securely. Likewise, reversing the drill will loosen the chuck if you grab it and run it counterclockwise.
Step 3: Prepare the materials
When you first use a drill, you might find it difficult to cut perfectly. You should ensure the material is clamped securely to avoid movement - it's also wise to measure and mark out where you plan to cut for complete precision and accuracy.
Useful marking techniques
- Use a pen - Make sure to mark your holes with a pen before drilling so that you don't go past them. If you want to use a drill press for this purpose, make sure that your workpiece is held securely in place by the chuck on the drill press itself.
- Create a dimple - Drill bits tend to wander when they are first used, so it's important to stay on track using proper marking techniques. Using a centre punch and hammer, create a small dimple where you want the hole to be, and measure and mark the location.
- Use two clamps - Depending on the project, it may be necessary to clamp a piece of material in place before attempting to penetrate it. It is incredibly dangerous to hold material with your hand as this can cause the drill and material to spin out. Using two clamps on either side is the best way to hold the workpiece down.
Step 4: Adjust the settings
Before you begin, double-check your settings on the drill.
This may seem like an obvious step, but it is important to make sure that you are using the right setting for the job. If you are drilling through metal or concrete, then you will need a high speed and low torque setting. If you are drilling into wood or plastic, then a lower speed will be fine.
When using the drill, make sure that you keep it moving while it is in contact with whatever material you are drilling into. This will help prevent overheating and burning out of the drill bit or stripping of screws in wood.
Remember - you can always adjust settings as you go along. As a beginner, you may find a trial-and-error approach is the best way to get the results you're after.
Step 5: Drill and examine the hole
With most drills, the pressure you put on the trigger does affect the speed of the drill, so it’s important to start off slowly and let it get up to speed before you put too much force into it.
Begin by lining up your mark with the centre of your bit and make sure that it will fit in between any obstructions like wires or pipes that might get in its way before drilling. If there are any corners or curves in your project area, mark them out with masking tape so you know where to start.
When all is clear, place your hand firmly on top of the drill and gently squeeze down on the trigger and direct the drill into the hole.
After gently removing the drill from the newly cut hole, you'll want to deburr the area (if drilling on metal) or remove wood shavings when examining the hole.
Get ready to complete your next project by hiring a drill from HSS
Need a drill for your next project? HSS has you covered!
Whether you're looking to build something new or fix something old, we have the tools you need. Our cordless drills are perfect for construction work and DIY home projects alike, and our hammer breakers can help you cut through any material with ease. We also offer drill bits so that you can customise your tool to fit any purpose.
So what are you waiting for? Get ready to complete your next project by hiring a drill from HSS!


