















Build a Retaining Wall This Spring: The Step-by-Step Guide and Equipment Hire List
⏱ Read time: approximately 8 minutes 🌿 Difficulty: Intermediate ⏱️ Time: 1 - 2 days 👷 Manpower: 2 people 📅 Best Time: April–June
Project Timeline:
Order your hire equipment and materials from HSS DIY before the long weekend to guarantee delivery; spend Day 1 on excavation, sub-base preparation and footing pour -then leave it to cure overnight; Day 2 is for block or brick laying, backfilling in stages, and compacting as you go; allow the wall at least 48–72 hours to cure properly before loading it with any retained soil or putting the garden back together — a three-day bank holiday weekend is actually a near-perfect window for this project if you get started on the Saturday morning.
Why a Long Bank Holiday Weekend Is Perfect for a Retaining Wall Project
If your garden has a level change that's been held back by nothing more than wishful thinking, an increasingly ropey timber sleeper arrangement, or a slope that sends topsoil onto the patio every time it rains, a retaining wall is the fix. And a long bank holiday weekend - with its extra day, improving spring weather, and the irresistible urge to do something meaningful outdoors - is one of the best windows in the year to crack on with it.
But let's be honest: how to build a retaining wall is one of those questions that sounds simple until you start looking into it. Footings, drainage, backfill, block selection, mortar mixes - there's a bit more to it than stacking some bricks. Done properly though, a well-built retaining wall will last decades, transform the usability of a sloped garden, and give you that satisfying feeling of having genuinely changed your outdoor space for the better.
This guide walks you through the full process and - crucially - the equipment you'll need to hire from HSS DIY to do it properly.
What Is a Retaining Wall?
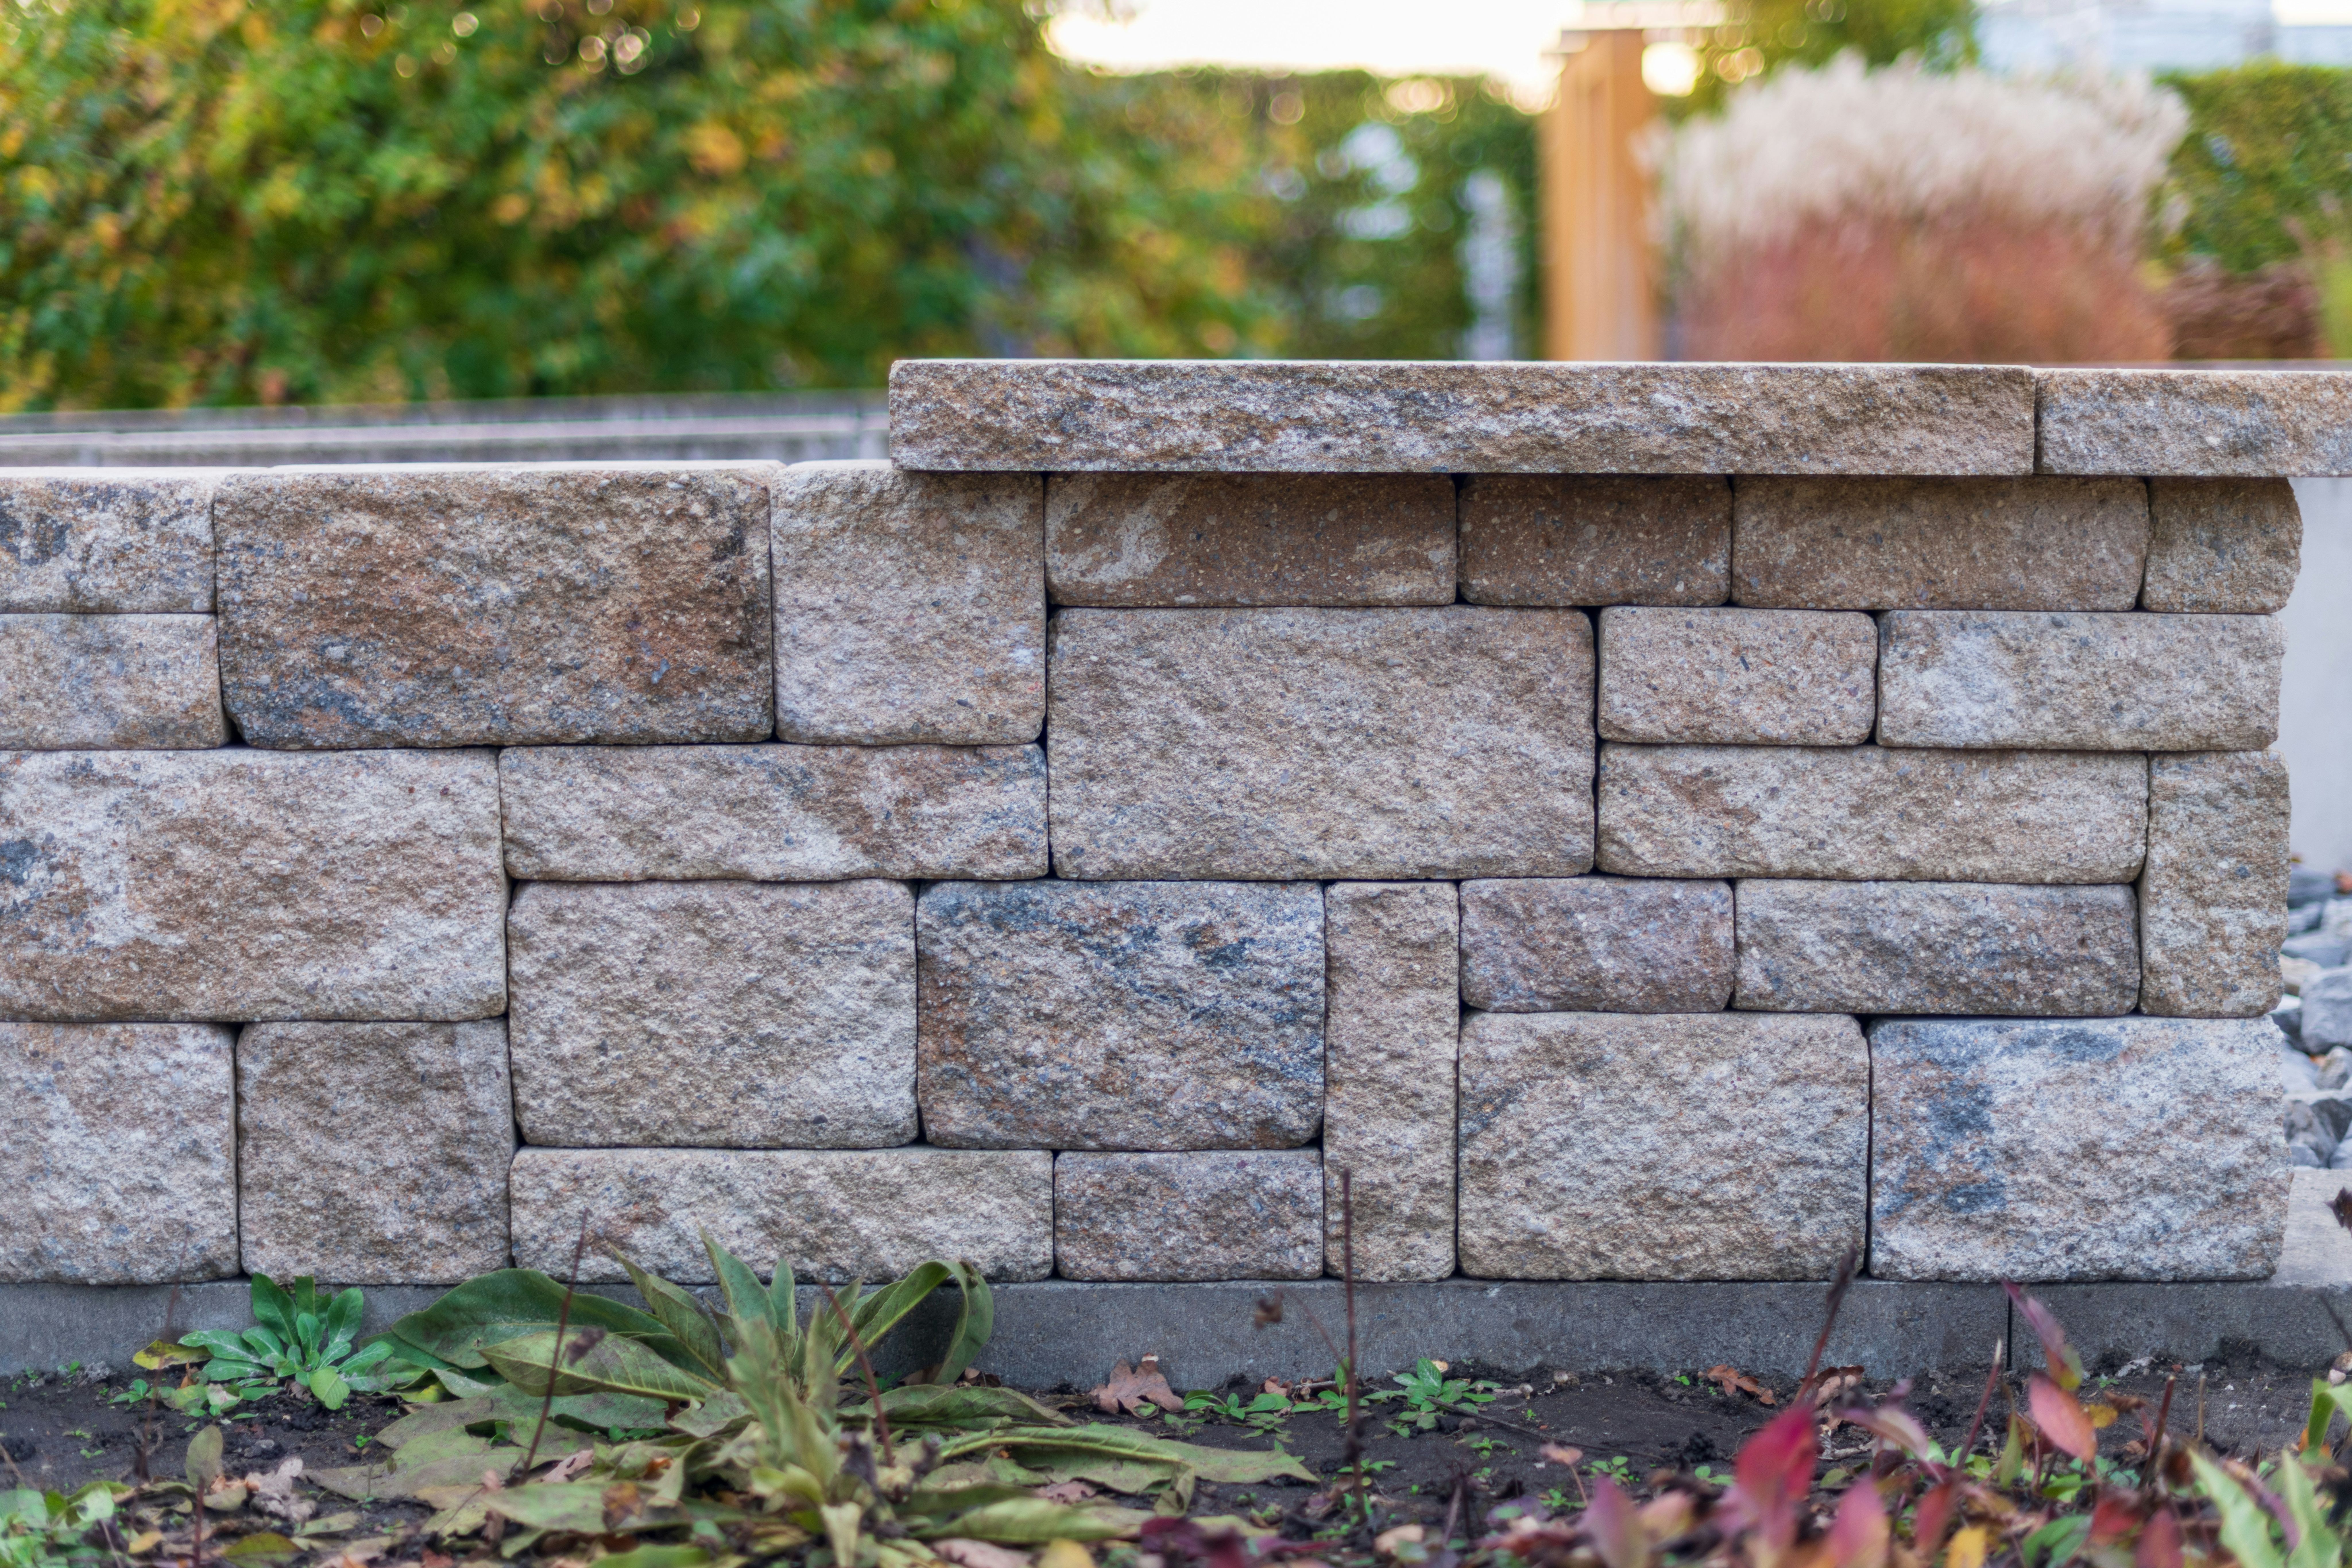
A retaining wall is a structure built to hold back - or "retain" - soil, preventing it from sliding, slumping, or eroding across a level change. In a domestic garden context, retaining walls are used to create level terraces on sloped plots, define raised beds, support changes in ground level around driveways or paths, and prevent embankments from eating into usable space.
The most common materials for garden retaining walls are concrete blocks, natural stone, brick, and timber railway sleepers. For a DIY first-timer, concrete blocks or sleepers are the most forgiving and accessible options - both are widely available, structurally reliable, and buildable with standard hire equipment.
For walls up to around 1 metre high, a confident DIYer with the right tools and a methodical approach can achieve excellent results. For walls above 1 metre -or anything retaining a significant slope near a structure - it's worth getting a structural engineer to specify the design first.
The Equipment Hire List: What You Need and Why
Every tool below is available from HSS DIY. Order everything together for one delivery and you're set from day one.
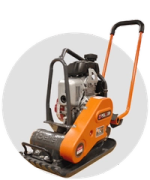
- Wacker Plate (Plate Compactor)
What it does: Compacts the sub-base of hardcore or MOT Type 1 aggregate in the trench before you pour your concrete footing. Skipping compaction here is how retaining walls move, tilt, and crack within a few years — it's the foundation of the foundation, quite literally.
Which one to hire: For a standard domestic retaining wall project, the medium petrol wacker plate from HSS DIY is the go-to. It delivers 13kN compaction force on a 400 x 606mm plate - compact enough to work in a wall trench, powerful enough to do the job properly. If you're working in a tight or enclosed space, consider the 110V electric vibrating plate instead - it runs off a standard transformer with no exhaust fumes.
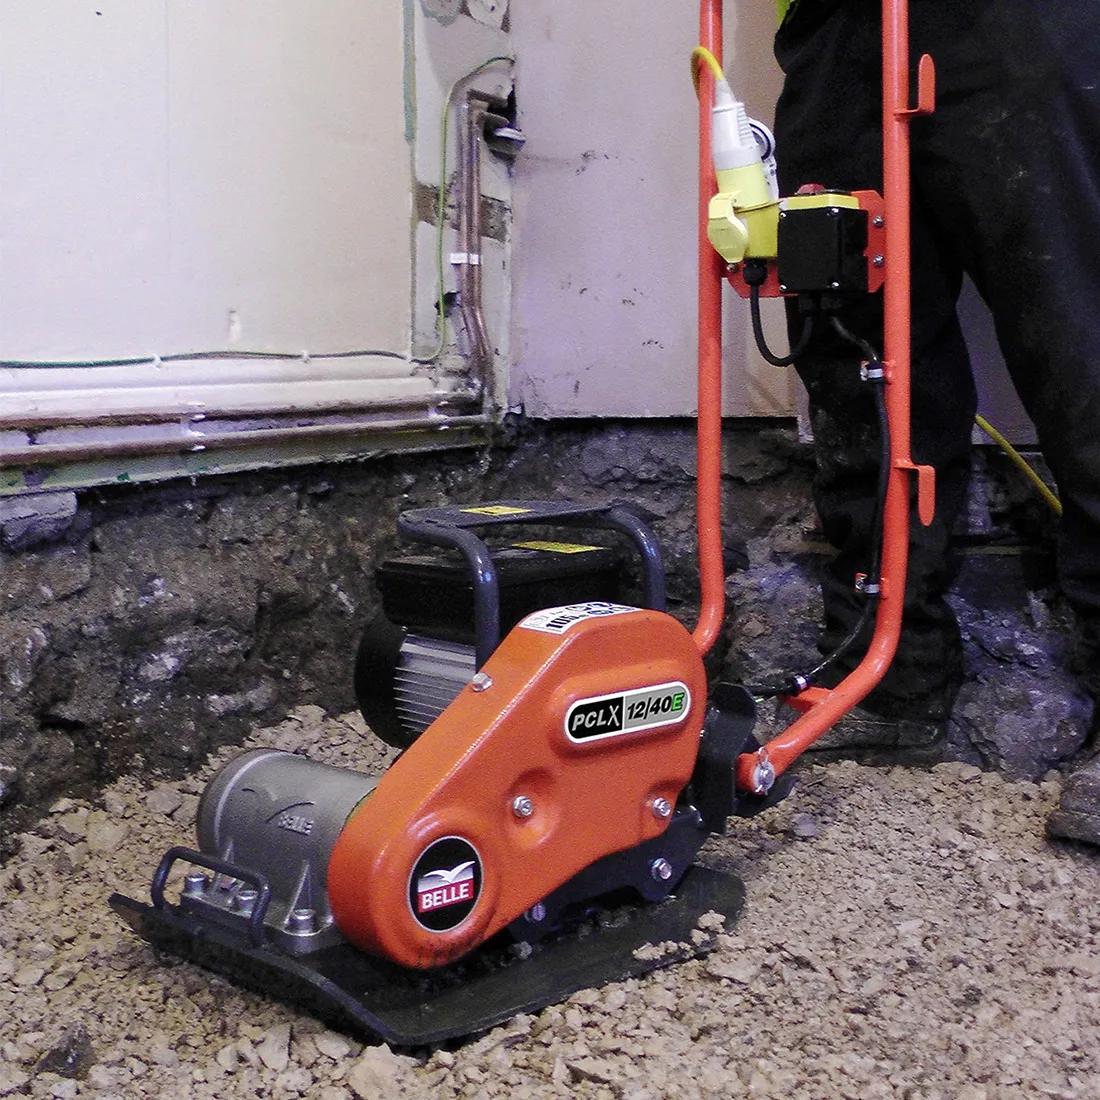
Hire from £57 Best for one-off retaining wall or groundwork project
Buy from £400+ Best for regular landscaping contractors
Note: Fuel is not supplied with petrol hire equipment. Pick up diesel or petrol as required from a local petrol station or add a fuel can to your HSS DIY order at checkout.
5 stars. Good tool powerful and no liquid fuel requirement as 110V, David Saunders, 28 August
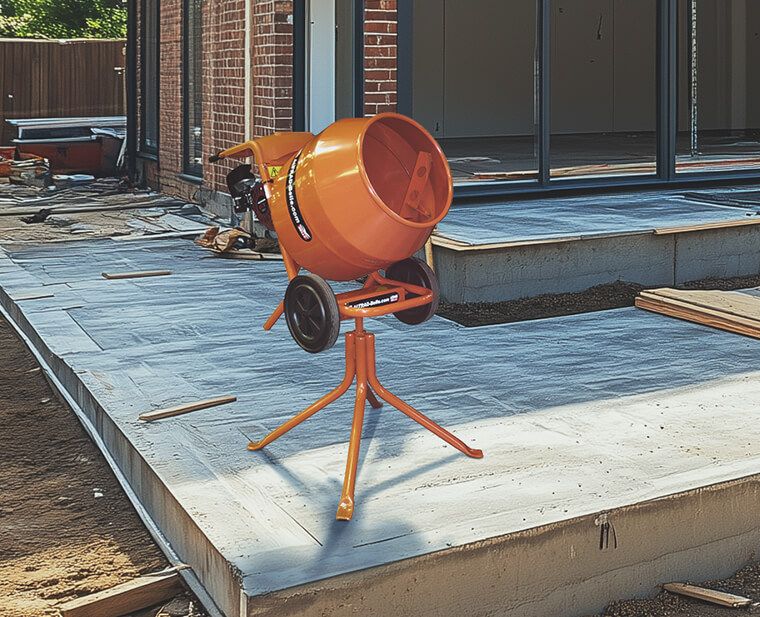
- Concrete Mixer
What it does: Mixes the concrete for your wall footings and the mortar for block or brick laying. Hand-mixing concrete in a barrow for a full retaining wall footing is the kind of job that puts people off DIY for life - a site mixer does it in minutes per batch and keeps the mix consistent throughout the pour.
Which one to hire: The tip-up electric concrete mixer from HSS DIY (110V) mixes up to 85 litres per batch and tips directly into a barrow - practical when you're working in a narrow trench. For a mortar-focused job (block laying rather than a continuous footing pour), a smaller drum mixer works well too.
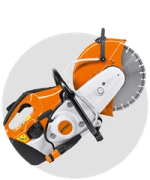
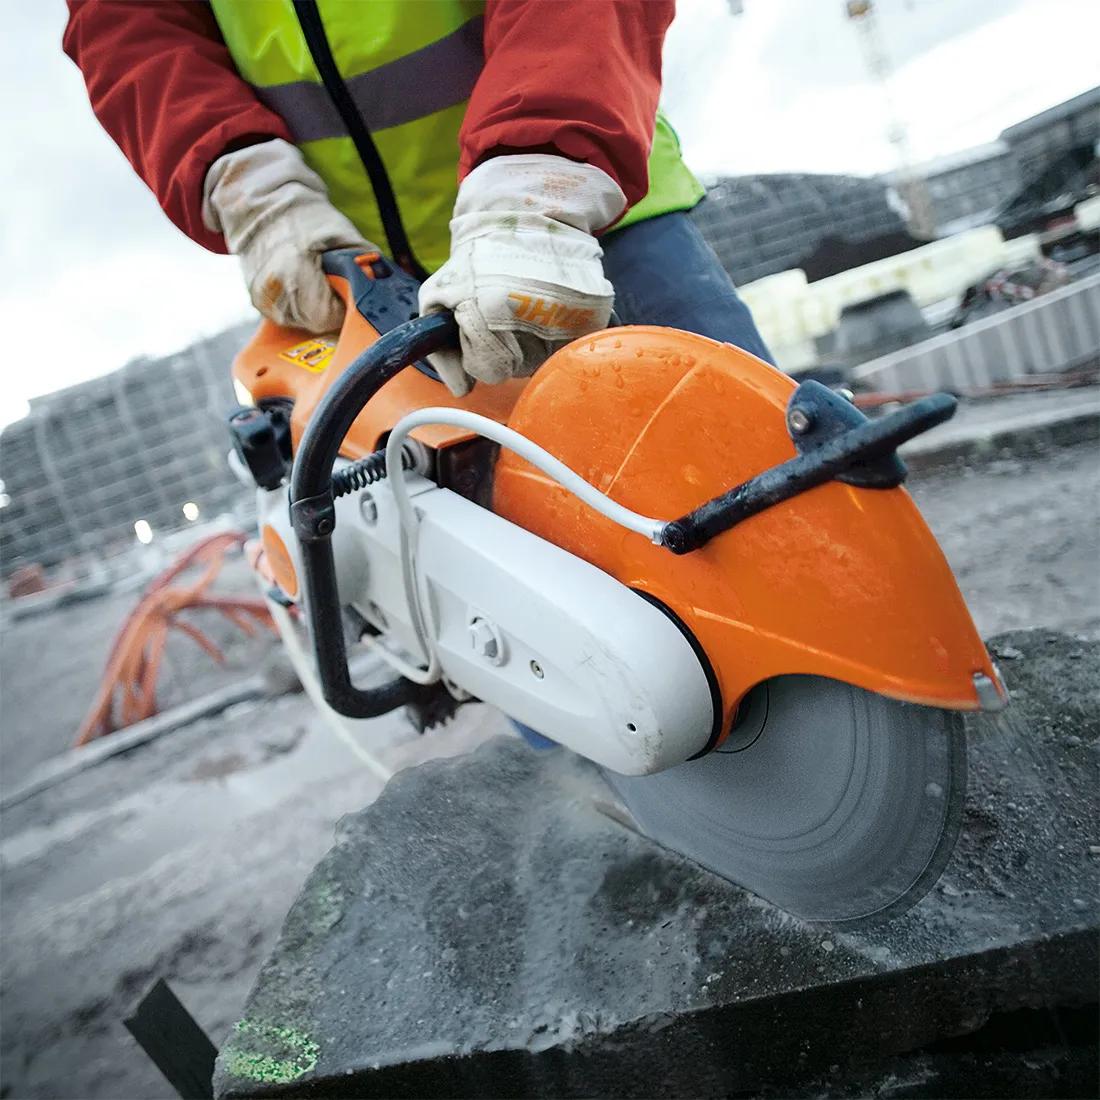
- Disc Cutter (Angle Grinder / Disc Cutter)
What it does: Cuts concrete blocks, engineering bricks, or natural stone to fit at corners, ends, and irregular edges. Even the most carefully planned retaining wall will require some cuts - using a bolster chisel and a prayer gets the job done eventually, but a disc cutter does it cleanly, quickly, and accurately.
Which one to hire: A petrol disc cutter with a diamond blade suited to masonry is the standard choice for outdoor retaining wall work. Pair it with a water-suppression attachment or water feed to control dust. You’ll also need a RCD breaker to work safely.
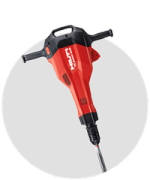
- Breaker / Demolition Hammer (If Removing an Existing Wall or Hard Surface)
What it does: If you're replacing an existing retaining wall or need to break through a hard surface to excavate your footing trench, an electric or petrol breaker makes a job that would otherwise take most of a day manageable in an hour or two.
When you need it: Not every retaining wall project requires a breaker — if you're building into a natural slope with no existing structure to remove, you won't need one. But if there's old concrete, a failing sleeper wall with a concrete footing to bust out, or hard-packed ground, add it to the order.
Which one to hire: Choose from our full range Breaker / Demolition Hammer Hire
How to Build a Retaining Wall: Step by Step
These steps apply to a standard garden retaining wall built from concrete blocks or dense engineering bricks, up to 1 metre in height. Before you get started, take a look at this handy Retaining Wall Materials Calculator.
Step 1 - Mark out and excavate: Mark your wall line with string and pegs, then excavate a footing trench to at least 150–200mm deeper than your lowest finished block course -deeper on soft or clay ground. The footing should be roughly twice the width of your chosen block.
Step 2 - Lay and compact your sub-base: Fill the trench base with 100–150mm of MOT Type 1 hardcore, then compact thoroughly with the wacker plate. Do it in layers, not one go - proper compaction here is what keeps the wall level and stable for years to come.
Step 3 - Pour your concrete footing: Mix a C20 concrete footing (1 part cement : 2 parts sharp sand : 4 parts aggregate) in the mixer and pour to fill the trench to your required footing depth. Level and tamp it down, check it's consistent, and leave it to cure for at least 24 hours before building on it.
Step 4 - Install weep holes and drainage: Before laying your first course of blocks, plan your drainage. Retaining walls without drainage fail - water pressure builds behind the wall and eventually forces it to move. Lay perforated drainage pipe or agricultural pipe behind the wall base and incorporate weep holes (gaps in the mortar every 3–4 blocks along the first few courses) to allow water to pass through.
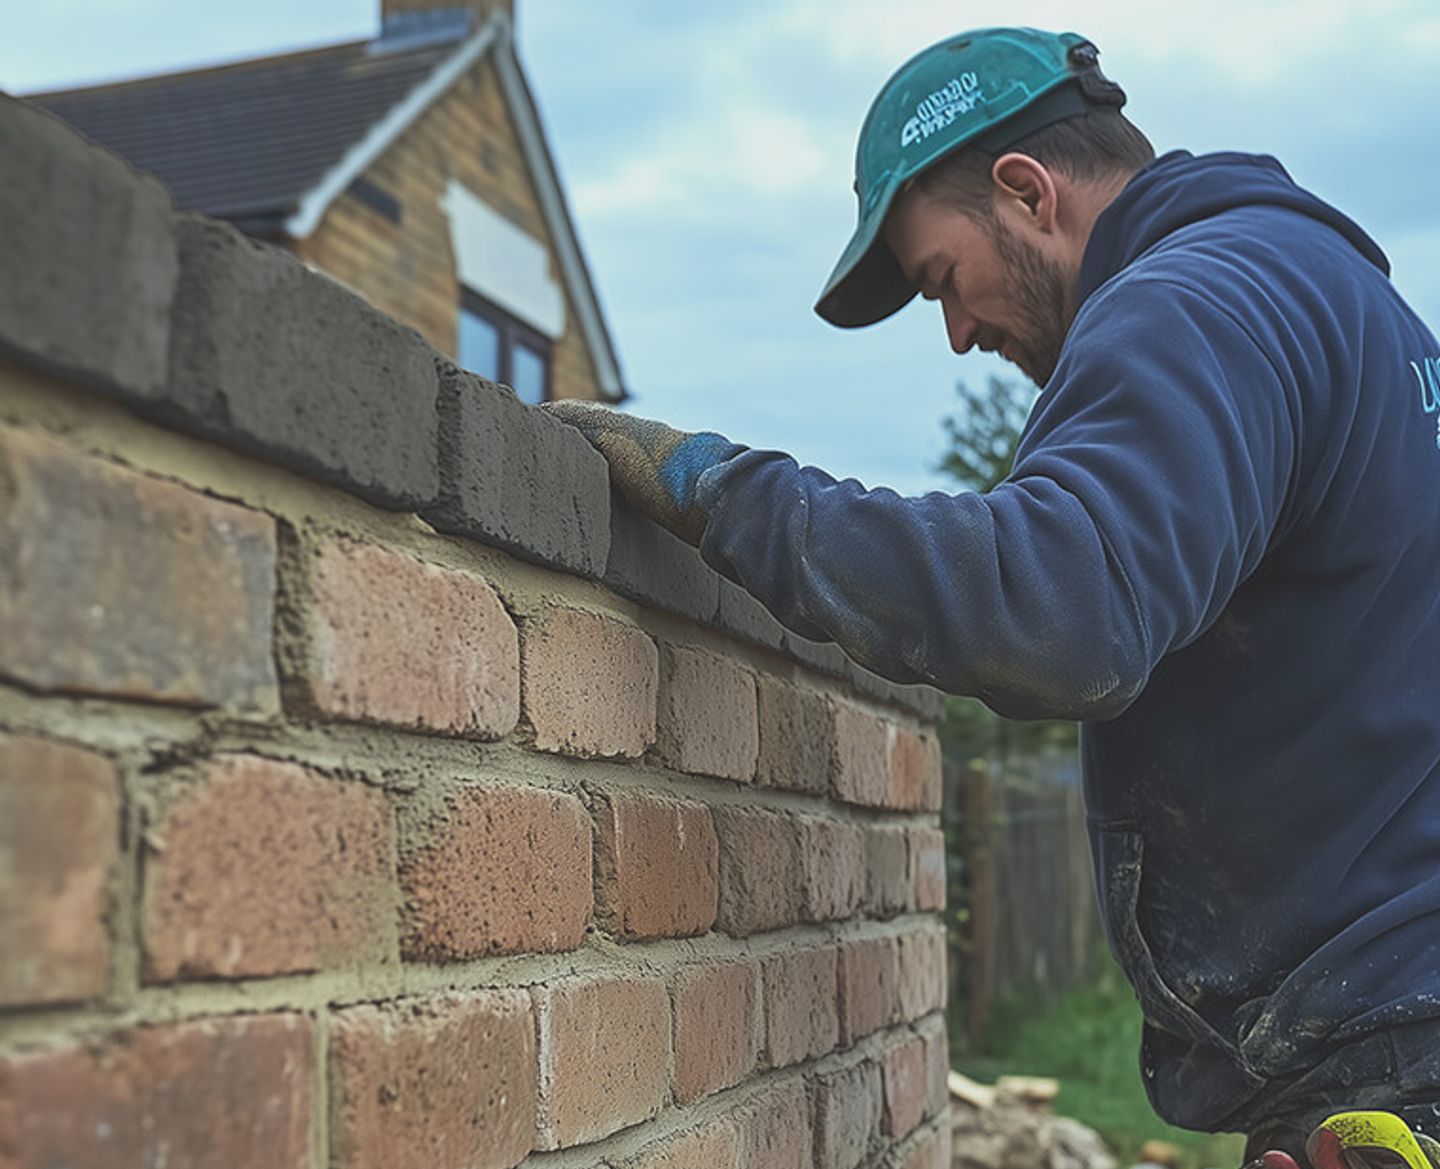
Step 5 - Lay your blocks or bricks: Start from the corners or ends, working inward. Use a consistent mortar mix (1 part cement : 4 parts soft sand), butter each block on the bed and end joints, and check for level constantly - across, along, and vertically. Stagger the vertical joints between courses (running bond) for structural integrity.
Step 6 - Backfill in stages: Don't backfill all at once once the wall is built - the mortar needs time to cure and fresh masonry can't take the lateral pressure of a full backfill load. Work in 150–200mm lifts, compacting each layer lightly, over several days.
Step 7 - Finish and point: Once the wall is built and backfill is settled, rake out any rough joints and repoint with fresh mortar for a clean finish. Cap the top of the wall if required for a clean finish and to shed water.
What to Buy Alongside Your Hire Equipment
With HSS DIY you can add all materials to the same order as your hire tools one order, all in one place, available 24/7 online:
- Concrete blocks or engineering bricks - the structural material for your wall
- Cement, sharp sand, and aggregate - for footings and mortar
- MOT Type 1 sub-base - for the compacted footing bed
- Perforated drainage pipe - essential for wall drainage
- DPC (damp proof course) strip - recommended between footing and first course
- Wall ties - if building a double-skin or tied wall
- Coping stones or wall caps — for a finished top edge
Use HSS DIY's project bundles to buy materials and hire tools together in one go.
Buy the materials. Hire the tools. One order. All in one place.
⚠️Health & Safety
Retaining wall construction involves groundwork, heavy materials, powered cutting tools, and wet concrete - each carrying specific risks:
- Check for underground services before excavating.
- Wet concrete is caustic and causes chemical burns on skin contact. Wear waterproof gloves, eye protection, and long sleeves throughout. Wash any skin contact immediately with clean water.
- Disc cutters generate significant silica dust when cutting concrete blocks or stone. Always use a water-suppression attachment or water feed, wear a minimum FFP2 dust mask, and eye protection.
- Wear full PPE throughout: steel-toecap boots, gloves, safety glasses, and hearing protection for all powered equipment. A hard hat is recommended when working below any raised material.
- Never load a freshly built wall. Mortar needs 24–48 hours minimum before the wall can bear any lateral load - premature backfilling is one of the most common causes of new retaining walls moving.
- For walls above 1 metre: the lateral forces involved increase significantly with height. Consult a structural engineer before building anything taller than 1m - particularly where a slope could put a structure, vehicle, or person at risk if the wall were to fail.
Ready to Get Digging?
A well-built retaining wall is one of the most structurally satisfying things you can do to a garden - and a long bank holiday weekend gives you exactly the window you need to do it properly. Three days, a clear brief, the right hire equipment delivered before you start, and you'll have something genuinely solid to show for it by the time Monday evening comes around.
Browse the full range at HSS DIY and hire and buy online 24/7. With next day delivery and the option to bundle tools and materials in a single order, getting set up has never been more straightforward.
Get DIY Happy
Frequently Asked Questions
What is a retaining wall and when do I need one?
A retaining wall is a structure designed to hold back soil across a level change preventing it from sliding or eroding onto a lower area. You need one when your garden has a significant slope that creates an unstable embankment, when you want to create level terraces for planting or usable space, or when a raised bed, driveway, or path sits adjacent to higher ground that isn't adequately supported. Signs you need one include cracking in existing structures, soil consistently washing down a slope, or a slope that has become progressively steeper over time.
How deep should a retaining wall footing be?
As a general rule for walls up to 1 metre high, your concrete footing should be at least 150–200mm deep and roughly twice the width of your chosen block or brick. On clay-heavy or soft ground, go deeper - 300mm is a safer starting point. The footing should sit below your finished ground level on the lower side, not just on the surface. A structural engineer should be consulted for walls above 1 metre.
Do retaining walls need drainage?
Yes - this is one of the most important aspects of retaining wall construction and one of the most commonly skipped by DIYers. Without drainage, water from rainfall and irrigation accumulates behind the wall, creating hydrostatic pressure that can push the wall forward over time. Install a perforated drainage pipe at the base of the backfill and incorporate weep holes in the mortar joints every 900–1,200mm along the lower courses to allow water to escape.
Can I build a retaining wall on a boundary?
Potentially, but tread carefully. Any wall on or near a boundary line may be subject to the Party Wall Act 1996 if it affects a neighbouring property's land or structures. You may need to notify your neighbour and follow the party wall procedure before starting. Check with your local planning authority and consider getting a solicitor to review the position if there's any ambiguity. It's a conversation worth having before you're halfway through an excavation.
Do I need planning permission to build a retaining wall?
In most cases, a garden retaining wall under 1 metre high (or under 2 metres if it doesn't adjoin a highway) falls within permitted development and doesn't require planning permission. However, if you live in a conservation area, a listed property, or an area with specific planning conditions, restrictions may apply. Always check with your local planning authority before starting if you're unsure.
What's the best material for a DIY retaining wall?
For a first DIY retaining wall, concrete blocks and hardwood railway sleepers are the most forgiving options. Concrete blocks are strong, relatively easy to cut with a hired disc cutter, and take mortar well. Sleepers require less mortar work and can be built quickly but they typically need vertical posts driven or concreted into the ground for structural integrity on taller builds. Natural stone looks great but requires more skill to lay consistently. For a bank holiday project where you want a reliable result without specialist masonry skills, concrete block is the practical choice.
Content accurate at time of writing. Always refer to individual hire equipment operator manuals and follow current HSE guidelines. For retaining walls above 1 metre or in proximity to structures or boundaries, consult a structural engineer and your local planning authority before starting.
Further resources: Find a Structural Engineer Near Me | Checkatrade
Prices shown are indicative hire and buy rates as of April 2026 and subject to change. Always check hss.com for current pricing. HSS ProService Ltd.