


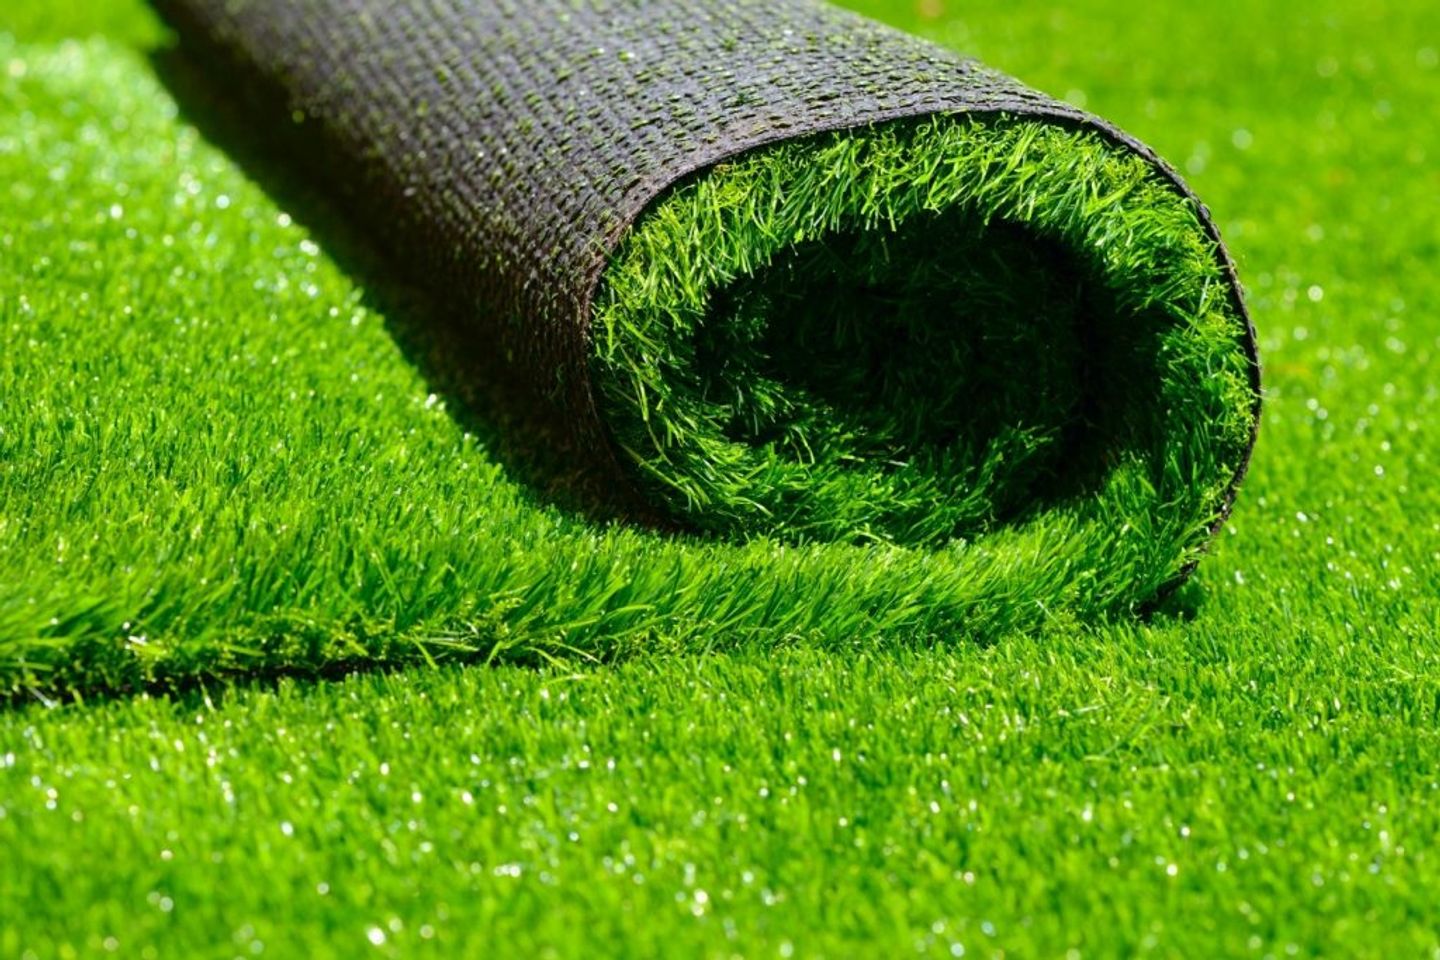
Artificial grass has become an increasingly popular addition to lots of gardens but how do we install & look after it?. If you're looking to make a switch from natural grass or want to add some greenery to an area, then take a look at our DIY guide on how you can lay and maintain artificial grass to your outdoor spaces.
Benefits of Artificial Grass
Laying artificial grass has numerous benefits. Although having natural grass has it's own set of benefits, keeping on top of it to make sure it's looking it's best can be time consuming and off putting for some people. Here's a few reasons why artificial grass is a top choice.
- It costs less to maintain - Unlike real grass, you won't have to water, mow or seed artificial grass. As it is so low maintenance, you won't have to do too much to keep it clean.
- It has a long life expectancy - When you lay artificial grass, you'll be happy to know you won't be replacing it every other year! Depending on the quality, the life expectancy of artificial grass can be anywhere around 8-20 years.
- It is better in harsher weather conditions - As artificial grass is manmade, too much rain or sunshine won't affect it like it would with real grass, so you won't have to worry about your grass getting dried out or being water logged.
- It stays green all year round - If you have invested in a high quality artificial grass it'll keep it's colour for years with proper care and maintenance.
- It keeps allergies at bay - For those of us who are allergic to grass and suffer from the effects of hay fever, installing artificial grass will definitely benefit you in the summer months when the pollen count is at it's highest.
How to lay artificial grass
Step 1. Plan your lawn and clear the ground
Start by measuring and surveying the area you want to lay the artificial grass whether you’re replacing existing grass or going where no lawn has gone before. By doing this, you can order the right amount of sand, weed membrane and artificial turf.
After making sure any cables and pipes are out of danger, start digging & remove any existing grass to a depth of at least five centimetres (two inches). If the ground doesn’t drain well, you’ll need to dig to around 10 centimetres instead. Dispose of any debris, such as stones or bits of brick as one of the things that stops artificial grass from looking healthy is laying it on lumpy ground.
Now walk over the area and look out for soft spots & places that cause your feet to sink. You’ll need to backfill those parts to make sure your new lawn isn't weak anywhere.
Need to hire some equipment to make light work of all that excavating and clearing? At HSS, we have a comprehensive range of the latest gardening and landscaping equipment. Depending on the size and condition of your plot, you may need a turf cutter, a mini-dumper, a vibrating plate (light/medium/ heavy) or a wheelbarrow.
Step 2. Lay the base
Create the sub-base by covering the area with aggregate to a depth of at least five centimetres. Most professional installers recommend using Grano dust or a similar type of crushed granite or limestone.
If you foresee plenty of walking over the area, make the base deeper by no more than 20 centimetres. Next, drag a piece of flat timber across the entire space to level it out and compact the sub-base. You can also use a plastic float to smooth out any small indentations.
(Credit: Martin Prescott) URL: https://www.istockphoto.com/
Step 3. Apply the weed membrane
A porous membrane is essential on top of the sub-base to prevent weeds from invading the finished lawn while allowing it to drain. Once the base is compacted, lay the weed membrane over the area and secure it around the perimeter with galvanised steel nails every 0.75 metres, trimming off any waste membrane from the edges. If any joining is needed, overlap the edges then stick them firmly down them with gaffer tape.
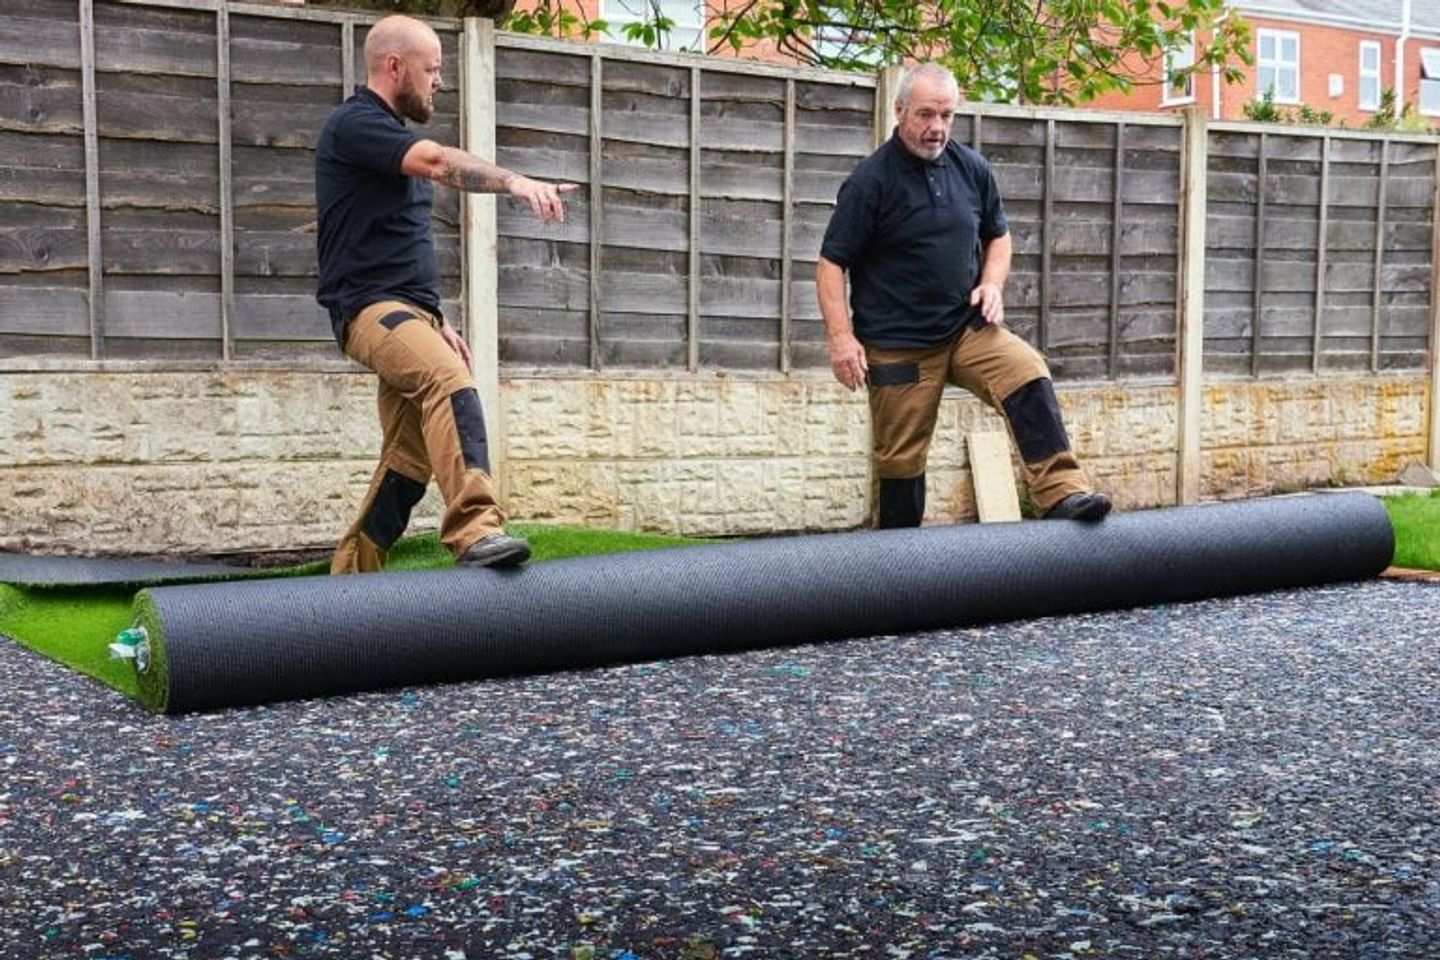
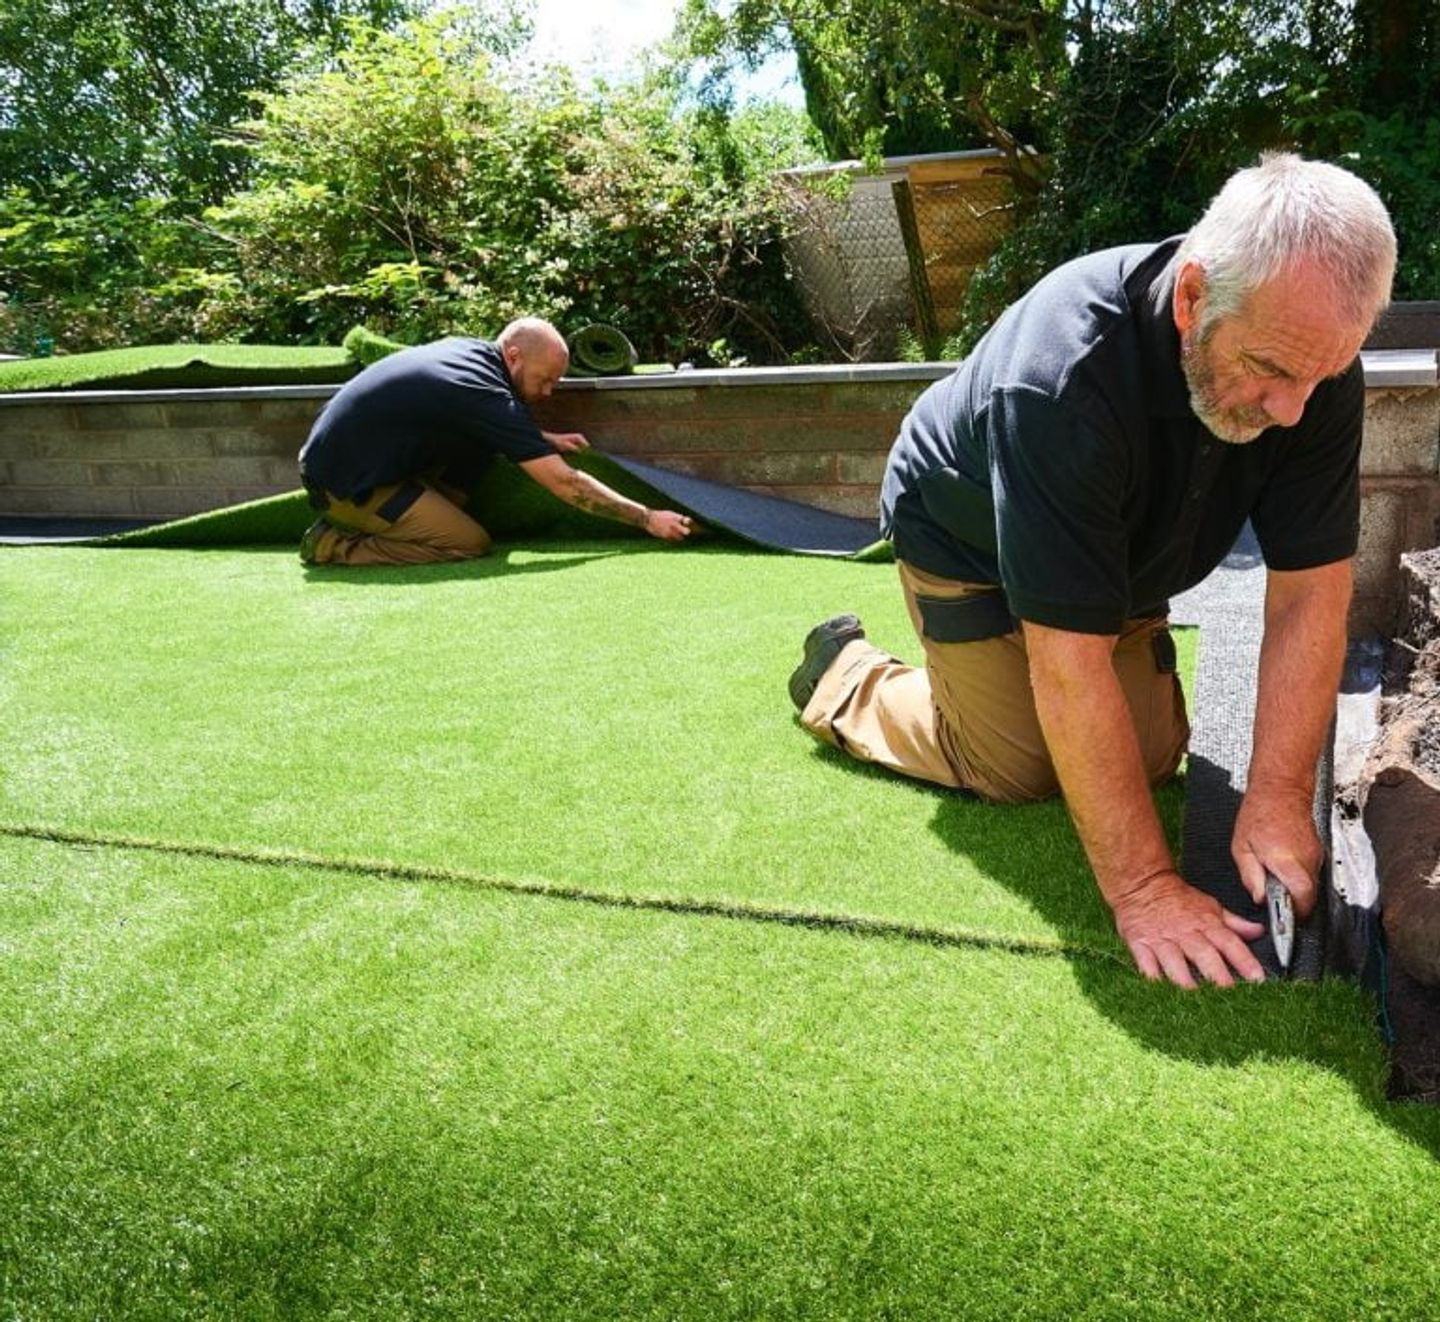
Step 4. Lay the artificial grass and trim the edges
Unroll the artificial turf gently over the area so the weed membrane isn’t disturbed. Get all the pile running in one direction, preferably towards the house, as this ensures the new lawn looks its best from your windows. Once it’s in position, trim away any excess around the edges using a craft knife and do the following:
- Fix the joints together by putting lengths of jointing tape on the membrane surface between them, rough side up.
- Add adhesive to the tape, then position the lengths of turf over the tape so there’s no visible gap.
- As soon as you’ve glued two rolls in position, ruffle up the grass fibres around the joints to cover them up.
- Use ground pins to fix the turf in place around the perimeter.
When all the turf is in place and dry, spread some fine sand over the whole lawn, then use a stiff brush to make the grass look more natural. And there you have it! You're artificial lawn has been installed.
URL: https://www.istockphoto.com/ (Credit: Martin Prescott)
FAQs
Does my artificial lawn need any maintenance? - Yes! You may not need to mow your new artificial lawn but it does require some minimal maintenance. Brush the lawn regularly with a stiff broom to remove dust and straighten the fibres.
Is it ok to jet was my artificial lawn? - Avoid using a jet wash on your artificial lawn. The pressure of the washer may damage or tear the lawn's surface. Instead use a hose with either a synthetic grass cleaner or a homemade solution made from washing up liquid and water.
Can I use a BBQ on my artificial lawn? - Never put coals from a BBQ on or anywhere near artificial grass as they can cause a fire. You should also avoid using a disposable BBQ on the grass, putting out cigarettes on the lawn or anything else that could cause the grass to burn.
Find out more
If you’re still wondering whether to lay natural or artificial turf on your new lawn, you can compare different processes on the HSS blog, including growing grass from seed! You’ll find lots more ideas for making your garden gorgeous here.
If you have any questions about any tools you may need to install your artificial grass, get in touch with our online live chat experts who are on hand & happy to help or contact your local HSS branch.


