


Is your bathtub looking a bit dated lately? Believe it or not, installing a new one is a project you can do yourself. Whether your bathtub is broken or doesn’t fit in with your current bathroom’s design, you can fix it without having to hire a contractor or paying labour costs.
But, beyond saving money, there are other benefits of installing your own bathtub. When you do this project yourself, you can customise every step of the process. You can also make sure the finished product looks exactly the way you want it to.
This DIY project is quite involved, but by doing some research, preparing your bathroom and using the right equipment, it is definitely one you can take on. This guide will help you understand the technical procedures behind installing a new bathtub.
Step 1: Remove the Existing Bathtub
To remove the old bathtub, you will need to turn the water supply off before you start any work. After you turn the water off, there will likely still be some water left in your plumbing system, which you can remove by turning on a faucet below the level of the bathtub. Once the water stops running, you are ready to start working.
The easiest way to remove the tub is to remove the faucet, handles and other piping and then pull the tub out from the wall. If this doesn’t work in your situation, you will need to remove part of the wall, remove the piping and then slide the tub out.
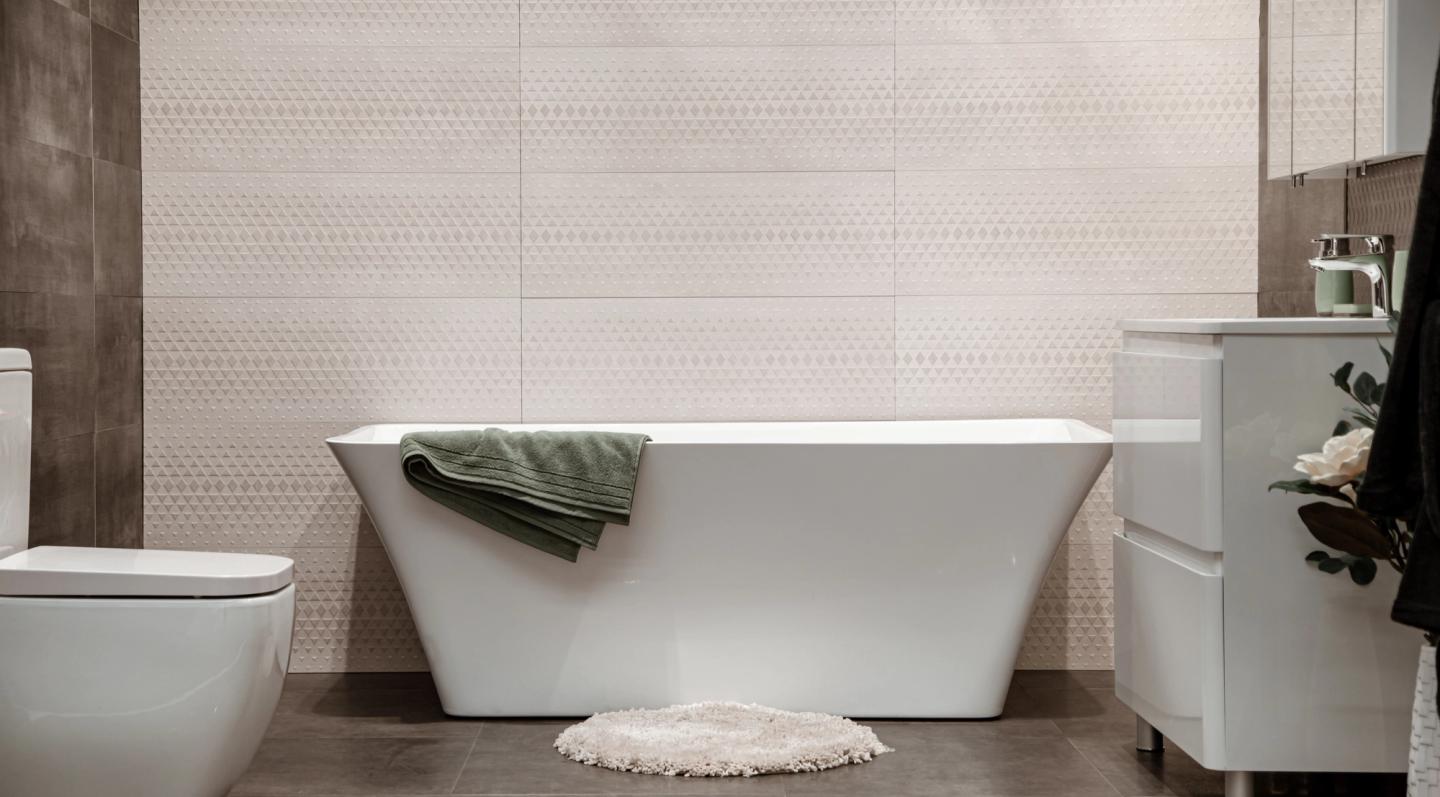
Step 2: Choose the Right Bathtub
The ideal way to replace your bathtub is to find one that has the exact dimensions and has the drain and faucet on the same side as your old one. This way, it will fit in the same place and you won’t have to change the piping system in your bathroom. Choose a tub that matches your home’s decor and fits with the style of the bathroom.
Step 3: Install the Plumbing and Ledger Board
You can purchase a tub drain kit at a hardware store which will have all the pieces you will need for your new tub’s plumbing. Follow the instructions that came with the kit to install the plumbing in the new tub and then take measurements to make sure the plumbing in the tub will align with the plumbing in your bathroom. If it doesn’t, now is the time to make necessary adjustments.
Some bathtubs need a ledger board that is installed on the wall behind the tub to help support it. If your new bathtub requires one, the directions that came with it will tell you how high it should be installed. If your old bathtub had a ledger board, and it is still in good condition, you can adjust its height to match the new bathtub.
Step 4: Install the Bathtub
When the plumbing and ledger board are ready, you can install the new bathtub. Carefully lower it into the space, being careful not to damage the tub, wall, plumbing or ledger board. Since bathtubs are very heavy and you will need to line the tub up exactly, it is wise to have someone help you with this step.
Once the tub is in place, it needs to be perfectly level, so use a bubble level instead of estimating how level the tub is. Put the level on the top edge of the tub, not the bottom on the inside, since many tubs are designed with a sloped bottom.
If the bathtub isn’t level, adjust the ledger board and shift the tub until it is. When it is level, use screws to attach the tub to the wall studs. Most bathtubs have pre-drilled holes in the upper flange, so use these but do not over tighten the screws.
Step 5: Hook up the Plumbing
Now that the bathtub is installed, it needs to be attached to your plumbing system. First, install the shoe fitting under the tub and drain pipe, then the overflow pipe and then the drain flange. Your tub plumbing kit will include specific instructions on how to install these pieces.
Step 6: Install the Bathtub Surround
A bathtub surround will protect the walls around the tub from water damage and can give your new bathtub a more finished look. To install one, make sure the wall is completely clean and dry so that the adhesive will be able to hold the surround securely. Then, measure the surround and mark the same dimensions on the wall above the tub.
Following the directions that came with the surround adhesive, apply it to the wall. Press the surround against the wall on top of the adhesive and then pull it away for about three minutes to activate the adhesive, then apply the surround again. Keep in mind that this is the most common way to use an adhesive, but you should check the instructions on the package for any special steps.
If there is any excessive adhesive around the sides of the surround, you can use mineral spirits to remove it. Then use masking tape to hold the surround panels in place until the adhesive is dry. Using silicone, seal all the cracks between the surround panels and the gap between the bottom of the panels and the top of the bathtub.
If you want to install tile above your bathtub, instead of a bathtub surround, the process will be very similar. But you will need to measure and cut tiles and install each one individually, using tile spacers to make sure they are evenly spaced. You will then use grout to fill in the spaces between the tiles.
Make sure the adhesive and silicone are completely dry before you turn the water on and start using your new bathtub.
Get in touch
If you need any tools or equipment when installing your new bathtub, we have an extensive range for hire or to buy online & instore. Get it touch with our online live chat experts or pop into your local HSS branch to talk to one of our colleagues.


