


⏱ Read time: 8 min | 🌿 Difficulty: Beginner | ⏰ Time: Up to 2 hrs (¼ day) | 👷 1 person
The quick answer
To fix a dripping tap, turn off the water, take the handle off and replace the worn part. Traditional taps usually need a new rubber washer. Quarter-turn and mixer taps usually need a new ceramic cartridge or O-rings. Most tap repairs take under an hour, and the tools cost under £60.
At a glance
- A drip from the spout means a worn washer or ceramic disc cartridge.
- Water around the handle or spout base is usually a tired O-ring.
- Always isolate the water before you start.
- Take the old part with you to buy an exact match.
- A dripping tap can waste up to 5,500 litres a year, according to WaterSafe.
Table of contents
- Why is my tap dripping?
- What tools do you need?
- How do you turn off the water?
- How to fix a dripping tap with a worn washer
- Fixing quarter-turn and dual lever taps
- How do you repair a single lever mixer tap?
- Health and safety
- Hire or buy: what will it cost?
- Project timeline
- Downloadable checklist
- FAQs
A dripping tap is one of those jobs that’s easy to put off, until the noise starts keeping you awake. The good news is you don’t need to call in a plumber. With a few basic tools and the right replacement part, you’ll have it sorted before your cuppa goes cold.
Here at HSS DIY, The Home of Great Projects, we’ve put together this guide on fixing different dripping taps, from old bathroom pillar taps to modern kitchen mixers.
Why is my tap dripping?
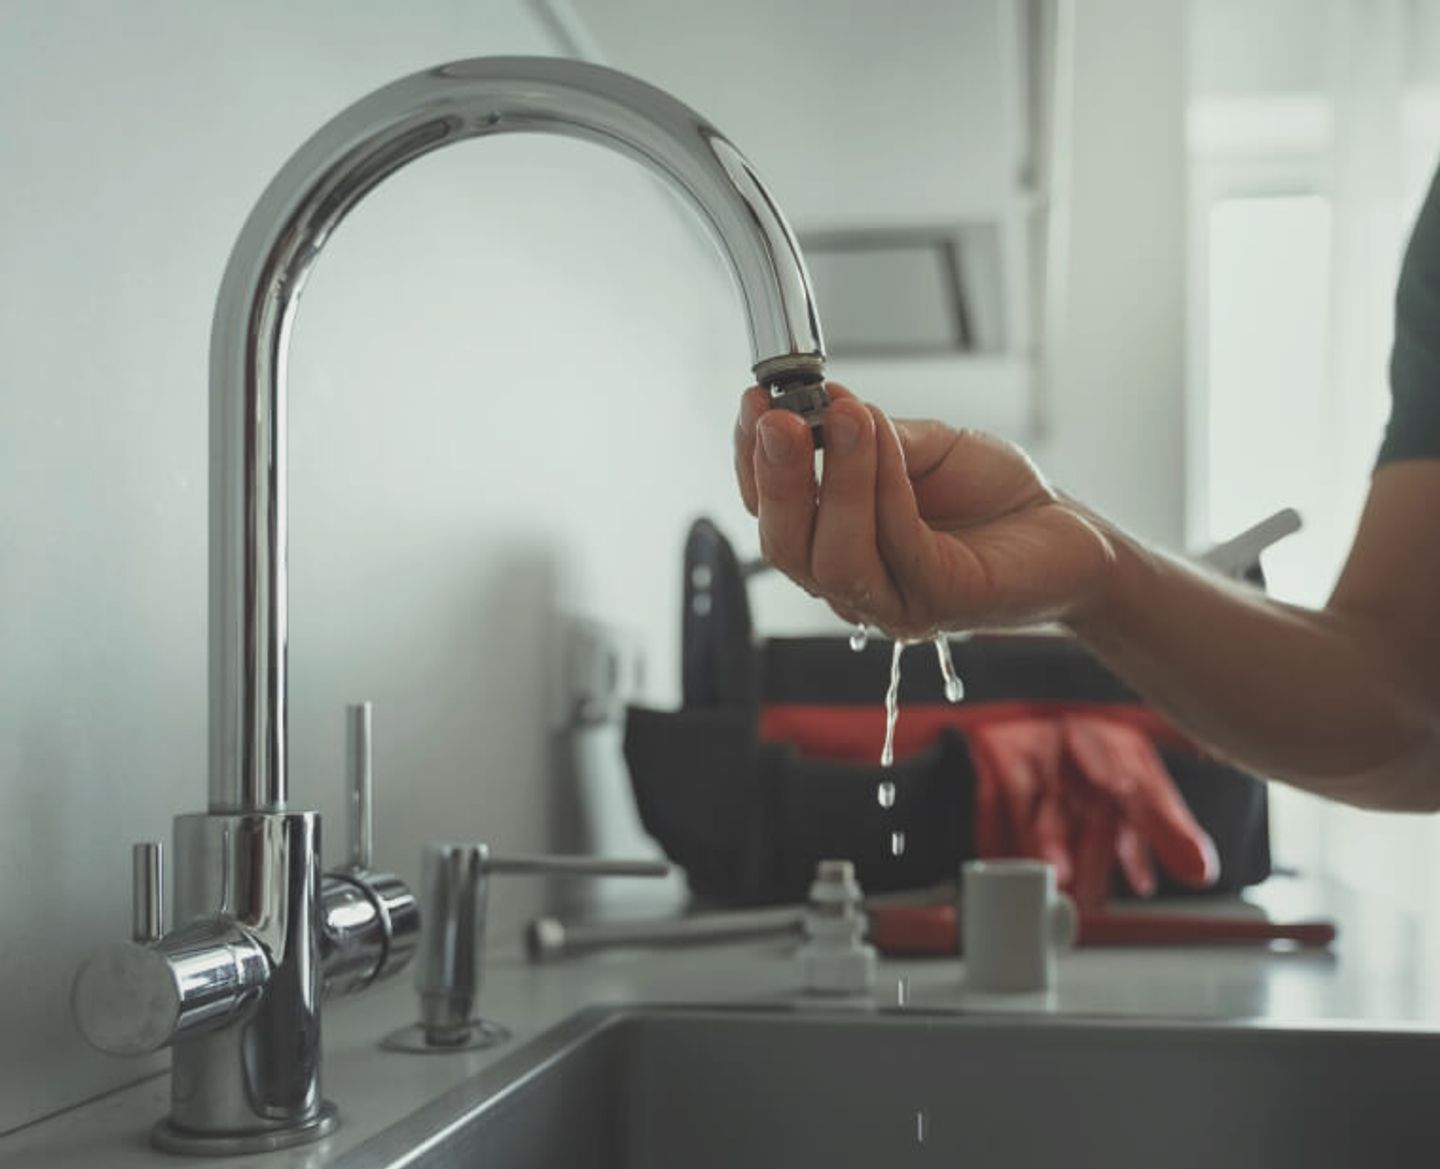
A seal inside the tap has worn out and can't hold back the water pressure. Where the water escapes tells you which seal has given up:
- From the spout: worn washer or cartridge.
- Around the handle: worn spindle O-ring.
- From the base of a swivel spout: worn spout O-rings.
- Under the sink: loose tap connector or perished fibre washer.
Which type of tap do you have?
Count how far the handle turns. Several full turns means a washer tap. A quarter or half turn means a ceramic cartridge. The table below compares the common UK tap types and how tricky each is to fix.
A compression tap squeezes a rubber washer onto a brass seat. A ceramic disc cartridge uses two ceramic discs that slide across each other. They're tough, but limescale and grit can score them.
What tools do you need to fix a dripping tap?
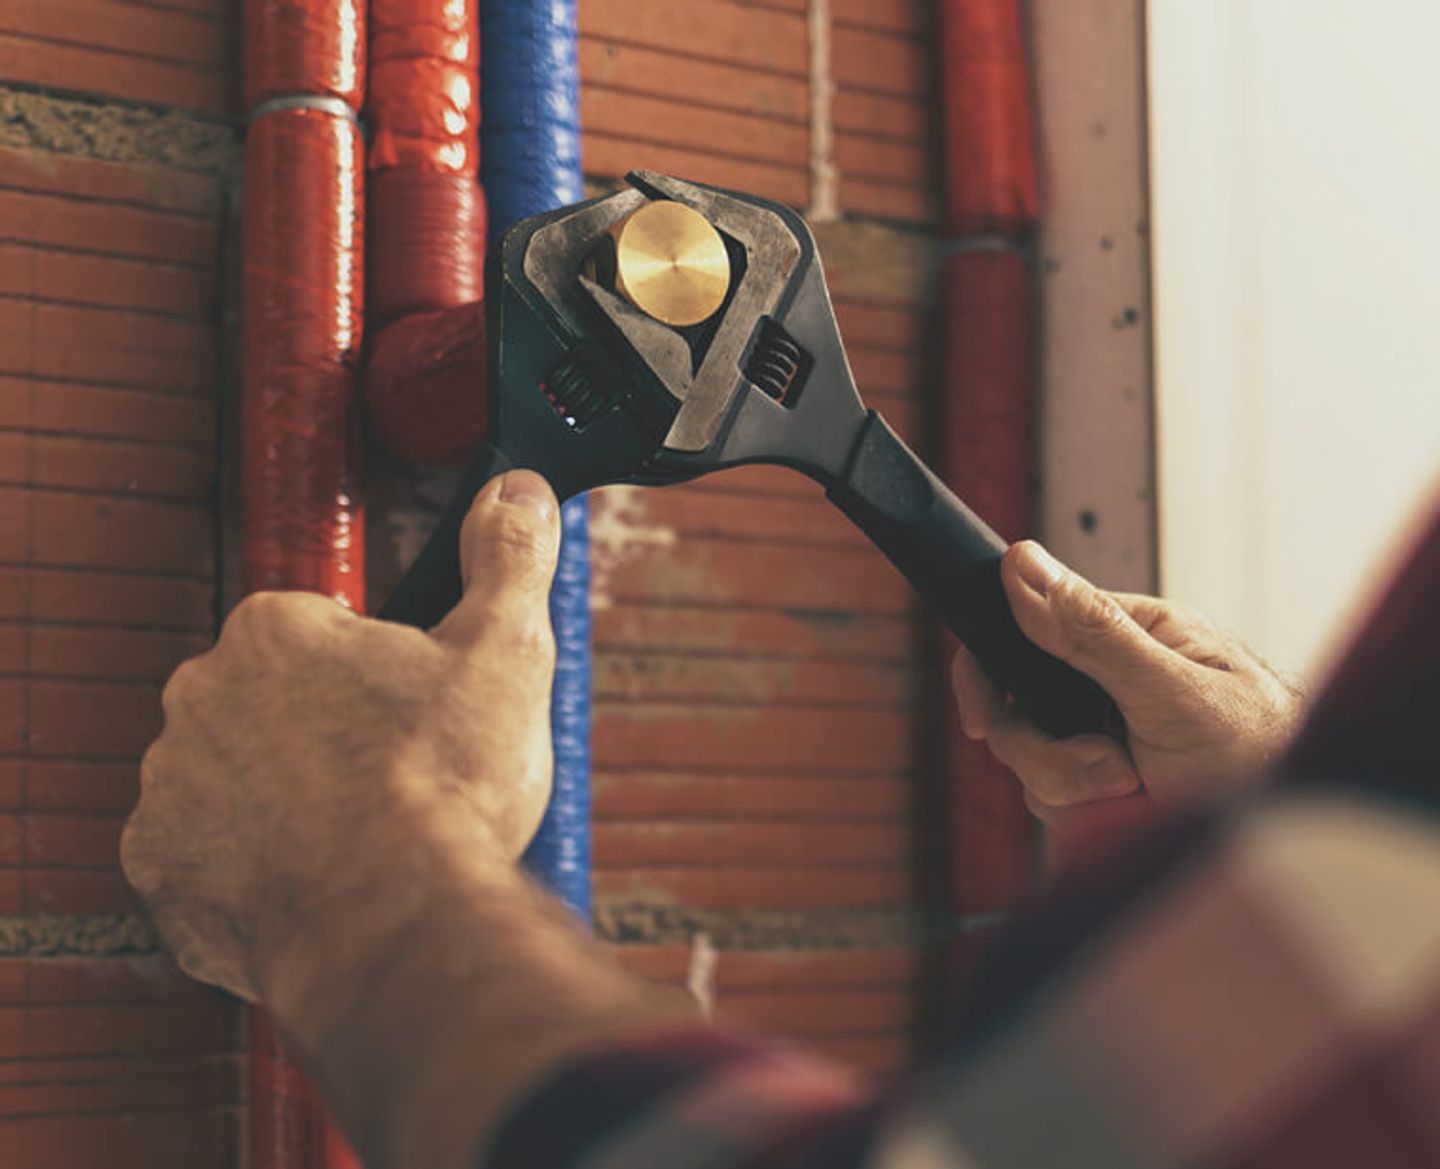
You’ll need a few hand tools to fix a dripping tap and they’re all available from HSS DIY:
- Adjustable Wrench 250mm 10in (£16.80) Use: Undoes the headgear or cartridge nut.
- STANLEY MaxSteel Adjustable Wrench 150mm (£8.30) Use: Holds the tap body steady.
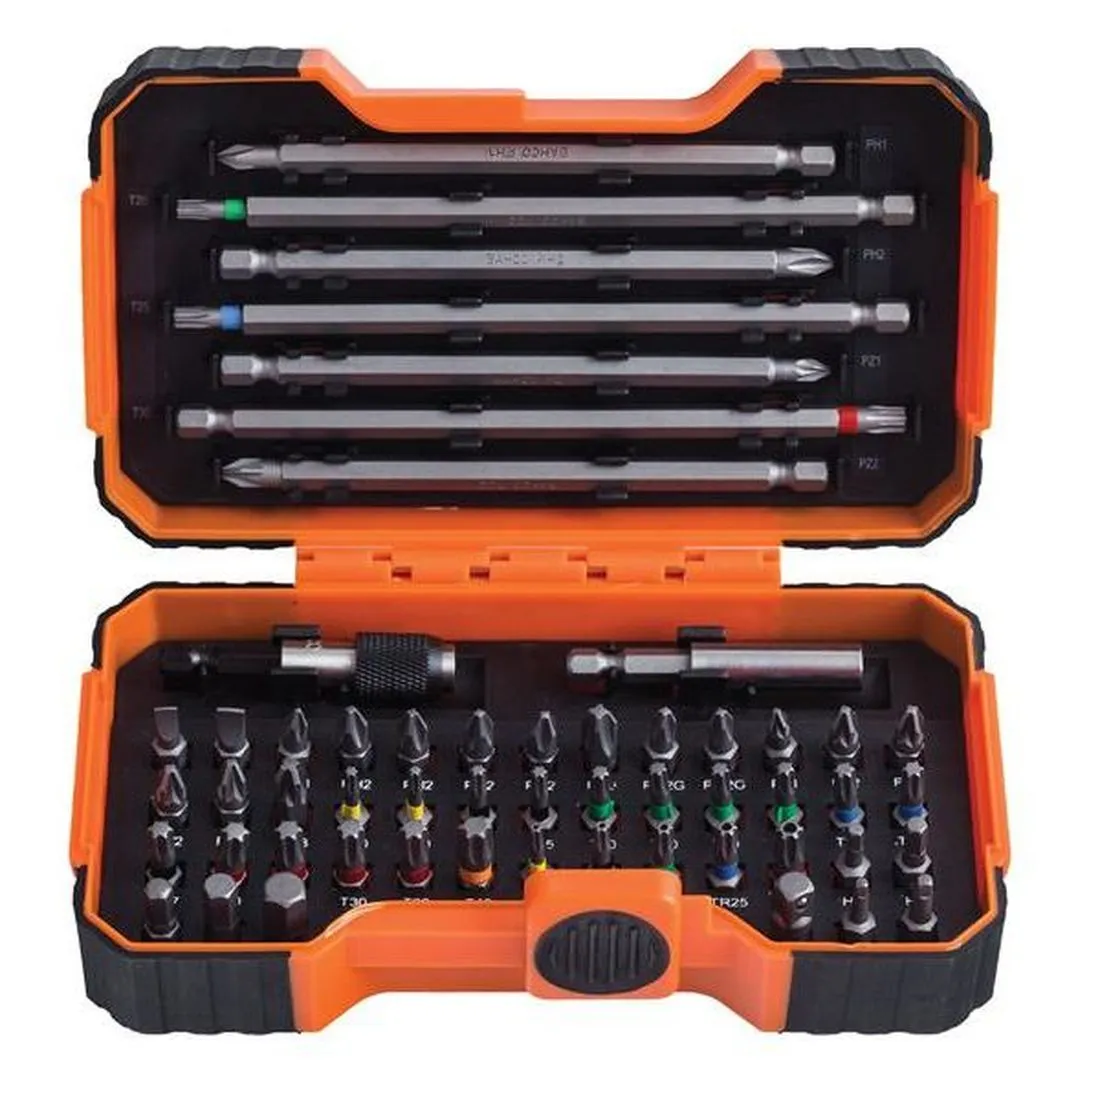
- Bahco 59/S54BC Colour-Coded Bit Set, 54 Piece (£21.00) Use: Handle screws and 3 to 8mm hex grub screws.
- Blackrock Nitrile Palm Super Grip Gloves (£2.16) Use: Grip and hand protection.
- Vitrex Safety Glasses - Clear (£2.90) Use: Stops limescale flakes reaching your eyes.
Alongside your tools, have these to hand before you start:
- Replacement part: a washer, cartridge or set of O-rings that matches your tap.
- Silicone grease: one that’s approved for use with drinking water, for coating O-rings.
- Old towel: to line the sink and soak up any stray water.
- Soft cloth: to wrap around the wrench jaws so they don’t scratch the chrome.
HSS DIY tip: Pop the plug in before you start. Tiny screws love making a dash for the plughole, and fishing them out of the U-bend is nobody’s idea of a good time.
How do you turn off the water before tap repairs?
Close the isolating valve under the tap, or turn your main stop tap clockwise until it stops.
- Isolating valve: turn the slot a quarter turn with a flat screwdriver so it sits across the pipe.
- Stop tap: usually under the kitchen sink, in an airing cupboard or under the stairs. See Thames Water's stop valve guide, and don't force a stiff one.
- Tank-fed hot water: if a loft tank feeds your hot water cylinder, the stop tap won't stop the hot supply. Close the valve on the cylinder's cold feed instead.
Drain the tap by opening it fully until it stops running.
No isolating valves? Fitting a Chrome Isolator Valve 15mm (£3.12) makes future repairs easier, though it's a job for confident DIYers and traders.
How to fix a dripping tap with a worn washer
Replace the rubber washer at the bottom of the headgear. It's one of the most common bathroom tap repairs and takes about 30 minutes.
- Remove the handle. Prise off the cap, undo the screw beneath and lift the handle off.
- Undo the headgear, the large hexagonal nut holding the tap's workings. Steady the tap body with the small wrench and turn the headgear anticlockwise with the large one. Wrap both jaws in a cloth.
- Swap the washer on the base of the headgear. Basin and sink taps usually take 1/2 inch washers, bath taps 3/4 inch.
- Clean the valve seat, the brass ring inside the tap body.
- Reassemble, hand-tight then a gentle nip. Restore the water slowly and check for drips.
Leaking around the handle? Replace the spindle O-rings while the headgear is out.

How do you fix a quarter-turn or dual lever tap?
Replace the whole ceramic cartridge, as the discs can't be repaired. On a dual lever mixer, run hot and cold separately to find the dripping side.
- Remove the handle as above.
- Unscrew the cartridge anticlockwise while holding the tap steady.
- Match the replacement for length, thread and spline count (the teeth that grip the handle). Hot and cold cartridges are often handed, so they turn in opposite directions.
- Fit it hand-tight plus a gentle nip. Overtightening cracks ceramic.
How do you repair a single lever mixer tap?
Replace the single cartridge under the lever. If you've searched how to repair dripping mixer tap problems in a modern kitchen, this is your section.
- Loosen the grub screw, a small headless screw usually under a cap on the lever, and lift the lever off.
- Unscrew the cover and the retaining nut beneath it.
- Lift out the cartridge, noting which way the locating lugs sit.
- Fit an identical cartridge. Common sizes are 35mm and 40mm, so measure first.
- Reassemble and test hot and cold.
Leaking from the base of the spout? The O-rings that seal the spout have worn. Loosen the small screw or collar holding it, lift the spout straight up, fit new O-rings and coat them in tap-safe silicone grease.
Leaking under the sink? To repair kitchen sink tap leaks here, check where the pipe joins the tap. The fibre washer inside the nut may be worn.

Health and safety tips for tap repairs
The job is low risk, but follow these basics:
- Isolate the water. Mains pressure soaks a room in seconds.
- Let hot water cool to avoid scalds.
- Keep water away from sockets and appliances under the sink.
- Wear PPE, such as Blackrock Nitrile Palm Super Grip Gloves and Vitrex Safety Glasses - Clear.
- Use approved parts. WaterSafe advises choosing fittings approved by WRAS or an equivalent scheme.
Is it cheaper to hire or buy the tools?
We would recommend buying your tools. They’ll last for years and are handy for other jobs. Here’s how HSS DIY buy and hire prices compare (inc. VAT, correct at time of writing).
A pipe freezer forms an ice plug in a live pipe so traders can fit valves without draining down. It's overkill for a washer swap.
Project timeline
How long your project takes varies from each job. It could take anywhere from 45 minutes to 2 hours, including prep.
When should you call a plumber?
If you’ve installed the new parts and they don't stop the drip, then it’s time to call the plumber. A pitted valve seat, seized stop tap, corroded tap body or leaking pipework needs a pro. WaterSafe lists approved plumbers. Tap beyond saving? Try our Reginox Monaco 1.0 Bowl Stainless Steel Sink and Tap Pack or our Kitchen Refresh and Bathroom Renovation projects.
Project checklist
If you need some help staying on track with your tap fixing jobs, print off this checklist and keep it close to keep you on track.
☐ Identify the tap type and leak point
☐ Buy the matching washer, cartridge or O-rings
☐ Gather wrenches, bit set, gloves and glasses
☐ Put the plug in and lay a towel down
☐ Isolate the cold and, if needed, hot supply
☐ Drain the tap
☐ Photograph each stage as you dismantle
☐ Replace the worn part and clean the seat
☐ Reassemble without overtightening
☐ Restore the water slowly and check for leaks
☐ Check your stop tap turns freely before winter
FAQs
Can I fix a dripping tap without turning the water off?
No. Taps run at mains pressure, so opening one with the water on will flood the room.
Why is my tap still dripping after changing the washer?
The washer may be the wrong size, or the valve seat may be pitted. Clean the seat and check the fit. Still dripping? Call a plumber.
Can I use Vaseline on tap O-rings?
Best not. Petroleum jelly can degrade rubber seals. Use silicone grease approved for drinking water.
How much does it cost to fix a dripping tap yourself?
Washers cost a few pounds and cartridges a bit more. Our recommended tool kit is £51.16*.
Should I repair or replace a dripping kitchen tap?
Repair it if the body is sound and parts are available. Replace it if it's corroded or parts are discontinued.
*Prices include VAT and were correct in October 2026. Check product pages for the latest prices.
Ready to stop the drip for good?
A dripping tap quietly costs you water, money and sleep. With the right tools, a matching part and an hour of your time, you can fix it yourself and feel suitably smug. Sort it now and your home is ready for winter.
Shop online 24/7 at HSS DIY, with next day delivery on many items. Orders with several items may arrive separately.
Buy the materials. Hire the tools. One order. All in one place.
Get DIY Happy with The Home of Great Projects.
Meet the people behind our Tips & Advice
From quick fixes to bigger DIY projects, get to know the people behind the guides helping you get the job done with confidence.