











































⏱ Read time: 8 min | 🌿 Difficulty: Intermediate | ⏰ Time: 2 days | 👷 Manpower: 2 people
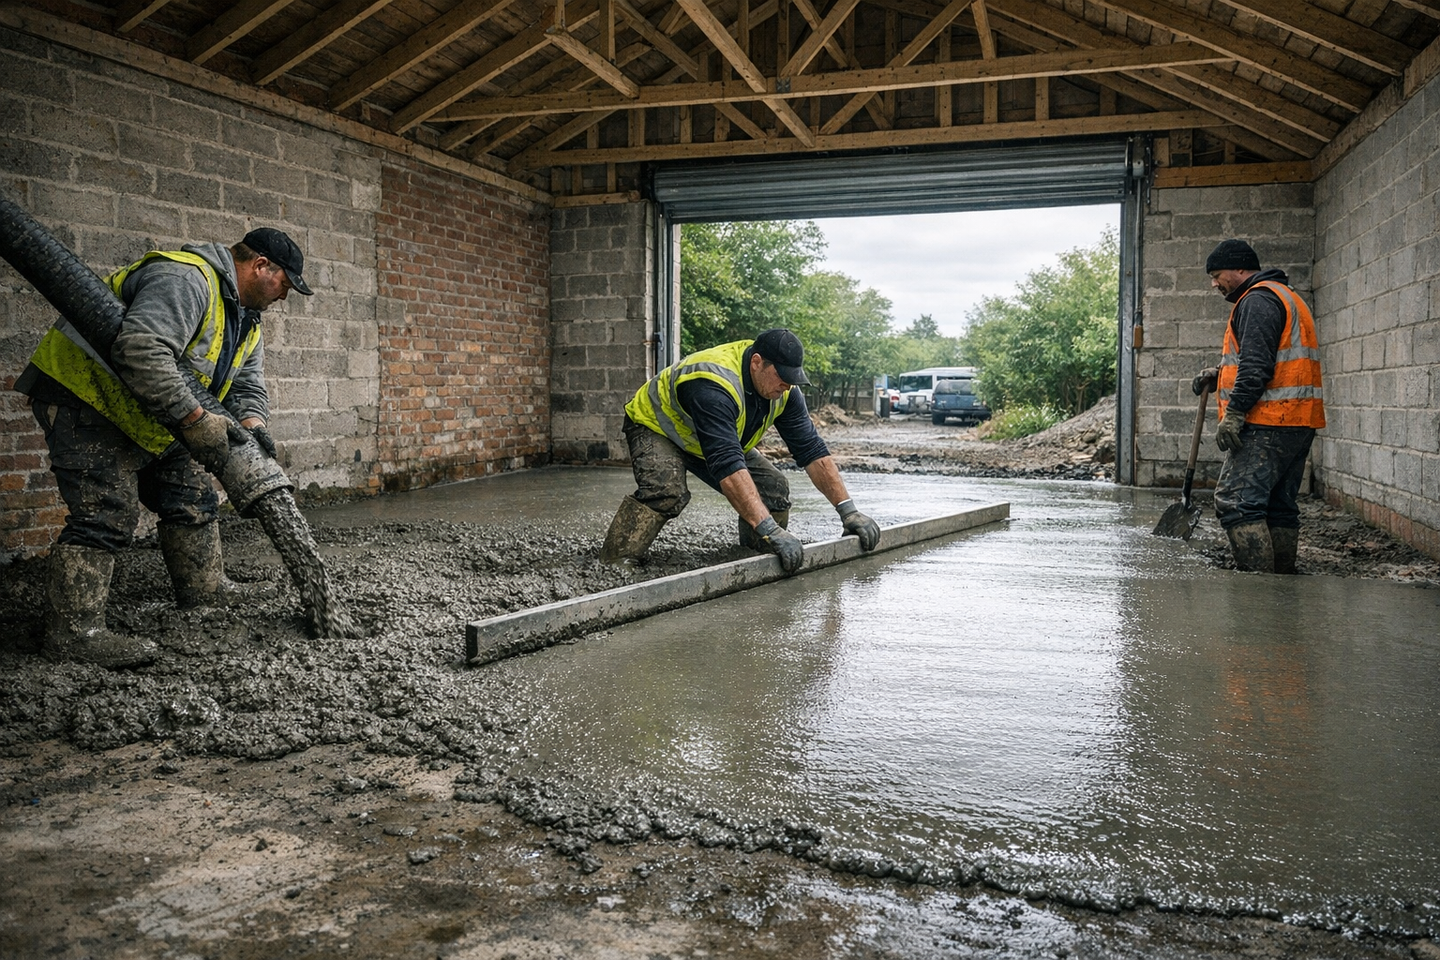
A wobbly shed floor is mildly annoying. A wobbly garage floor is a genuine problem, especially once a car, a workbench or a woodburner ends up sitting on top of it. Pouring a proper concrete floor slab isn't complicated, but it does reward patience and the right kit.
Our full step-by-step guide to getting a garage or outbuilding floor slab right will help you pour and finish concrete right the first time.
Whether you're pouring the base for, the process is broadly the same. What changes is the thickness, the mix strength and whether you need reinforcement mesh underneath. Get those decisions right at the planning stage and the rest of the job goes a lot more smoothly.
What is a concrete floor slab?
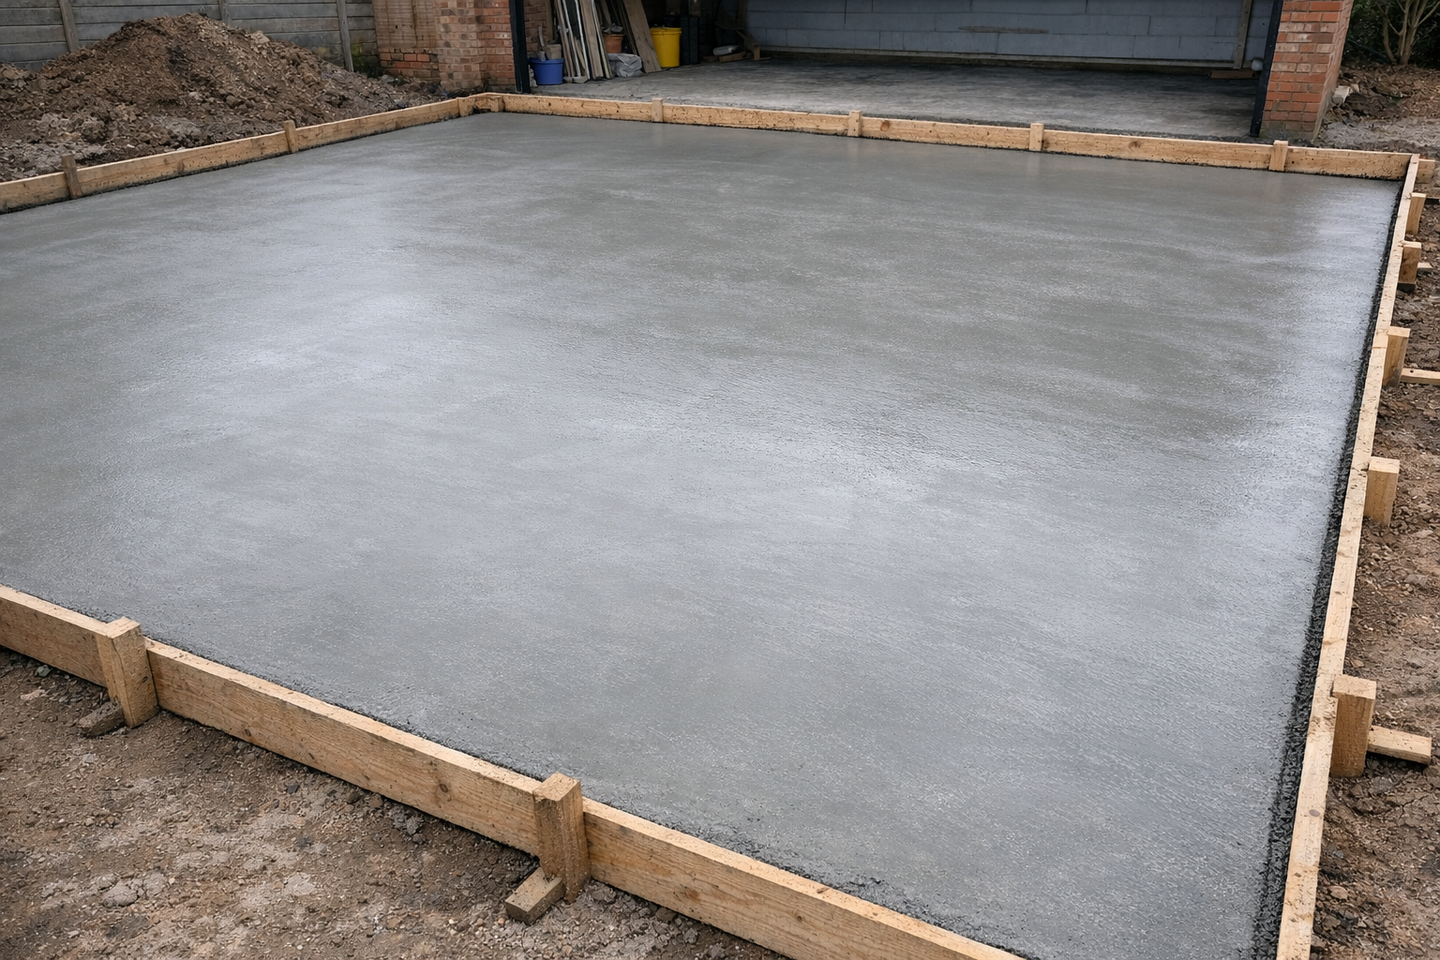
A concrete floor slab is essentially a flat, load-bearing surface poured onto a properly prepared sub-base. Depending on what and where you’re building the floor for, the slab depth and concrete mixes will differ.
For a garage that's going to take a car, we'd recommend a minimum slab depth of 100mm over a well-compacted sub-base, with 150mm being a safer bet if the garage will see regular vehicle traffic. A standard C25 mix (1 part cement, 2 parts sharp sand, 3 parts 20mm aggregate) gives you the strength you need for vehicle loading.
For a garden outbuilding or workshop that's only taking foot traffic and furniture, a C20 mix (1 part cement, 2.5 parts sand, 3.5 parts aggregate) and a slightly thinner slab, around 100mm, is usually adequate. The other big variable is whether you need a damp-proof membrane and insulation underneath, which matters a lot more if you're planning to heat and use the space year-round rather than just storing the mower in it. If you're building the outbuilding itself first, take a look at our guide to building a shed.
Check the basics before you dig
Before a single spade goes into the ground, a few checks will save you a headache further down the line.
- Most garages and outbuildings fall under permitted development and won't need planning permission, but the rules depend on the size, position and height of the structure, so it's worth checking the Planning Portal's guidance on outbuildings before you start.
- If your outbuilding will be used as a habitable space, such as a home office or gym rather than pure storage, building regulations may apply separately from planning permission.
- It's also worth checking for buried services before you excavate. LineSearchBeforeUdig is a free tool that flags underground utilities near your dig site.
- And if your outbuilding sits close to a boundary, it's sometimes a legal requirement, to let your neighbours know work is starting. It’s also the considerate thing to do as well.
What will I need to build a concrete floor?
Here's the full kit list for your concrete floor project. You can either hire or buy tools, materials and equipment with us online.
Step-by-step: how to pour and finish your slab
Step 1: mark out and excavate the area
Mark out the area with pegs and string, allowing extra width all round for your shuttering. Dig out to a depth that allows for your sub-base plus your slab thickness, typically 200-250mm total for a garage floor once you've accounted for both.
Keep the excavation as level as you can at this stage; it saves compaction time later.
If you're pouring against an existing wall, leave a small gap and plan for a flexible joint so the two structures can move independently without cracking the slab.
Step 2: lay and compact the sub-base
Spread 75-150mm of MOT Type 1 hardcore across the excavated area and compact it in layers using a wacker plate, checking levels with a spirit level as you go.
This is the step people are most tempted to rush, and the one that causes the most cracked slabs later on. A poorly compacted sub-base shifts under load, and the concrete above it cracks and settles with it.
Hire a wacker plate from HSS DIY rather than trying to compact hardcore by hand; it's genuinely one of those jobs where the right tool makes all the difference.
Step 3: set up the shuttering and check the fall
Build your formwork from treated timber, staked with pegs at roughly one-metre intervals, and check it's square and level on every side. If the slab sits outside, build in a slight fall, around 1:60 to 1:80, away from any adjoining building so rainwater drains rather than pooling.
For an internal garage floor with no external drainage need, a level floor is fine. Double-check your levels here; it's much easier to fix now than once the concrete is in place.
Step 4: lay the damp-proof membrane (and insulation, if needed)
Roll out a heavy-duty polythene damp-proof membrane across the compacted sub-base, lapping the edges up the inside of the shuttering to form a tray.
This stops ground moisture wicking up into your slab over time. If you're planning to heat the outbuilding, this is also the stage to lay rigid insulation boards before the membrane, which makes a genuine difference to how comfortable, and how cheap to run, the finished space turns out to be.
Step 5: add reinforcement mesh for a garage floor
For a garage floor taking regular vehicle weight, lay a sheet of A142 steel reinforcement mesh over the membrane, supported on small spacer blocks so it sits within the concrete rather than resting on the ground.
This adds tensile strength and reduces the risk of cracking under load. For a lightweight storage outbuilding or garden workshop with no vehicles involved, mesh usually isn't necessary.
Step 6: mix and pour the concrete
This is where you actually pour the concrete slab, so it pays to know how to pour a concrete slab correctly before the mixer starts turning.
Mix to the correct ratio, C25 (1:2:3) for a garage floor or C20 (1:2.5:3.5) for a lighter-duty outbuilding, using a hired concrete mixer. Add water gradually, and resist the temptation to add extra to make the mix easier to shift, since it weakens the finished slab noticeably. Pour in manageable sections rather than all at once, spreading with a rake or shovel to rough level as you go. A wheelbarrow makes moving mixed concrete from the mixer to the shuttering far less back-breaking than carrying it by bucket.
Not sure which mixer to choose? Our guide to concrete mixers covers everything you need to know.
Step 7: compact, screed and float the surface
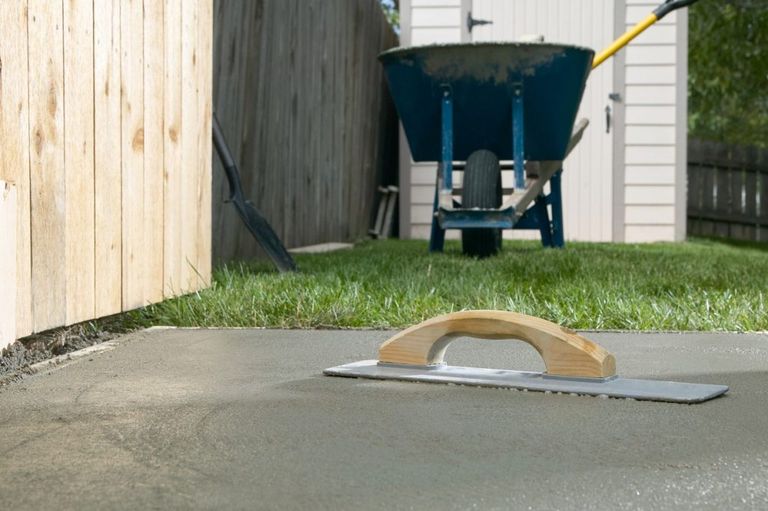
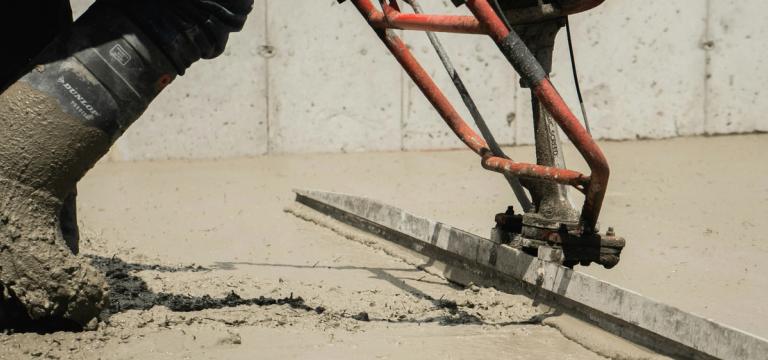
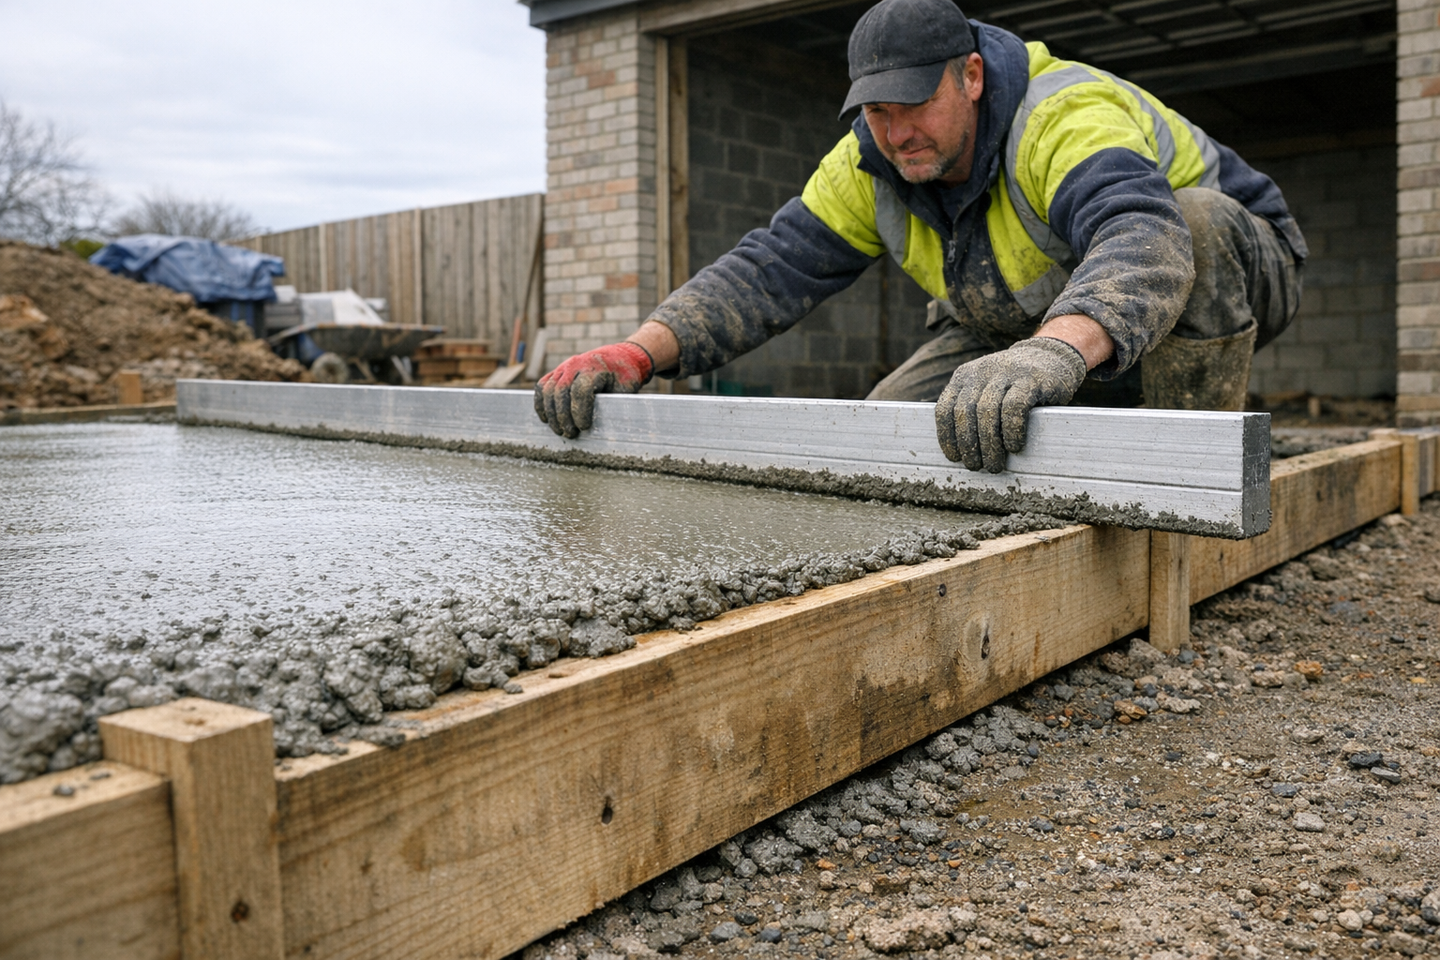
On slabs over 100mm deep, work a poker vibrator through the concrete to remove trapped air, which otherwise weakens the finished slab and can show up as honeycombing once it's cured. Drag a straight timber screed board or tamping beam across the top of your shuttering to level the surface, then follow with an easy float once the concrete has started to firm up slightly.
This is the concrete finishing stage that brings the finer material to the surface and closes it up. Our guide to finishing concrete like a pro goes into more detail on power floats if you want a really smooth, sealed finish for a workshop floor.
Step 8: cure the slab properly
Cover the finished slab with polythene sheeting or damp hessian to slow down moisture loss as it cures.
Leave it 24 to 48 hours before walking on it, and at least a week before driving a car onto it. Full strength develops over 28 days, so treat the slab gently for the first month even once it looks and feels solid.
Case study: a garden workshop floor done right
One HSS DIY customer got in touch about pouring the floor for a 9m² timber-framed garden workshop, doubling as a home office, at the bottom of their garden.
Because the building was going to be insulated and heated rather than used to store a car, the plan was a 100mm C20 slab over 100mm of compacted MOT Type 1, with rigid insulation and a damp-proof membrane underneath, and no reinforcement mesh required.
They hired a 110v electric mixer hire pack and a light wacker plate from HSS DIY for a single weekend, working alone on the sub-base on the Saturday and pouring on the Sunday with a friend helping to spread and tamp. Rather than power floating, they finished with a hand float and a light brush texture, since a mirror-smooth finish wasn't the priority for a workshop floor.
The whole job, sub-base to finished slab, took two days including curing time before the flooring went down on top.
Total hire cost across the weekend came to around £70, with materials (cement, MOT Type 1, sand, insulation and membrane) adding roughly £180.
Health and safety tips for pouring concrete
Concrete looks harmless enough in the bag, but wet concrete is genuinely hazardous to work with, so it's worth taking a few sensible precautions.
- Wet concrete is alkaline and can cause skin burns with prolonged contact. Wear rubber or nitrile gloves throughout mixing, pouring and finishing.
- Cement dust irritates eyes and lungs. Wear safety glasses or goggles and a dust mask when handling bags of cement.
- Wear steel toe-cap safety footwear. Full wheelbarrows and mixer drums are heavy, and dropped loads are a common cause of foot injuries.
- If you're using a petrol mixer or wacker plate, always run it outdoors. Never use petrol-powered equipment inside a garage, shed or other enclosed space, because of the carbon monoxide risk.
- Vibrating tools like wacker plates and poker vibrators carry a hand-arm vibration (HAVS) risk with prolonged use. Take regular breaks, and stop if your hands start tingling or going numb.
Full guidance on cement and concrete hazards is available from the HSE's COSHH guidance. Gloves, goggles, boots and dust masks are all available to buy alongside your hire booking at HSS DIY.
Hire or buy? The cost comparison
A quick guide to what's worth hiring and what you’re better off buying outright for a one-off garage or outbuilding floor.
What HSS DIY customers say
⭐⭐⭐⭐⭐ “Easy to use and very effective.” - Ravi’s review on our light vibrating wacker plate”.
⭐⭐⭐⭐⭐ “Good quality tool supplied with easy and efficient ordering and delivery”. Samuel’s review on the concrete mixer 110v hire pack.
You can read more verified customer reviews on Trustpilot.
Project checklist
If you need help keeping on track with your concreting job, print off this checklist, save it to your phone and tick each box off as you go.
Before you pour
☐ Checked planning permission and building regulations requirements
☐ Checked for buried services with LineSearchBeforeUdig
☐ Marked out and excavated to the correct depth
☐ Ordered your mixer, wacker plate and any other hire equipment
☐ Bought your materials: cement, sand, aggregate, membrane, mesh (if needed), timber
During the pour
☐ Sub-base compacted in layers and checked level
☐ Shuttering square, level and secure
☐ Damp-proof membrane laid and lapped up the formwork
☐ Reinforcement mesh in place (garage floors only)
☐ Concrete mixed to the correct ratio and poured in sections
☐ Poker vibrator used on any pour over 100mm deep
☐ Surface screeded and floated before the mix stiffens
After the pour
☐ Slab covered with polythene or damp hessian to cure
☐ Left at least 24-48 hours before foot traffic
☐ Left at least a week before vehicle traffic (garage floors)
☐ Equipment cleaned and returned to HSS DIY
Frequently asked questions
How thick should a concrete floor slab be for a garage?
For a garage taking regular vehicle weight, aim for a minimum of 100mm, with 150mm being a safer choice if you want the slab to comfortably handle a car for years to come. A lightweight storage outbuilding with no vehicle traffic can usually get away with a 75-100mm slab.
What concrete mix ratio should I use for a garage or outbuilding floor?
A C25 mix (1 part cement, 2 parts sharp sand, 3 parts 20mm aggregate) is the standard choice for a garage floor. For a lighter-duty outbuilding with foot traffic only, a C20 mix (1:2.5:3.5) is usually sufficient.
Do I need planning permission to pour a concrete base for an outbuilding?
Often not, since most garages and outbuildings fall under permitted development. It depends on the size, height and position of the structure, so it's worth checking the Planning Portal's guidance before you start, particularly if your outbuilding is close to a boundary or in a conservation area.
Do I need a damp-proof membrane under a garage floor?
Yes, in almost all cases. A DPM stops ground moisture rising into the slab, which matters even more if you're planning to insulate the space or use it as a workshop or home office.
How long before I can drive a car onto a new concrete garage floor?
As a general guide, leave it at least a week before regular vehicle traffic, and ideally longer in cold or wet weather. Concrete continues to gain strength for 28 days, so treat it carefully during that first month.
Is it cheaper to hire or buy concreting equipment for a one-off garage floor?
For a one-off pour, hiring almost always works out cheaper. A concrete mixer, wacker plate and poker vibrator can all be hired from HSS DIY for the day or weekend you need them, without the upfront cost or storage headache of buying equipment you might use once.
Ready to pour? Get everything in one order
Pouring and finishing a concrete floor slab for a garage or outbuilding isn't a job to rush, but it's well within reach for a confident DIYer with a weekend, a helper, and the right equipment. Get the ground prep right, respect the curing times, and the slab underneath your garage or workshop should outlast the building on top of it.
Once the slab has cured, take a look at our ideas for turning your garage into your headquarters.
Pouring a concrete shed base? We also have a step-by-step guide to laying a concrete shed base too.
As the home of DIY projects, HSS DIY has everything you need to hire and buy online 24/7, with next day delivery and project bundles that take the guesswork out of what to order. Place it all in one order and, if it includes several items, they may arrive as separate deliveries depending on stock and location, but you'll only have to check out once.
Buy the materials. Hire the tools. One order. All in one place.
Get DIY Happy.