


Over the years, you may find yourself having to fit a skirting board or two in your home. Whether you’re replacing an old one or fitting a new one into a renovated room, there are a few ways to fit skirting boards but in this guide, we’re going to look at how you can fix them to the wall using screws.
Let's Get Started
For fitting a skirting board, you’re going to need a lot of tools but don't get overwhelmed by the list! Everything is needed and has a purpose so make sure to check you have the tools listed below prior to starting, and if not, head on over to HSS.com where you can buy or hire whatever you need.
Tools Needed
- Safety goggles
- Gloves
- Knee pads
- Dust mask
- Pipe and cable locator
- Cordless saw
- Power drill – with a wood drill bit, countersink drill bit and masonry drill bit.
- Masonry nails
- Zinc screws
- Lost head nails
- Panel pins
- Sharp chisel
- Fine sandpaper
- Tape measure
- Pencil
- Gap filling adhesive
- Sealant gun
- PVA glue
- Masking tape
- Wood filler
- Decorators caulk
- Filling knife
- Paint brush
- Damp cloth
- Workbench
- Wall plugs
- Skirting board
Step by Step Guide to Fitting a Skirting Board
1. Safety First
Before you start working, make sure you put all your safety gear is on. It's important to keep your eyes, nose and hands protected as cutting & fitting skirting boards creates a lot of dust and you'll be working with different tools.
2. Internal or External Corners
The first step in fitting a skirting board is to understand how to join it in the corners. The joints will either be internal or external. Internal corners face inwards whilst external face outwards. With external corners, a mitre joint allows the shape of the skirting to continue around the corner so you may need a mitre box and saw to do this.
3. Mark and Cut the Skirting Board
The next step is to mark the corner positions on the back of the skirting board, making sure to note the direction of the cut required. Then position the skirting so that you are always sawing into the front face, for a smoother cut. Holding the board firmly in place, make the cut – if you’re sawing a long piece make sure to use a temporary support at the other end so it is level.
4. Check the Joint
When you’ve cut the first board, give the corner a sand down so it is smooth and check the joint fits right with no gaps. If there is a gap you can fill it by using a chisel to shave off a small amount of skirting to close the gap up.
5. Scribed Joints for Internal Corners
For internal corners, you’ll need to cut a scribed joint. This means one part of the board is cut to be square whereas the other is shaped to the profile (decorative part) of the skirting board. These pieces then simply push together. Be very careful when cutting the profiled end – you can use a jigsaw for this.
Make sure to set out your scribed joints so that you don’t have to make a profiled cut on both ends of a single piece of skirting and always cut the profiled end first as this makes the process easier.
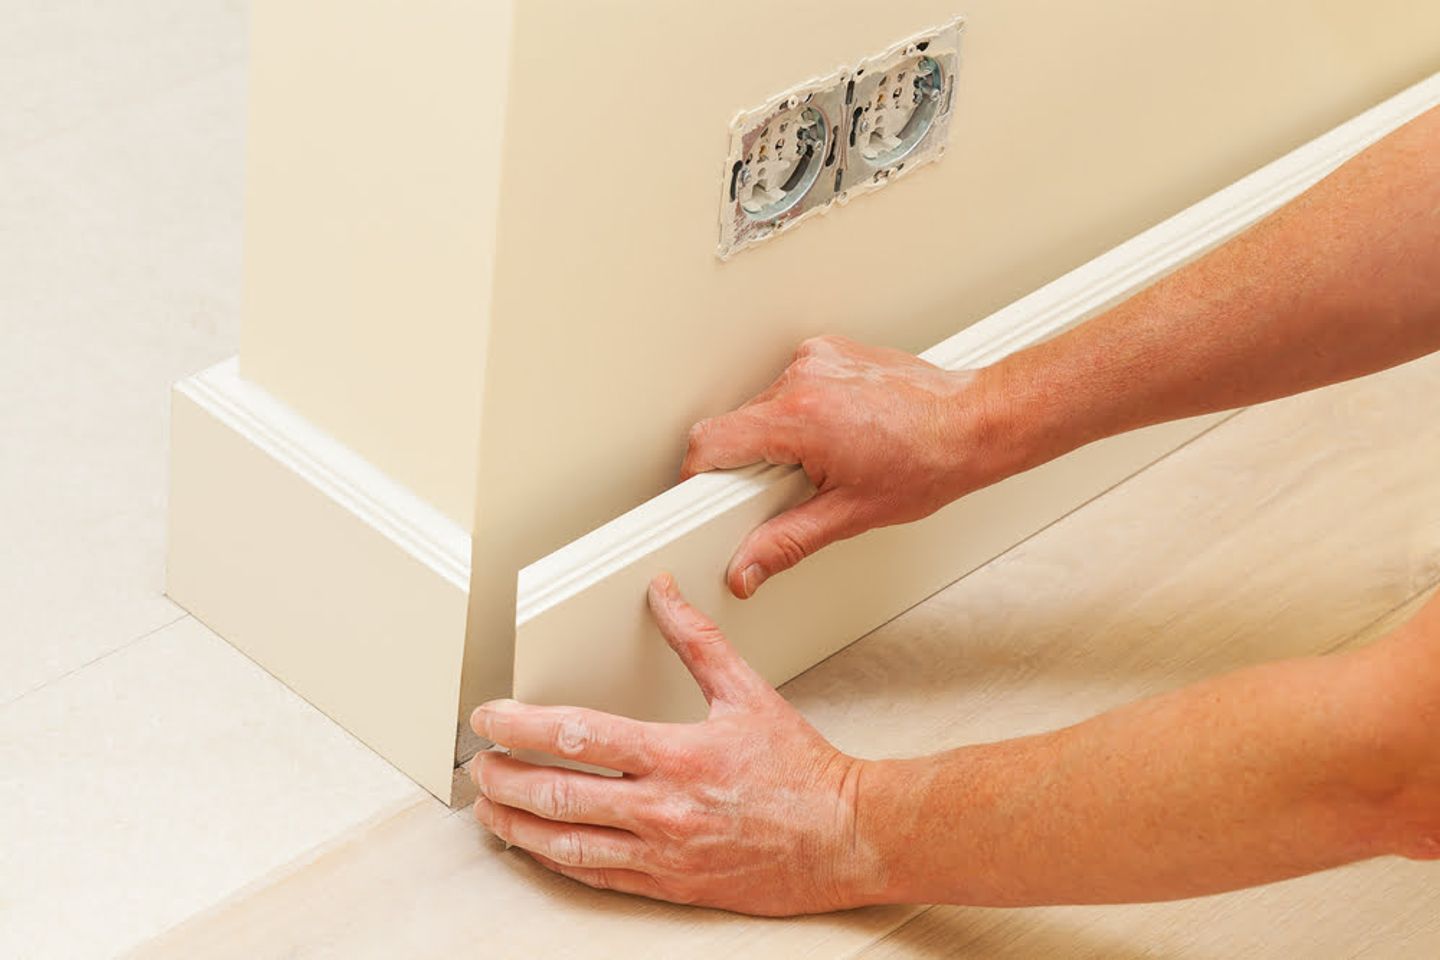
6. Fixing Skirting to a Wall
You should use masonry screws or nails and wall plugs when fitting skirting to a masonry wall. If you’re attaching it to a timber stud partition wall, use a stud detector and the lost head nails. If you live in a new build home, there may be metal stud partition walls in which case use screws. Use an infill board to fill any cavities.
7. Using Adhesive
Alternatively, you can use a gap filling grab adhesive to fix your skirting to the wall. In this case, apply the adhesive to the back of the skirting in regularly space intervals and simply fix the board into place by placing the bottom edge to the floor, just before the fixing position and push this to the wall. If your wall has a bow in it you may need additional fixings, such as screws to make it flush.
8. Add the Screws
You will need to use a pipe and cable detector when using screws and if you detect either you should adjust your screw placement accordingly. Mark up the skirting board so that fixing points are around 2cm below the slope of the skirting – at around 60cm intervals. Then, mark the wall (behind where the skirting will go). When you’re happy with the location, drill a hole into the skirting using a wood drill bit.
Then, to ensure the screw sits below the surface, you should use a countersink bit to create a countersink for each fixing hole. Then make your marks through the holes on to the wall and drill them to the length of the wall plugs. Next, insert the wall plugs, making sure they are flush (level) and then screw the skirting onto the wall.
9. Finishing the Skirting
Make sure to fill any holes with filler, to match the boards and use decorative caulk to seal the gap between the board and the wall it sits on.


