


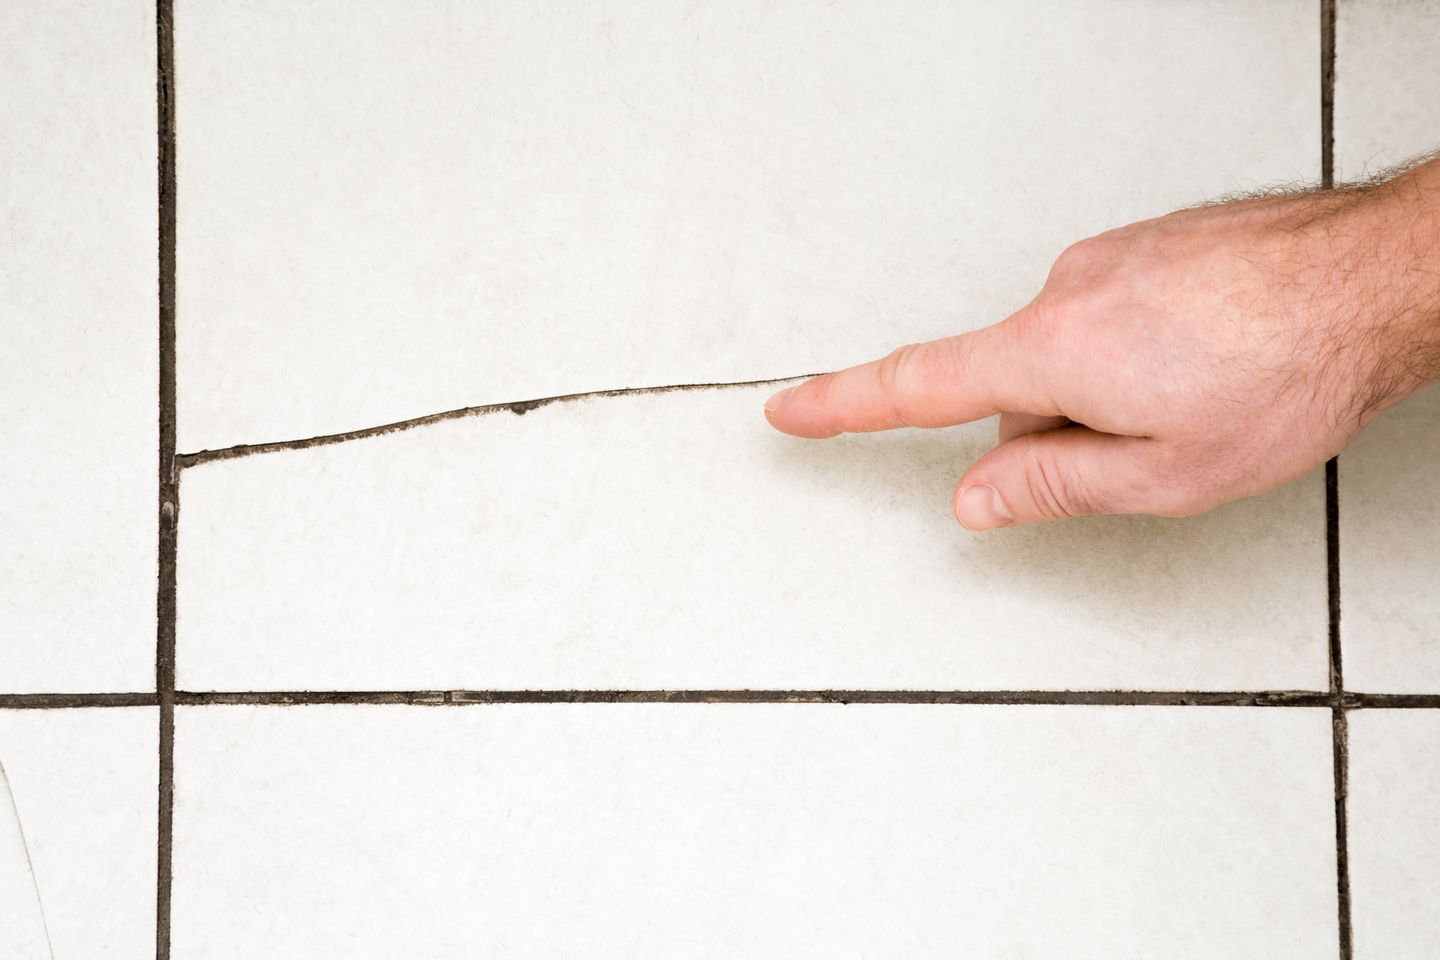
Old floor tiles have an air of permanence about them. When they were laid, they were laid to last using powerful adhesives. Nobody thought about making them easy to lift in a few years’ time.
Does that mean removing a tiled floor is too difficult or more trouble than it’s worth? Would you be better off admitting defeat and just laying a new floor on top of the old one? Absolutely not.
If a job’s worth doing…
We believe every job is worth doing properly without compromises or shortcuts, and that includes removing floor tiles. Our mission is to provide the equipment and advice you need to get it done with a minimum of fuss.
So here’s our guide to taking up a tiled floor the easy way. Starting with the most important aspect of any task: thorough preparation.
Get the right tools
One of the most popular pieces of equipment you can hire from any HSS branch is the ultra-powerful Hilti floor tile remover — a specialist breaking tool made to make short work of any tiled floor.
Other equipment you should have handy for this project includes:
• Crowbar
• Big bucket, box or wheelbarrow (depending on the number of tiles being removed)
• Broom
• Plastic sheeting and dust sheets
• Cardboard or old sheets and towels
Wear the right protection
If you’ve ever been hit by a flying shard of ceramic tile, you won’t forget about it. They can be as sharp as glass and are just as likely to cause serious injury. That’s why wearing the right protective clothing before starting to dismantle a tiled floor isn’t just advisable. It’s essential. You’ll also be creating a lot of dust and noise while you work. With all that in mind, here’s what all the smartest, safest floor tile removers are wearing:
Clear and isolate the working area
The first step is to remove anything that might be in the way or could be damaged from your working area, especially freestanding furniture. Ideally, this will include skirting boards, doors and their frames, mouldings and trim. Work carefully to avoid damaging items you’ll want back in place afterwards.
Anything that can’t be moved should be protected with plastic sheeting and plenty of masking tape. This includes sinks, plus baths, toilets and showers if you’re working in a bathroom. Cardboard or old sheets and towels can be excellent extra protection.
Finally, cover open doorways with taped-up plastic sheeting to stop the dust from spreading through the house. There will be dust.
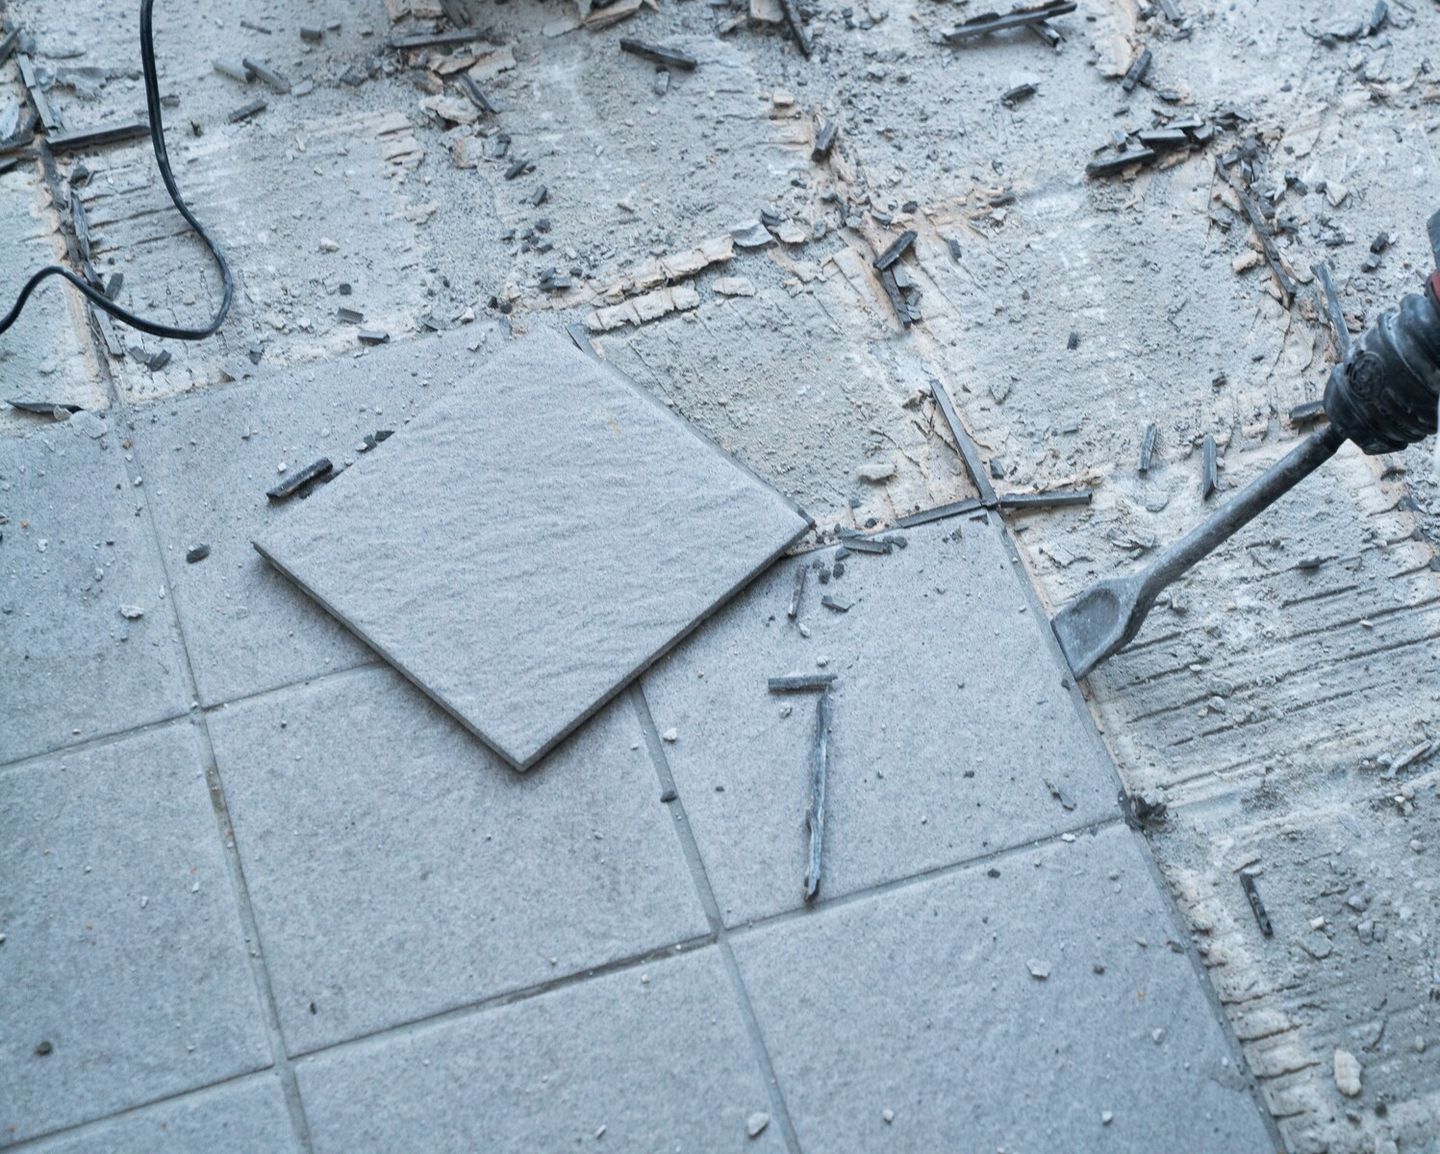
Find the weak point and get to work
A tiled floor is a tough seamless surface that’s hard to break into. Any weak point is your starting point for getting a chisel, crowbar or floor-tile remover into the floor, so find a crack in a tile or a stretch of missing grout. Alternatively, you can just create the entry points you need by breaking up part of the floor with some well-aimed hammer work.
If you are using a sledgehammer, wield it with precision. Violent smashing may feel satisfying, but it risks damaging the tile underlayment, and that will make the job much harder in the long run. Aim for the grout joints hit firmly but with control, and be sure you’re wearing all your protective gear in case of flying fragments.
Now you’re in business
With the first tile out of the way, you have access to the surrounding tiles. Position your chisel behind the one you’re working on, tap the chisel with the hammer to get it under the tile, and then slide the chisel forward to prise the tile out.
Now use the chisel, floor scraper, crowbar or spade to move the other tiles. You may end up trying different methods to find the one that works for you. And repeat until all the tiles are gone.
Remove the old adhesive
It’s vital to remove as much adhesive as you can from the newly de-tiled floor. If you’re lucky, the adhesive will be soft and easy to peel away, but it may be so rock-hard it can only be chipped off.
For this reason, you may need to try different approaches to find the most effective tile adhesive remover for this particular job. Often a combination of hammer and chisel, floor scraper and/or spade is needed. A sanding block may also be called into action.
The essential clean-up to finish
Any trace of the old floor left behind will be a potential problem when you come to install the new floor, and you’re sure to have created a lot of dust and detritus. That’s why clearing up carefully and vacuuming the whole underfloor area is essential.
Ready for more tips and ideas?
You’re reading the HSS blog at the moment, and there’s plenty more inspiration and know-how where this came from. Whatever job you have in mind in or around your home and garden, keep checking back here for a constantly updated source of DIY advice. You’ll find all the tools and equipment you need here too, all ready to hire at affordable prices. Why not start planning your next project by locating your nearest HSS branch?


