



































⏱ Read time: 8 min | 🌿 Difficulty: Beginner | ⏰ Time: Half a day (4 hrs) | 👷 1 person
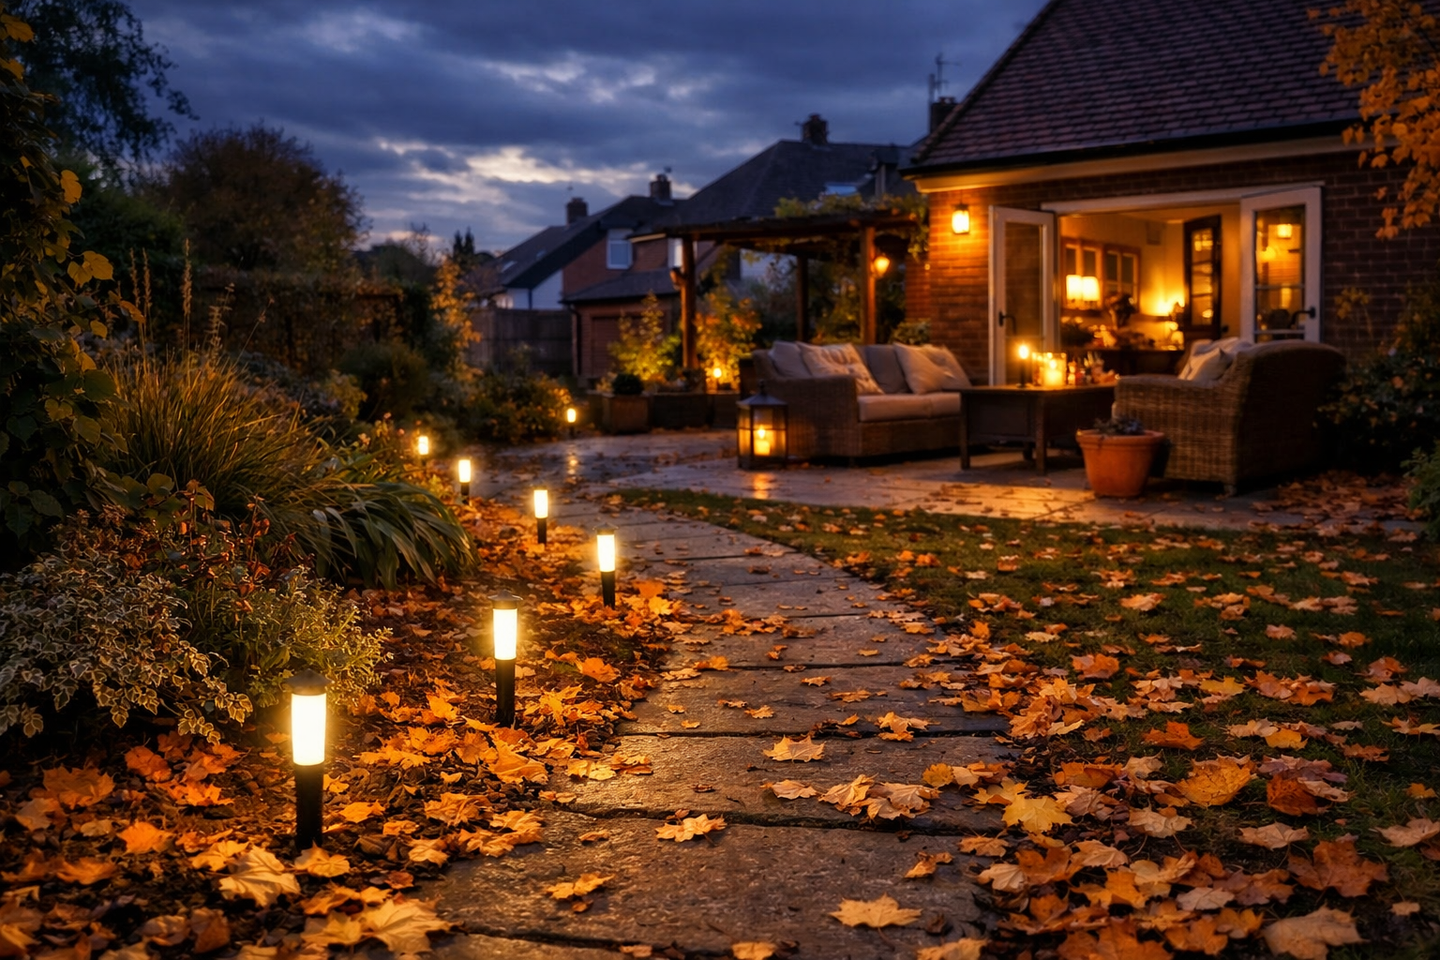
The clocks go back at the end of October and the garden will be pitch black by half four. Most of us write off any garden time until March. But we’re here to tell you , you don’t have to. A handful of well placed outdoor garden lights turns a dark patch of lawn back into somewhere you actually walk, sit and use.
Here is how to do it properly with HSS DIY.
Why is autumn the right time to add outdoor lighting?
By mid December the sun sets before 4pm across most of the UK, earlier still in Scotland, so autumn is the perfect time to add outdoor lighting Soil is also soft enough to dig in October, and a trench in frozen ground is miserable work. Check the clock change date and work backwards.
There is a safety angle too. Wet leaves on a dark path, bins dragged out at 6pm, a step you know is there right up until you forget.
Already know what you want and just need fixture ideas? Our guide to outdoor lighting covers types and styles. This one is about getting them installed and winter proofed.
What can I fit myself, and what needs an electrician?
This is the bit that trips people up. Plugging in is fine. New wiring outdoors is not a DIY job.
New outdoor circuits and sockets are notifiable under Approved Document P in England and Wales, and Scotland and Northern Ireland have their own equivalents. A registered electrician self certifies the work and hands you a certificate, saving you a Building Control notification. NICEIC has a plain English rundown.
What kit do I need?
How do I add outdoor lighting, step by step?
Step 1: walk the garden in the dark first
Take a torch out at 6pm and note where you stumble. Steps, the bin route, the turn in the path. Light those before the pretty shrub.
Step 2: split the garden into zones
Three is plenty: a route zone for paths and steps, a task zone for the back door, a mood zone for seating. Each wants different brightness and switching.
Step 3: choose warm white, and go dimmer than you think
Stick to 2700K to 3000K. Cool white looks like a car park in a British drizzle. Path lights need 50 to 100 lumens each, wall lights 150 to 200. Overlighting is the usual mistake.
Step 4: check your power source and RCD
Confirm the outdoor socket is weatherproof and RCD protected. If not, or there is none, that is your electrician call.
Step 5: plan the cable route and scan it
Run cable along edges rather than across open lawn, so future digging is predictable. Scan the route first. Old gardens hide pipes, cables and the odd surprise.
Step 6: lift the turf and dig the run
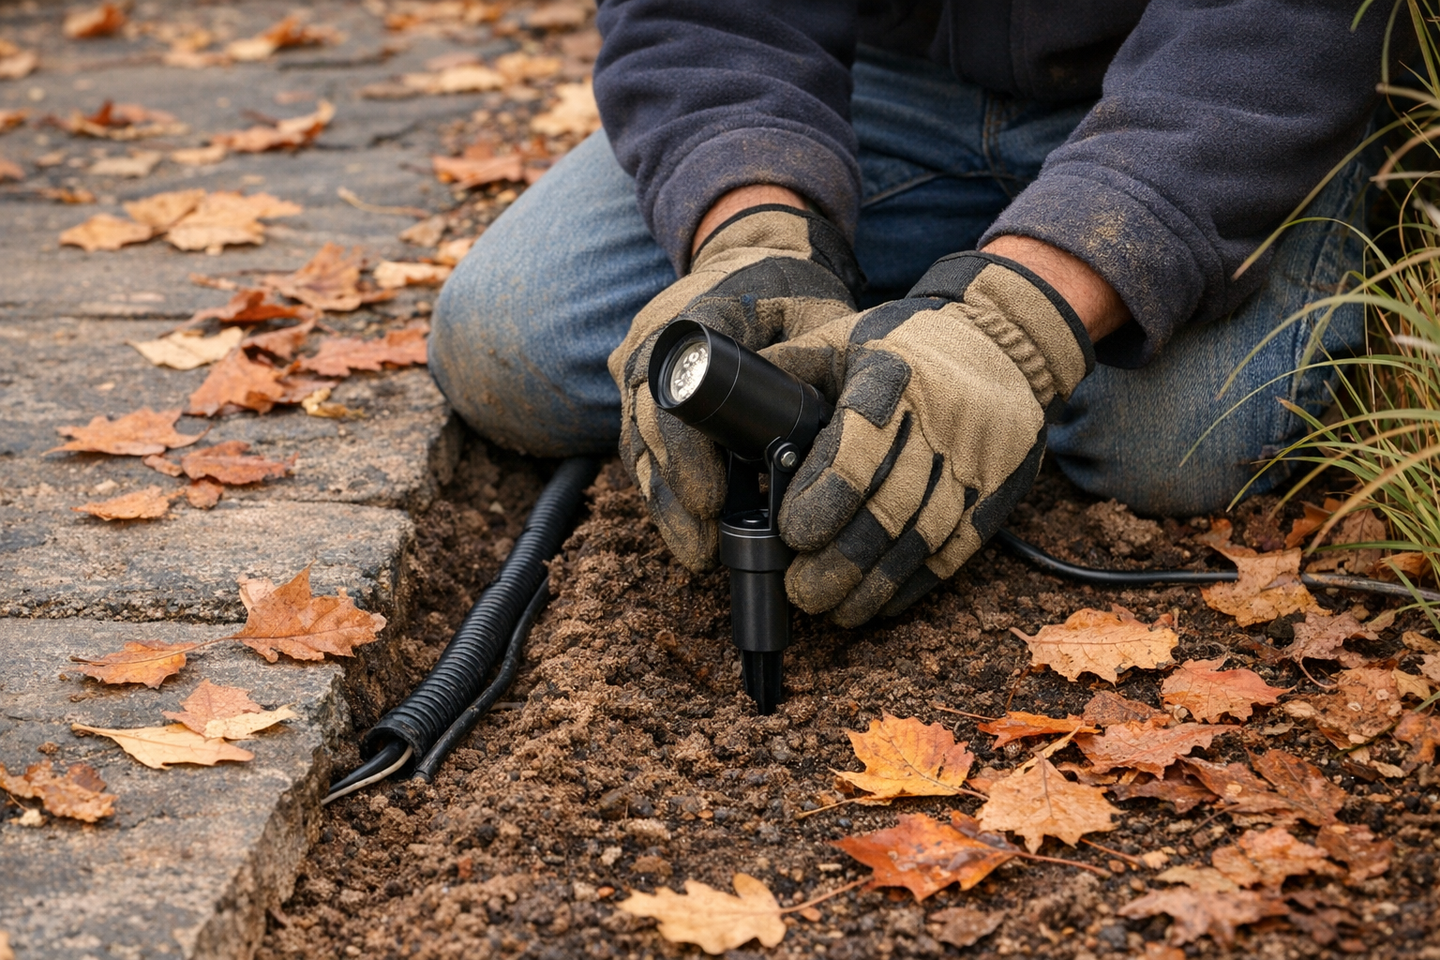
A spade does a short run, but a turf cutter lifts strips you can lay straight back. Keep turf damp while it is up. A long run wants a micro digger.
Step 7: lay the cable at the right depth
Depth differs by voltage, see the table below. Sleeve the cable in conduit either way, backfill in layers, firm down, relay the turf.
Step 8: fit the lights, aim them, then set the controls
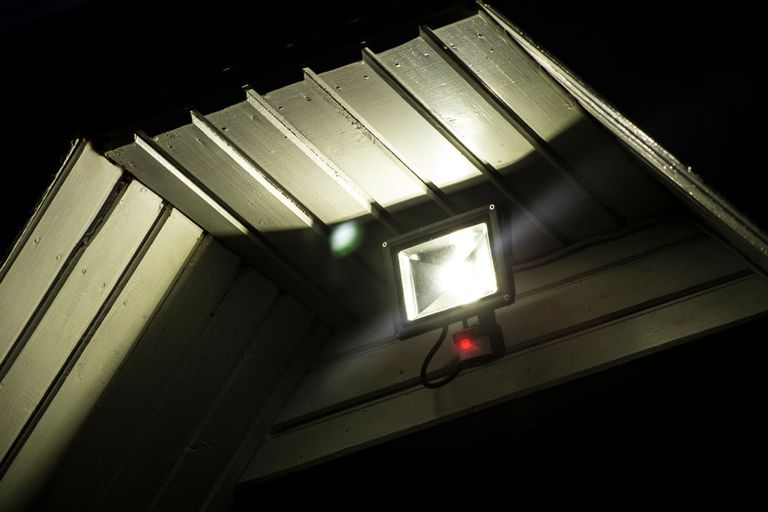
Aim each beam at the ground or the planting, not a window or a neighbour's bedroom. Set an astro timer to follow sunset, or a PIR sensor on security lights.
How deep should the cable go?
BS 7671 asks for sufficient depth rather than a number, so the mains figures are the sensible domestic position, not a hard rule. Your electrician decides on site.
Which IP rating do I need where?
IP ratings tell you how much water and muck a fitting shrugs off. Get it wrong and you are replacing lights in February.
How long will it take?
How long it will take will depend on how many lights you’re using and they type of lights too. Here’s an example timeline for instaling plug in low voltage lights and a festoon on a path and patio scheme, solo.
What health and safety points should I not skip?
A typical job: Turning a dead patio into an evening space before the clocks change
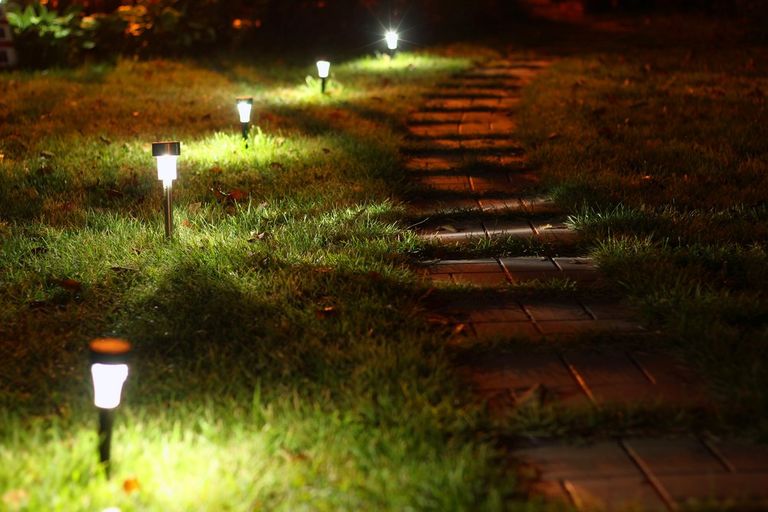
A semi in Sheffield had a patio that saw no use past September, and a 12-metre path to the shed that turned into a torch job once the light went. An existing weatherproof RCD socket by the back door meant no new supply run — this stayed a one-person job.
Eight plug-in 12V spike lights lined the path at 1.5m spacing, cable run through conduit under a shallow trench cut with a hired turf cutter. A festoon strung across the patio pulled it back into use after dark. All warm white, all on an astro timer, so the timing takes care of itself as the nights change. Four hours, start to finish.
The shed spur is still on the list — that one needs an electrician.
Should I hire or buy?
Deciding on what to do regarding hiring & buying can be a bit of a hard decision, so we’ve put everything together to help you figure out what’s best.
One honest word on solar. Cheapest way in and no wiring, but output falls off a cliff from November to February. Use it alongside wired lights, not instead of them. Our summer garden lighting guide covers where solar does shine.
Your garden lighting checklist
Need help staying on track? We’ve got you. Print out this checklist, take it outside and tick off each job as you go.
Before you start
☐ Garden walked after dark, trouble spots marked
☐ Zones decided: route, task and mood
☐ Lumens and colour chosen, 2700K to 3000K
☐ IP rating checked for each position
☐ Outdoor socket confirmed weatherproof and RCD protected
☐ Electrician booked if new wiring is needed
☐ Hire kit booked, consumables ordered
On the day
☐ Work light set up before daylight goes
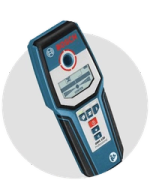
☐ Cable route scanned with a detector
☐ Gloves, knee pads and eye protection on
☐ RCD adaptor in line for every power tool
☐ Turf lifted, kept damp and shaded
☐ Cable sleeved in conduit at the right depth
☐ Trench covered if you stop
Finishing up
☐ Every connection sealed and weatherproofed
☐ Beams aimed down, away from windows and hedgerows
☐ Timer or sensor set and tested after dark
☐ Turf relayed, firmed and watered in
Frequently asked questions
Do I need an electrician to add garden lighting?
Not for solar, or a low voltage kit plugged into an existing weatherproof socket. You do for any new socket, spur or mains cable run, which is notifiable in England and Wales.
Do solar lights actually work in a British winter?
Not brilliantly. Short days and low sun mean a solar spike may manage an hour or two of dim light in December. Treat them as decoration, not lighting you rely on.
What IP rating do outdoor garden lights need?
IP44 under cover, IP65 for anything exposed to rain, IP67 at ground level where water pools, IP68 in a pond. In doubt, go a rating higher.
How deep should garden lighting cable be buried?
Low voltage cable needs only 50 to 100 mm in conduit, since you are guarding against spades rather than shock. Mains armoured cable sits around 500 mm in a lawn, with warning tape.
Warm white or cool white for a garden?
Warm white. 2700K to 3000K flatters planting, brick and timber. Cool white above 4000K makes your patio look like a retail park at closing time.
Will garden lights bother my neighbours or local wildlife?
They can. Aim beams downward, avoid lighting hedgerows and tree lines where bats commute, and put floodlights on a sensor rather than on all night. See the Bat Conservation Trust guidance on artificial lighting.
The bottom line on lighting your garden for the dark months
And just like that, job done!
Don’t let the dark autumn/winter nights stop you from being in the garden.
Remember: Light the route first, keep it warm, keep it dim, match the IP rating to the spot, and be honest about what needs an electrician. Do that this month and you get five months of a garden you can walk through, not one you squint at through a wet window.
At HSS DIY, you can browse the lighting hire range, add your fittings and PPE, and take next day delivery. Order online 24/7, and grab a project bundle if it suits.
More ideas sit in our outdoor lighting blog and the DIY projects hub, if you need some inspo.
Buy the materials. Hire the tools. One order. All in one place.
Get DIY Happy with Home of Great Projects