


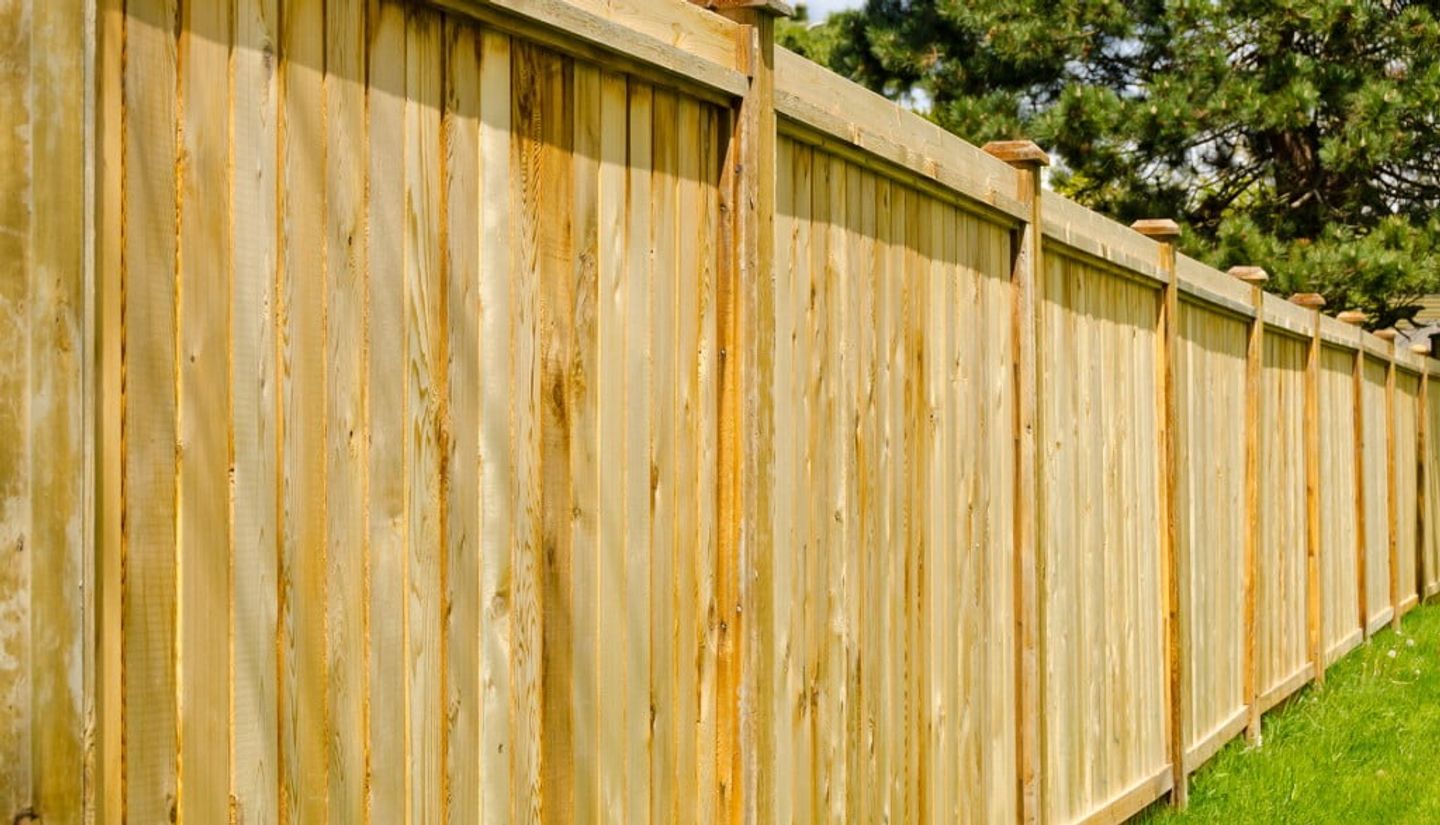
If your garden needs some extra privacy, building a fence is a great solution.
Garden fences also provides increased security & create barriers to define property boundaries, patio areas, veggie patches & more.
Want to build one yourself? We can help!
By following this simple guide, you'll be able to learn all about how to build a fence with our easy instructions & tool list.
Required Tools
It's important that you have the right tools before you start building your garden fence.
Here's everything you'll need -
• Safety glasses and gloves
• Fence posts, rails and boards
• Stakes
• Nails
• Gravel
• Shovel
• Saw
• Wood paint or fence stain
• Paint brushes
Now you've got all your tools sorted, it's time to start building your fence.
Step 1: Plan
Before you get started, ask yourself "what do I want my fence to look like?"
Will it have horizontal or vertical panels? Slatted screen or wood panels? Will it be a high or low fence? So much to decide on.
Check out our supply of treated fence posts that come in a range of sizes.
When it comes to deciding on the height of your fence, you'll need to make sure it is not taller than 2 metres (6feet 6 inches). If you want to build a fence higher than this, you'll need to get permission from your local council.
Step 2: Choose the right posts
Then you'll need to decide on what type of fence posts you'll want.
You can choose between concrete or wooden fence posts & you'll need to think about if you want to use fence post spikes also.
Step 3: Measure up
Next, you'll need to take measurements for your new garden fence in the area you want to build it.
Doing this helps you figure out how much timber you'll need to buy so you're not too short or buy too much.
Step 4: Prep the area
Once you've got your materials, it's time to prep the area where your garden fence will go.
Tidy & clear away any debris & get rid of any weeds or plants. Then use a weedkiller to treat the area so you won't get any weeds growing around your newly built fence.
Next, mark out where you want the fence to go. Make sure you determine where the first fence post to go using string & pegs to show where the entire fence will be built.
Step 5: Dig post holes and install the posts
It's time to install the posts. The posts are the vertical supports that will make your fence stable.
Use a shovel and shovel holer to dig enough holes for all the posts you will be using. If you don't have one, we have some post hole borers you can hire to help you.
You'll want to make sure each post is positioned at regular intervals to fit each fence panel.
Once you have dug the holes, insert a post then add a few litres of gravel to help stabilise them.
A fence post driver can help you push the post down into the gravel and make it level if needed.
Use a spirit level to make sure the post is perfectly straight then use fence stakes to temporarily hold the post upright while you work around it.
Next, using a shovel, fill any space around the post with dirt, packing it as tightly as possible.
You'll want the posts to be really sturdy so that when you remove the stakes and install the fence, it'll be able to stand alone and support the fence rails and boards.
Continue installing each post this way until you have installed them all.
Install the fence rails/panels
Gravel boards
No matter which one you choose, the first thing you need to install are gravel boards.
Gravel boards are installed at the base of a fence & work as a barrier between the fence and the ground to prevent moisture absorption & potential rotting.
Before installing the fence rails or panels, make sure the gravel boards fit in between each fence post.
To keep the rails & panels secure, install L brackets or cleats to help keep them secure. They're often placed at the bottom of each post but if you need some at the top, that's ok too.
Now, what happens next depends on if you're using your own timber or a fence panels.
Timber fence
If you are cutting your own timber, you can use an electric saw to cut the rails to length easier and quicker than with a handheld saw.
Don't forget to refer to your initial design when measuring the fence rails. Whether you're having horizontal or vertical fence rails, you'll need to make sure you measure each piece of timber correctly to fit between each fence post.
Using a hammer and wood nails, install each timber piece securely to the posts. You may want to add fence brackets to help the fence rails be more secure.
With each piece of timber, use a level to make sure each rail is level and straight so that the fence will work and look the way it should.
Fence panels
To install fence panels , you'll need to add brackets to the fence posts.
An L bracket will be needed at the base of each post as well as 2 U brackets at the bottom and top of them.
Once that's done, get some help from someone and lift the fence panels & slide them in to the brackets.
For added security, use some screws to keep the panels in place.
Let HSS DIY help you build your perfect garden fence
Putting up your own garden fence may take some time but once you've completed it, we're sure you'll feel a sense of accomplishment.
With the right, top quality tools and materials, you can build your own fence without having to pay someone else to do it for you.
It's all about planning, measuring & prepping.
If you don't do these things beforehand, you risk building a garden fence that's not secure. Not only that, your fence could be too big or small. So you'll either waste materials or not have enough.
For any timber, fence panels, tools & anything else fencing related you want to rent or buy, take a look at HSS DIY's website or drop by your local HSS branch.
FAQs
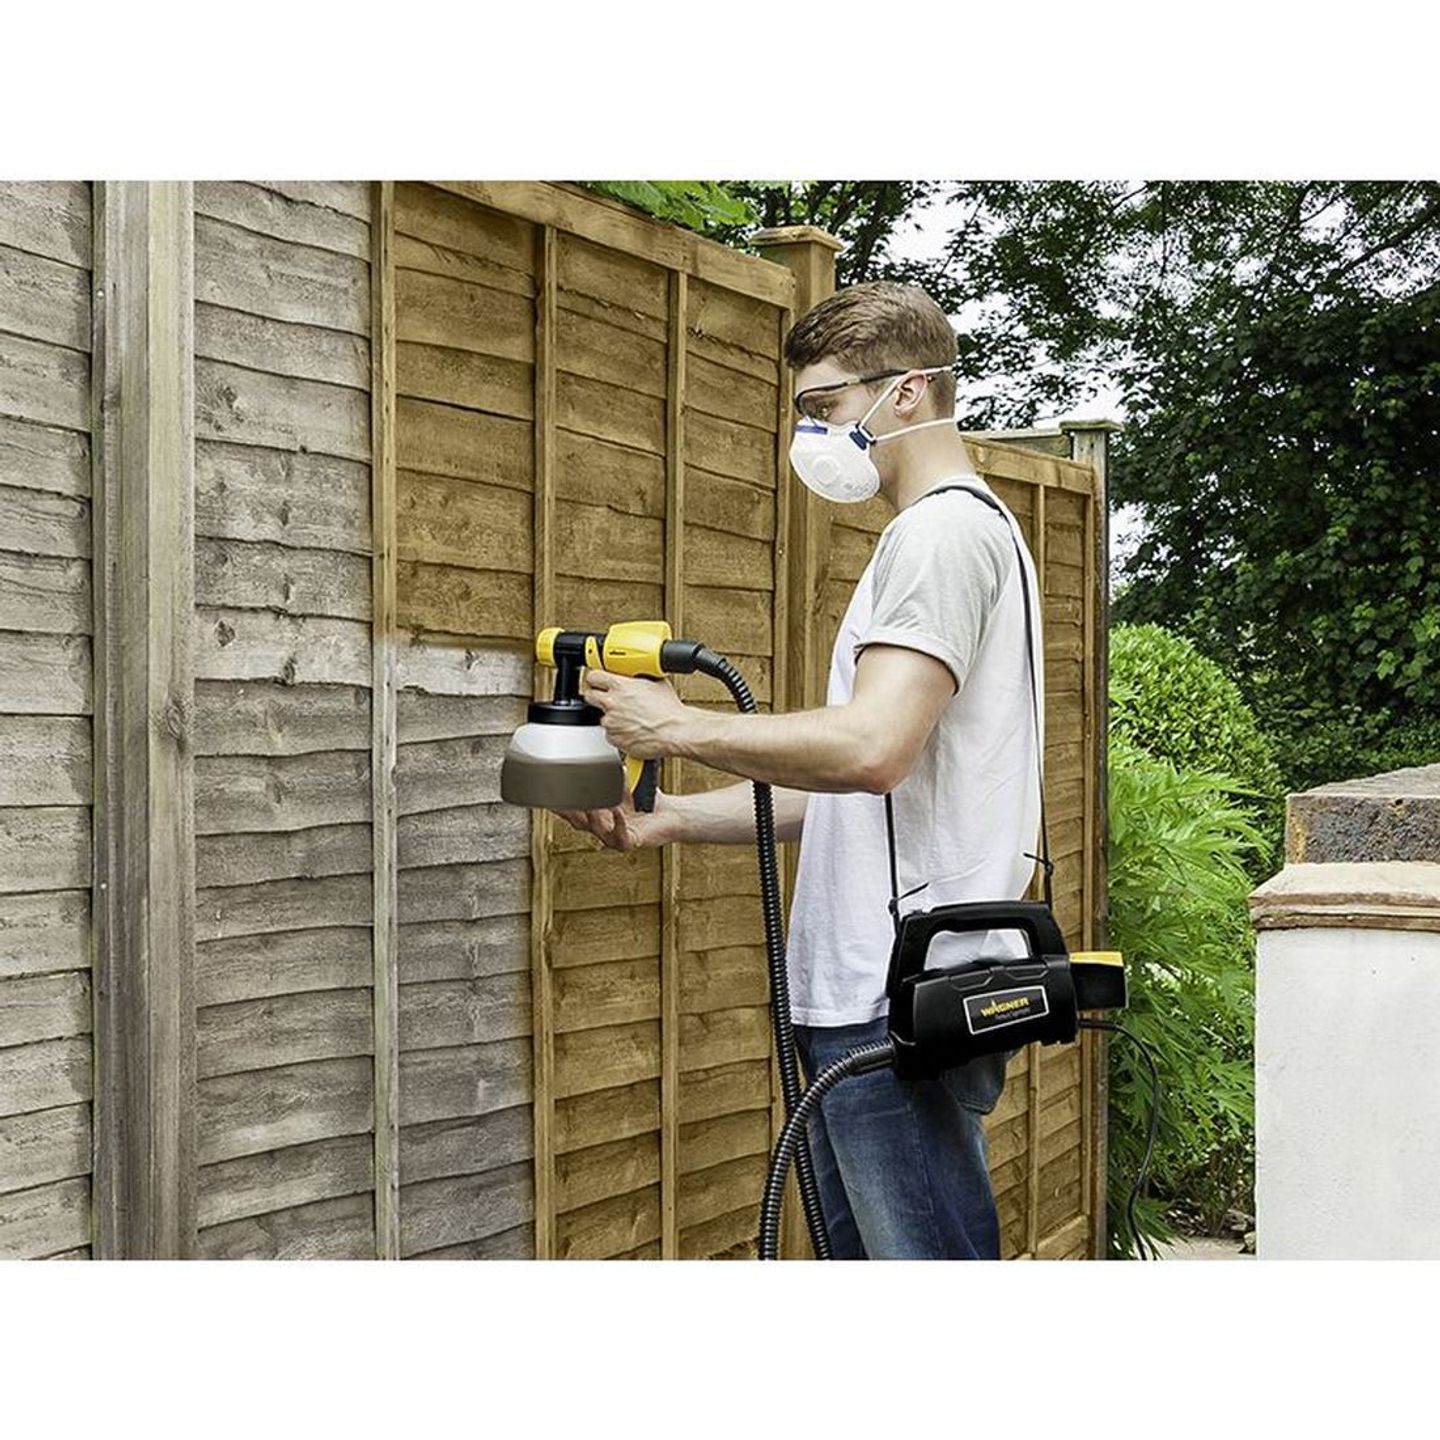
Do I need to treat or paint my fence once it's built?
Yes we would definitely recommend you treat your garden fence once it's built.
Treating timber is key for your fence's longevity & for looking it's best for longer.
It's also great for preventing the fence from decaying, rotting as well as damage from insects and the weather.
If you want to paint your fence once it has been treated, we say, go for it! But don't skip the treating process.
How tall can I build my new garden fence?
In the UK, back garden fences are required to be no more than 2 metres (6.6 feet) high.
To double check, speak to your local council.
Do I need permission to build a fence?
You generally don't need permission to build a fence as long as you follow the guidelines are met.
Check out what the conditions are for build a fence in your garden & if you'll need to ask for permission.


