


A garden path is a lovely addition to any outdoor space. Creating one that makes your friends green with envy doesn’t have to be complicated or expensive, even if you’re only a DIY dabbler who wants to take on the job themselves.
In this article, we want to help you explore inspiring ideas for your garden paths and how to achieve them. So sit back and let the HSS team lead the way.
Deciding on the path you want
Want a garden path but unsure on what type you want? We understand! It can be a hard decision to make. Try answering some questions like - Is it going to be the main route to a shed, greenhouse or summerhouse or do you just want an eye-pleasing meander through the greenery? Are you after something more modern or are you wanting a traditional path? Answering these types of questions will help determine on how your path should be & which materials will be most suitable to create them.
If you're still undecided or can't think of what you want, here are a few suggestions.
Simply mow your own
The cheapest way to create a garden path is to simply use a lawn mower to cut a swathe of shaved turf through a longer lawn. That's it! Of course, the downside is that you’ll need to cut your pathway very regularly to keep its definition and it may require a strimmer as well as a mower to create the path. But on the other hand, there’s no excavation or building work needed so you won't need to buy or hire tools or materials.
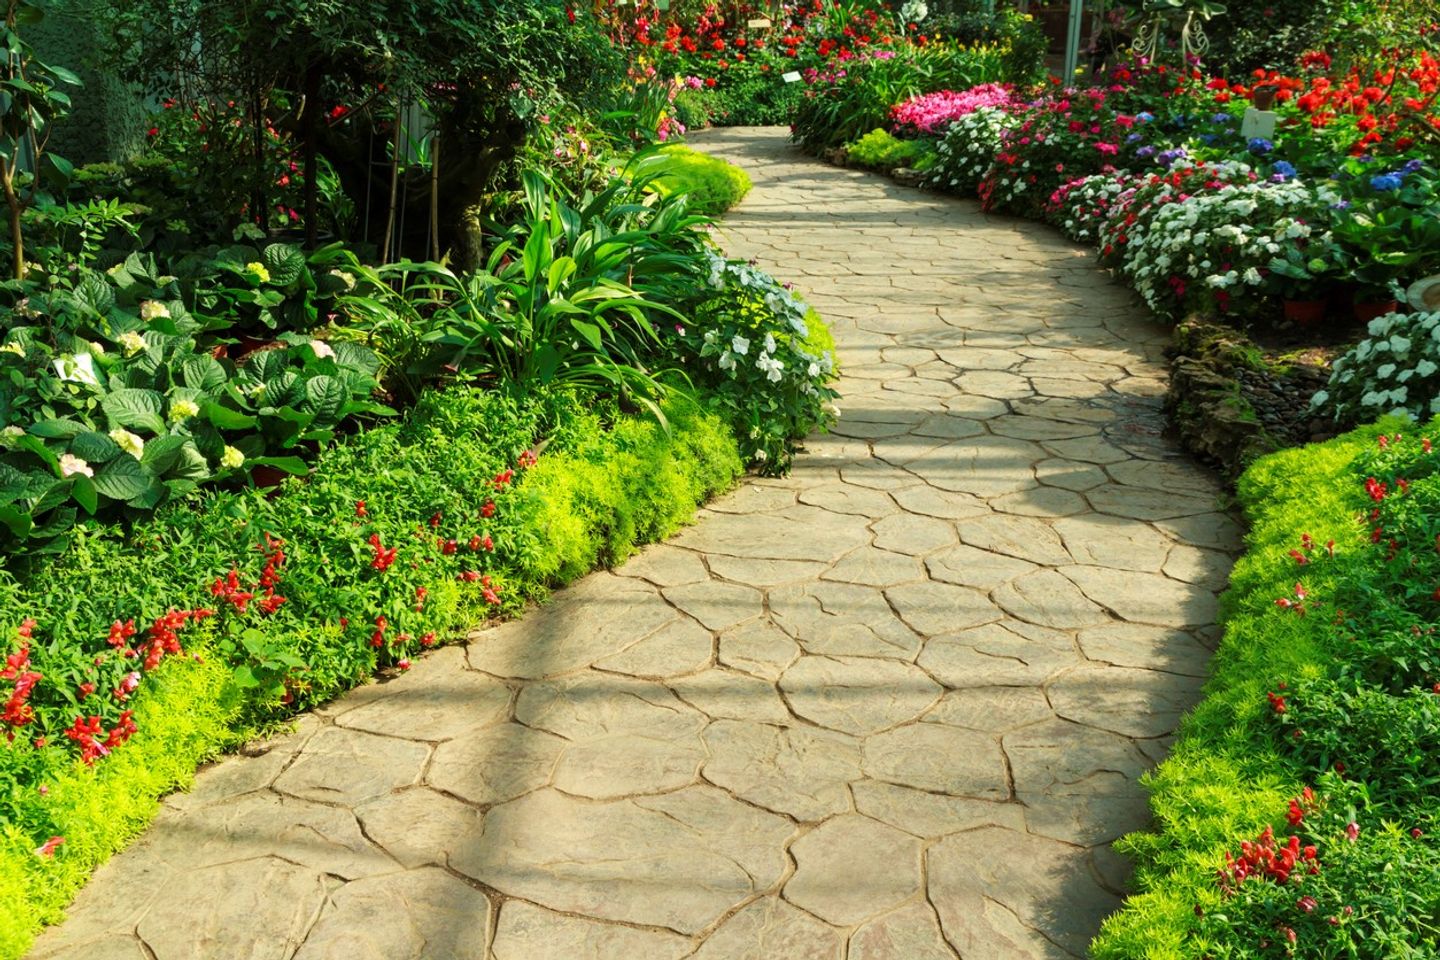
Crazy paving is often a sensible choice
Stones or flags broken up into irregular shapes and held together with cement is called crazy paving. This type of paving is a quirkier design that will give your outdoor space a unique look. Bring your jigsaw puzzling skills into play and fit the random-shaped pieces roughly together for your perfect paved path.
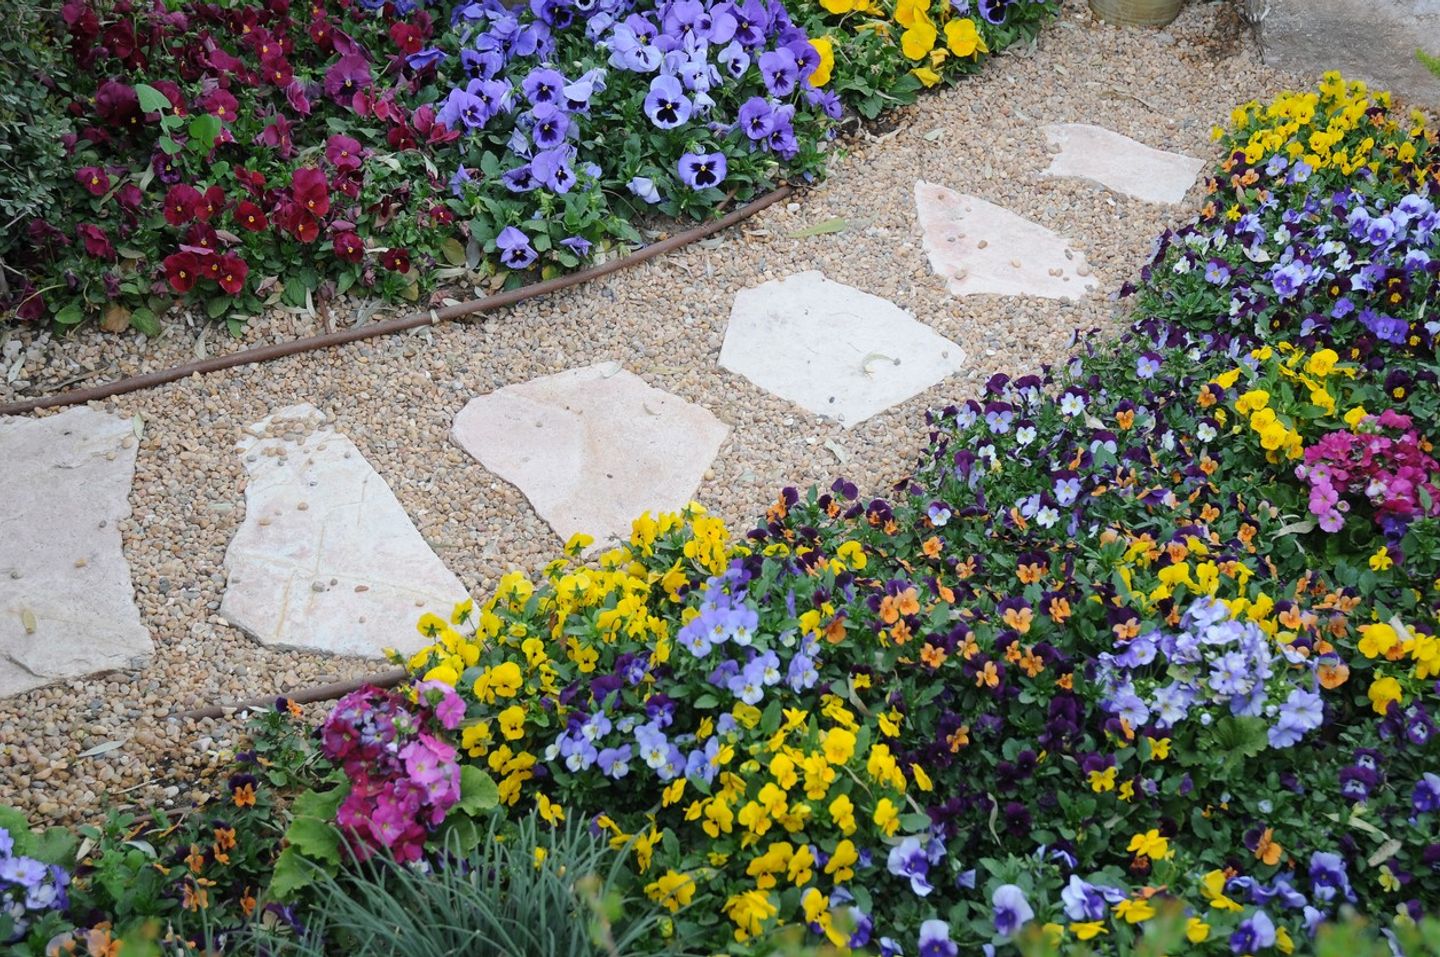
Go for gravel
A broad gravel pathway between neat stretches of lawn can add a hint of Downton Abbey elegance to your garden. In contrast, a semi-overgrown path with shrubs, such as, lavender feels wonderfully wild and natural. A gravel path is a versatile solution that can work in many different gardens. Best of all, it’s really easy to achieve. You can even mix gravel with slabs, creating stepping stones between stretches. It gives your path a more formal look and can be practical if you enjoy walking around your garden barefoot!
Credit: (amite) https://www.istockphoto.com/
Create a rustic path with woodchips
Popular as well as affordable, woodchips are an environmentally friendly way to create a garden path. The raw material grows on trees, and is a wonderfully soft surface to walk on and feel in touch with nature. Not only does it add a rustic look to your garden but it will eventually break down into compost so you can use it again for your plants and flowers.
Create an atmosphere with cobbles
Creating a cobbled path using those traditional small stone blocks is a direct route to period charm. Cobbles can either be set into a concrete substrate and grouted like crazy paving or laid tightly together without bonding — just the right choice of sturdy edging to keep them in place. As with brick paving, the real attraction is the way your stone path ages, developing a warm, weathered character over time.

Credit: (yuriz) https://www.istockphoto.com/
Add some Japanese inspiration
Why not bring a touch of Zen into your garden with a path inspired by Japanese traditions. There’s an array of ideas that can help you bring some oriental inspiration to your garden. By using gravel, pebbles, giant stones, dainty pedestals, bonsai trees, conifers & even a Japanese maple, you'll be able to create a beautiful Japanese inspired path that can lead you to your chosen meditation spot for some much needed you time. (You'd even make people jealous of how your garden looks too!)
How to Dig Before Laying a Path
When it comes to your garden path, how you lay it will depend on what type of path you want. Once you know what type of path you want to create, you'll first need to dig a path.
Step 1 - Using a Cable Avoidance Tool, (also known as a CAT) locate any hidden pipes or cables in the area you want to dig. The last thing you want is to start digging and cut through a cable or find a pipe in the middle of where you've plotted your perfect path.
Step 2 - Get some pegs and string and use them to mark out where you want your path to be. Next, use a spade to dig out the turf to the depth of the edging you intend to use, keeping in mind that the top of the edging should sit at ground level.
Step 3 - If you're making a gravel path, the overall depth is usually 10cm whereas block paving & paving slabs need a base layer of 15 cm plus the depth of the paving you have chosen. Once you've dug out the trench, edge it with cut to size treated timber boards or bricks, stone or wood. We have a range of materials that will be suitable to use as your paths border. Check out all the bricks and blocks we have to offer to see which one suits your garden most.
Laying Your Garden Path
Different garden paths will come with a different set of instructions so don't try lay a gravel path the same way you would with woodchips!
Gravel Path
- Once you've dug your path or trench, roll out & cut out some weed control membrane to a suitable size allowing for 5cm overlap on the edges & 15cm at each end. Add a 5cm layer of MOT type 1 sub base, rake it over and use a tamper to compact the layer or if working on a larger area, use a wacker plate.
- After that, add your gravel or other chosen aggregates to a depth of 2.5cm and rake evenly. Try to aim for the depth of the gravel to the top of the edging to be 2.5cm too. And that's it!
- If you're adding paving slabs to your gravel path, then place the slabs on top of the sub base at intervals before you add the gravel to the path.
Slabs
- With laying garden slabs, you'll need to do step 1 exactly the same as you would if you were laying a gravel path (see above).
- Next, add another 5cm layer of the MOT type 1 sub base and use the tamper or wacker plate to compact the material.
- To the depth of 2.5cm, add slablayer and rake until it's even. Add water to the product according to the manufacturers instructions and then rake again.
- Using a brush, dampen the underneath of the slab with water & then place the slab where you want it - making sure the damp side is facing downwards. Grab a rubber mallet and use it to tap down on the slab and press into the slablayer so you don't have any voids. Check that the slabs are secure and level and once they are, you can move on to the next slab leaving a 10mm gap between each slab. A wooden offcut or spacers can help you with spacing.
- Once the slablayer is dry, fill the joints in with some damp sand mix and use a brush away any excess.
Block Paving
- Once you've figured out where your path will be, measure out the trench making sure you allow 10cm for MOT type 1 sub base, 5cm for sand as well as the depth of the paving you are using.
- Add a 5cm layer of MOT type 1 sub base, rake it over and use a tamper to compact the layer or if working on a larger area, use a wacker plate. Then add another 5cm layer of the sub base and compact again.
- Next, you'll need to add a layer of concrete sand, dampen it & compact it down to a depth of 5cm. When the concrete sand is levelled and compacted, you can start to lay your block paving bricks, tapping them gently in place with a rubber mallet. As you go along, use a spirit level to make sure the blocks are straight.
- Last job - Pour some kiln dried sand over the blocks and use a broom to sweep the sand into all the joints. Finish off with a wacker plate with the provided rubber mat to compact the blocks and brush in more sand should you need to fill any gaps.
Wood Chips
Laying a wood chip path is super easy! Simply follow the steps for creating a gravel path but instead of using gravel, you'll be using wood chips. Voila!
There are so many ways to lay a garden path so let your imagination take over and create the garden you've always envisioned. At HSS, we have all the building materials and tools you'll need to create your dream garden path.
Get in Touch
If you have any questions or queries related to garden paths, get in touch with our live chat experts who are on hand and happy to help or pop in to your local HSS branch to talk to one of our colleagues.


