


Taking on your own wallpapering project? Good for you!
There's so much to consider before and during wallpapering & for those who have never done it before, the idea of wallpapering can seem daunting.
Don't worry - HSS DIY is here to help.
We've put together some simple steps on how you can hang your wallpaper as good as a professional can.
Prepare the Walls
Before you start hanging wallpaper, your walls need to be prepped.
If you currently have old wallpaper on the walls, you'll need to remove it.
We have a range professional wallpaper strippers that are perfect for removing all types of wallpaper and other decorative wall coverings without damaging plaster.
For any tips on how to do use a wallpaper stripper, check out our dedicated blog - how to strip wallpaper which is full of instructions to help you.
Next, clear the room and cover the floor & furniture with a drop cloth to avoid any damages. Then take out any outlet covers, nails, hooks and light fixtures from the walls.
Using a damp cloth, clean them to remove any dirt or dust that may have gathered over time. You wont want any dust sticking to your fresh wallpaper once it's been applied.
If the walls you are covering have any bumps or dents, they will show through the wallpaper. It’s important to smooth out the walls’ surfaces as much as possible before you start as these kinds of imperfections are more visible through wallpaper than paint.
You can use sandpaper or a wall sander to smooth out bumps or a filler for any holes or dents.
When you've made any repairs, don’t forget to remove dust afterwards. Dust on the walls will make it nearly impossible for you to apply wallpaper smoothly and will make it difficult for the paper to adhere to the wall.
To ensure the wallpaper sticks to your walls securely, you need to cover them with a coat of oil-based primer.
Primer prepares the wall’s surface so the paper can grip to it. When the primer is completely dry, you are ready to hang the wallpaper.
Measure & cut wallpaper
Now the walls are prepped, lets sort out the wallpaper.
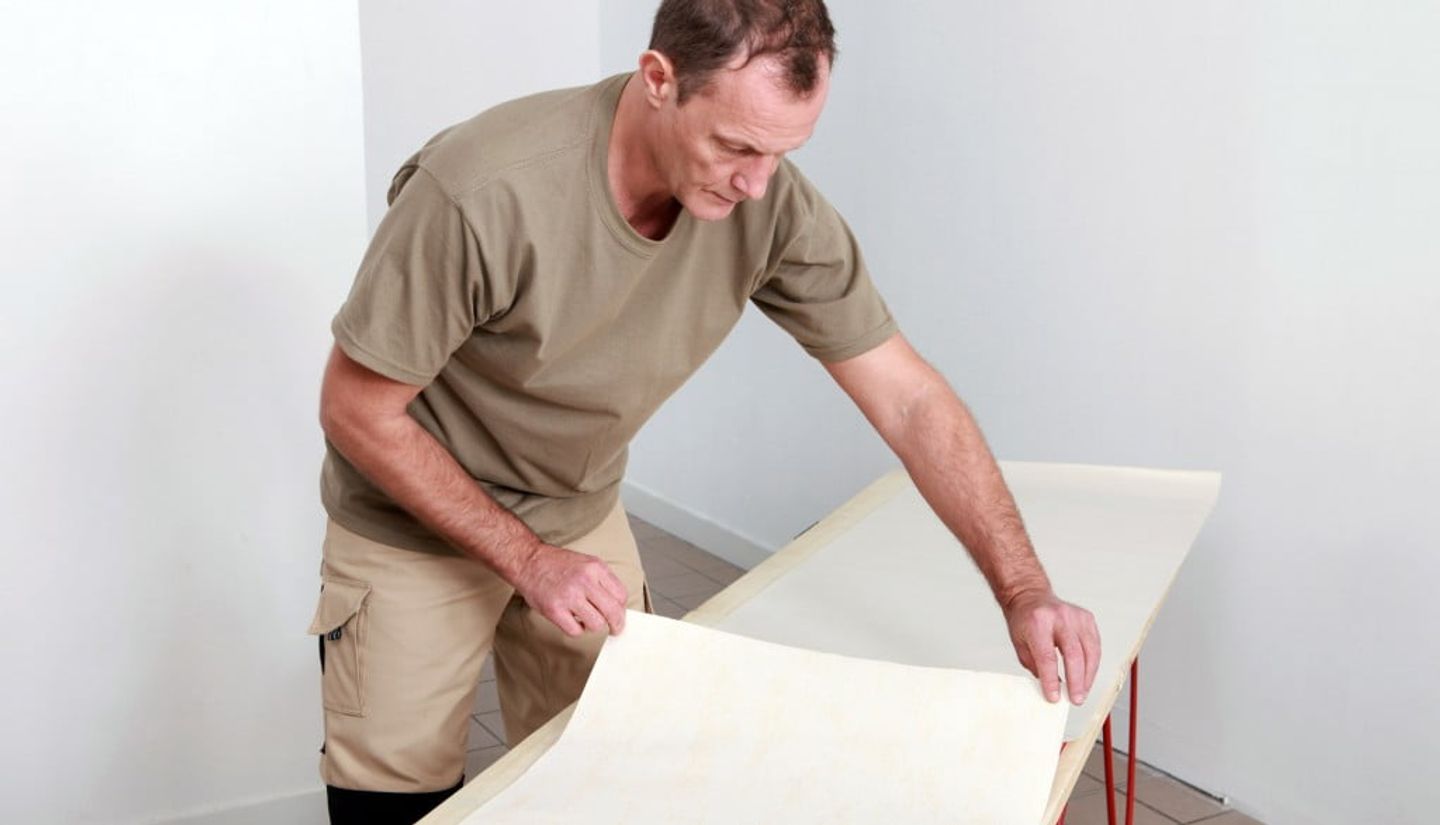
Set up a table long enough for the paper to be placed flat.
Next, measure your walls and cut the wallpaper to fit. Add 15cm in length and about 2cm in width when the wallpaper will need to go around an inside corner or create a lap seam.
Preparing Prepasted and Unpasted Wallpaper
There are two kinds of wallpapers - prepasted and unpasted.
Prepasted Wallpaper
Prepasted wallpaper comes with glue already applied to one side of the paper which you will need to activate.
To activate the paste, you will need to soak it in water. Fill a wallpaper tray with lukewarm water and loosely roll the paper with the paste-side facing out.
Immerse the roll in the water, release any air bubbles and then let the paper soak for 15 to 30 seconds, as per the directions that came with the paper.
Next, book the paper - Slowly remove the paper from the water and lay it down making sure the glue side is facing up. Then, without creasing it, fold the bottom half of the sheet on to itself - about halfway.
Do the same with the top half, bringing it down to meet the bottom half. Then, loosely roll the paper and let it sit for a couple of minutes, or as long as directed by the manufacturer, before you hang it.
Unpasted Wallpaper
If you need to apply paste, lay the measured, cut pieces of wallpaper on the table with the decorative side facing down on the table.
Make sure the pattern on each piece of paper is facing the same direction.
Apply the paste according to the brand’s instructions, book it (if directed to do so), let it rest and then hang it on the wall.
Hanging the Wallpaper
- Make a small pencil mark about 1cm from the inside of the corner where you want to start hanging paper. Then, using a level and a yardstick, make a line all the way down the wall.
- Start hanging the wallpaper at the top of the wall, leaving a few centimetres of leeway at the top and following the pencil line.
- Press the paper against the wall and use a wallpaper brush to smooth it down to the wall. Use vertical strokes as you smooth as horizontal strokes can stretch the paper & distort the pattern.
- As you smooth the paper, remove any bumps and bubbles then, use a wallpaper sponge to remove excess glue.
- Continue hanging strips of paper and line them up with the edge of the last piece. Make sure the pattern is continuous so the seams are invisible.
- When it’s time to cut the edges off, use a straight edge to hold the wallpaper into the corner where the wall meets the ceiling or floor. Next, use a utility knife to cut along the bottom of the straight edge to carefully trim the excess wallpaper.
- Finally, let it set for about 15 minutes then use a seam roller along the seams to press them together.
Becoming a wallpaper hanging pro is easier than you think
And there you have it!
You can easily hang wallpaper without the need of a professional.
By following our simple steps and using the correct tools & equipment, you'll be able to add new wallpaper effortlessly around your home.
At HSS DIY, we have a wide range of wallpapering products from wallpaper strippers, wallpaper adhesive, seam rollers and more that you can hire and buy.
For any wallpaper related questions or queries, get in touch with our live chat team who are on hand and happy to help or contact your local HSS branch.
FAQs
How much wallpaper do I need to buy?
It is always wise to buy a little more wallpaper than you need so you’ll have extra in case you make a mistake or need to repair tears or holes.
When can I hang my pictures & other wall fixtures after wallpapering?
24-48 hours are generally recommended time to wait before hanging your pictures & wall fixtures after wallpapering.
Can I send you pictures of my wallpapering project?
ABSOLUTELY! We love seeing what our DIY projects our customers have done in their home.
Tag us in all your DIY pics & videos on instagram - @hss.diy


