











⏱ Read time: 8 min | 🌿 Difficulty: Beginner | ⏰ Time: Half a day (4 hrs) | 👷 1 person
How to Drill into Different Wall Types: Brick, Plasterboard and Stud
Drilling into a wall sounds simple enough — until you hit that hollow thud, a mysterious crunch, or worse, a spark.
Whether you're hanging shelves, mounting a TV, or fitting a towel rail, knowing what you're drilling into before you start will save you a lot of grief.
This guide covers drilling into different wall types like brick, plasterboard & stud walls, so you always know your next move.
Step one: Know what you're drilling into
Before a single drill bit touches a wall, you need to know what you're dealing with.
UK homes are a real mix. Victorian terraces have solid brick walls. Post-war semis often have cavity walls. Modern new-builds are plastered over timber or metal stud frames.
Giving the walls a quick tap can tell you a lot. A solid thud means solid masonry. A hollow knock means plasterboard over a cavity or stud frame.
Hold up! Before you grab for the drill, have you checked if anything is sitting behind the wall? Unfortunately, non of us possess x-ray vision but grabbing a multi-detector is close enough. The Faithfull 3-in-1 Detector from HSS DIY from £20.98 detects timber studs, metal fixings, and live cables behind a wall in one pass. That last one matters most.
How to use a wall detector
A wall or stud detector is really simple to use:
- Hold the detector flat against the wall and press the scan button.
- Slowly slide it horizontally across the surface.
- It will beep or light up when it detects a stud, pipe, or cable behind the plaster.
- Mark the stud edges with a pencil so you can find the centre.
- Double-check by knocking with your knuckle — it sounds less hollow directly over a stud.
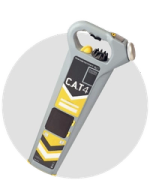
Always scan for live cables before drilling anywhere. Drilling into live wires could cause electric shocks or even fires! Checking takes 30 seconds and could save your life. For larger renovations or complex wiring, hire a professional cable locator from the HSS DIY Surveying & Location range: https://www.hss.com/hire/c/surveying-location/locators
Different wall types
Brick walls
Solid brick and block walls are the most forgiving of the three. They hold fixings well, take heavier loads, and give clean, stable results when done right.
The challenge is the hardness — you need the right bit and the right drill.
For a deeper dive into drilling into brick, see our full guide: How to Drill into Brick: A Beginners' Guide
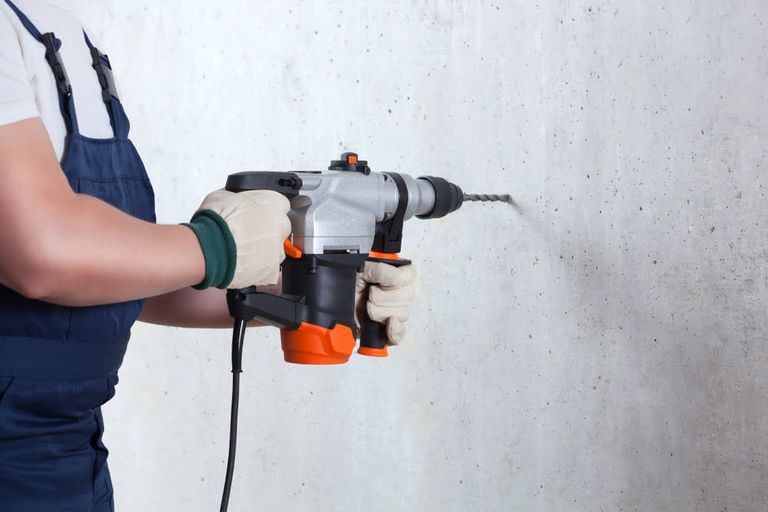
What you need for drilling into brick
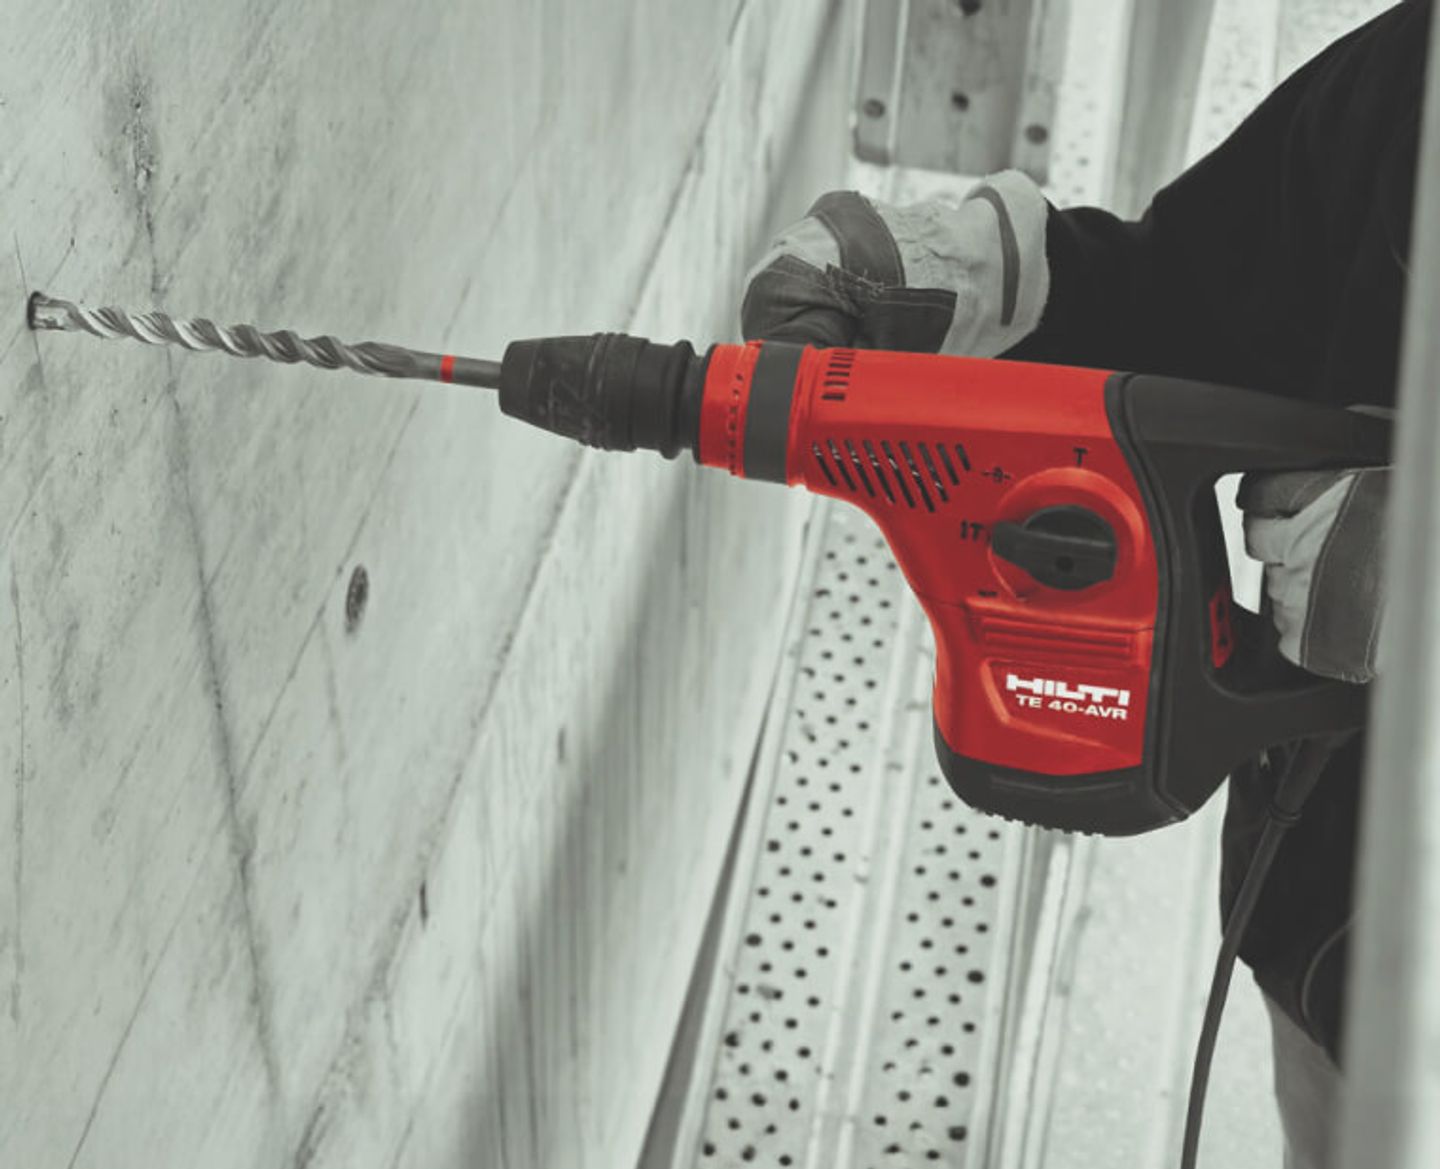
- a SDS or rotary hammer drill
- Masonry drill bits
- Rawl plugs and screws
- Safety goggles
- Dust mask (P2 rated)
How to drill into a brick wall: step by step
- Mark your drill point with a pencil. For heavy fixings, aim for the brick itself, not the mortar. Mortar is softer but crumbles under load.
- Fit a masonry bit sized to match your rawl plug.
- Set your drill to hammer mode.
- Start slow with light pressure, then increase speed once the bit bites.
- Pull back every few seconds to clear dust from the hole.
- Once at the right depth, insert the rawl plug and screw.
The secret to a clean hole? Don't push hard. Let the hammering action do the work.
Plasterboard
Drilling into plasterboard is where most DIYers come unstuck. There is very little material behind it.
A standard screw driven straight through plasterboard into fresh air will hold about as well as a thumbtack in custard. The fix? The right hollow wall anchor for the job.
What you need to drill into plasterboard
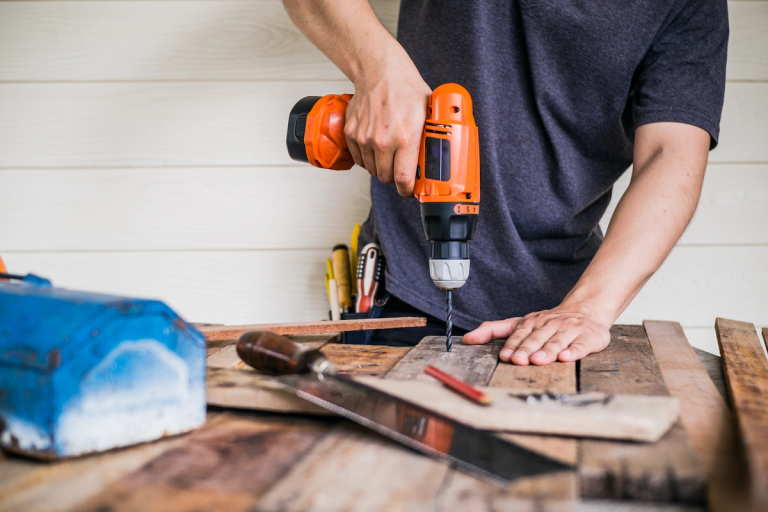
- Standard cordless drill — no hammer mode needed.
- Sharp twist or multi-purpose drill bit
- Hollow wall anchors
- Wall detector
How to drill into plasterboard: step by step
- Scan for cables and pipes with your detector before doing anything else.
- Mark your spot. Use a sharp, standard twist bit or multi-purpose bit.
- Drill slowly and steadily. Plasterboard is soft and crumbles if you rush.
- Do not use hammer mode. It tears the board.
- Insert your chosen hollow wall anchor.
For anything heavy on plasterboard — kitchen cabinets, large shelving units — you really want to find and hit a stud. That's where the wall detector comes in handy.
Stud walls
Stud walls are built on a timber (or metal) frame and lined with plasterboard which is common in modern UK homes, extensions, and internal partitions.
The plasterboard between studs holds very little weight. But the timber studs themselves are solid. Screw into a stud properly and it will take a serious load.
What you need for drilling into stud walls
How to drill into wall studs: step by step
- Run your stud detector across the wall to find the studs.
- Timber studs in UK homes are typically spaced at 400mm or 600mm centres.
- Mark the centre of the stud with a pencil.
- Fit a wood drill bit. No masonry bit needed here.
- Drill straight in. You will feel the resistance increase once you hit the timber.
- Drive in a wood screw for a solid fix.
Hitting a metal stud? Use a self-tapping screw and a sharp HSS metal drill bit. It’s the same process, slightly more resistance.
Drill bit guide: which bit for which wall?
Not sure which drill bit or drill mode is needed for which wall? We’ve got you!
- Solid brick or block - Masonry or SDS drill bits | Hammer mode drill | actionTungsten carbide tip
- Plasterboard - Multi-purpose or sharp twist drill bit | Standard drill action | Drill slowly
- Timber stud - Wood bit (flat or auger for larger holes) | Standard drill action | Hit the stud, not the void
- Metal stud - HSS metal drill bit | Standard drill action | Self-tapping screws
- Concrete - SDS masonry bit | Hammer mode (SDS) | May need a more powerful SDS drill
- Mortar - Masonry bit | Hammer mode | Softer than brick. Avoid for heavy fixings
Fixing types: what goes where
Rawl plugs and screws
Best for: Solid masonry walls (brick, block, concrete). The plug expands as the screw drives in, gripping the sides of the hole.
Load capacity: medium to heavy depending on size.
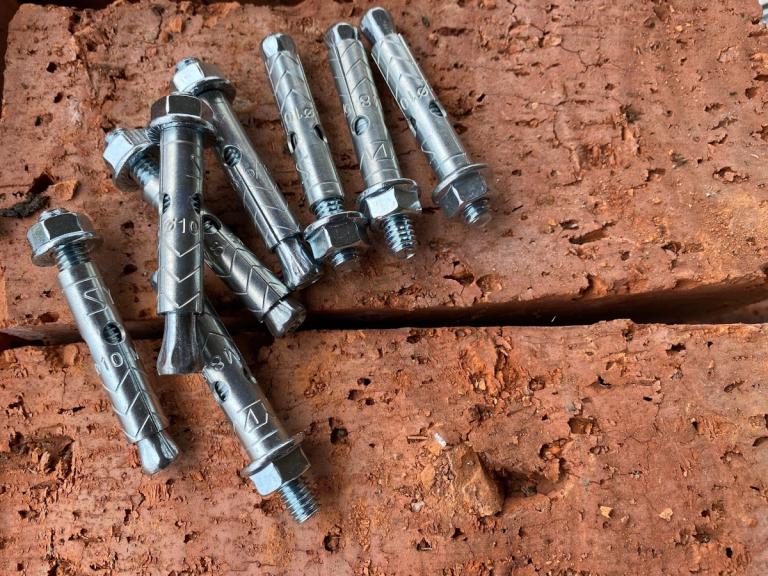
Hollow wall anchors (Rawlbolts or molly bolts)
Best for: Plasterboard where there is no stud behind. The anchor is inserted through the hole, then the bolt pulls the back plate flat against the inside of the board.
Load capacity: light to medium.
Spring toggles
Best for: Plasterboard and hollow cavity walls. A toggle on a bolt springs open behind the board and pulls tight as you tighten. Good spread of load.
Load capacity: light to medium.
Wood screws into studs
Best for: Any fixing into a timber stud, from shelving to radiator brackets. The best fixing option for stud walls.
Load capacity: heavy.
Project timeline
Asking how long a project will take can sometimes be like asking, how long is a piece of string. It all depends.
Here’s an on average timeline estimate for a typical UK DIYer:
Scanning wall with detector - 5 to 10 minutes
Drilling one hole in brick - 2 to 5 minutes
Drilling one hole in plasterboard - 1 to 2 minutes
Hanging a shelf (4 fixings, solid wall) - 30 to 45 minutes including marking
Mounting a TV bracket (stud or solid wall) - 1 to 2 hours including cable management
Full shelf run (6 to 8 fixings) - 2 to 3 hours
For a typical half-day session, most DIYers can comfortably work across multiple wall types in around four hours.
Hire vs buy: what makes sense for your project?
For a single afternoon of hanging shelves or pictures, hiring makes brilliant sense. You get a quality SDS hammer drill without committing to the full purchase price.
If you’re a tradesperson or an enthusiastic DIYer who will be using the power tool often, then buying a drill will be more cost effective.
Drill bits are usually sold separately.
Note: Items from the same order may occasionally arrive in separate deliveries.
Health and safety: The important stuff
Drilling through walls carries real risk if you rush in unprepared.
- Always scan before you drill: Hitting a live cable or water pipe is not just inconvenient, it can be seriously dangerous. Use your detector every time.
- Wear the right PPE:
- Safety goggles to protect against dust and debris
- P2-rated dust mask minimum — brick and plaster dust contains silica
- Ear defenders when using a hammer drill for extended periods
- Keep children and pets out of the room: Dust and debris travel further than you expect.
- Check your drill bits are in good condition: Worn or chipped bits require more force and are more likely to slip.
For further guidance on safety: https://www.hss.com/health-and-safety
For homes built before 2000, dust from drilling plaster, tiles or older paint may contain hazardous materials. Refer to HSE guidance at https://www.hse.gov.uk for further information.
Project checklist: drilling into different walls
Save or print before you start and tick as you go to help you stay on track.
Before you drill:
- Identify wall type (solid, plasterboard, or stud)
- Scan wall with detector for studs, cables, and pipes
- Mark fixing point with a pencil
- Select correct drill bit for wall type
- Set drill to correct mode (hammer for masonry, standard for plasterboard and timber)
- Put on safety goggles, dust mask, and ear defenders
During:
- Start slow, increase speed once the bit bites
- Pull back regularly to clear dust
- Check depth using the depth stop or a masking tape marker on the bit
After:
- Check hole is clean and at the correct depth
- Select the right fixing for your wall type and expected load
- Test the fixing before applying full weight
Ready to get started?
Getting your wall type right before you start drilling is half the job done.
Don’t just grab your drill and get going - check if it’s brick, plasterboard or stud.
Once you know the type of wall you’ll be working on, you can then match the right drill bit & fixing and use the correct drill mode - you’ll get clean, solid results every time.
Don’t forget to use the wall detector to look for live wires and pipes etc before drilling!
For anything bigger than a shelf or two, hiring a SDS hammer drill from HSS DIY takes the hard work out of it.
At HSS DIY, we have everything you need for drilling into different walls from hammer drills for hire, drill bits to buy, wall detectors, and fixings.
You can get next day delivery available on hundreds of items or you can click and collect from one of our nationwide branches too.
Buy the materials. Hire the tools. One order. All in one place.
HSS DIY - The Home of Great Projects.
What our customers say
⭐⭐⭐⭐⭐ "Excellent service and a great drill for my needs.." — Roger
See more reviews at https://www.trustpilot.com/review/www.hss.com
FAQs
How do I know if my wall is solid or plasterboard?
Knock on it with your knuckle. A solid thud means masonry. A hollow knock means plasterboard or a cavity wall. A multi-detector will confirm for certain.
Can I drill into plasterboard without a special fixing?
A standard screw into plasterboard without a fixing will pull straight through under any real weight. Always use a hollow wall anchor, spring toggle, or drill into a timber stud.
Do I need a hammer drill for brick?
Yes. A standard drill will struggle with brick and risks overheating or damaging the bit. Use an SDS or rotary hammer drill with a masonry bit. You can hire one from HSS DIY at https://www.hss.com/hire/c/breaking-drilling/hammer-drills if you don't own one.
How far apart are studs in UK homes?
Timber studs are typically at 400mm or 600mm centres. Metal studs are often at 600mm centres. Once you find one with your detector, the next is usually the same distance along.
What is the best fixing for a heavy shelf on a stud wall?
Drill into the timber studs and use long wood screws — at least 65mm — to get solid bite into the timber. Avoid fixing brackets into bare plasterboard for anything heavy.
Is silica dust really dangerous?
Yes. Brick, concrete, plaster and sand all contain crystalline silica. Fine dust from drilling these materials can cause serious long-term lung damage. Always wear a P2-rated dust mask and ensure good ventilation.