





⏱ Read time: 7 min | 🌿 Difficulty: Beginner | ⏰ Time: Half a day (4 hrs) | 👷 1 person
Spring is prime time for driveway clean-ups. Months of winter rain, algae and dropped leaves leave block paving looking tired, and a pressure wash (also called a jet wash) brings it back to life in an afternoon.
But there is a catch: pressure washing a driveway also blasts out the sand holding your blocks together, so re-sanding afterwards is not optional, it is essential.
Here at HSS DIY, here is how to do both properly.
Why block paving needs more than just a jet wash
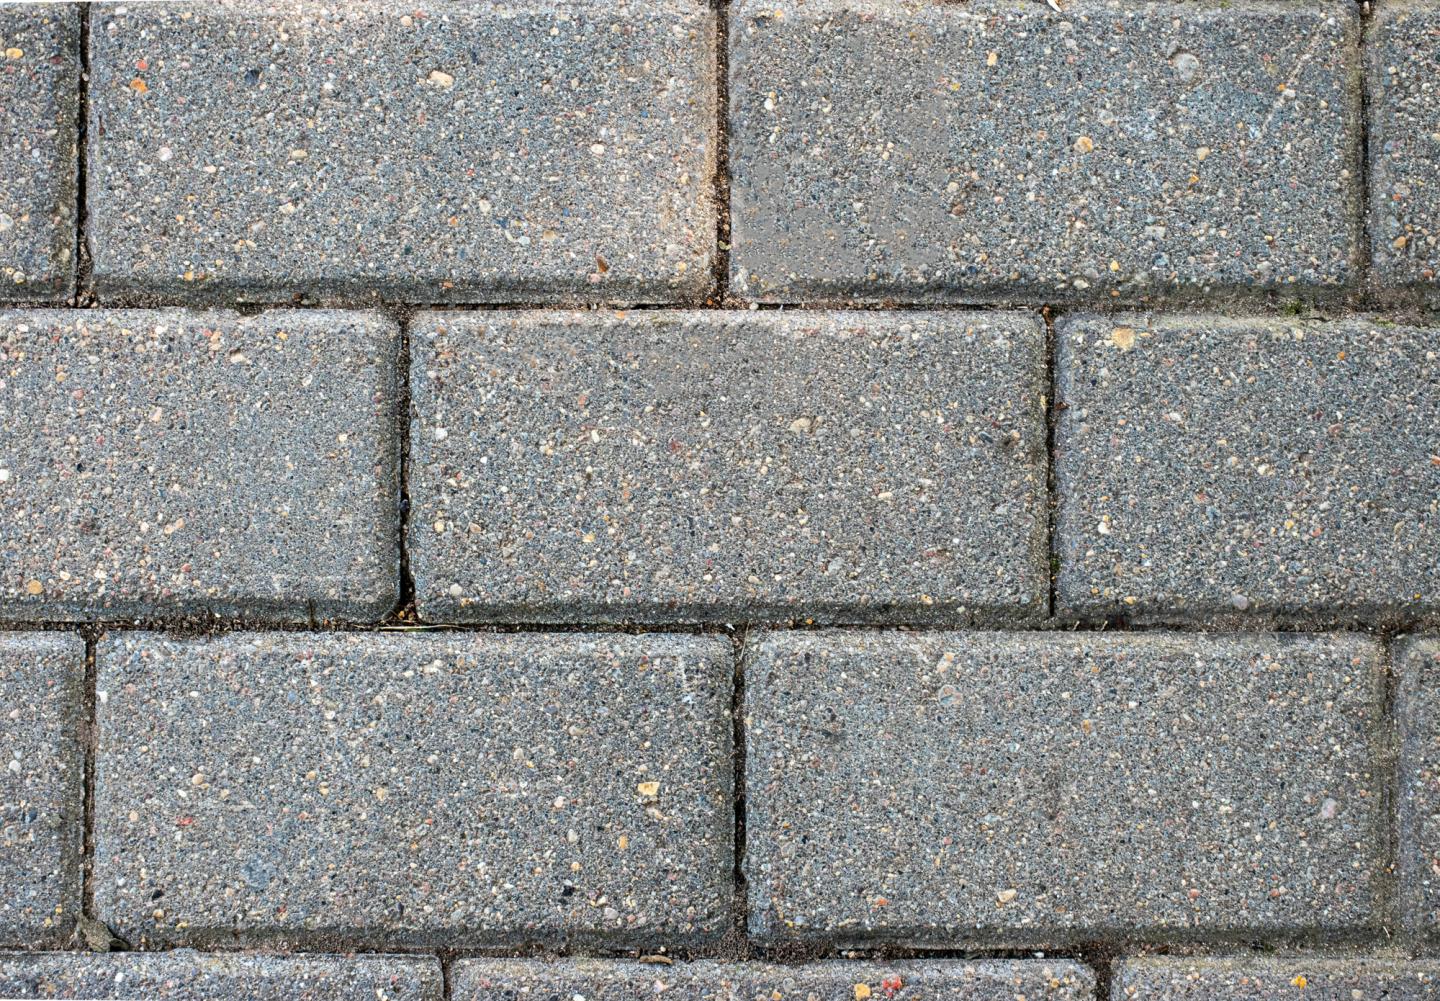
Block paving driveways are not held together with mortar. Each block sits on a compacted sub-base and relies on kiln dried sand brushed into the joints to lock everything in place, stop the blocks rocking, and let water drain through rather than pooling on the surface. Who knew sand could be so important?!
Pressure washing a driveway is brilliant at lifting years of dirt, algae and oil stains, but the same pressure that shifts the grime also blasts sand straight out of those joints.
Skip the re-sand and you are left with loose blocks, weeds pushing up through the gaps, and a driveway that starts shifting underfoot within a season. Re-sanding a driveway straight after cleaning it is what actually makes the job last, rather than just looking good for a fortnight.
Signs your driveway needs jet washing and re-sanding
- Sand is visibly missing from between the blocks
- Individual blocks rock or shift slightly underfoot
- Weeds or moss are growing through the joints
- Green or black staining covers large sections of the surface
- Puddles form on the surface after rain rather than draining away
- It has been more than 2 to 3 years since the driveway was last cleaned
Ticked two or more? Then it’s definitely worth setting a weekend aside to sort your driveway before the summer traffic starts.
Project at a glance
Difficulty: Beginner
Estimated time: Half a day for a standard driveway (around 4 hours), longer for a large or heavily stained drive
Manpower: 1 person, though 2 makes light work of a bigger drive
Estimated cost: From around 20 pounds for sand and basic kit if bought, see the hire vs buy comparison below
What you will need
Get everything together before you start, since the drying time between jet washing and re-sanding does not leave much room for a last minute trip to the shops.
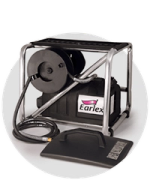
☐ A pressure washer, petrol or electric
☐ A stiff brush for sweeping before and after
☐ Kiln dried sand, enough to cover the full area
☐ A weed brush or wire brush for stubborn joints
☐ Gloves and safety glasses
☐ A bucket or bag for collecting swept-up debris
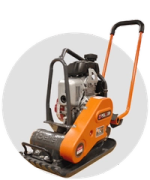
☐ A wacker plate, for larger areas once re-sanded (optional)
You can get all your tools and materials for the job in one order from HSS DIY. Be mindful that when making an order with several items, they could arrive separately.
How long does it take?
Well, that all depends on the size of your driveway. Here are some estimated times for different driveways.
A small driveway (single car): Pressure wash, allow to dry, then re-sand.
Time: 3 to 4 hours.
A standard two car driveway: Pressure wash, full drying time, then re-sand and settle.
Time: Half a day, often spread over a weekend because of drying time.
A large or heavily stained drive: Full clean, spot treatment for stains, re-sand and compact.
Time: A full day, sometimes two.
Step by step: pressure washing a driveway
- Sweep the whole driveway first with a stiff broom to remove loose grit, leaves and stones, since a pressure washer will send loose debris flying otherwise.
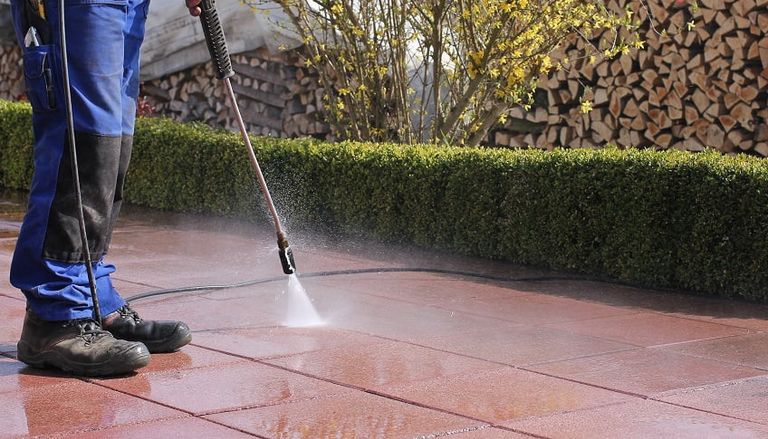
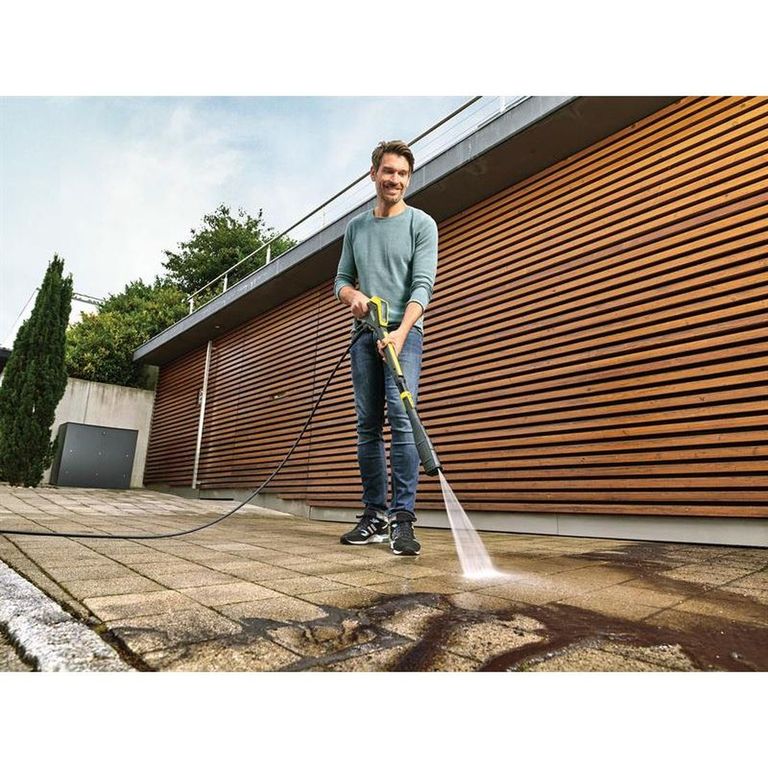
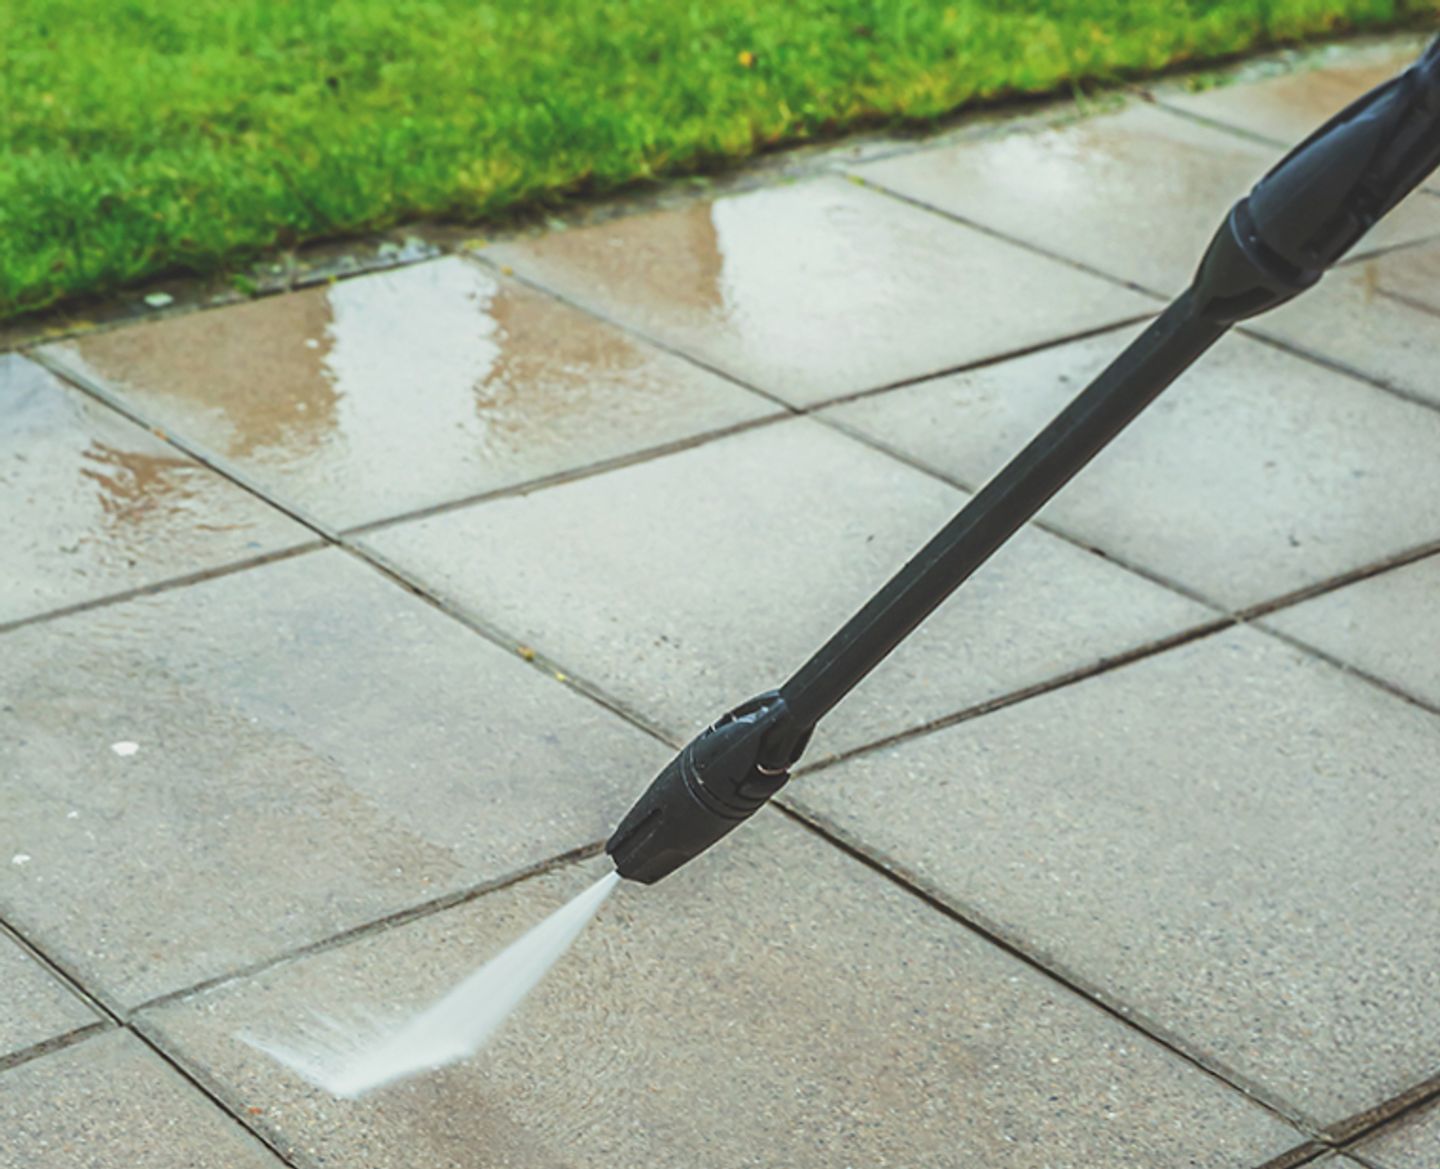
- Fit a fan nozzle rather than a narrow turbo nozzle, and hold the lance at roughly a 45 degree angle to the surface rather than straight down.
- Work in manageable sections, starting at the highest point of the driveway and working towards a drain or the lowest point, so dirty water runs away rather than back over paving you have already cleaned.
- Keep the lance moving steadily rather than lingering over any one joint, since that is what strips out the jointing sand fastest.
- Treat oil stains or heavy algae separately with a suitable driveway cleaner before rinsing, rather than trying to blast them out with pressure alone.
- Rinse the whole area through a final time, then leave it to dry fully. This can take anywhere from a few hours to a couple of days depending on the weather, and the joints need to be dry, not just the surface.
Can I sand my driveway after pressure washing?
Yes, and in almost every case you should.
Pressure washing a driveway removes some jointing sand even when you are careful with pressure and angle, so re-sanding a driveway straight afterwards is standard practice rather than an optional extra.
The only real condition is patience. The paving needs to be completely dry before you start, right down into the joints, since damp sand clumps together instead of settling properly. Rushing this step is the most common mistake in re-sanding a driveway; give it the time it needs and the rest of the job goes far more smoothly.
Step by step: re-sanding a driveway
- Once the driveway is completely dry, sweep away any last debris so you are working on a clean surface.
- Pour kiln dried sand across the paving in manageable amounts and spread it out roughly with a broom.
- Sweep the sand into the joints using a stiff broom, working in different directions so it settles fully rather than sitting on top of the blocks.
- Keep adding sand and sweeping until the joints are full and level with the top of the blocks, then brush off any excess from the surface.
- For a larger area, run a wacker plate over the surface with a protective mat underneath to help settle the sand into the joints. Skip this step on a smaller drive, where hand brushing is enough.
- Leave the driveway to settle for a day or two before regular vehicle use, and check back after the first proper rain to see if any joints need topping up.
⚠️Health and safety tips
A pressure washer is a powerful tool and shouldn’t be overlooked when it comes to health & safety.
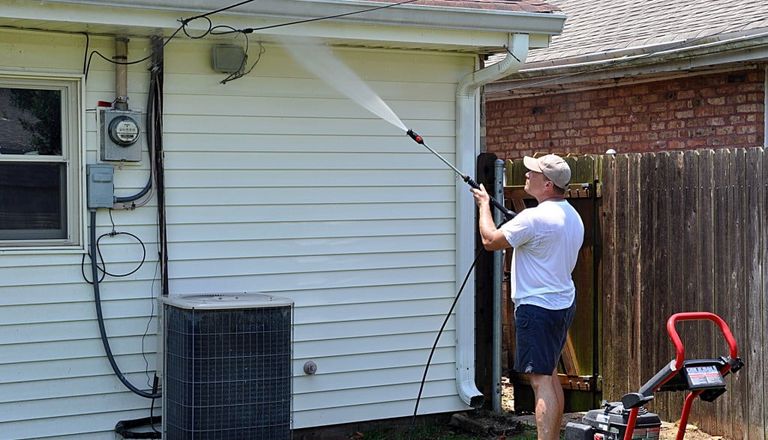
- Keep the lance pointed away from other people, pets and glass
- Never aim it at exposed skin at close range: the pressure can break skin even on a domestic machine.
- If you are using an electric model, keep the cable well away from the water and only use an extension lead rated for outdoor use.
- Wear safety glasses! They help keep grit and dirty spray out of your eyes.
- Wear gloves protect your hands from cold water and any chemicals used on stains. Both gloves and safety glasses are worth wearing for the whole job, not just the messy bits.
Case study: a ten-year-old driveway with sunken joints
A block paving driveway on a 1990s semi had not been cleaned in around eight years. Algae covered roughly a third of the surface, and several blocks near the entrance had sunk slightly where cars turned in sharply, with almost all the jointing sand gone along that edge.
The whole driveway was pressure washed on a dry, mild day using a fan nozzle held at a shallow angle, then left for two full days to dry properly given the time of year. Re-sanding was done by hand with a stiff broom, using around three bags of kiln dried sand for a 30 square metre drive.
The job was spread across a weekend, pressure washing on the Saturday, drying overnight and through Sunday morning, then re-sanding on Sunday afternoon.
The driveway looked close to new. The sunken blocks near the entrance were lifted, re-bedded and re-sanded rather than needing a full re-lay, which kept the cost down considerably.
Total cost: Under 60 pounds for sand, driveway cleaner, plus a weekend pressure washer hire.
Biggest lesson: Drying time was what caught them out at first. The surface looked dry after a few hours, but the joints underneath were still damp, so waiting the full two days made all the difference to how well the sand settled.
Hire vs buy: what is the cheaper way to sort your driveway
What HSS DIY customers say
⭐⭐⭐⭐⭐ “Perfect size and power for cleaning drive way paving slabs.” - Jena’s review on the pressure washer.
⭐⭐⭐⭐⭐ “Good and easy to operate.” - Abdul’s review on the medium wacker plate.
Frequently asked questions
Can I sand my driveway after pressure washing?
Yes. Pressure washing always removes some jointing sand, so re-sanding straight afterwards, once the paving is completely dry, is standard practice rather than optional.
How long does block paving need to dry before re-sanding?
Anywhere from a few hours to a couple of days, depending on the weather. Check the joints themselves are dry, not just the surface, before you start.
What is the best sand to use for re-sanding block paving?
Kiln dried sand is best. It is completely dry and fine enough to flow into narrow joints, unlike building sand or sharp sand, which hold moisture and will not settle the same way.
Can I pressure wash block paving myself, or do I need a professional?
Most standard domestic driveways are a manageable DIY job with the right nozzle, angle and technique. Larger, heavily damaged or commercial areas are usually better left to a professional with industrial equipment.
How often should a block paving driveway be pressure washed and re-sanded?
Roughly every 2 to 3 years for most driveways, though those under overhanging trees or in shaded, damp spots may need attention more frequently.
Will pressure washing damage my block paving?
It can, if the pressure is too high or the nozzle is held too close or too straight on. Keeping the lance moving at a shallow angle and a sensible distance avoids most damage.
Restore your driveway with HSS DIY
And there you have it!
A pressure wash on its own only solves half the problem. Sorting the sand afterwards is what stops your driveway sliding straight back into the state it started in, so it is worth building the drying time into your weekend plans rather than treating re-sanding as an afterthought.
At HSS DIY, a driveway refresh is exactly the kind of seasonal job we like helping DIYers tackle properly. From pressure washers to kiln dried sand, PPE to wacker plates, we have got what you need.
Buy the materials. Hire the tools. One order. All in one place.
Get DIY Happy with HSS DIY: the home of great projects.
More to explore
If your driveway needs more than a clean, take a look at our Groundwork and Landscaping range for slab and block lifting equipment.
Read about 4 Benefits to Pressure Washer Hire if you are deciding whether to hire or buy and for compacting a larger area once re-sanded, browse our Compactors hire range.
Planning more outdoor projects?
- Browse our Driveways range
- Read How to Clean a Patio and Paving for adjacent surfaces
- Look through our Driveways, Paths and Patios: Which Concreting Equipment Do You Actually Need to Hire? blog if you are looking at a larger project.
- Our All You Need to Know About Pressure Washers guide is also a good read before you hire.