







































⏱ Read time: 9 min | 🌿 Difficulty: Beginner to intermediate | ⏰ Time: 1 day (8 hrs) | 👷 2 people
Summer’s over, and your decking has taken a battering. Green algae, flaking stain, the odd wobbly board... sound familiar? At HSS DIY, we’ve helped thousands of UK gardeners tackle decking restoration before the weather turns. Here’s exactly how to get yours looking its best again, whether it needs a scrub or a full refit.
What does decking restoration actually involve?
Decking restoration usually falls into one of three jobs, and it’s worth working out which one you’re facing before you buy or hire anything.
A decking repair fixes specific problems, such as a cracked board or a loose rail, while leaving the rest of the deck alone.
A full decking restoration means cleaning, sanding and re-treating the whole surface so it looks like new.
Decking replacement is the last resort, swapping out boards or joists that have rotted beyond saving.
Is your deck due a clean, a repair, or a full replacement?
What tools and materials will you need?
Here’s what most decking restoration projects need. Buy the materials and hire the tools you’ll only use once or twice a year, that’s usually the cheaper option and saves storing a pressure washer in the shed all winter.
Placing one order for everything above is the simplest way to get started; if your order includes several items, they may arrive separately rather than all in one box, so don’t worry if the deck boards and the stain turn up on different days.

Step-by-step: restoring your decking before winter
1. Clear and inspect
Move furniture and pots off the deck, then sweep it and check every board on your hands and knees. Push a screwdriver gently into any soft-looking timber; if it sinks in easily, that board needs replacing rather than restoring.
2. Pressure wash the surface
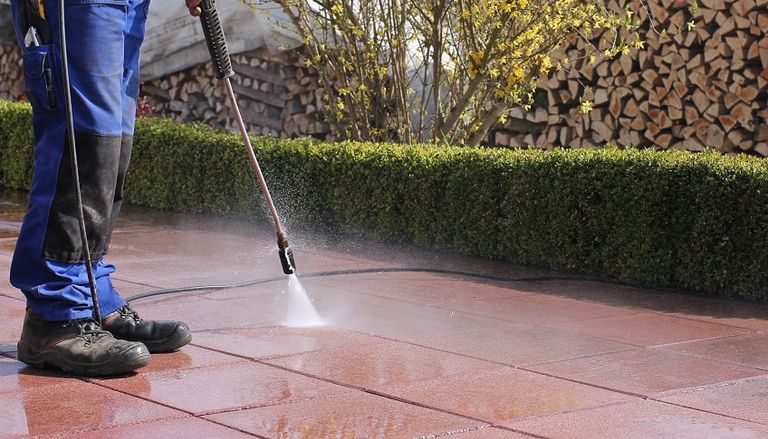
Work with the grain in overlapping passes, keeping the nozzle moving so you don’t gouge the wood. A petrol pressure washer makes short work of a larger garden deck, and our pressure washer guide has more detail on technique and settings.

3. Let it dry fully
This is the step people skip, and it shows. Timber needs at least 24 to 48 hours to dry out properly before stain will take, longer in damp autumn weather. Rushing this step is the most common reason a fresh coat peels within weeks.
4. Sand back rough or flaking areas
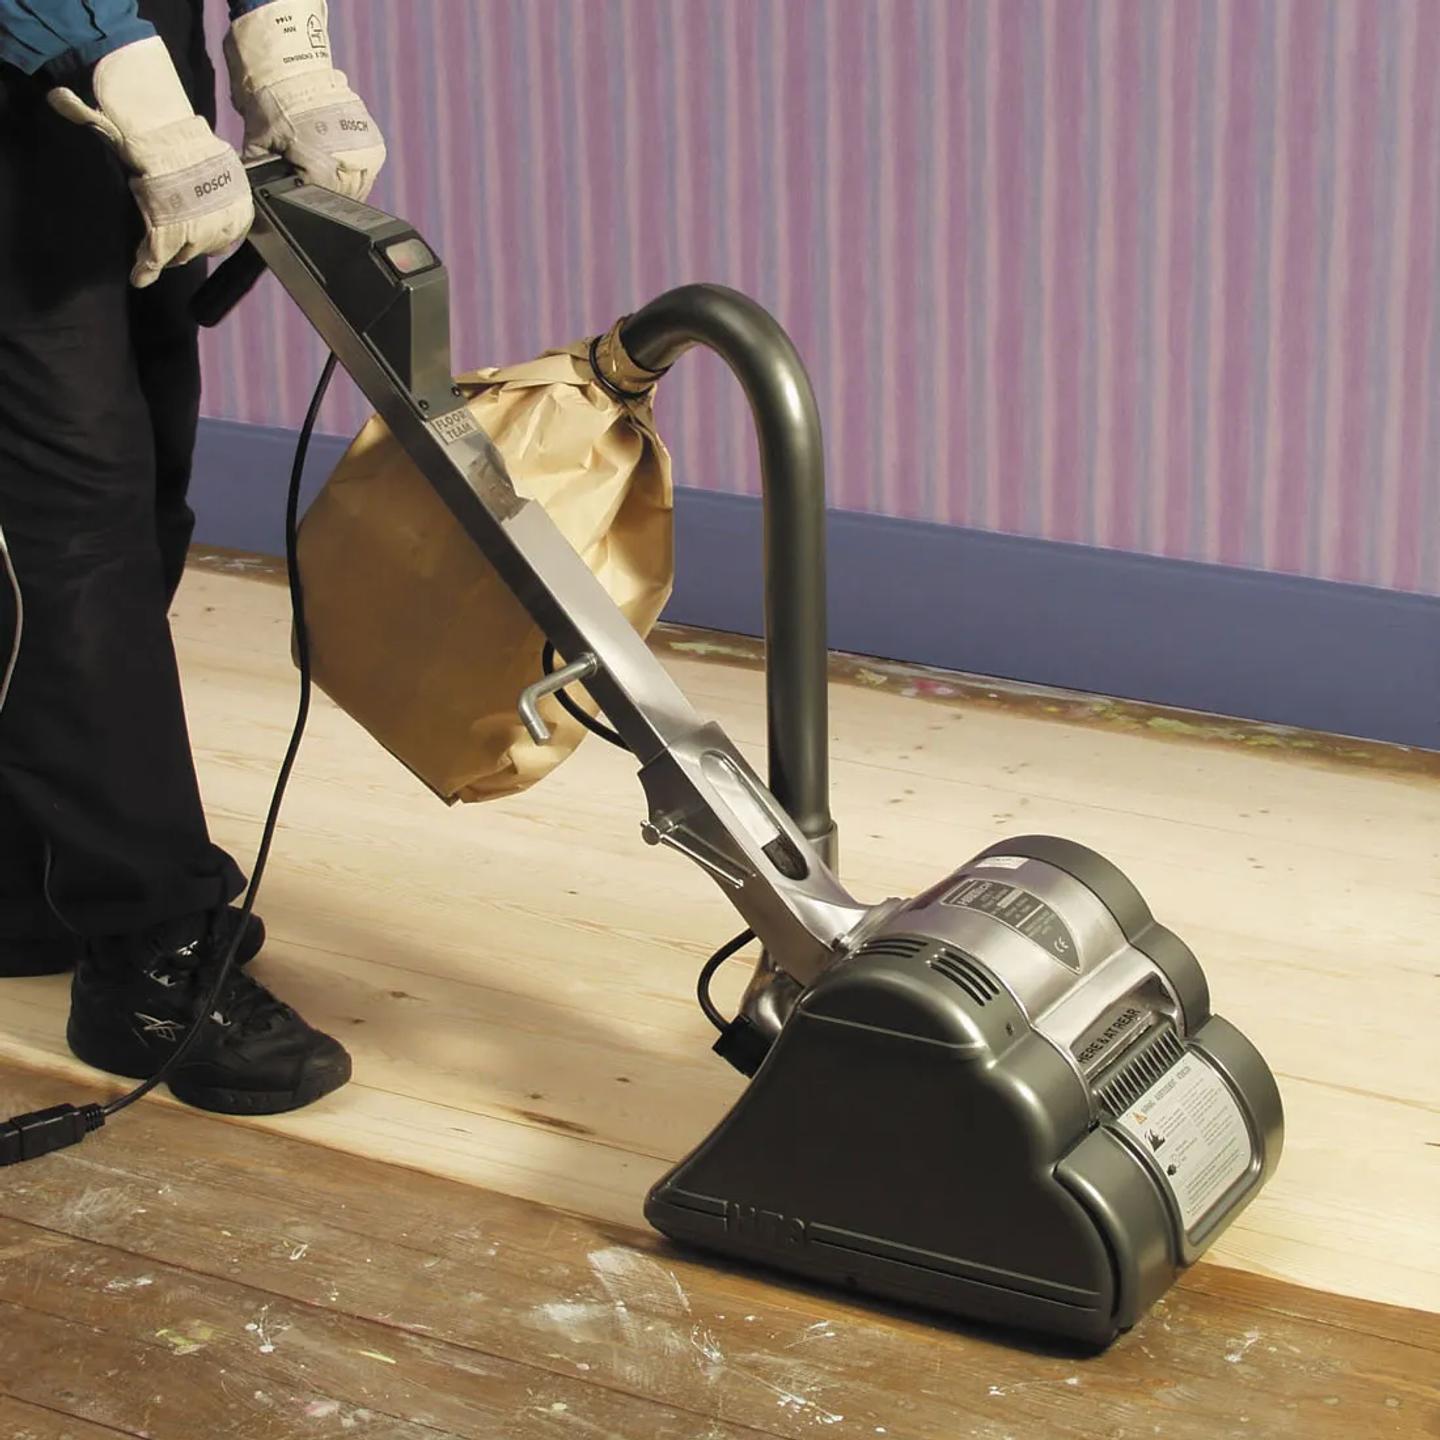
Light sanding removes splinters and old, flaking coating so the new stain can soak in evenly. Go with the grain, and hoover up the dust before you carry on; leftover dust under a fresh coat of stain leaves a gritty finish.
5. Replace any damaged boards
Unscrew the affected board, lift it clear, and cut a replacement board to size with a jigsaw. Fix it with decking screws, not nails; screws grip better and are easier to remove next time.
6. Apply your decking stain or oil
Load the decking applicator or a brush and work along the grain in the direction of the boards, doing a few boards at a time rather than the whole deck at once. Two thin coats beat one thick one, and thick, gloopy coats are the top cause of a tacky, uneven finish.
7. Let it cure before you use it
Most stains are dry to the touch within a few hours but need a few days to cure fully. Keep pets and garden furniture off the deck until then, and check the tin for the manufacturer’s exact times.
Decking restoration before winter checklist
Need help staying on track when doing your DIY projects? We’ve made you this checklist so you can restore your decking without forPrint this out, or copy it into your notes app, and tick things off as you go.
☐ Cleared the deck and checked every board for soft or rotten timber
☐ Pressure washed the full surface, working with the grain
☐ Left the timber to dry for at least 24 to 48 hours
☐ Sanded back any rough, splintered or flaking areas
☐ Replaced any boards that failed the screwdriver test
☐ Applied two thin coats of decking stain or oil
☐ Left the deck to cure fully before putting furniture back
☐ Checked balustrades, steps and handrails are solid and secure
☐ Stored or returned hired tools, and disposed of old stain tins responsibly
Is it cheaper to hire or buy the tools for decking restoration?
It depends how often you’ll use each tool again. As a rule of thumb: buy anything you’ll reach for a few times a year, and hire anything that’s likely to sit in the shed for the next twelve months.
Current prices for both hire and buy options change with stock and season, so check the live rates on each product page above before you order; hire prices are usually shown per day or per weekend.
Health and safety considerations
- Wear gloves, a dust mask and safety glasses when sanding or handling treated timber, and knee pads if you’re working low to the deck for a while.
- Always plug a pressure washer or sander into a socket protected by an RCD, and never use electrical tools on a wet deck if you can help it.
- A freshly washed deck is slippery. Keep children and pets off it until it’s dry, and be careful yourself.
- Check handrails, balustrades and steps for wobble before you start; a loose rail is a fall risk, not just a cosmetic one.
- Dispose of old stain tins and any offcuts of treated timber at your local recycling centre rather than in general waste; treated wood shouldn’t be burned.
- If your deck is raised more than 30cm above ground level, planning permission may apply. The UK Government Planning Portal has the current rules if you’re planning a raised replacement rather than a straightforward restoration.
What are HSS DIY customers saying?
HSS ProService, which operates HSS DIY, holds a strong TrustScore on Trustpilot, built on tens of thousands of genuine customer reviews. One customer building a garden deck told Trustpilot: “Excellent service at a good price.” Another, hiring a sander for a similar outdoor project, wrote: “Quick and easy to book and hire sander.” Small jobs, done properly, tend to get the best reviews, and decking restoration is exactly that kind of job.
Frequently asked questions
How often should I restain my decking?
Most UK gardens need a fresh coat every one to two years, depending on how exposed the deck is to sun and rain. A deck under a pergola or in shade often goes longer between coats than one that gets full sun all day.
Can I pressure wash composite decking?
Yes, but use a lower pressure setting and a wide fan nozzle. Composite boards don’t need staining, but they still benefit from an annual clean to stop algae building up in the grain pattern.
What’s the best time of year to restore decking in the UK?
Early autumn, before the first hard frosts, is ideal. The wood is still warm and dry enough for stain to soak in properly, and you’ll get the protection in place before winter rain and freeze-thaw cycles do their worst.
How do I know if a board needs replacing rather than repairing?
Press a screwdriver into the timber. If it sinks in with little resistance, or the board flexes noticeably underfoot, rot has taken hold and it’s time for a decking replacement rather than a surface repair.
Is decking restoration a DIY job, or should I hire a professional?
Cleaning, sanding and re-staining is well within reach for most confident DIYers over a weekend. If you’re looking at structural repairs, raised decking, or anything that might need planning permission, it’s worth getting a joiner or builder to take a look first.
How long does decking stain take to dry before winter rain?
Most stains are dry to the touch within four to six hours in decent autumn weather, but check the tin. If rain is forecast within 24 hours of applying stain, it’s worth waiting for a better window; rain on a fresh coat can wash it out patchily.
Related reading and how-to videos
- For layout and design inspiration once the restoration is done, see our blog: Inspiring decking ideas for gardens big and small.
- For pressure washer technique, see: All you need to know about pressure washers.
- For video walkthroughs of the tools mentioned in this guide, browse the HSS DIY YouTube channel.
Get your decking ready before the weather turns
A tired deck rarely needs a full rebuild, most of the time, a proper clean, a few replaced boards and a fresh coat of stain will see it through another British winter looking terrific. Tackle it now, while the weather’s still on your side, and you’ll thank yourself come spring.
At HSS DIY, we’re the home of great projects, and decking restoration is one of the easiest wins in the DIY calendar. Whatever stage your deck is at, we’ve got the tools to hire, the materials to buy, and next day delivery to keep you on schedule, all backed by project bundles that take the guesswork out of what to order.
Buy the materials. Hire the tools. One order. All in one place.
Get DIY Happy
Meet the people behind our Tips & Advice
From quick fixes to bigger DIY projects, get to know the people behind the guides helping you get the job done with confidence.