




































Summer is peak season for garden room builds across the UK. The base is where most DIY projects go wrong — skip it or rush it and your building will shift, crack, and rot. The good news? You do not need to own specialist machinery. At HSS DIY: buy the materials, hire the tools, one order, all in one place.
What Does It Cost to Build a Garden Room?
A garden room in the UK typically costs between £10,000 and £35,000 fully installed, depending on size, specification, and finish. At the budget end, a basic insulated timber structure of around 3m × 3m might come in at £10,000–£15,000. A mid-range garden office or studio of 4m × 5m with electrics, insulation, and a quality finish typically runs £18,000–£28,000. Premium bespoke builds with full glazing, bi-fold doors, and high-end interiors can reach £35,000 or more.
Labour typically accounts for 40–60% of the total cost. DIYers who handle the groundworks and base themselves can save £1,500–£4,000 on that element alone. The base is also the part of the build where hiring rather than buying tools makes the most financial sense — you need a wacker plate, a concrete mixer, and possibly a mini digger for one job, not for life.
For a detailed breakdown of costs by size and specification, see: How Much Does a Garden Room Cost? (2026 Guide).
Choosing the Right Base Type
Not all garden room bases are the same. The right choice depends on your ground conditions, budget, the size of the structure, and how quickly you want to build. There are three main options used in the UK:
- Concrete slab
Best For: Most garden rooms, especially larger or heavier structures.
Notes: The most common and widely recommended base. Provides a solid, level, permanent foundation. Requires excavation, a compacted MOT Type 1 sub-base, formwork, and poured concrete. Typical thickness: 100–150mm. Curing time: 7–28 days before loading. - Ground screws
Best For: Sloped or uneven ground; sites where excavation is difficult.
Notes: Steel helical screws driven into the ground using specialist equipment. Fast to install (often one day), no concrete required, and fully reversible. More expensive than a concrete slab for materials but saves on labour and time. Not suitable for all soil types — check with the supplier. - Concrete piles
Best For: Soft or waterlogged ground; sites with poor load-bearing capacity.
Notes: Concrete columns poured into drilled or dug holes, with a timber or steel frame spanning between them. Keeps the structure off the ground, improving drainage and ventilation. More complex to set out and level than a flat slab but well suited to challenging sites.
PLANNING NOTE: Most garden rooms fall under permitted development rights and do not require planning permission, provided they meet certain conditions: single storey only, maximum eaves height of 2.5m, maximum overall height of 4m (pitched roof) or 3m (flat or other roof), the structure covers no more than 50% of the garden area, it is not forward of the principal elevation of the house, and it is not used as a separate dwelling or sleeping accommodation. Always check with your local planning authority if in doubt. Source: GOV.UK Planning Portal.
The Tools You'll Need: Hire vs Buy
Here's the honest truth about garden room groundwork: you need several pieces of heavy equipment that most DIYers don't own and shouldn't buy for a single project. A wacker plate, a concrete mixer, possibly a mini digger — these are tools you'll use once, then store in a garage for years. Hiring makes far more financial sense. Below is a breakdown of each key tool, what it costs to hire versus buy, and our honest verdict on which route to take.
1. Wacker Plate (Vibrating Plate Compactor)
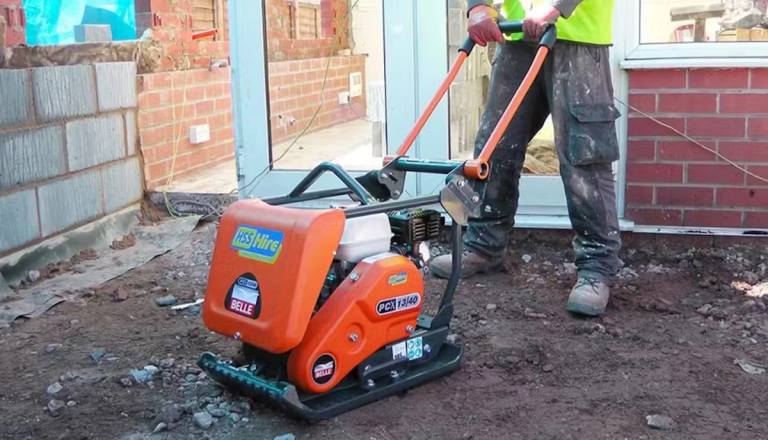
A wacker plate — also called a vibrating plate compactor or plate compactor — is essential for compacting your MOT Type 1 sub-base before you pour concrete. Without proper compaction, your sub-base will settle unevenly over time, causing the concrete slab above it to crack and shift. This is the single most common cause of failed garden room bases. The machine works by vibrating rapidly against the surface, forcing aggregate particles together and eliminating air voids. For a standard garden room base of 3m × 4m to 4m × 5m, you'll typically need to make 3–4 passes over the sub-base with a medium wacker plate. The job takes a few hours, not days.
Wacker Plate Hire | Plate Compactor Hire | Medium Wacker Plate (Flat Base)
- Hire (HSS DIY): From ~£40–£70/day | Buy New: £400–£900+
- Makes sense if hiring: One-off base project | Makes sense if buying: You do groundwork regularly
- Storage & maintenance: Not your problem (hire) | You sort it (buy)
- Verdict: Hire wins for DIY
★★★★★ Trustpilot Review | Verified Customer
"This machine did a good job on the hardcore base for my shed. I put down about 100mm of MOT Type 1, in two approx equal layers, vibrating in between, then topped with about 20mm of sharp sand. Final surface was good enough to play snooker on, so no problems about the suitability." — Andrew, Verified Trustpilot Review on HSS DIY Light Vibrating Wacker Plate
2. Concrete / Cement Mixer
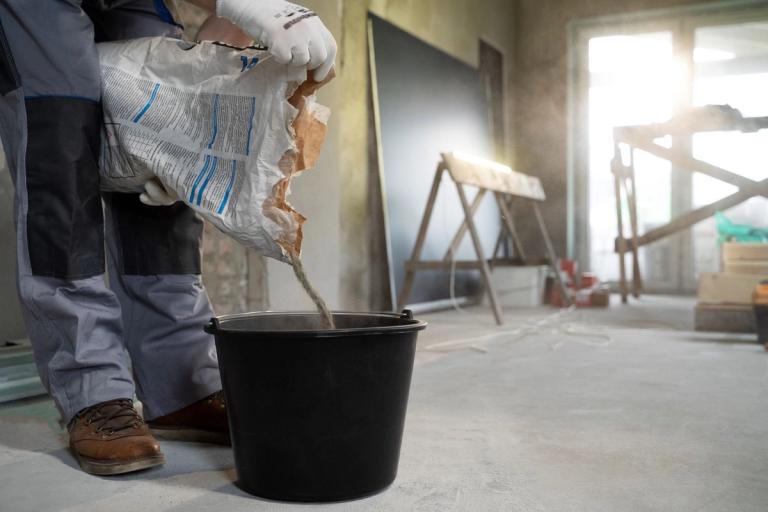
A concrete mixer — also called a cement mixer — is the tool that turns your dry materials (cement, sharp sand, aggregate, and water) into workable concrete. For a garden room base, you'll be mixing a significant volume: a 3m × 4m slab at 100mm depth requires roughly 1.2 cubic metres of concrete, and a 4m × 5m slab at 150mm depth requires around 3 cubic metres. Mixing by hand in a wheelbarrow is possible for very small volumes, but for anything above half a cubic metre it is slow, inconsistent, and physically exhausting. A drum mixer produces a far more consistent mix, which matters for slab strength and finish.
For most garden room bases, a 130–140 litre drum mixer is the right size. These are the standard hire units — compact enough to fit through a side gate, powerful enough to handle a full day of mixing. If you're pouring a large slab in one go, consider hiring two mixers or planning your pour in sections. The standard mix for a garden room base is C20 or C25 concrete (1 part cement : 2 parts sharp sand : 4 parts aggregate, with water added gradually until the mix is workable but not sloppy).
Concrete & Cement Mixer Hire | Concrete Mixer Tip-Up Electric (110V) | Concrete Mixer Tip-Up Petrol
- Hire (HSS DIY): From ~£45–£80/day | Buy New: £200–£600+
- Makes sense if hiring: Single project | Makes sense if buying: You mix concrete regularly
- Storage & maintenance: Not your problem (hire) | Needs cleaning after every use or drum ruins (buy)
- Verdict: Hire wins for DIY
★★★★★ Trustpilot Review | Verified Customer
"Great customer service, delivery and collection. Friendly staff. Oh, and the cement mixer did exactly what I wanted it to!" — Dave H, Verified Trustpilot Review on HSS DIY Concrete Mixer Hire
3. Rotating Laser Level
A rotating laser level — sometimes called a rotary laser or spinning laser — projects a 360-degree horizontal (or vertical) laser beam around the full perimeter of your work area. For garden room groundwork, it is the tool that lets you establish a perfectly level datum across the entire base area before you start digging, set your formwork at the correct height, and check that your finished slab is flat and true. Without a level datum, you risk pouring a slab that slopes — and a sloping slab means a sloping floor, which means doors that won't close, furniture that rocks, and a structure that looks wrong from the moment it goes up.
For a garden room base, you'll typically use the laser level at three stages: first to check the existing ground levels and calculate how much you need to excavate; second to set the top of your formwork boards at the correct finished slab height; and third to check the surface of the poured and screeded concrete before it sets. A good rotating laser level is accurate to ±1mm over 10m — far more precise than a spirit level or a water level, and far faster to use across a large area.
Hilti PR 2-HS Exterior Rotating Laser | Laser Level Hire Range | How to Use a Laser Level and Spirit Level
- Hire (HSS DIY): From ~£35–£65/day | Buy New: £300–£2,000+
- Makes sense if hiring: One-off project | Makes sense if buying: Surveying professionals / regular site use
- Verdict: Clear hire win — no contest for a DIYer
4. Mini Digger / Micro Excavator (If Needed)
A mini digger — also called a micro excavator — is not always required for a garden room base, but it becomes the right tool the moment your excavation depth exceeds what's practical by hand. If you're digging out 200–300mm of topsoil and sub-base across a 4m × 5m area, that's 4–6 cubic metres of material to shift. By hand, with a spade and a wheelbarrow, that's a full day of hard labour for two people. With a 1-tonne micro excavator, it's a couple of hours.
Micro excavators (up to 1.5 tonnes) are compact enough to fit through a standard garden gate (typically 800–900mm wide) and can be operated by a competent DIYer without specialist training, though you should always read the operator manual and follow safe working practices. They're ideal for stripping topsoil, digging out to formation level, and moving spoil to a skip or pile. For harder ground or larger areas, a 1.5–3 tonne mini digger gives more power and reach, though access becomes more of a consideration.
Mini Digger and Excavator Hire | Mini Digger Hire: Everything You Need to Know
- Hire (HSS DIY): From ~£150–£250/day (micro excavator) | Buy New: £8,000–£20,000+
- Makes sense if hiring: One-off excavation project | Makes sense if buying: Groundwork contractors only
- Verdict: Hire wins, no question
Your Step-by-Step Base Timeline
Here's a realistic breakdown of how long each stage of a concrete slab base takes for a typical garden room, so you can plan your hire days and your weekend accordingly.
- Planning & marking out — 1 hr. Mark out the footprint of your slab using pegs and string lines. Check for square using the 3-4-5 triangle method. Confirm levels across the site with your laser level and calculate your excavation depth (topsoil depth + sub-base depth + slab thickness).
- Excavation — 3–4 hrs. Strip topsoil and dig down to formation level. For a standard garden room base, you're typically removing 250–350mm of material (150mm sub-base + 100–150mm concrete + any topsoil above). Use a mini digger if the area is large or the ground is hard; a spade and mattock for smaller areas. Remove all spoil to a skip or stockpile.
- Sub-base preparation — 2–3 hrs. Lay MOT Type 1 hardcore in two layers of 75mm each, compacting each layer thoroughly with a wacker plate before adding the next. Check levels as you go. The finished sub-base should be firm, level, and consistent across the full area — no soft spots, no high points.
- Shuttering/formwork — 1–2 hrs. Fix timber boards (typically 150mm × 25mm) around the perimeter of the slab to contain the concrete pour. Set the top edge of the boards to your finished slab height using your laser level. Peg and brace the boards so they won't move under the weight of wet concrete. Check for square one final time.
- Damp-proof membrane — 30 mins. Lay a 1200-gauge polythene DPM over the compacted sub-base, lapping it up the inside of the formwork boards. Overlap any joins by at least 300mm and tape them. The DPM prevents ground moisture from wicking up through the slab — essential for a garden room that will be used as a living or working space.
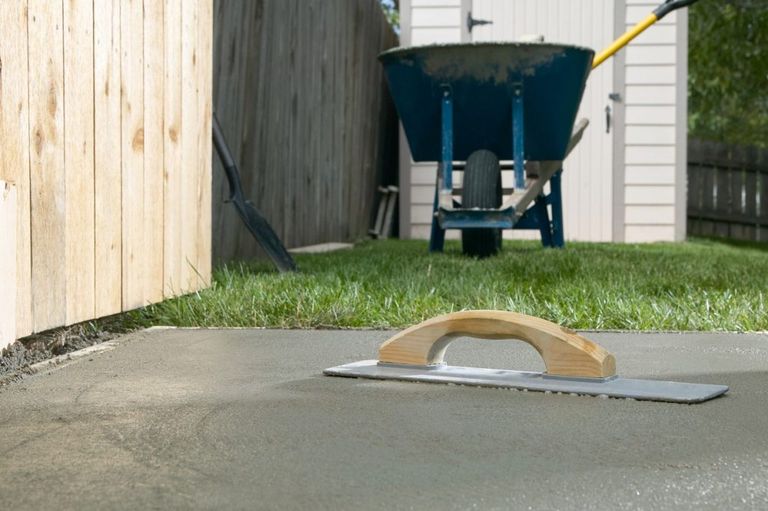
- Mixing & pouring concrete — 3–4 hrs. Mix your concrete in batches using a drum mixer (C20/C25 mix: 1 part cement : 2.5 parts sharp sand : 3.5 parts aggregate). Pour into the formwork, working from one end to the other. Compact with a tamping beam or screed board, working in a sawing motion to level the surface to the top of the formwork. Check levels as you go. Finish the surface with a float for a smooth finish, or leave tamped for a non-slip texture.
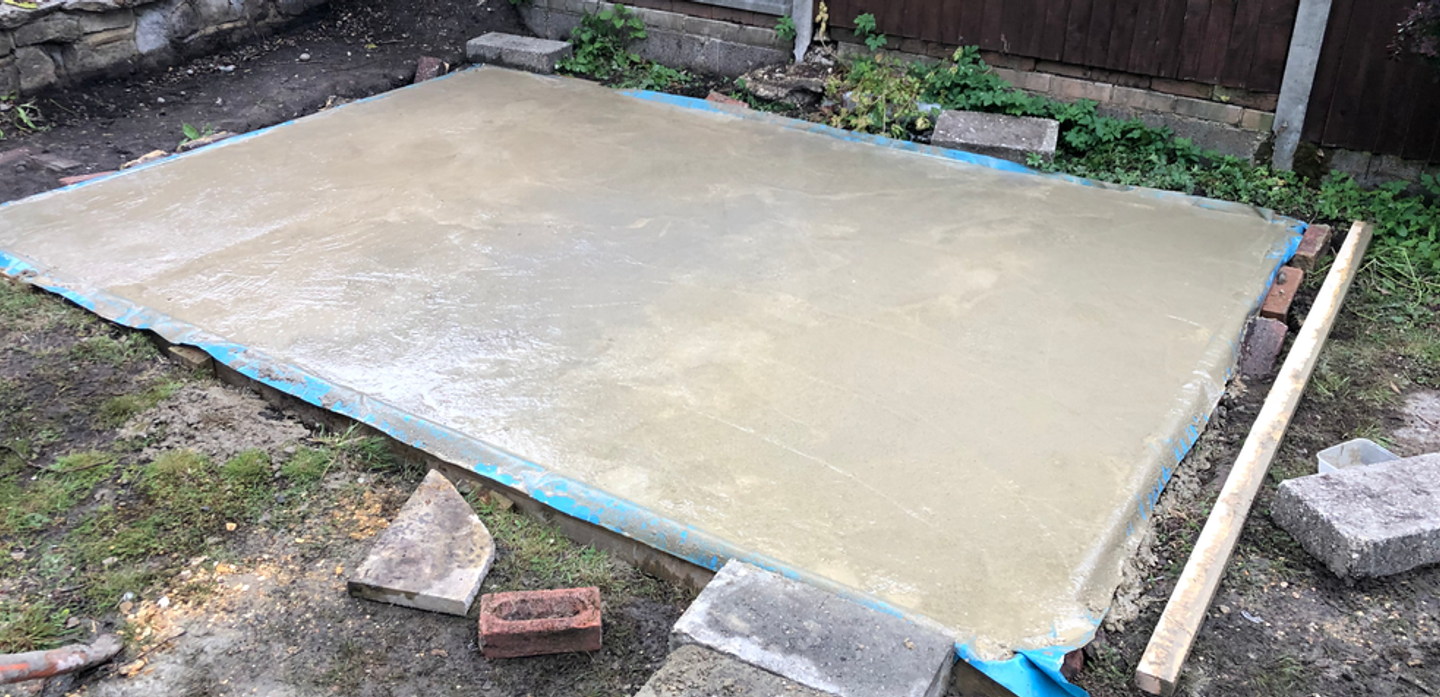
- Curing — 48 hrs minimum. Cover the slab with polythene sheeting or damp hessian immediately after finishing to slow the drying process and prevent surface cracking. Keep covered for at least 48 hours. The slab will be firm enough to walk on after 24–48 hours, but do not load it with the garden room structure for at least 7 days — and ideally the full 28 days for maximum strength.
CONCRETE MIX TIP: For a garden room base, use a C20/C25 mix at a ratio of 1 part cement : 2.5 parts sharp sand : 3.5 parts aggregate. Add water gradually — the mix should be workable and hold its shape when squeezed, but not sloppy or crumbly. A mix that's too wet will be weak; too dry and it won't compact properly. For full guidance on mixing ratios and technique, see the HSS DIY concrete guide.
Real Project Case Study: Garden Office in South Manchester
To give you a realistic picture of what a DIY garden room base actually involves, here's a breakdown of a real project: a 4m × 3m garden office base in South Manchester, completed over two weekends by a homeowner with no previous groundwork experience.
The site: A level rear garden with approximately 150mm of topsoil over clay subsoil. No significant slope. Access via a 900mm side gate. No underground services in the build area (confirmed via Dial Before You Dig).
The structure: A 4m × 3m timber-framed garden office with a single-pitch roof, insulated walls and floor, and a single glazed door and window. Total weight of the structure: approximately 1.2 tonnes.
Day 1 — Excavation, sub-base, and formwork
The homeowner hired a 1-tonne micro excavator for the day and stripped the topsoil across a 4.4m × 3.4m area (allowing 200mm overhang on each side for formwork). Total excavation depth: 300mm (150mm sub-base + 150mm concrete slab). Spoil was loaded into a hired skip positioned on the driveway.
MOT Type 1 was delivered in a 3-tonne bulk bag and laid in two 75mm layers, each compacted with a medium wacker plate hired from HSS DIY. A rotating laser level was used to check levels across the sub-base before formwork was set. Timber shuttering boards (150mm × 25mm CLS) were fixed around the perimeter and levelled to the finished slab height using the laser.
Day 2 — DPM, mixing, pouring, and finishing
A 1200-gauge polythene DPM was laid over the compacted sub-base and lapped up the inside of the formwork. The homeowner mixed a C25 concrete using a 140-litre drum mixer hired from HSS DIY, working through approximately 18 full drum loads over four hours. The concrete was poured in sections, tamped level with a screed board, and finished with a hand float. The slab was covered with polythene sheeting and left to cure for 10 days before the garden office frame was erected.
Hire costs: Micro excavator (1 day): £180. Wacker plate (1 day): £55. Concrete mixer (1 day): £60. Rotating laser level (1 day): £45. Skip hire: £180. Total hire and skip: approximately £520.
Materials: MOT Type 1 (3 tonnes): £120. Cement (10 bags): £90. Sharp sand (bulk bag): £75. Aggregate (bulk bag): £70. DPM, formwork timber, pegs: £45. Total materials: approximately £400.
Result: A level, solid 4m × 3m concrete slab, 150mm thick on a 150mm compacted sub-base, completed over two weekends. The garden office was erected on day 11 and has shown no movement or cracking after 18 months. Total base cost: approximately £920 in hire, skip, and materials — compared to a contractor quote of £2,400 for the same work.
BUY THE MATERIALS. HIRE THE TOOLS. One order, one delivery, everything you need to build a garden room base — concrete mixer, wacker plate, laser level, and all the materials — from hss.com. Next day delivery available on selected products. Order online 24/7.
Health & Safety: Don't Skip This Bit
Groundwork is physical, involves heavy machinery, and uses materials that can cause serious injury if handled carelessly. Cement is caustic — it will burn skin on prolonged contact, and wet concrete in boots or gloves is a genuine hazard. Before you start, read and follow these safety points.
- Wear gloves and eye protection at all times when handling cement, concrete, or operating power tools. Cement burns are slow to develop and easy to miss until the damage is done.
- Use ear defenders when operating a wacker plate or concrete mixer for extended periods. Both exceed 85dB — the threshold at which hearing damage begins.
- Always call Dial Before You Dig (0800 96 93 35) before any excavation. Underground gas, water, and electricity services are not always where you expect them. This call is free and could save your life.
- Never run a petrol-powered concrete mixer or generator in an enclosed space. Carbon monoxide is odourless and lethal. Keep petrol equipment in the open air at all times.
- Use a wheelbarrow to move wet concrete — do not carry it in buckets. Wet concrete is extremely heavy. A full 14-litre bucket weighs approximately 30kg. Wheelbarrow loads reduce strain and the risk of back injury.
- Keep children and pets away from the work area at all times. Excavations, heavy machinery, and wet concrete are all serious hazards.
- Barrier off freshly poured concrete until it has set. Wet concrete is slippery and caustic. Use temporary fencing or barrier tape to prevent accidental contact.
Safety, Ventilation & Extraction
Project Checklist: Garden Room Base
Use this checklist to track your progress and make sure nothing gets missed. Print it out or save it to your phone.
Pre-Start
- Confirm garden room footprint and orientation
- Check permitted development rules with your local planning authority
- Call Dial Before You Dig (0800 96 93 35) to check for underground services
- Calculate slab dimensions, depth, and concrete volume required
- Order all materials (MOT Type 1, cement, sharp sand, aggregate, DPM, formwork timber)
- Book tool hire (wacker plate, concrete mixer, laser level, mini digger if needed)
- Arrange skip or spoil removal
- Check weather forecast — avoid pouring concrete in frost or heavy rain
Day 1
- Mark out slab footprint with pegs and string lines
- Check for square using the 3-4-5 triangle method
- Establish datum level with rotating laser level
- Excavate to formation level — strip topsoil and dig to required depth
- Remove all spoil to skip or stockpile
- Lay first 75mm layer of MOT Type 1 and compact with wacker plate
- Lay second 75mm layer of MOT Type 1 and compact again
- Check sub-base levels with laser level — no soft spots or high points
- Fix formwork boards around perimeter and level to finished slab height
- Peg and brace formwork — check for square one final time
Day 2
- Lay 1200-gauge polythene DPM over sub-base, lap up formwork sides
- Overlap DPM joins by 300mm and tape securely
- Mix first batch of concrete (C20/C25: 1:2.5:3.5 ratio) and check consistency
- Pour concrete in sections, working from one end to the other
- Tamp and screed level to top of formwork boards
- Float surface to desired finish (smooth or textured)
- Check finished slab levels with laser level
Post-Pour
- Cover slab immediately with polythene sheeting or damp hessian
- Barrier off the area — keep children, pets, and foot traffic away
- Leave covered for minimum 48 hours
- Do not load slab with structure for minimum 7 days (28 days for full strength)
- Return hired equipment on agreed date
- Remove formwork boards after 7 days (optional — can be left in place)
Frequently Asked Questions
How thick does a concrete slab need to be for a garden room?
For a standard garden room or garden office, a concrete slab of 100mm (10cm) thickness is the minimum recommended. For heavier structures or softer ground, increase to 150mm. Always lay on a compacted sub-base of at least 100–150mm of MOT Type 1 hardcore beneath the concrete.
Do I need planning permission to build a garden room?
Most garden rooms fall under permitted development rights and do not require planning permission, provided they meet certain conditions: single storey only, maximum eaves height of 2.5m, maximum overall height of 4m (pitched roof) or 3m (flat/other roof), the structure covers no more than 50% of the garden area, it is not forward of the principal elevation of the house, and it is not used as a separate dwelling or sleeping accommodation. Always check with your local planning authority if in doubt. Source: GOV.UK Planning Portal.
Can I lay a garden room base myself as a DIYer?
Yes — laying a concrete slab base is well within the capability of a competent DIYer with the right tools and preparation. The key is not to rush: compact the sub-base properly, get your levels right with a laser level, and mix your concrete to the correct ratio. Hiring the right equipment from HSS DIY makes the job significantly easier and more professional.
Is it cheaper to hire tools or buy them for a garden room base?
For a one-off project, hiring is almost always cheaper. A wacker plate costs £400–£900+ to buy new; you can hire one for £40–£70/day. A concrete mixer costs £200–£600+ to buy; hire from £45–£80/day. Add in storage, maintenance, and the fact you'll use these tools once — hiring wins every time for a DIYer.
How long does a concrete slab take to set?
Concrete begins to set within 2–4 hours of pouring and will be firm enough to walk on after 24–48 hours. However, it does not reach full compressive strength for 28 days. Do not place heavy loads (like a garden room structure) on the slab until it has cured for at least 7 days, and ideally the full 28 days.
What is MOT Type 1 and do I need it?
MOT Type 1 is a crushed limestone or granite sub-base material graded to a specific specification. It compacts extremely well, drains freely, and provides a stable, load-bearing foundation beneath a concrete slab. Yes — you need it. Laying concrete directly on topsoil or uncompacted ground will result in settlement, cracking, and a failed base. Always lay at least 100–150mm of compacted MOT Type 1 before pouring concrete.
Get the Base Right and the Rest Follows
The base is the most important part of any garden room build. Get it right and everything else — the frame, the cladding, the insulation, the interior — goes up straight, level, and true. Rush it or skip steps and you'll be dealing with problems for years. With HSS DIY, you can hire all the groundwork equipment you need and order your materials in one place, with next day delivery available on selected products. Browse the full HSS DIY hire range.
Get DIY Happy.
Related HSS DIY Guides
Prices shown are indicative hire and buy rates as of July 2026 and subject to change. Always check hss.com for current pricing. HSS ProService Ltd.
Meet the people behind our Tips & Advice
From quick fixes to bigger DIY projects, get to know the people behind the guides helping you get the job done with confidence.