


Every garden needs a shed. It’s the perfect safe, dry storage solution for your gardening equipment, furniture, outdoor toys, BBQs and more.
A great shed is also a handsome natural timber addition to your outdoor space, blending beautifully with your lawn, trees, shrubs, flowers and fencing. So, it’s worth taking the trouble to build a shed that’s attractive and sturdy as well as useful — and that has to start with the foundations.
Without a firm and level base, your new outbuilding may start its life looking fresh, but it’ll be unusable before long.
Alternative types of shed base include timber (aka a portabase), plastic, and paving stones. However, in this article, we’re going to focus on the most reliable option: preparing and pouring a solid concrete slab.
You can hire all the tools and equipment you’ll need to lay a concrete base for your shed from the HSS range, so we thought we’d complete the service by providing instructions as well. Here’s our eight-step guide to laying a concrete slab worthy of your new shed-shaped pride and joy.
Step 1: Measure up and mark out
Once you’ve decided on the location, start by marking out the area for the slab. Make it wider and longer than the shed will be, and allow extra space for the formwork — that’s the technical term for the wooden frame that will go around the edge of the area to keep the concrete in place. Drive a wooden peg into the ground at each corner and run a taut length of string between them. Make sure the corners are square by measuring both diagonals. If they’re not precisely the same, you need to adjust.
Step 2: Dig out the base area
Below slab level, you’ll lay a 100mm sub-base and a damp-proof membrane. Therefore, you need to dig a level-bottomed pit 100mm deep. Be sure to remove all grass and other vegetation, stones and debris, then compact the earth. A micro excavator will make light work of the digging.
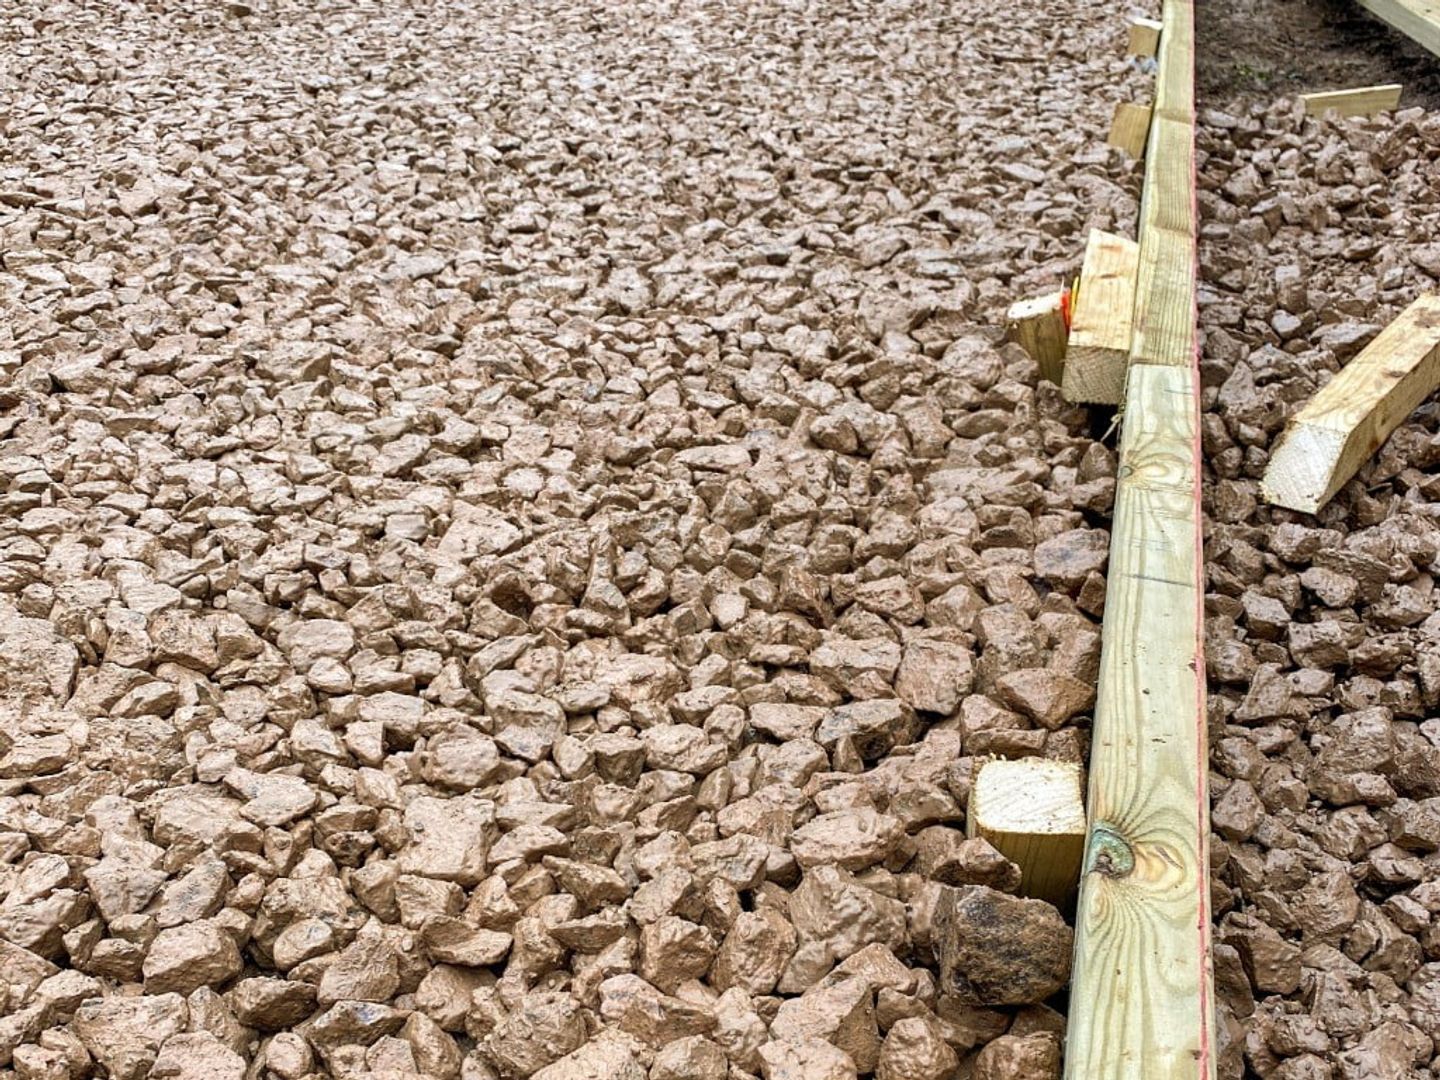
Step 3: Lay the sub-base
You can’t lay a concrete base directly onto soft ground, so a hardcore sub-base is essential. MOT Type 1 hardcore is the ideal material to choose. It’s the recommended sub-base for laying tarmac on roads and is readily available in jumbo packs from DIY stores and trade suppliers.
Once your gravel sub-base is in place, thoroughly compact it using an HSS light vibrating wacker plate. Spread a layer of sand on top to prevent the sub-base stones from puncturing the damp-proof membrane.
(Credit: Ceri Breeze) URL: https://www.istockphoto.com/
Step 4: Frame the slab area with the formwork
Construct a frame the size of the slab you’re creating, using 150mm x 25mm lengths of treated timber (a cordless power drill hired from HSS could come in very handy here). Be very careful that the formwork is square and level on all sides; otherwise, you’ll have an off-kilter shed.
Position the frame where the base will sit. Now drive wooden posts into the ground around the formwork at one-metre intervals. These will stop the planks from bowing out under the weight of the concrete. Use a spirit level to ensure that the top of the formwork and the posts are level on all sides.
Step 5: Add your damp-proof membrane (DPM)
Lay heavy-duty plastic sheeting over the entire sub-base with the edges turned up inside the formwork to form a tray. If there are any joints, make sure to overlap and tape them. This DPM serves two purposes:
- It prevents the concrete from drying out too quickly, potentially causing cracking.
- Minimises condensation problems in your shed.
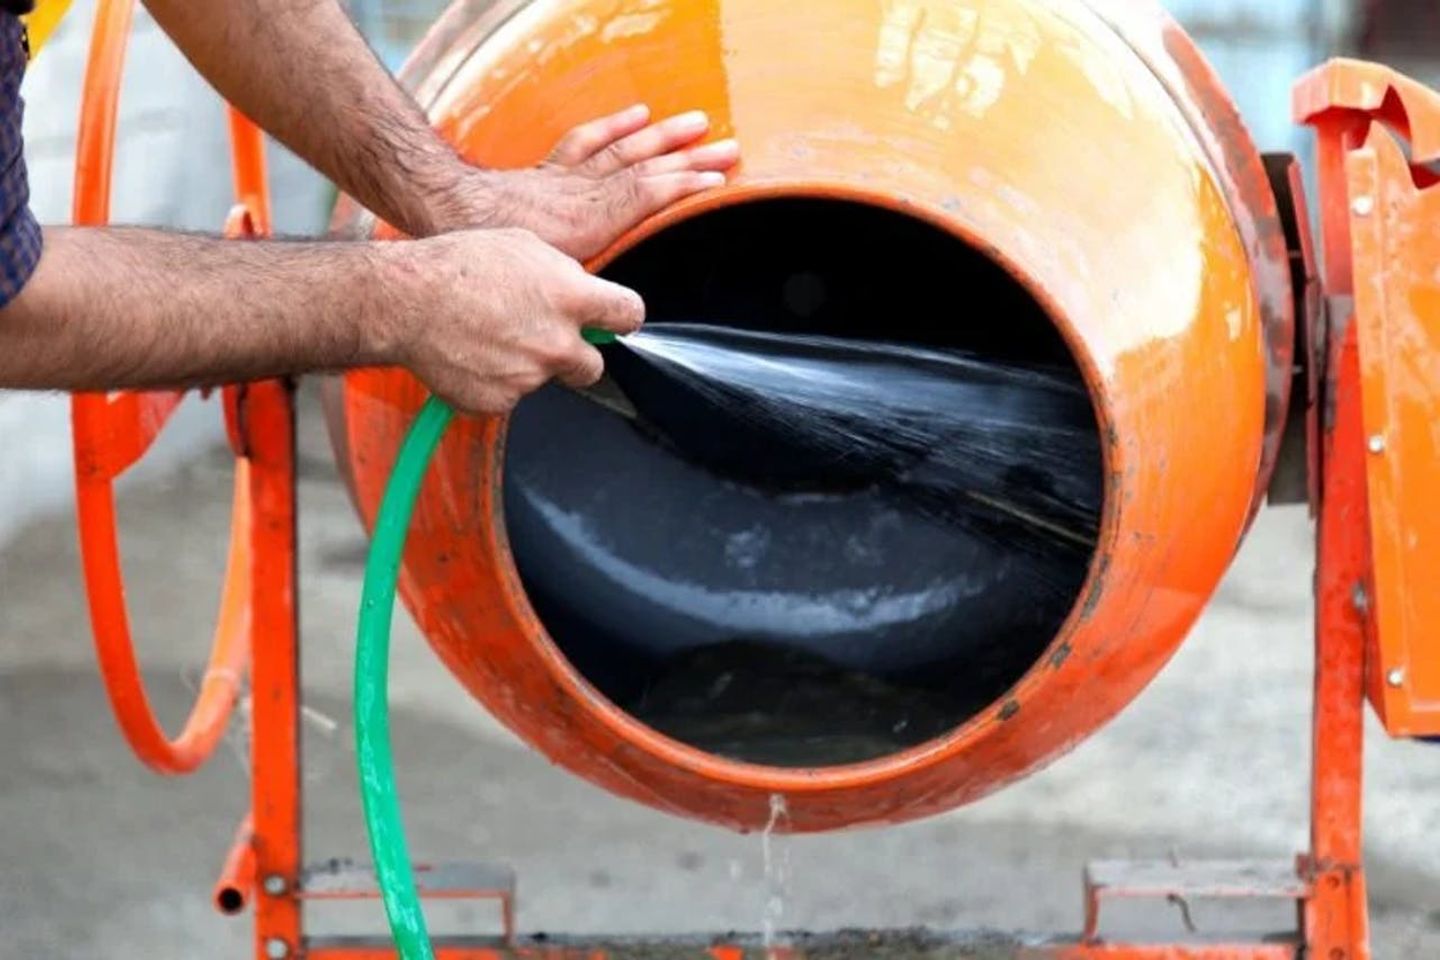
Step 6: Order the concrete and mixer
The first question to answer for the next phase is: how much concrete do I need for a shed base? The answer, in truth, isn’t as complex as you might think.
Multiply the length by the breadth by the depth of the slab, and you have the total volume of concrete required.
Order your concrete, hire an HSS concrete mixer, and you’re ready to roll. A standard concrete mix ratio suitable for a shed foundation is 1 part cement to 5 parts aggregate and sand. Ask your concrete supplier if you’re in any doubt about quantities.
(Credit: emrahkarakoc) URL: https://www.istockphoto.com/
Step 7: Mix, pour and spread the concrete
Cement is caustic and can do severe damage to your skin and eyes. Therefore, your highest priority should be working safely. Wear long sleeves and trousers, a hat, gloves, rubber boots and safety goggles at all times.
Once you’re ready to start, speed is of the essence because concrete starts to go off around two hours after mixed. For a slab the size of an average garden shed, you can transport the concrete from the mixer to the site by wheelbarrow — both of which are available to hire from HSS.
Bear in mind that working with concrete is a two-person job, as it’s essential to keep everything moving. A square metre of concrete is around 40 wheelbarrow loads!
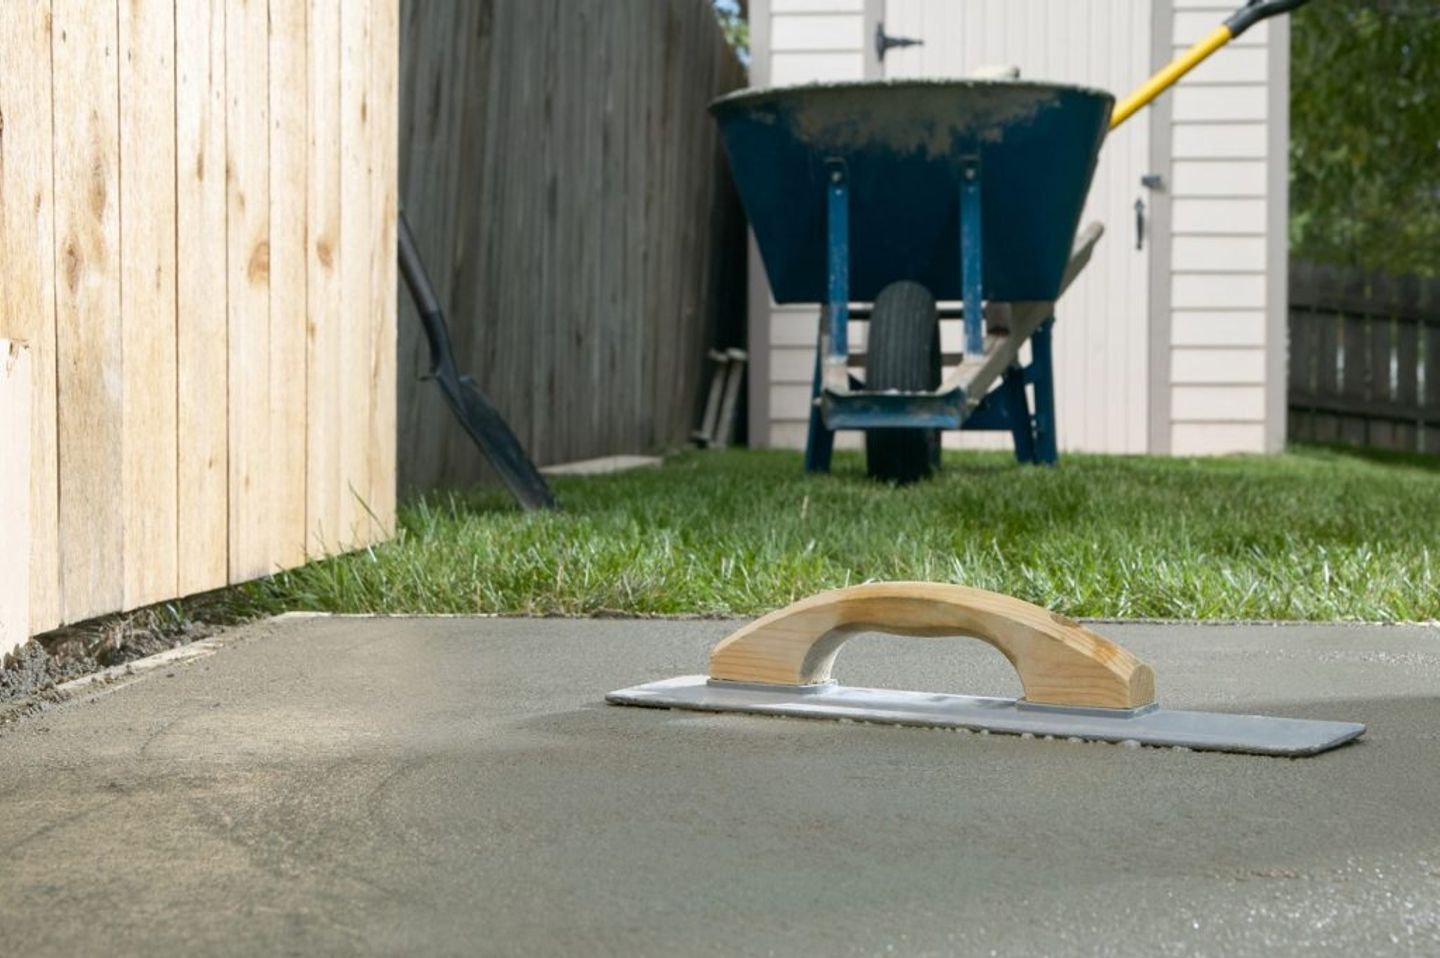
The freshly mixed concrete is reasonably wet, so once poured, it’s easy to spread with a shovel or rake. When all the concrete is down, slide a straight-edged wooden piece across to level and tamp it down. Repeat the tamping to create an even surface and get rid of any air bubbles. Finally, lay a raised polythene sheet over the concrete so it doesn’t dry too quickly because that’s how cracks can appear.
Step 8: Allow the concrete to cure
Your concrete shed slab will take at least 48 hours to be dry enough to walk on, but leaving it for longer is better. You can remove the formwork timber once it has dried, although it will take 28 days to cure and be ready to take a shedload of weight.
Need more information or ideas?
If you’re building a shed as part of a larger project (perhaps because you’ve just moved in), you may be taking on more home or garden improvements. If so, you’re in precisely the right place. Not only can we provide all the equipment you need at affordable rates, but you’ll also find a wealth of inspiration in the HSS Hire blog.


