
















⏱ Read time: 8 min | 🌿 Difficulty: Beginner | ⏰ Time: 1 day (8 hrs) | 👷 2 person
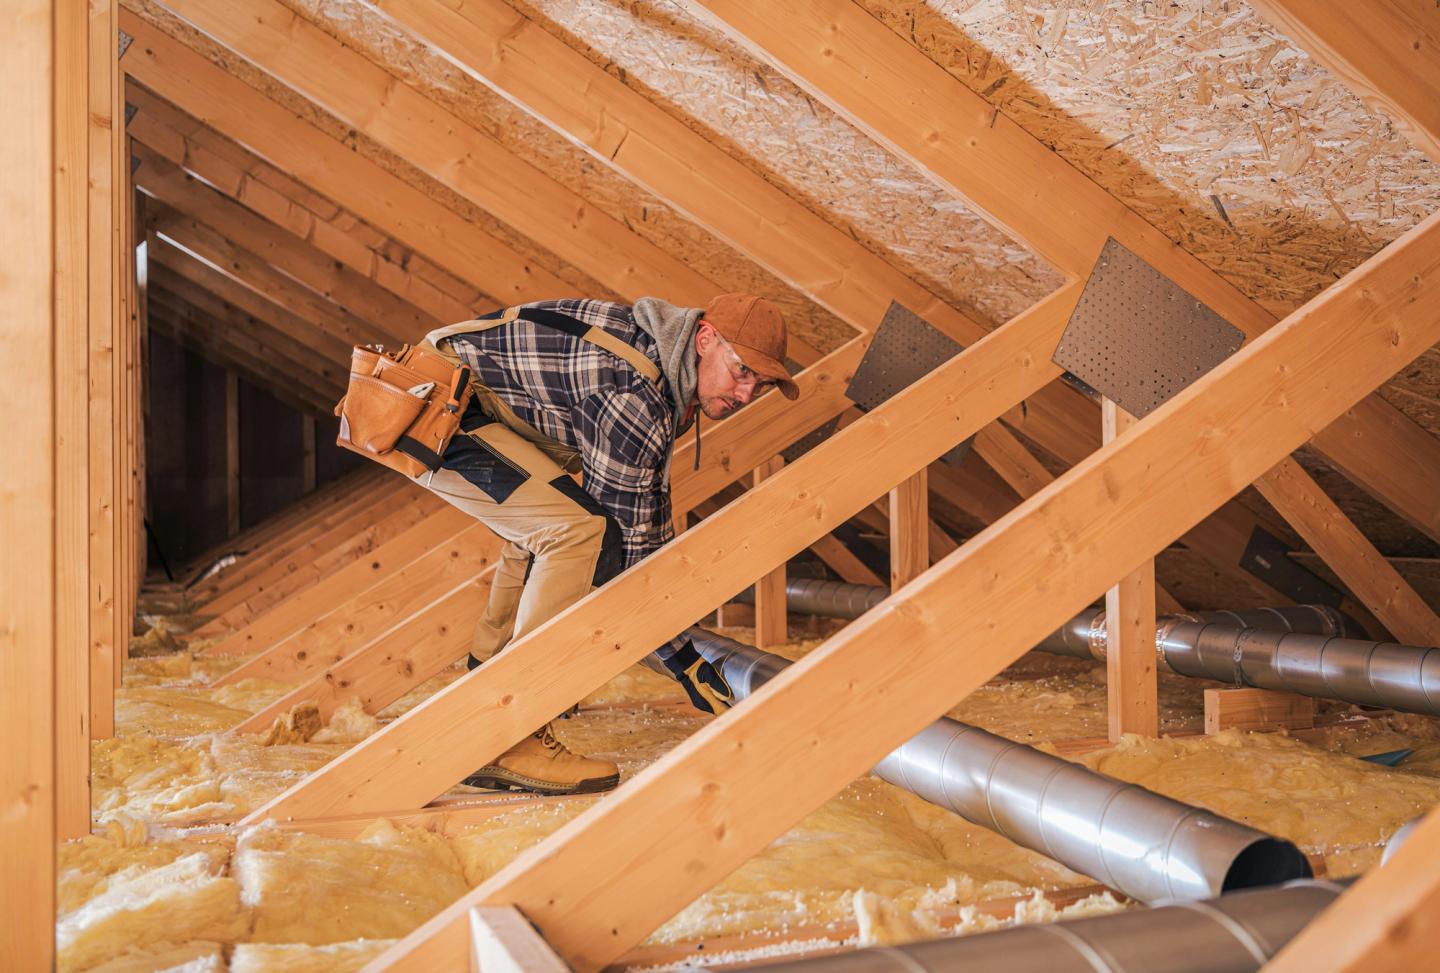
To insulate a loft, you’ll need to lay mineral wool rolls between the joists, then add a second layer at right angles over the top until you reach at least 270mm. Keep vents clear, lift cables above the insulation and skip the area under the water tank. Most DIYers can insulate an average loft in a day.
Your project in 30 seconds
- An uninsulated home loses around 25% of its heat through the roof.
- Aim for a total depth of at least 270mm of mineral wool loft insulation.
- Lay the first layer between the joists and the second layer across them.
- Never cover vents, cables or recessed lights, or insulate under the water tank.
- Doing it yourself in a typical three-bed semi costs roughly £320 to £490 in rolls.
In this guide
- Why insulate your loft before winter?
- Is your loft suitable for DIY insulation?
- How much loft insulation do you need?
- What tools and kit do you need?
- Should you hire or buy your kit?
- How to insulate a loft, step by step
- How do you stay safe in the loft?
- Worked example: a three-bed semi
- Frequently asked questions
Why insulate your loft before winter?
Because warm air rises, and without roof insulation a lot of the heat you pay for drifts straight out of the top of the house.
The Energy Saving Trust says an uninsulated home loses around a quarter of its heat through the roof. Topping up your loft insulation is one of the simplest ways to keep that heat where it belongs, and it pays you back every winter after.
Timing matters too. In July your loft is basically a sauna you didn’t ask for. By late September it’s cool enough to work in comfortably, and you’ll be done well before the first frost. Nobody wants to spend Christmas on the sofa in a bobble hat.
Is your loft suitable for DIY insulation?
If your loft is dry, easy to get into and sits under a pitched roof, installing loft insulation yourself is a very doable job.
The Energy Saving Trust recommends calling in a professional if any of these apply:
- Damp or condensation. Signs include wet patches, mould or rotten timbers. Fix the cause first. Our guide to spotting the early signs of damp will help.
- A flat roof. These need a different approach altogether.
- A room in the roof. Converted lofts need loft roof insulation fitted between the rafters, not across the floor.
This guide covers a cold loft, which means the insulation goes at ceiling level, across the loft floor, and the space above stays unheated.
How much loft insulation do you need?
You’ll need enough to give you a total depth of at least 270mm, which is the minimum current building regulations recommend for mineral wool.
Measure the length and width of your loft floor and multiply them to get the area in square metres. Divide that by the coverage on the roll, round up, and add one spare for offcuts. Joists are usually 400mm or 600mm apart, and our Knauf combi-cut rolls split neatly into 380mm or 570mm widths so they fit snugly between them.
Here’s how our most popular loft insulation rolls compare, so you can pick the right one for each layer.

What tools and kit do you need?
Not much. Your insulation rolls, some basic safety gear and a good light will cover most lofts.
- Loft insulation rolls in the right depths (see the table above).
- A respirator or dust mask. Try our sanding and loft insulation respirator.
- Safety goggles and gloves. Mineral wool fibres itch like mad. Find them in our safety glasses and goggles and PPE ranges.
- Long sleeves or a disposable coverall. Tuck your sleeves into your gloves.
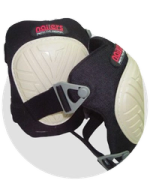
- Knee pads. Our non-marking knee pads make kneeling on joists far less painful.
- A good light. Hire a rechargeable LED work light or grab a head torch from our torches range.
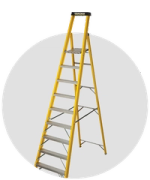
- Safe loft access, such as a loft ladder or a hired combination ladder.
- A sturdy board to kneel on and a tape measure.
- A long serrated knife or insulation saw. An old bread knife works a treat. Just don’t put it back in the kitchen drawer.
- Pipe lagging, and insulation and draught strip for the hatch.

Should you hire or buy your kit?
Buy the materials and safety gear you’ll keep. Hire the bigger kit you’ll only need for a day or two.
This table compares hiring and buying for the main items on your list, so you only spend where it makes sense.
How to insulate a loft, step by step
Plan for a full day. The morning is for checks and the first layer, and the afternoon is for the second layer and finishing touches.
Each step below follows the same order: what to do, then what to watch out for.
1. Check the loft
What to do: Look for damp, blocked vents, damaged timbers and any recessed downlights poking up through the ceiling.
Watch out: If you find downlights, fit covers designed for use under insulation, or ask an electrician.
2. Clear and prep the space
What to do: Move stored items out and lift any boards covering the joists. Put your kneeling board across the joists so you have somewhere safe to work.
Watch out: Only ever step on joists. A foot through the ceiling makes a great dinner-party story, but an expensive one.
3. Lift cables clear
What to do: Raise electrical cables so they sit on top of the insulation, not buried beneath it.
Watch out: Covering cables can make them overheat. If you’re unsure, stop and ask a qualified electrician.
4. Lay the first layer
What to do: Start at the eaves and unroll the 100mm roll between the joists, working back towards the hatch. Cut it to length with your knife.
Watch out: Stop short of the eaves so air can still flow in from outside. Blocked vents lead to condensation.
5. Lay the second layer
What to do: Roll the thicker layer at right angles across the joists. This covers the tops of the joists and stops heat escaping through them.
Watch out: Don’t squash it. Compressed insulation traps less air and works less well.
6. Finish the tank, pipes and hatch
What to do: Insulate the sides and lid of any water tank and lag exposed pipes. Stick a slab of insulation to the top of the hatch and fit a draught strip round the frame.
Watch out: Leave the area under the tank bare. Warmth from below stops it freezing.
Prefer to watch first? Knauf, who make the Loft Roll 44 we stock, have a handy video that walks you through it. For more how-to videos, head to our HSS DIY YouTube channel.
Your project timeline
Here’s how the whole project fits together, from first look to final check.
How do you stay safe in the loft?
Cover up, light the space well and take regular breaks.
- Protect your skin, eyes and lungs. Wear gloves, goggles, long sleeves and a mask the whole time you’re handling insulation.
- Use safe access. Make sure your ladder is secure before you climb, and pass rolls up to a helper rather than carrying them.
- Keep cool and hydrated. Lofts get stuffy even in autumn, so come down for a cuppa every hour or so.
- Watch out for old vermiculite. Loose grey or brown granules in older lofts can contain asbestos. Don’t disturb them. See the HSE’s asbestos guidance and get a professional to check.
Worked example: a three-bed semi
For a typical 42m² loft, doing it yourself costs a fraction of a professional install.
We’ve priced up a loft this size using our Knauf rolls, rounding up to whole rolls. Your own figures will depend on your loft’s size and what’s already up there.
The Energy Saving Trust puts the cost of having 270mm installed professionally at around £750. Do it yourself and you save the difference. You also get to tell everyone you did it yourself. Repeatedly.
What our customers say
Loft insulation project checklist
Print it, stick it on the loft hatch and tick things off as you go. It covers prep, what to order, install day and the follow-up check.
Before you start
☐ Check the loft is dry, with no damp or mould
☐ Check it isn’t a flat roof or a room in the roof
☐ Check for old vermiculite (don’t touch it)
☐ Find vents, cables, downlights, the tank and pipes
☐ Measure the loft floor area
☐ Work out how many rolls you need, plus one spare
☐ Arrange a helper for the day
Order from HSS DIY
☐ 100mm rolls for between the joists
☐ 170mm or 200mm rolls for across the joists
☐ Respirator or dust mask
☐ Goggles and gloves
☐ Knee pads
☐ Coverall or long sleeves
☐ Work light or head torch
☐ Ladder for loft access
☐ Pipe lagging
☐ Hatch insulation and draught strip
Install day
☐ Clear stored items and lift boards
☐ Place a kneeling board across the joists
☐ Lift cables so they sit on top
☐ Fit covers over recessed downlights
☐ Lay the first layer between the joists
☐ Leave the eaves clear for airflow
☐ Lay the second layer across the joists
☐ Insulate the tank sides and lid (not underneath)
☐ Lag exposed pipes
☐ Insulate and draught-strip the hatch
Afterwards
☐ Check for condensation on the first cold morning
☐ Store items on raised loft boards, not on the insulation
☐ Return any hired kit
Frequently asked questions
Can you put new loft insulation over old insulation?
Yes, as long as the old insulation is dry and in good condition. Lay the new layer at right angles over the top. If it’s damp, mouldy or has been squashed flat by storage, take it out first.
Should I insulate between the rafters instead?
Only if you want a warm loft, such as a loft conversion or heated storage space. Loft roof insulation between the rafters needs an air gap and careful ventilation, so get expert advice before you start.
Can loft insulation cause condensation?
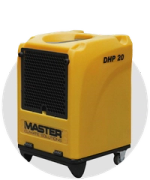
It can, if it blocks the airflow at the eaves. Keep vents clear and check the underside of the roof on a cold morning. If you spot damp, our guide on how to use dehumidifiers can help dry things out.
How long does loft insulation last?
Around 40 years if it’s installed correctly and kept dry, according to the Energy Saving Trust.
Can I insulate a loft on my own?
Yes. A second person makes it quicker and safer, though, especially for passing rolls up the ladder.
Is there any funding for loft insulation?
Some households may qualify for help through government schemes, which change from time to time. Check the latest eligibility on the Ofgem website before you buy.
Ready to beat the winter chill?
Insulating your loft is one of those jobs that takes a day and keeps giving for decades. Get the depth right, keep the vents and cables clear, and look after the tank and hatch. Then put the kettle on and enjoy a warmer house all winter.
At HSS DIY, we’re The Home of Great Projects. Hire or buy online 24/7, get next day delivery, and pick up everything you need for the job, from loft insulation rolls to work lights and PPE, in one order. If your order includes several items, they may arrive in separate deliveries.
Buy the materials. Hire the tools. One order. All in one place.
Get DIY Happy
Meet the people behind our Tips & Advice
From quick fixes to bigger DIY projects, get to know the people behind the guides helping you get the job done with confidence.