


















⏱ Read time: 7 min | 🌿 Difficulty: Beginner | ⏰ Time: Half a day (4 hrs) | 👷 1 person
Did you know that damp can rotten your floorboards, crumble plaster, and create a mould problem that affects your family's health?
The good news is that catching it early, drying it out properly, and monitoring moisture levels is a realistic DIY job for most homeowners. This guide walks you through every step, from spotting the early signs of damp to knowing when to get a dehumidifier.
Why does spotting early signs of damp matter?
According to the UK Health Security Agency, around 2 million people in England are currently living in homes with significant damp or mould.
Most damp problems start small — a slow drip under the kitchen sink, condensation pooling behind a sofa, or rainwater working its way in around a window frame over winter.
Left untreated, that small damp patch can lead to:
- Plaster damage and crumbling brickwork
- Timber rot in joists, frames, and floors
- Black mould growth (which can affect respiratory health)
- Damaged floor coverings, wallpaper, and paintwork
- A repair bill that runs into thousands of pounds
Finding these signs of damp early can help prevent these issues that, let’s face it, we really don’t need!
The difference between a half-day DIY fix and a full remediation job often comes down to catching it early enough. That is where a moisture meter and a well-aimed air mover earn their keep.
Six signs of damp to look out for
The UK climate makes damp a year-round issue, but it is particularly common in autumn and winter when condensation builds, gutters overflow, and rain hammers away at tired pointing. Here is what to keep an eye on:
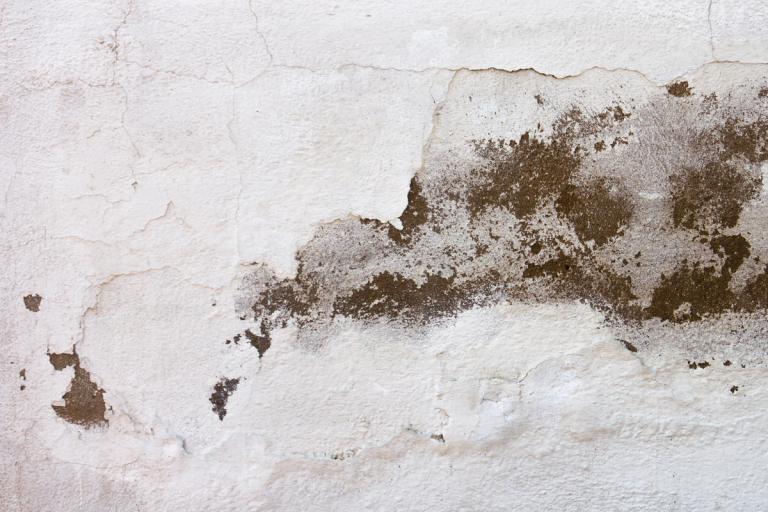
- Tide marks and staining — Yellow or brown watermarks on walls or ceilings. Moisture has been there and dried out, leaving a mineral residue behind.
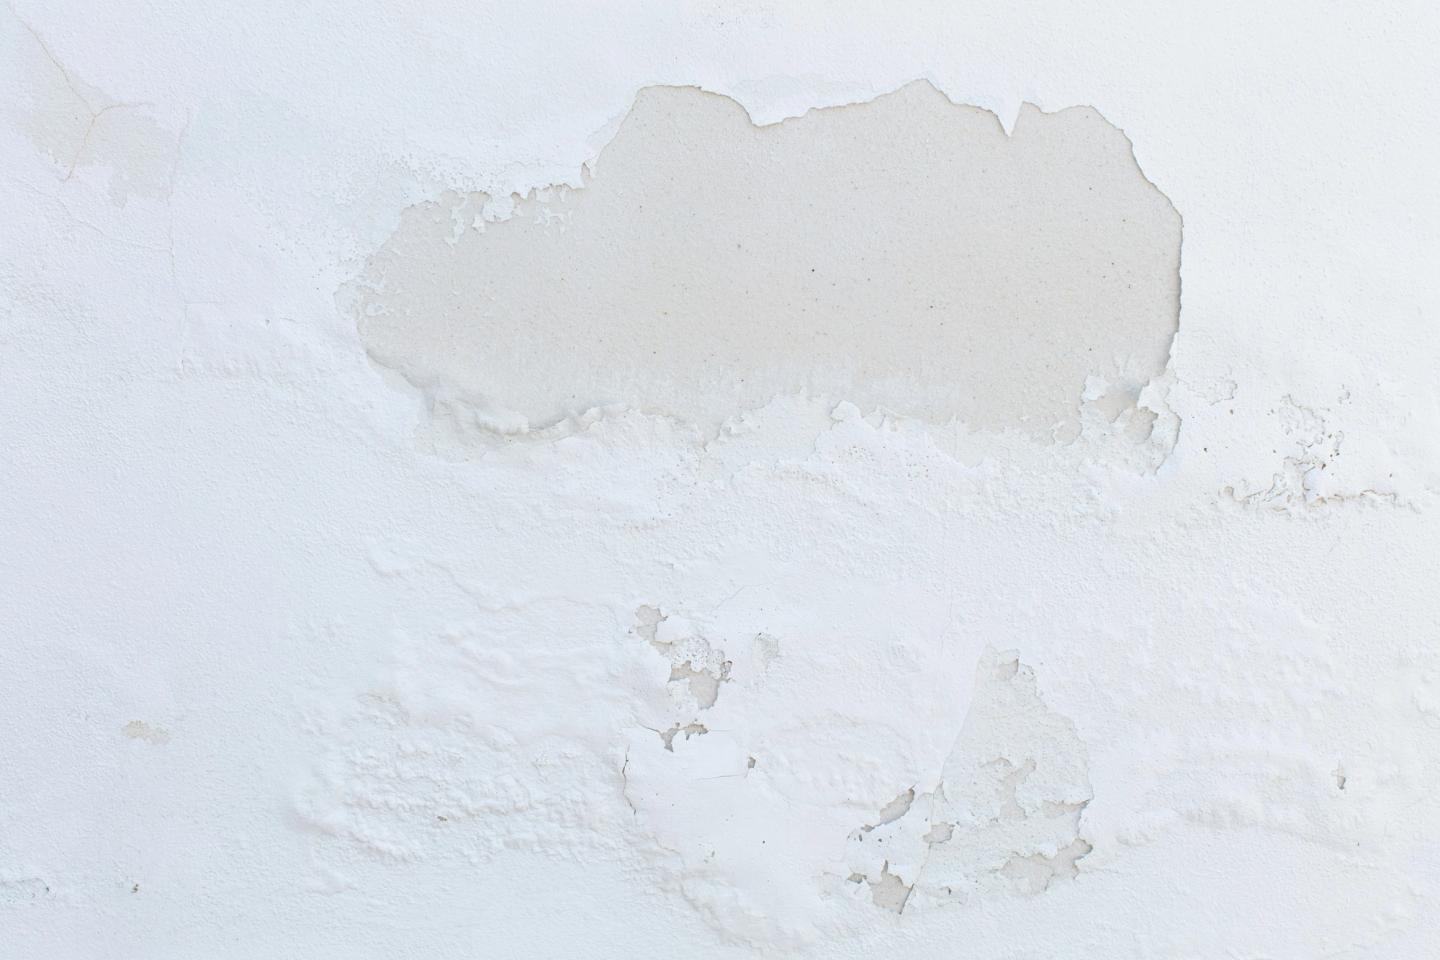
- Peeling or bubbling wallpaper and paint — When the surface behind wallpaper or paint gets wet, it loses adhesion. Bubbling or lifting edges are a fairly reliable tell.
- A persistent musty smell — That classic damp smell is caused by mould spores that thrive in moisture. If a room smells like an old caravan, trust your nose.
- Soft or spongy plaster — Press the wall with your fingertip. Sound plaster is hard and firm. Plaster that has absorbed moisture will feel softer or crumbly at the edges.
- Condensation patterns — Regular condensation in the same spot, especially around windows, external walls, or in corners, signals that cold surface temperatures and indoor humidity are combining to create a problem.
- Dark spots or fuzzy patches — Early-stage mould can appear as small grey, green, or black spots. Do not ignore them.
Reading a moisture meter
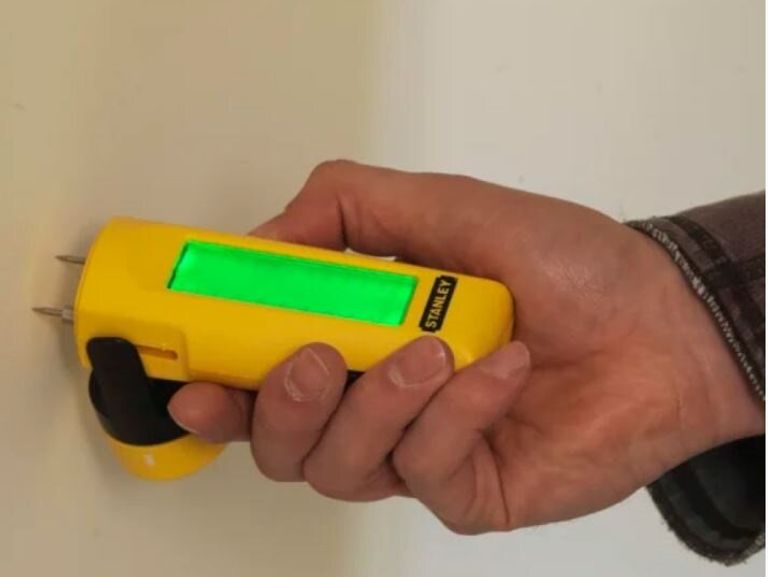
If you think you might have damp in your home, it’s best to get yourself a moisture reader and start investigating.
A pin-type moisture meter pushes two small electrodes into the material and measures electrical resistance — wetter material conducts better, giving a higher reading. Most consumer meters display a percentage moisture content (MC) for wood, or a relative scale for masonry. Here's what the numbers mean:
- Below 16% — dry and safe. No action needed beyond monitoring.
- 16–20% — elevated. Investigate the source; increase ventilation.
- 20–26% — wet. Active drying required; mould risk is significant.
- Above 26% — saturated. Structural damage likely; consider professional assessment.
Source: dcileakdetection.co.uk
Take readings at multiple points around the visible patch -
- at the centre
- at the edges
- 30 cm beyond the visible stain
Moisture often travels further than the visible damage suggests. Log your readings with the date so you can track whether the area is drying or getting worse.
Small leak drying guide
If you’ve used the moister meter and gotten a reading for damp, here’s what to do next.
- Stop the source. Before any drying work begins, the water ingress must be stopped.
Turn off the water supply if it's a plumbing leak, repair the roof or render if it's rainwater ingress, or improve ventilation if it's condensation.
Drying a room while the source continues is futile. - Remove saturated materials. Carpets, underlay, and heavily saturated plasterboard that cannot be dried in place should be removed and disposed of.
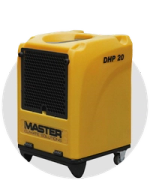
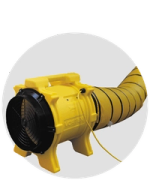
Trying to dry them in situ traps moisture and extends drying time significantly. - Hire some drying equipment from HSS DIY. To help the drying process along, hire an air mover and dehumidifier.
The air mover evaporates moisture into the air; the dehumidifier removes it from the air. Running one without the other is less effective.
Position the air mover so it blows across the wet surface at a low angle — not directly at it.
This creates a high-velocity boundary layer of air that speeds up evaporation.
For a wall patch, angle the unit so the airflow skims the surface. For a floor, point it along the floor rather than straight down.
Next you’ll need the dehumidifier. Close windows and doors to keep the humid air in the room where the dehumidifier can capture it. - Monitor daily. Take moisture meter readings at the same points each day and log them.
A properly set-up drying system should show measurable improvement within 24–48 hours.
If readings are not dropping, check that the source is truly stopped and consider adding a second air mover or a larger dehumidifier. - Confirm dry before making good. Do not replaster, repaint, or relay flooring until moisture readings are consistently below 16% across the entire affected area.
Sealing moisture in behind new finishes is one of the most common DIY mistakes and leads to the problem recurring within months.
Prices to hire drying equipment
Air Mover — from £35/day — Hire at HSS*
Dehumidifier — from £40/day — Hire at HSS*
Pumping and Drying range — full range — Browse at HSS*
*Prices are subject to change. Always check on the HSS DIY website for up to date and accurate pricing.
Hire vs buy
When it comes to any DIY project, knowing how you’ll get the tools and materials together is important.
Should you hire or buy? Here’s what we think.
- Air Mover — We’d recommend both. Hear us out!
If you're a tradesperson, landlord or a property manager dealing with leaks regularly, buy an air mover. You'll be using it regularly and getting your money’s worth.
Tackling your own DIY project? Definitely hire.
Hiring an air mover for a few days is far more cost-effective than buying one that will just sit in a cupboard once the job’s done. - Moisture Meter — We’d say buy.
At under £20, a basic moisture meter is worth owning permanently. You'll use it to monitor the drying process, check before decorating, and carry out annual checks around windows, pipes, and roof spaces. - Compact Dehumidifier — Either. If you live in a consistently damp property or have a basement, buying makes sense. For a one-off drying job, hire is the better value.
Browse the full Pumping and Drying hire range as well as our moister detectors online.
How long will it take to fix damp in my home?
Everyone’s project timeline will be different but here’s a rough idea.
- Day 1 (2–4 hours): Identify and stop the source, remove saturated materials, take baseline moisture readings, set up air mover and dehumidifier.
- Days 2–4: Run equipment continuously. Take daily readings. Empty dehumidifier tank as needed (or connect to a drain).
- Day 5–7: Confirm readings below 16% across the full affected area. Return hire equipment.
- Week 2: Replaster, repaint, or relay flooring as required.
- Ongoing: Monthly moisture checks for three months. Consider HSS project bundles for combined hire and buy packages.
Health and safety points
- Isolate electrics before investigating. If the damp patch is near a socket, light fitting, or consumer unit, turn off the circuit at the fuse board before touching anything. Water and electricity are a fatal combination.
- Wear a P2 dust mask when disturbing mould. Mould spores become airborne when disturbed and can cause respiratory irritation, particularly in people with asthma or allergies.
- Use nitrile gloves when handling wet materials. Saturated plaster and damp timber can harbour bacteria, particularly if the water source was a drain or grey water pipe.
- Ventilate when using mould-treatment sprays. Biocidal sprays contain active chemicals that should not be inhaled. Open windows and wear eye protection.
- Do not run extension leads under wet flooring. Route cables safely and use RCD-protected sockets for all drying equipment.
- Wear appropriate PPE throughout. See PPE and workwear at HSS DIY for masks, gloves, and eye protection.
The bottom line
Damp is one of those problems that rewards early action disproportionately.
A £19 moisture meter and a few days of hired drying equipment can resolve a problem that, left for six months, would require a specialist contractor and a four-figure bill.
The process is straightforward: stop the source, remove what can't be dried in place, move air across the wet surface, capture that moisture with a dehumidifier, and confirm with a meter before you redecorate. Don't guess — measure.
Everything you need — from moisture meters to air movers to dehumidifiers — is available to hire or buy at hss.com. If you're not sure which equipment suits your job, get in touch with our live chat experts for a helping hand.
Early Damp Detection Drying Checklist
Use this checklist to help you spot early signs of damp and tick them off as you go.
- Identify and stop the water source
- Check for visible signs: tide marks, peeling paint, bubbling plaster
- Take baseline moisture meter readings at centre, edges, and 30 cm beyond
- Log readings with date and location
- Remove saturated carpets, underlay, or plasterboard
- Set up air mover at low angle across wet surface
- Set up dehumidifier in same room; close doors and windows
- Take daily readings and log progress
- Empty dehumidifier tank daily (or connect to drain)
- Confirm all readings below 16% before making good
- Apply mould-resistant primer before redecorating
- Carry out monthly moisture checks for three months after repair
- Return hire equipment once drying is confirmed complete
What HSS DIY customers say
⭐⭐⭐⭐⭐ "The moisture meter was exactly what I needed. Arrived next day, easy to use, and gave me the confidence to know when the wall was actually dry before I redecorated." — Sarah
⭐⭐⭐⭐⭐ "Hired an air mover and dehumidifier after a washing machine leak. The HSS team advised me on exactly what I needed. Had the room dry in four days." — James
See more reviews at https://www.trustpilot.com/review/www.hss.com
FAQs
How long does it take to dry out a damp patch?
A localised damp patch in plaster or timber typically takes three to seven days to dry to below 16% moisture content when using an air mover and dehumidifier together.
Thicker masonry walls or concrete floors can take two to three weeks. The key variable is whether the source has been fully stopped.
Can I just use a fan instead of an air mover?
A household fan will help but is significantly less effective.
Air movers are designed to produce a high-velocity, low-turbulence airflow close to the surface, which is far more efficient at breaking the boundary layer of humid air that sits on a wet surface.
For a small patch, a fan might add two to three days to the drying time.
What moisture reading is safe to paint over?
Below 16% for timber and plaster.
For masonry, most manufacturers recommend below 20% for standard paints, though mould-resistant primers can be applied at slightly higher levels. Never paint over a reading above 20% with a standard emulsion.
Is it worth hiring a dehumidifier or should I buy one?
For a one-off drying job, hiring is almost always better value.
A week's hire costs less than a third of the purchase price of a comparable unit.
If you have a persistently damp basement or a property with chronic condensation issues, buying makes more sense over the long term.
How do I know if the damp is rising damp or a leak?
Rising damp typically appears as a tide mark at a consistent height (usually below 1 metre), affects the base of external walls, and is often accompanied by white salt deposits (efflorescence).
A leak tends to be more localised, may appear at any height, and often has a clear relationship to a pipe, fitting, or roof element above it.
A moisture meter can help map the extent, but a damp surveyor may be needed to confirm rising damp definitively.
Can I treat the mould myself?
For surface mould on a small area (less than 1 square metre), yes.
Use a biocidal mould spray, allow it to dwell for the time specified on the label, then wipe away.
Wear a P2 mask, gloves, and eye protection.
For larger areas, or if the mould has penetrated into the substrate, call a professional — disturbing large mould colonies without containment can spread spores throughout the property.
Meet the people behind our Tips & Advice
From quick fixes to bigger DIY projects, get to know the people behind the guides helping you get the job done with confidence.