


















⏱ Read time: 9 min | 🌿 Difficulty: Beginner | ⏰ Time: 2 days (16 hrs) | 👷 1 person
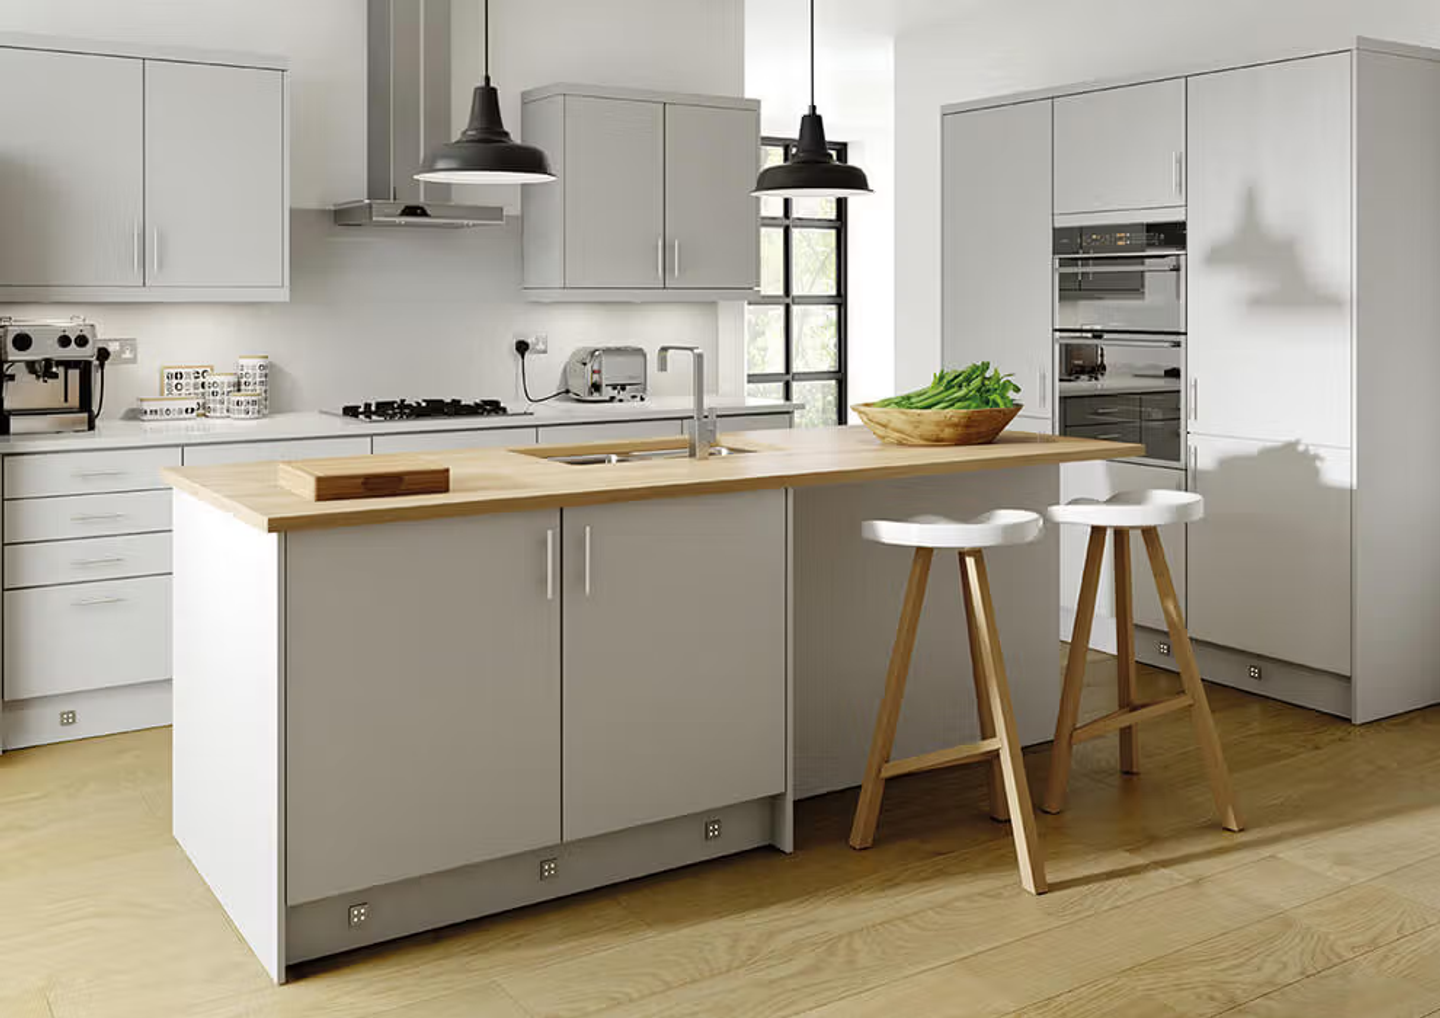
Quick answer: You can transform a tired kitchen before Christmas without replacing a single unit. Deep clean, reseal the sink and worktops, repaint the cupboard doors, freshen the walls and swap the handles. Most DIYers can finish this affordable kitchen makeover over two or three weekends for under £300, leaving plenty of time for decorating the kitchen for Christmas.
Key takeaways
- Updating a kitchen without replacing cabinets costs a fraction of a refit.
- Grease is the enemy. Paint and silicone won't stick to it.
- A bonding primer is what makes painted cupboard doors last on shiny surfaces.
- Start by mid-November so everything cures in time.
- Hire the one-off tools, buy the consumables and get the lot in one order from HSS DIY.
In this guide
- What does a no reno kitchen makeover include?
- How long does a kitchen refresh take?
- What does a cheap kitchen makeover cost, and should you hire or buy?
- How do you refresh your kitchen? Six simple steps
- What health and safety points should you consider?
- What our customers say
- Download your kitchen refresh checklist
- Frequently asked questions
- Ready for the big day?
What does a no reno kitchen makeover include?
A no reno (better known as a renovation) makeover is a cosmetic kitchen refresh. Units, worktops and plumbing stay put; you just change how they look.
Think of it as a fascia-lift rather than a full rebuild. Kitchen carcasses usually outlast their doors by years, so ripping them out is often money down the drain. If you're after a bigger change, such as new worktops or units, our kitchen refurbishment guide and Kitchen Refresh project page have you covered.
How long does a kitchen refresh take?
We’d recommend your kitchen refresh would take up to 16 hours of hands-on work, which is two full days. Drying and curing times mean it works best spread over three weekends.
As Christmas Day 2026 falls on a Friday, here’s how we’d schedule it, with hands-on hours only (drying time comes on top).
What does a cheap kitchen makeover cost, and should you hire or buy?
A kitchen makeover on a budget usually costs £150 to £300, depending on the size of the room and how many handles you replace.
The table below compares our hire and buy prices for the main kit, so you can see where hiring makes sense for a kitchen makeover on a budget.
Everything above, minus the optional drill, comes to around £197*. Add your new handles and some PPE, and you’ve got an affordable kitchen makeover that looks anything but cheap.
Here’s how you can refresh your kitchen six simple steps
Work from the top down: prep first, paint second, finishing touches last.
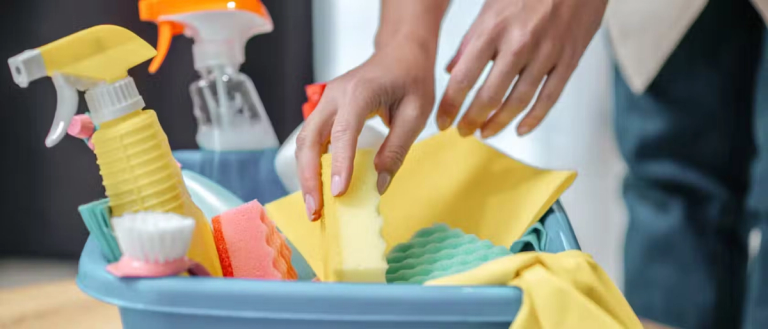
Step 1: deep clean and degrease
Every finish you apply later depends on this step. Years of deep-fry cooking leaves a film of grease that paint simply won't grip.
- Wash doors, tiles and splashbacks with degreaser, then rinse.
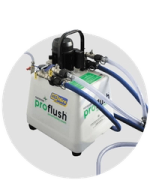
- Tackle grout and the oven door with a steam cleaner, which lifts grime with heat. Hire a steam cleaner and read our beginner's guide.
- Let everything dry completely before moving on.
You'll need: degreaser, cloths, gloves, steam cleaner.
Step 2: strip tired wallpaper and freshen the walls
Fresh walls make the biggest difference for the least effort. Already painted? Skip the steamer.
- Score old wallpaper, then hold a wallpaper steamer plate against each section before scraping. Keep it away from sockets.
- Fill cracks, sand smooth and run decorators caulk along gaps at skirting boards and door frames.
- Mask off tiles and units with low-tack tape.
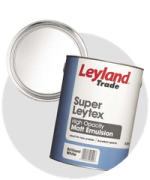
- Apply two coats of a wipeable emulsion. Kitchen walls get splashed, so washability matters.
You'll need: wallpaper steamer, scraper, filler, caulk, tape, dust sheets, roller. Find the lot on our decorating projects page.
Step 3: paint your cupboard doors
Painting is the heart of updating a kitchen without replacing cabinets. Done properly, tired units look brand new.
- Remove doors and drawer fronts, labelling each and bagging the hinges.
- Lightly key each surface with fine sandpaper (180 to 240 grit) and wipe off the dust.
- Apply a bonding primer, a primer designed to grip smooth or previously painted surfaces. Zinsser Coverstain is a good choice here.
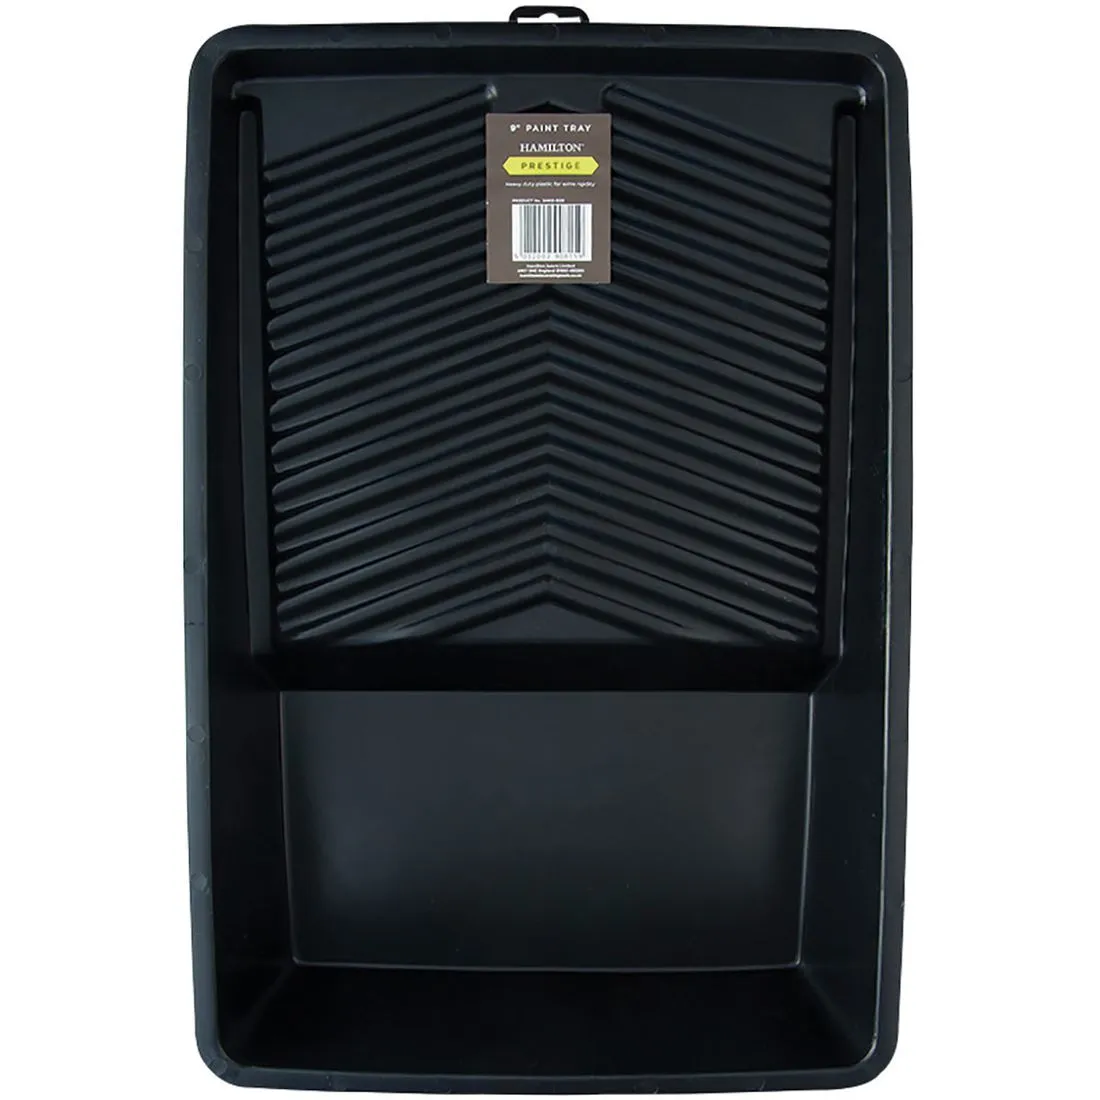
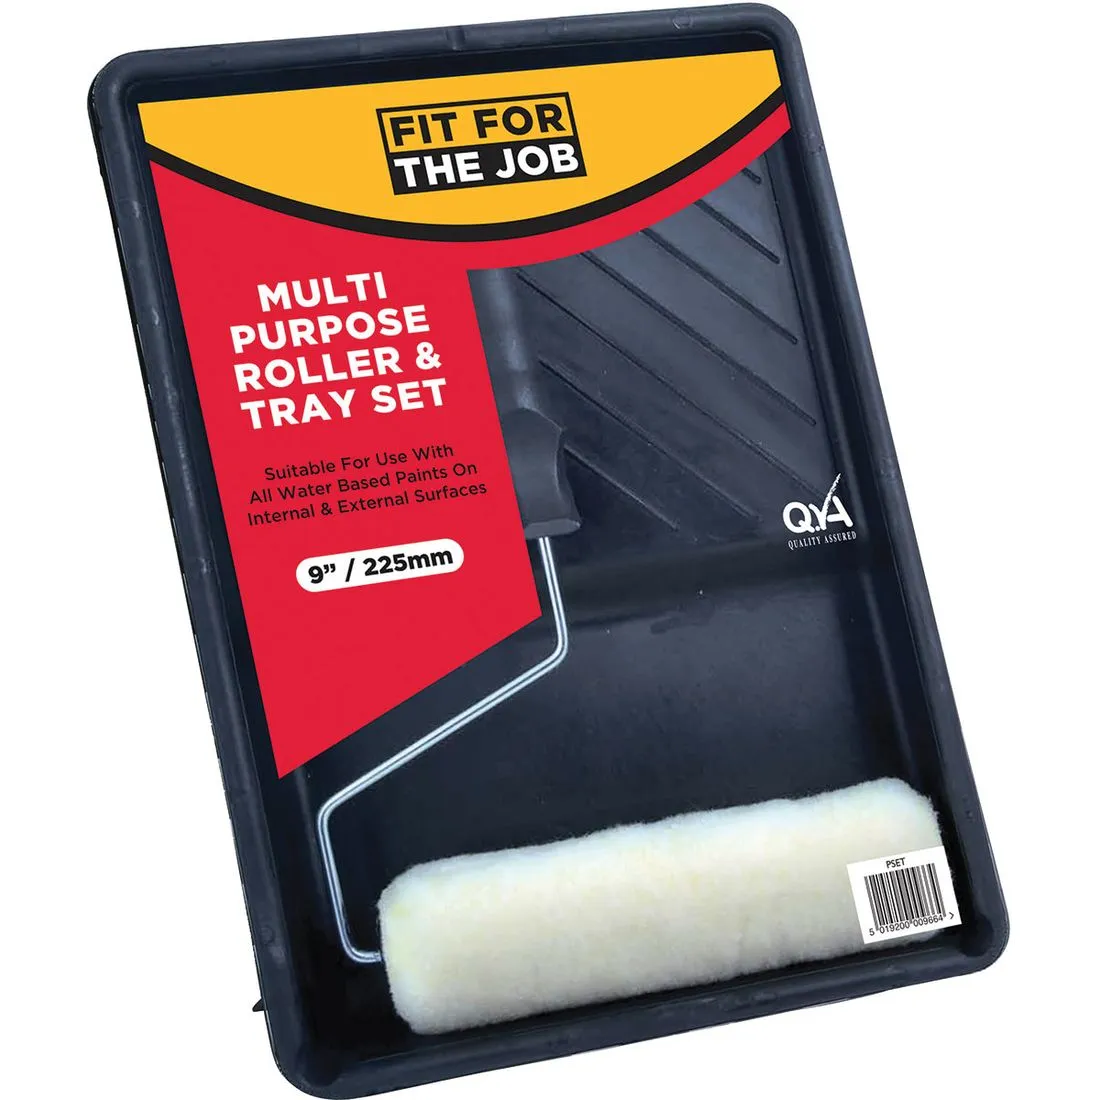
- Once dry, apply two thin coats of hard-wearing cupboard paint with a mini roller, brushing the edges.
- Check the tin for cure times before rehanging, and treat doors gently for a week or so.
You'll need: sandpaper, primer, cupboard paint, mini roller, brush, screwdriver.
A word of warning: if your vinyl-wrapped doors (plastic-coated MDF) are peeling or bubbling, paint won't stop the wrap lifting. Replacement doors are the better route.

Step 4: reseal the sink and worktops
Mouldy silicone ages a kitchen instantly. Replacing it costs less than a takeaway.
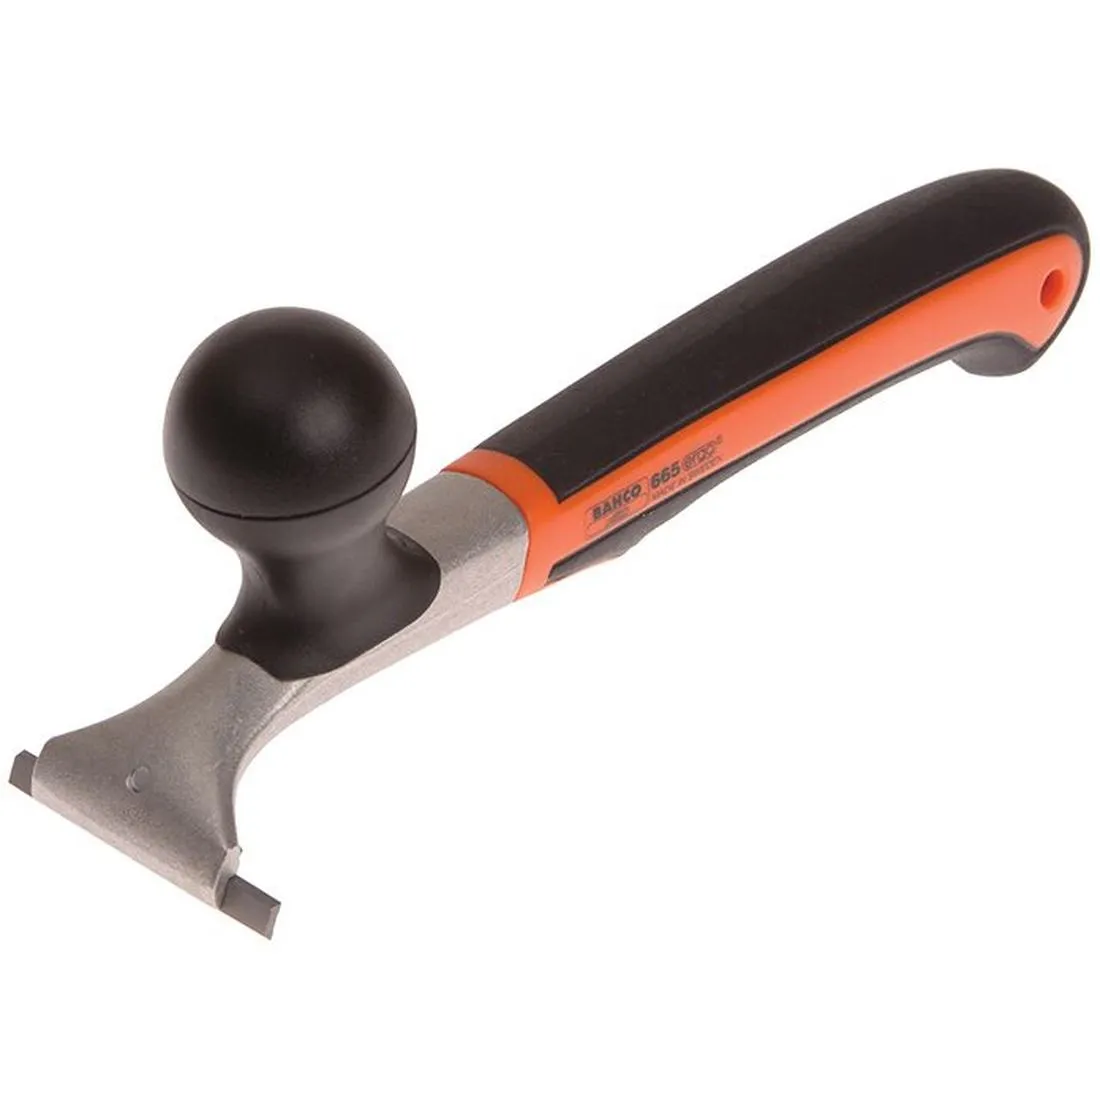
- Cut out the old sealant with a sharp blade or scraper and remove every last bit of residue.
- Clean and dry the joint, then run masking tape either side for a neat line.
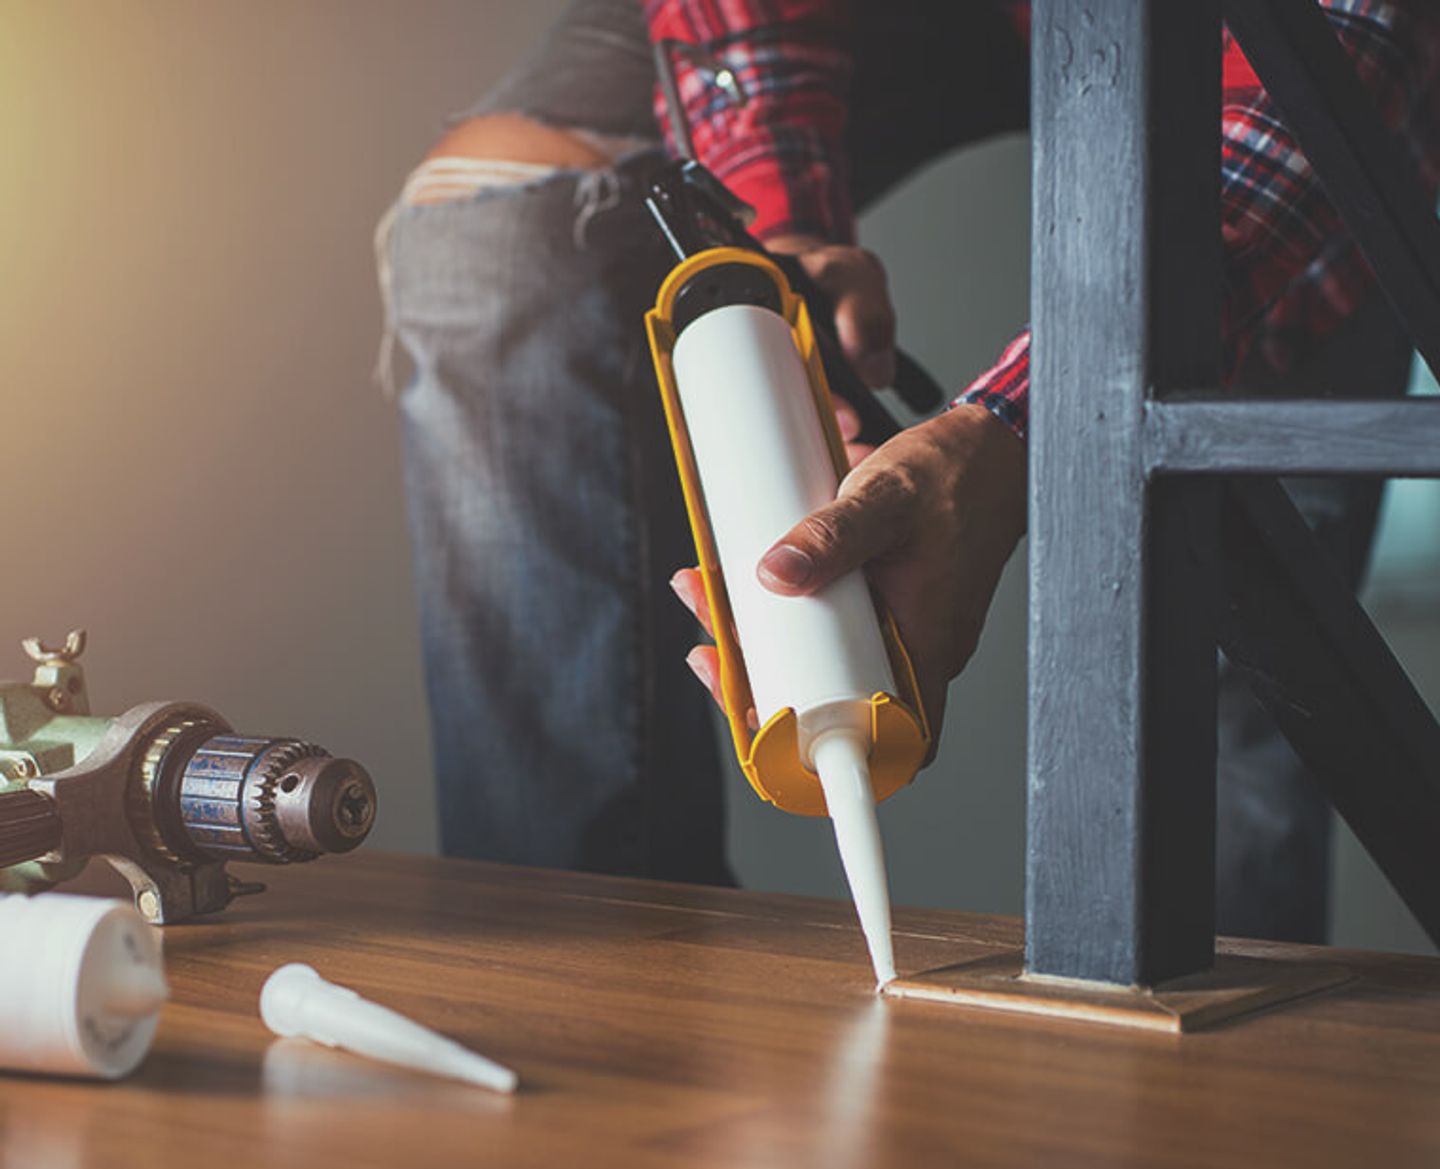
- Apply a steady bead of sanitary sealant, a mould-resistant silicone. Smooth it, then peel off the tape straight away.
- Keep water away until it has cured. Check the cartridge for timings, as most need around 24 hours.
You'll need: scraper, tape, sealant, sealant gun, smoothing tool. See our sealants range for colours.
Step 5: swap handles and add lighting
New handles are the jewellery of a kitchen and take minutes to fit. Measure before you buy so they suit the existing holes.
- Measure the hole centres, the distance between the centre of each screw hole, on your current handles.
- Choose replacements with the same hole centres to avoid drilling and filling.
- Add warm under-cabinet lighting for cosy winter evenings. Our under-cabinet lighting guide walks you through the options.
You'll need: tape measure, screwdriver, handles, LED lighting.
Step 6: decorating the kitchen for Christmas
Now for the fun bit. A Christmas kitchen should look festive without getting in the cook's way.
- Keep garlands and decorations well away from the hob, oven and toaster.
- Use battery-powered fairy lights near the sink, so there's no mains cable anywhere near water.
- Dress shelves and sills with greenery and festive crockery.
You'll need: battery fairy lights, greenery, hooks, a steady hand and a mince pie.
What health and safety points should you consider?
This project is low risk, but steam, dust, fumes and electrics deserve respect.
- Eye and hand protection: hot water drips when steaming walls, so wear safety glasses and gloves.
- Dust: wear a dust mask when sanding filler or paintwork.
- Old paint: if you live in an older property with many layers of paint, check for lead before sanding. The HSE lead FAQs and GOV.UK guidance on lead explain the risks.
- Ventilation: open windows when priming and painting.
- Electrics: keep cables clear of water. Electrical Safety First explains how to check Christmas lights.
- Cooking safety: read London Fire Brigade's cooking advice before the turkey goes in.
Your kitchen refresh checklist
Screenshot or print this checklist to keep on track of your kitchen reno project, ticking it off as you go.
Before you start
☐ Order primer, paint, sealant, caulk and handles
☐ Book steamer hire for the right weekend
☐ Measure handle hole centres
☐ Buy safety glasses, gloves and a dust mask
The work
☐ Deep clean and degrease every surface
☐ Strip wallpaper and fill cracks (if needed)
☐ Paint walls (two coats)
☐ Remove, label and key cupboard doors
☐ Prime doors and apply two topcoats
☐ Remove old silicone and reseal
☐ Rehang doors and fit new handles
☐ Add plug-in lighting
Festive finish
☐ Check Christmas lights for damage
☐ Keep decorations clear of the hob
☐ Return hired kit on time
Frequently asked questions
Can you paint kitchen cupboards without sanding?
You can if you use a bonding primer that grips without sanding, such as Zinsser Coverstain. A light key with fine sandpaper still helps, and degreasing is a must.
How long should painted cupboard doors dry before rehanging?
Follow the drying and curing times on your paint tin, as they vary between products. Paint feels dry long before it fully hardens.
Do you need to take kitchen doors off to paint them?
For the best finish, yes. Painting flat on a dust sheet stops drips and runs, and you won't paint the hinges by mistake.
Is it worth hiring a wallpaper steamer for one kitchen?
Yes. Our Professional Wallpaper Steamer hires from £24.70 and you won't need to store it afterwards.
When should I start a kitchen refresh before Christmas?
Mid-November is ideal. It leaves time for paint and sealant to cure before the festive rush.
Give your kitchen a refresh in time for Christmas with HSS DIY
And that’s all there is to it!
A kitchen refresh before Christmas doesn't need a builder, a skip or a second mortgage. A few weekends of cleaning, painting and resealing gives you a kitchen that feels new, just in time to fill it with family, food and far too many sprouts.
Hire tools or buy materials from HSS DIY online 24/7, choose next day delivery or collect from one of our partner branches. Check out our kitchen project bundle from our Kitchen Refresh project page. Just bear in mind that when you order and it contains several items, they may arrive separately.
Buy the materials. Hire the tools. One order. All in one place.
Get DIY Happy with HSS DIY: The Home of Great Projects.
Meet the people behind our Tips & Advice
From quick fixes to bigger DIY projects, get to know the people behind the guides helping you get the job done with confidence.