


























⏱ Read time: 8 min | 🌿 Difficulty: Beginner | ⏰ Time: Half a day (4 hrs) to set up, then 1 to 4 weeks drying | 👷 1 person
To prevent condensation in a winter renovation, fix any leaks first, then keep the space evenly warm with electric heating. Make sure you ventilate little and often while wet trades are fresh. Once plaster has had a couple of days to cure, close up the room and run a dehumidifier. Check your walls with a moisture meter before you decorate.
The need-to-know
- Fresh plaster, screed and paint release a lot of water, and in winter it has nowhere to go.
- Use electric heaters only. Gas and paraffin heaters without a flue add moisture to the air.
- Let new plaster cure for 48 hours before you start drying it hard.
- Hiring a building dryer starts from £109.14, less than half the price of buying one.
- Always check with a moisture meter before you paint, tile or lay flooring.
In this guide
- Why do renovations cause condensation in winter?
- Is it condensation or another type of damp?
- How to stop condensation in a renovation, step by step
- How long does plaster and screed take to dry in winter?
- Should you hire or buy drying equipment?
- Your drying timeline
- How do you stay safe while drying out?
- Worked example: drying a newly plastered kitchen
- Frequently asked questions
Why do renovations cause condensation in winter?
Because building work pumps water into the air, and cold winter surfaces turn that water straight back into droplets.
Wet trades such as plastering, screeding, rendering and painting are all mixed with water, and that water has to evaporate before the job is finished.
A normal household already produces up to 100 litres of moisture a week, according to the Energy Saving Trust. Add a freshly plastered room and you’ve turned your extension into a tropical greenhouse.
Condensation forms when warm, moist air touches a surface colder than its dew point, the temperature at which water vapour turns back into liquid.
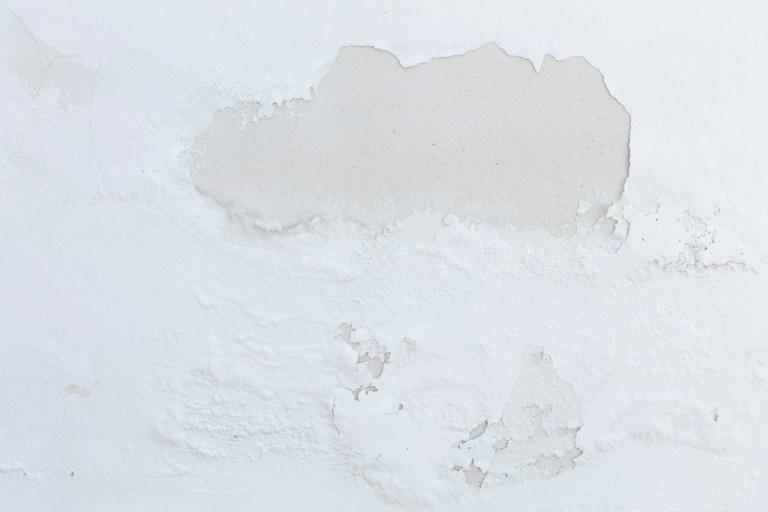
In winter, windows, outside walls and new plaster that hasn’t warmed up yet are all cold enough to catch it. Leave it there and you’ll get stained plaster, peeling paint and, eventually, mould.
Is it condensation or another type of damp?
Condensation shows up as droplets on cold surfaces and comes and goes with the weather. Other damp keeps coming back however much you dry the room.
Penetrating damp comes in from outside through things like blocked gutters or cracked render. Rising damp is groundwater moving up through walls, often when a damp-proof course has failed. Neither will be fixed by a dehumidifier, so it’s best to sort them first.
Our guide to spotting the early signs of damp explains what to look for.
How to stop condensation in a renovation, step by step
Stop water getting in, keep the space warm, move the air, then take the moisture out.
Each step below follows the same format: what to do, then why it matters.
1 - Fix leaks and rain entry first
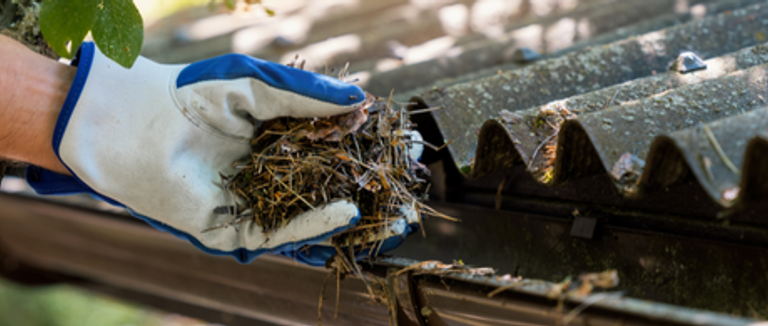
What to do: Check gutters, downpipes, window seals and roof flashing before any drying starts. Our gutter clearing guide covers the first one.
Why it matters: There’s no point drying a room that’s still letting water in. You’ll just be paying to dehumidify the British weather.
2 - Seal off the work area
What to do: Close internal doors and hang dust sheets, or hire temporary internal hoarding to section off bigger spaces.
Why it matters: Keeping moist air in one area stops it drifting into colder rooms and condensing there.
3 - Keep the space evenly warm
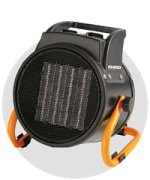
What to do: Use electric heaters to keep a steady background temperature, rather than short blasts of high heat.
Why it matters: Warm surfaces are less likely to drop below the dew point. Gas and paraffin heaters without a flue release water vapour as they burn, which makes things worse.
3 - Ventilate little and often
What to do: While wet trades are fresh, open windows for at least five minutes several times a day and keep trickle vents open, as the Energy Saving Trust recommends.
Why it matters: A short burst of fresh air swaps damp air for drier air without losing all your heat.
4 - Run a dehumidifier
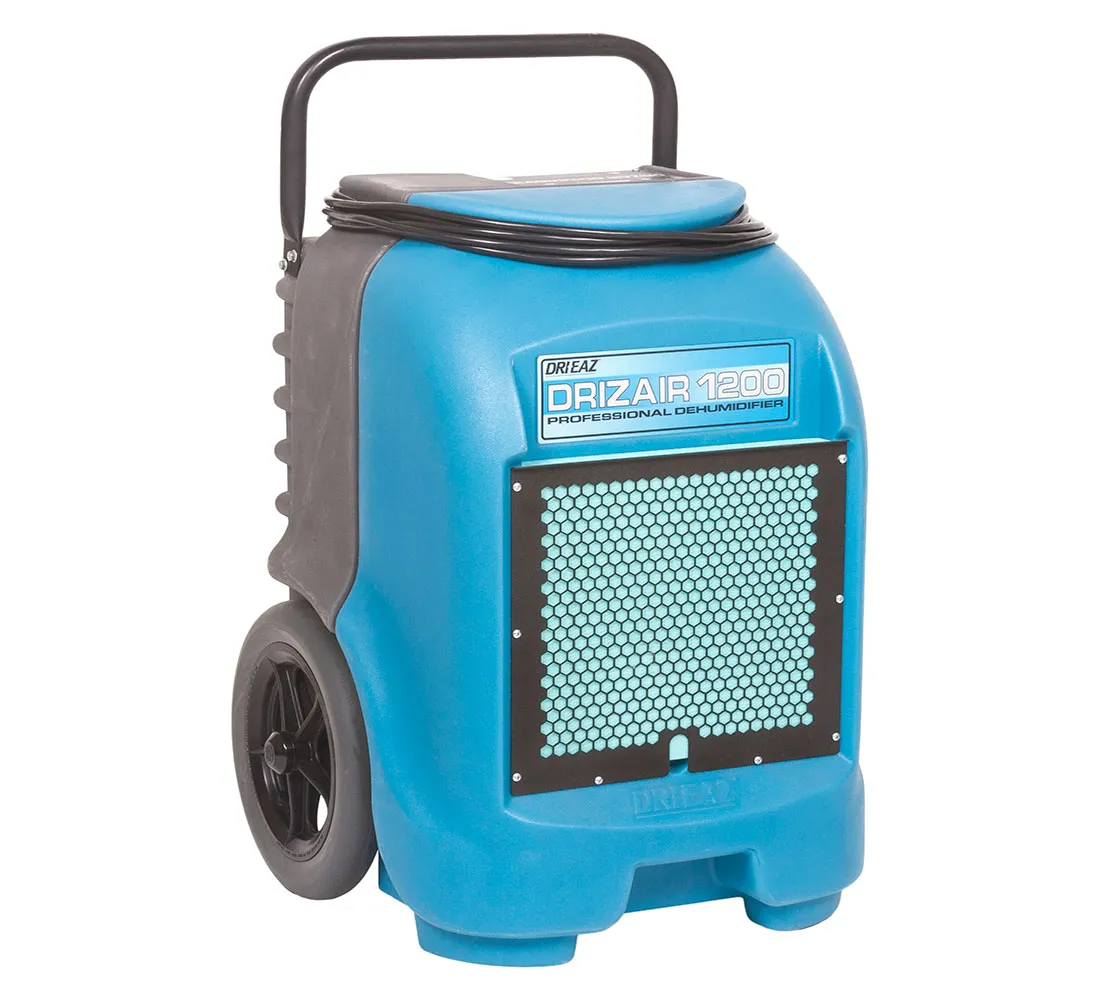
What to do: After the first 48 hours, shut the windows and doors and run a building dryer around the clock. Our guide on how to use dehumidifiers covers setup and settings.
Why it matters: Dehumidifiers work best in a closed room. Leave the windows open and you’re trying to dry the whole street.
5 - Move the air
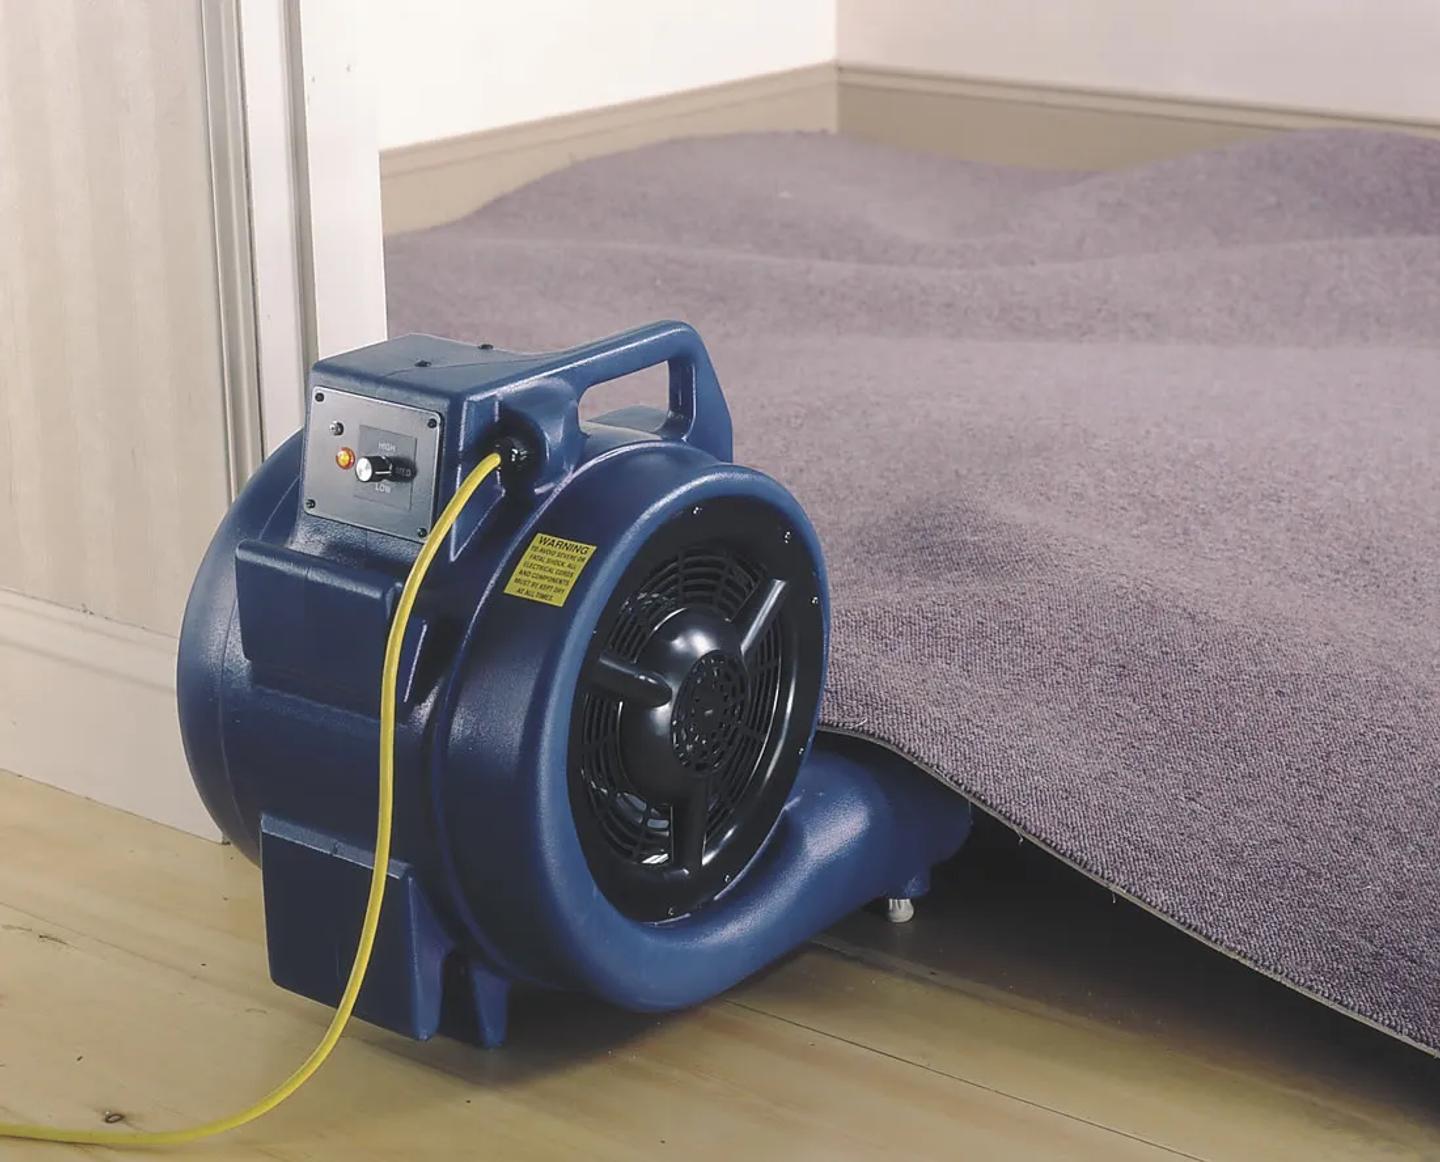
What to do: Point an air mover across new screed or large walls to speed up drying.
Why it matters: Moving air pulls moisture off surfaces so the dehumidifier can catch it.
6 - Test before you finish
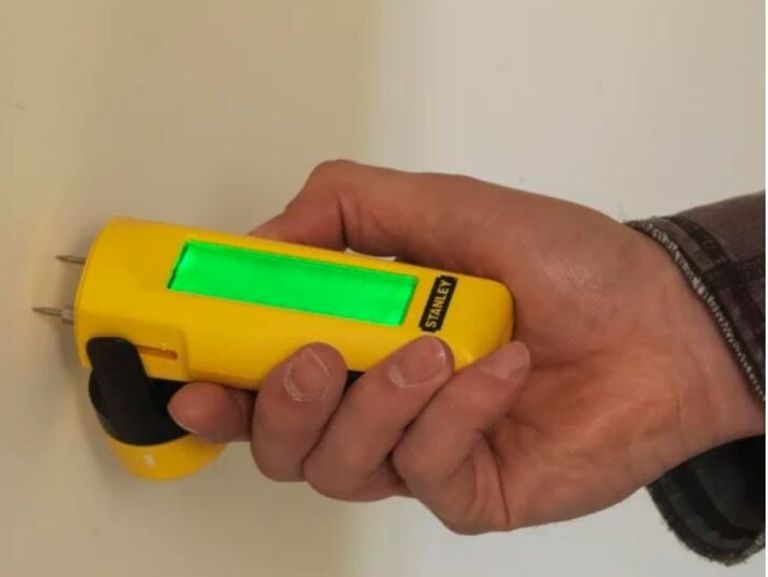
What to do: Use a moisture meter on walls and floors before painting, tiling or laying flooring. Our moisture meter guide explains how.
Why it matters: Sealing in moisture is the fastest way to bubbling paint and lifting floors.
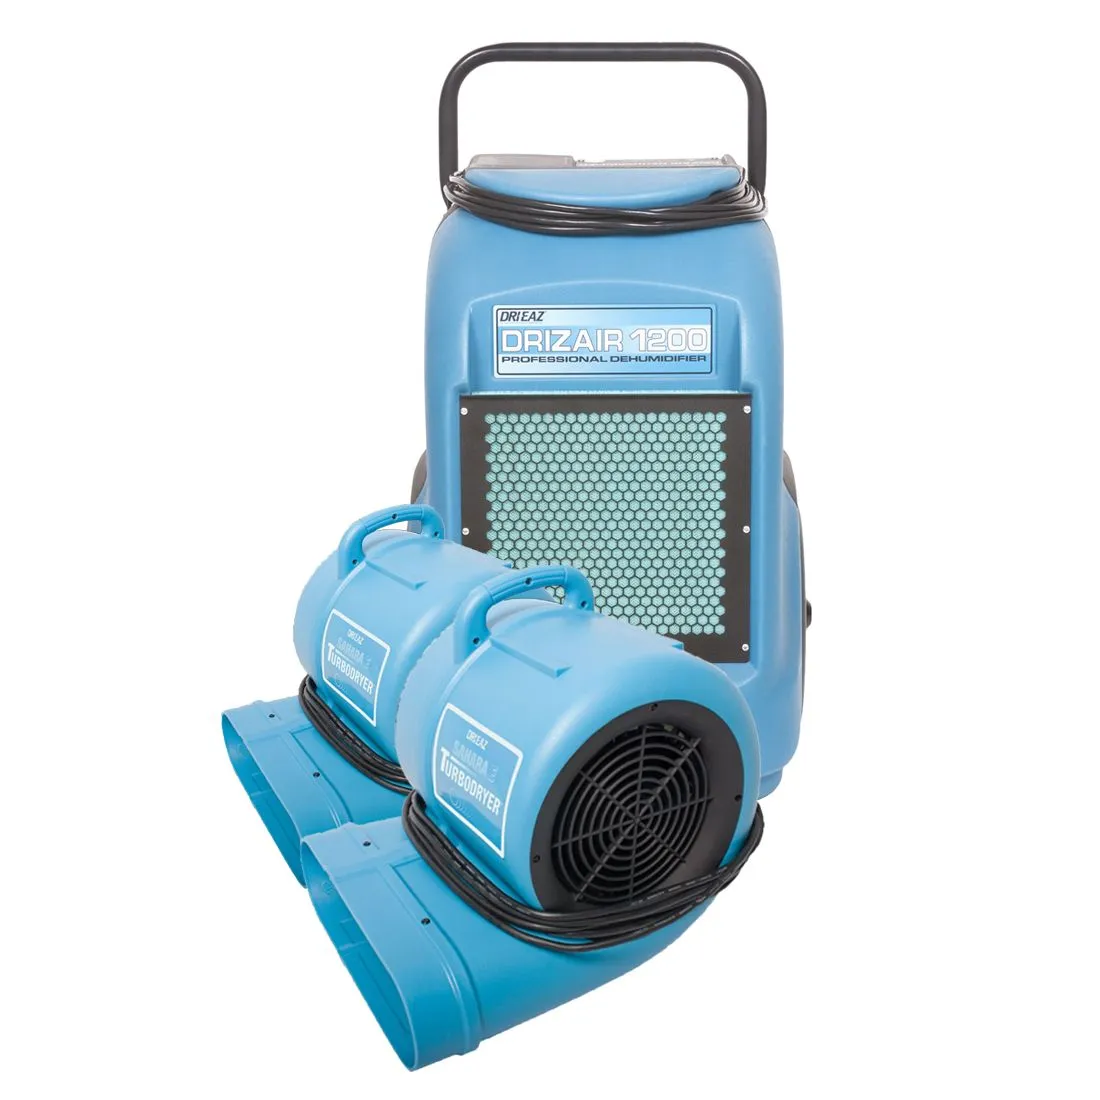
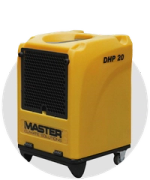
Our drying hire pack combines a 52L pump dehumidifier with two air movers for faster drying in a single room.
How long does plaster and screed take to dry in winter?
Longer than you’d like. Cold, damp air slows drying right down, so allow extra time and test before you finish.
This table gives rough drying times for common materials and how to tell when each one is ready. Your times will vary with thickness, temperature and airflow.
Don’t rush new plaster. Give it 48 hours to cure before using a dehumidifier or heater on it. Dry it too fast and you risk fine cracks and a powdery surface.
Should you hire or buy drying equipment?
For a renovation, hire. You get trade-grade dryers that work in cold rooms, without paying to own one.
This table compares hiring and buying the main kit, using our current prices, so you can see where your money goes furthest.

The Ebac BD70 building dryer is designed for low-temperature, unheated drying.
Your drying timeline
Expect about half a day of hands-on work, spread across a few weeks of drying.
Here’s how a typical winter drying-out plan fits around your renovation.
How do you stay safe while drying out?
Treat dryers and heaters like any other electrical kit, and protect your lungs if mould has already appeared.
- Keep cables tidy. Route leads away from walkways and fully unwind extension reels to stop them overheating.
- Lift with care. Our 52L dehumidifier weighs 36kg, so make it a two-person lift.
- Give heaters space. Keep them clear of dust sheets, paint tins and solvents, and switch them off when you leave.
- Never use flueless gas or paraffin heaters indoors in a closed room. As well as adding moisture, they can build up carbon monoxide.
- Protect yourself from mould. Wear gloves and an FFP2 mask when cleaning it off, and treat surfaces with mould killer. Browse more in our PPE range. The UK government’s damp and mould guidance explains the health risks.
Worked example: drying a newly plastered kitchen
For a typical single-room project, hiring the kit costs about half as much as buying it.
Say you’ve had a 4m x 4m kitchen replastered in November. Here’s how the costs compare at our current prices.
The hired dryer also handles a cold room better, which matters when the heating isn’t back on yet. Spend the difference on a decent paint and a well-earned takeaway.
What our customers say
⭐⭐⭐⭐⭐ “very easy to move around does what it says on the Box. place bone dry now.” Thomas’s review on our 52L dehumidifier.
⭐⭐⭐⭐⭐ “Very good set of kit and excellent service given from the shop.” Jerry’s review on our drying hire packs.
Free winter renovation drying checklist
Print it, stick it on the door of the room you’re drying and tick things off as you go. It covers prep, kit, daily checks and sign-off before decorating.
Before work starts
☐ Check gutters, downpipes and window seals
☐ Fix any leaks or rain getting in
☐ Rule out rising or penetrating damp
☐ Order drying kit, heaters and PPE
Days 1 to 2 after plastering
☐ Keep the room gently and evenly warm
☐ Ventilate for 5+ minutes several times a day
☐ Keep trickle vents open
☐ Don’t force-dry the plaster yet
Day 3 onwards
☐ Close windows and internal doors
☐ Run the dehumidifier around the clock
☐ Run air movers across floors and walls
☐ Empty tanks or check the pump hose
Before decorating
☐ Plaster is an even pale colour all over
☐ Moisture meter readings are dry in several spots
☐ Screed meets the flooring maker’s limit
☐ Mist coat applied to new plaster
☐ Hired kit booked for return
Frequently asked questions
Will a dehumidifier work in an unheated room in winter?
Standard home models struggle in the cold. Building dryers like our Ebac BD70 are designed for low temperatures and work from 1°C. For very cold spaces, a desiccant dryer is another option.
Why are my new windows covered in condensation?
Usually because there’s a lot of moisture in the air and modern windows seal tightly. It’s common after plastering. Ventilate and dehumidify, and it should ease as the walls dry.
Can I paint new plaster if it looks dry?
Not until it’s an even colour all over and your moisture meter agrees. Use a mist coat of diluted emulsion first so the paint can soak in and grip.
Can condensation cause mould?
Yes. Surfaces that stay damp for a few days can grow mould, especially in corners and behind furniture. Dry the room and treat any patches straight away.
Do I need a dehumidifier if I have extractor fans?
For a renovation, yes. Extractor fans deal with everyday steam from cooking and showers, but they can’t keep up with the water coming out of new plaster and screed.
How to prevent condensation in the home once the work is finished
Run extractor fans for at least 15 minutes after cooking or showering, put lids on pans and leave a gap between furniture and outside walls. Keeping the heating at a steady low level also helps.
Ready for a dry, damp-free reno with HSS DIY
Condensation is the price of a renovation in winter, but you don’t have to put up with it. By following the simple steps, you’ll be able to keep your renovation damp free during the winter.
Stop water getting in, keep the room warm, give new plaster 48 hours to cure, then let a dehumidifier do the heavy lifting. Make sure the plaster is dry before you decorate and your hard work will look the part next winter.
At HSS DIY, you can hire or buy online 24/7 with next day delivery, and get your dryers, heaters, moisture meter and PPE in one order. Be aware, if your order includes several items, they may arrive in separate deliveries.
Buy the materials. Hire the tools. One order. All in one place.
Get DIY Happy with The Home of Great Projects.
Meet the people behind our Tips & Advice
From quick fixes to bigger DIY projects, get to know the people behind the guides helping you get the job done with confidence.