








































⏱ Read time: 11 min | 🔨 Difficulty: Intermediate | ⏰ Time: Varies by room size and floor condition (allow extra for drying) | 👷👷 2 person
Sanding wooden floors can transform their appearance, but making mistakes during preparation, sanding or finishing can leave permanent marks, uneven surfaces or costly damage.
The most common errors are using the wrong sandpaper grit, sanding unevenly, leaving drum marks and failing to prepare the floor properly. Many of these problems can be prevented with the right equipment, preparation and technique, while some can be corrected and others may need professional help.
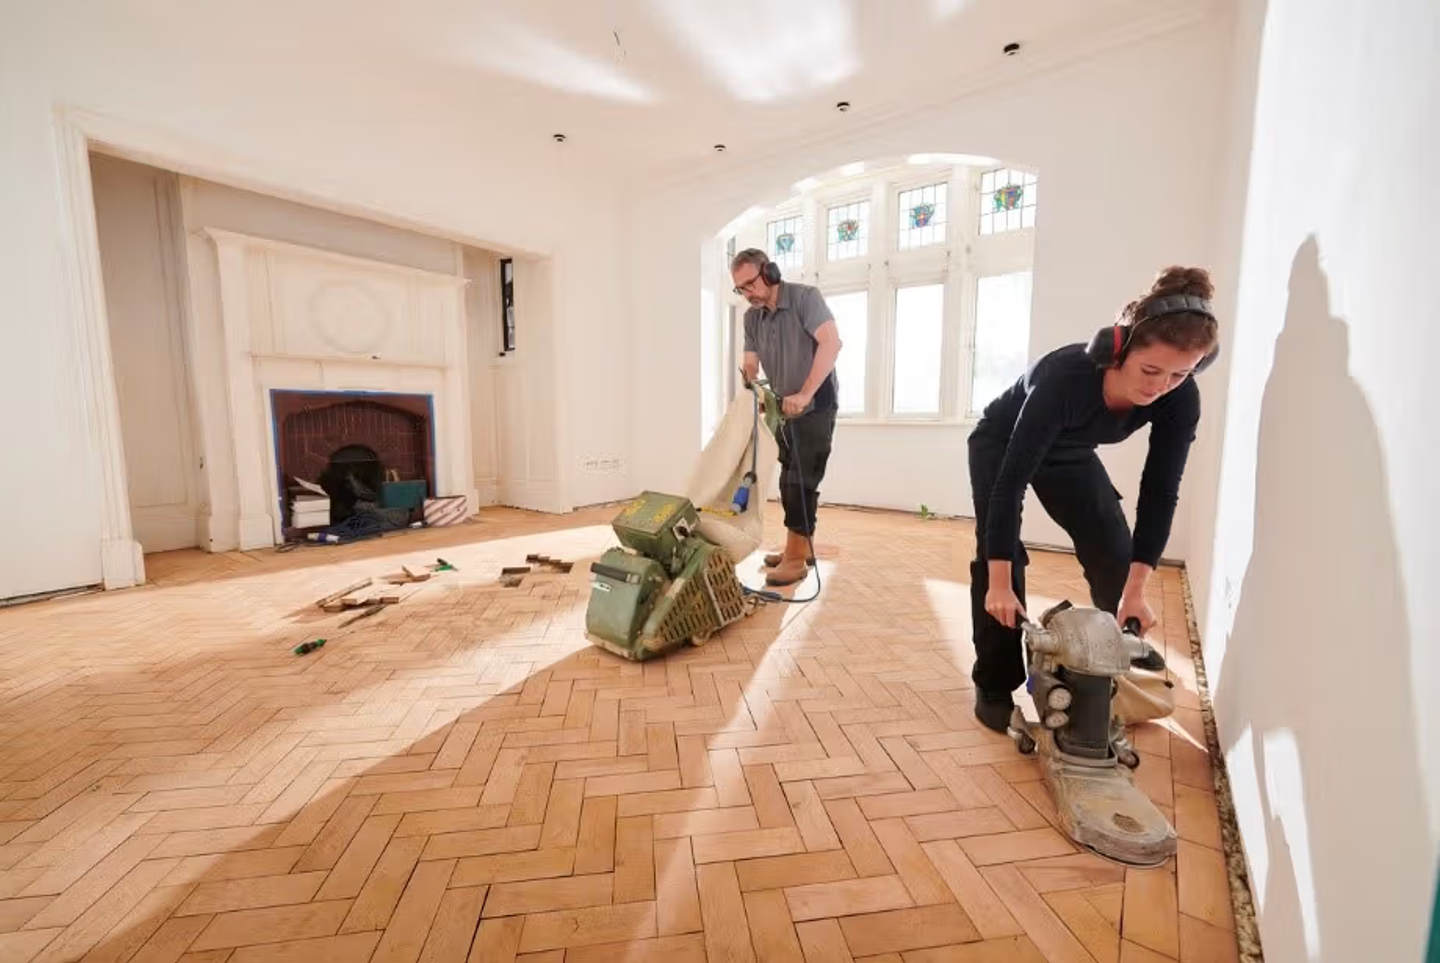
This guide explains how to identify, avoid and potentially fix the most common floor sanding problems. Choosing suitable floor sander hire equipment is an important part of achieving a consistent finish, but it is only one piece of the puzzle alongside preparation and technique.
What are the most common floor sanding mistakes?
Here is a quick summary before we look at each mistake in detail:
- Using the wrong sandpaper grit: deep scratches or an uneven finish.
- Not preparing the floor: torn abrasives, damaged equipment or gouges.
- Leaving the sander stationary: drum marks and depressions.
- Sanding unevenly: visible lines and inconsistent floor levels.
- Skipping sanding stages: scratches remaining in the finished floor.
- Incorrect edge sanding: visible differences around room edges.
- Sanding unsuitable flooring: permanent surface damage.
- Ignoring moisture problems: poor finishing results or further timber movement.
- Poor dust removal: rough finishes and adhesion problems.
- Applying finish incorrectly: patchiness, peeling or an inconsistent appearance.

1. Using the wrong sandpaper grit
Abrasive selection is one of the most important decisions you will make.
Starting with a grit that is unnecessarily coarse can remove too much timber and leave deep scratches. Starting too fine may struggle to shift old finish or level the surface. Skipping grit stages is just as risky, because scratches left by a coarser grade often only become obvious once varnish or oil goes on.
The right abrasive depends on the floor's condition, the timber and any existing coating. As an illustration only, a heavily coated floor may need a coarser starting grade, followed by progressively finer grades until the surface is smooth. There is no single sequence that suits every floor or machine, so always check the manufacturer's guidance. For more detail, see our guide on which sandpaper grit to use for floor sanding.
How to avoid sandpaper grit mistakes
- Assess the existing finish and floor condition before choosing an abrasive.
- Follow the sanding machine manufacturer's recommended grit sequence.
- Move through suitable intermediate grades rather than making large jumps.
- Inspect the surface between sanding stages.
- Replace sheets as soon as they are worn, damaged or clogged.
Why does sandpaper keep ripping on a floor sander?
Torn sandpaper is usually caused by something the machine has hit or by how the sheet has been fitted. Common causes include:
- Protruding nails, screws or staples.
- Sanding sheets that are incorrectly fitted.
- Damaged or unsuitable abrasives.
- Debris caught beneath the machine.
- Excessive pressure or incorrect machine operation.
Safety first: Always switch off and isolate the machine before inspecting or replacing abrasives, and follow the hire equipment instructions.
2. Failing to prepare the floor before sanding
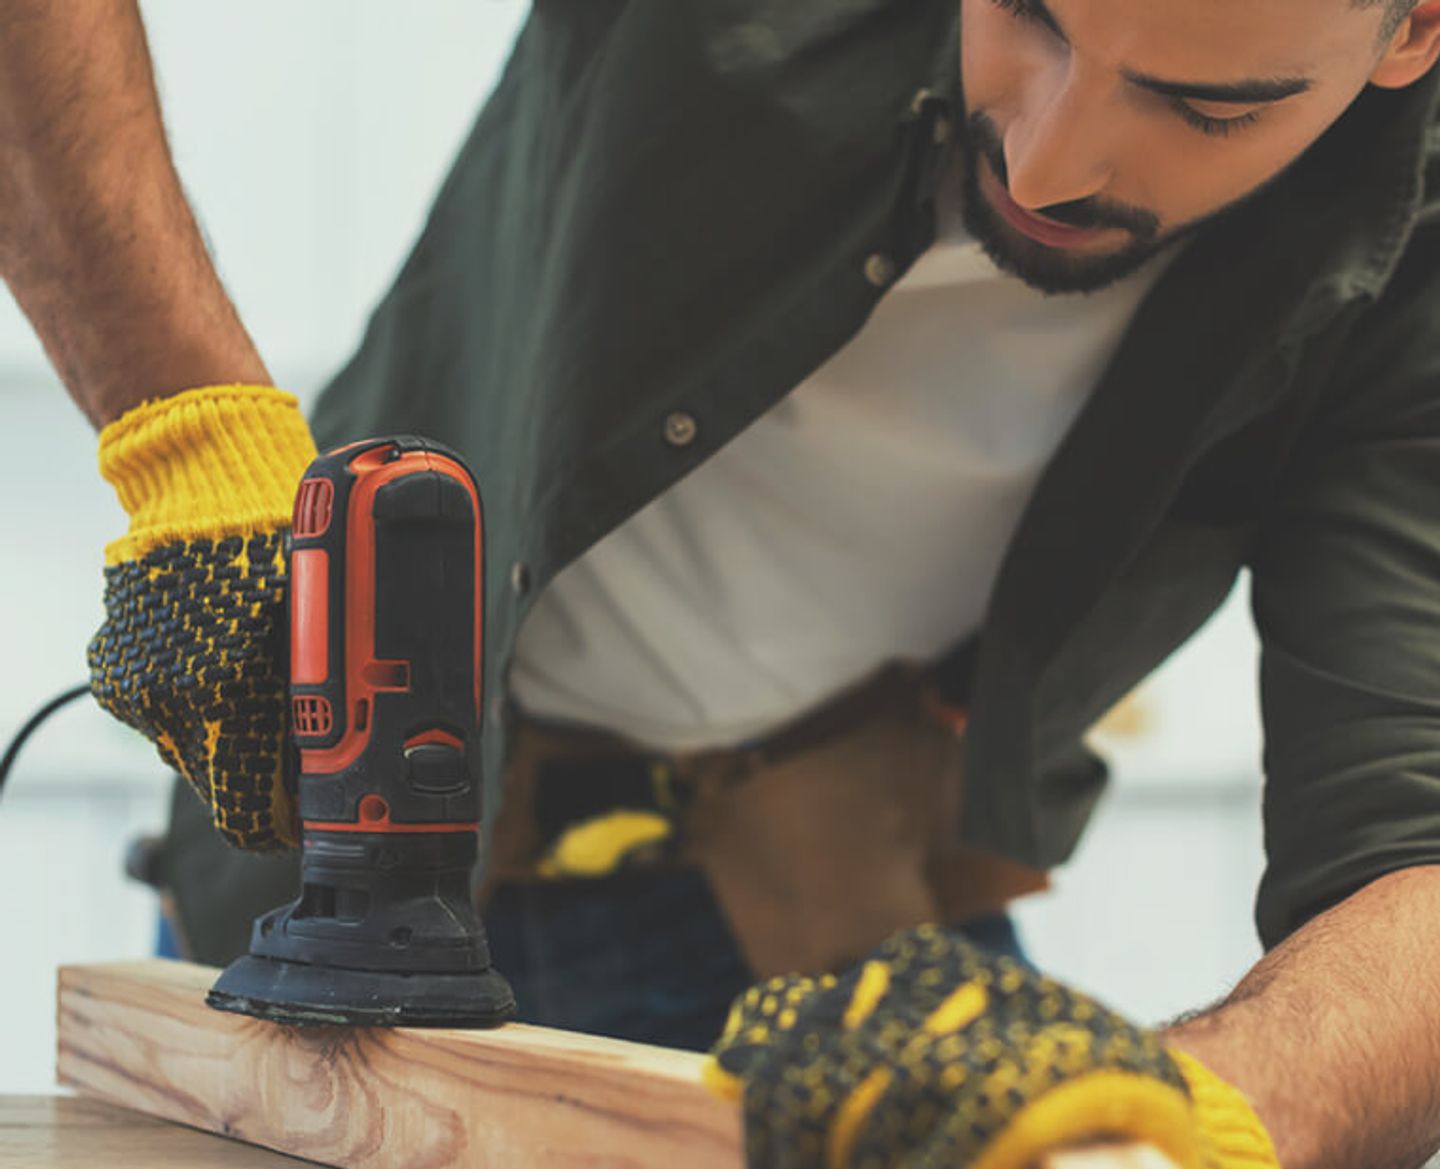
Preparation mistakes can damage the machine and leave unwanted marks in the timber. The usual culprits are leaving furniture and loose items in the room, protruding fixings, loose or damaged boards, dirt and debris, and old adhesives or finishes that have not been identified. It is also easy to forget to check whether the floor is suitable for sanding at all (more on that shortly).
How to prepare wooden floors properly
- Clear the room and remove loose debris.
- Inspect floorboards for damage and movement.
- Secure loose boards where appropriate.
- Check for protruding fixings and deal with them safely.
- Identify the existing finish and any coatings that may need specialist assessment.
- Confirm the flooring type and that it is suitable for sanding.
- Follow the equipment guidance on dust management and room preparation.
Warning: Older flooring materials, coatings and adhesives may contain hazardous substances. If you suspect this, get specialist advice before disturbing them, and check the HSE guidance on asbestos.
3. Leaving the floor sander stationary in one spot
A drum floor sander removes material quickly. If the abrasive stays in contact with the boards while the machine is not moving, it can cut a visible depression or gouge in seconds. These drum marks are among the most common and most noticeable floor sanding problems. They usually happen when the drum is lowered or raised incorrectly, when movement is inconsistent or stops abruptly, when too much downward pressure is applied, or when the operating instructions have not been followed.
How to prevent drum marks and gouges
- Get familiar with the machine controls before you start.
- Follow the manufacturer's instructions for engaging and disengaging the sanding drum.
- Keep your movement steady and controlled throughout each pass.
- Let the machine do the work, without forcing it or adding pressure.
- Where possible, practise your technique in a less visible area first.
Can you fix drum marks after sanding?
Shallow marks can sometimes be reduced with careful corrective sanding. Deeper gouges may need substantial material removal or professional repair. Before sanding further, assess the depth of the damage and how much timber thickness remains, because chasing a deep mark can take off far more wood than the floor can spare.
4. Sanding unevenly or using the wrong technique
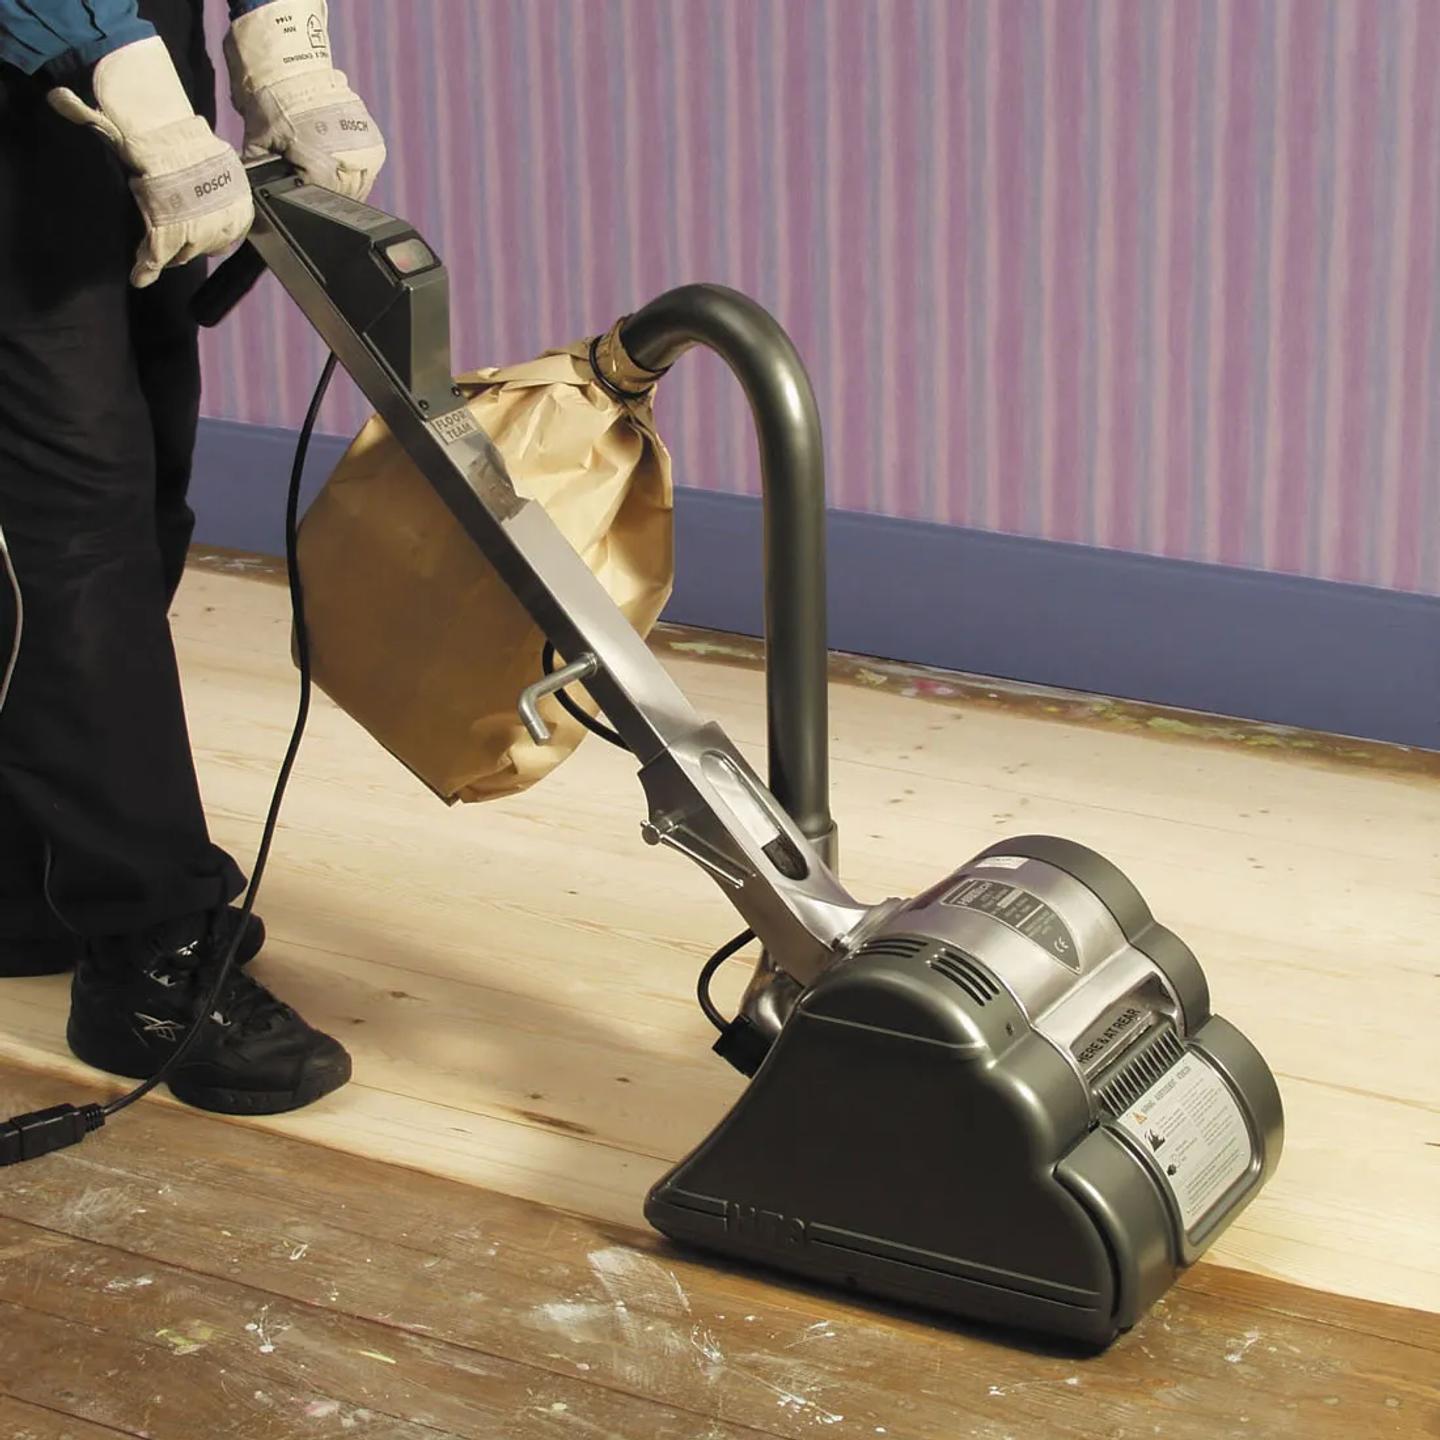
Inconsistent passes create visible lines, uneven patches and variations across the finished floor. Typical causes are moving too quickly or at varying speeds, overlapping passes incorrectly, working some areas harder than others, ignoring the layout and condition of the boards, or using equipment that is unsuitable for the area.
How to avoid uneven floor sanding
- Follow the machine manufacturer's guidance on sanding direction and overlapping passes.
- Keep your machine movement consistent.
- Check the floor regularly under good lighting, such as a bright torch held low across the surface.
- Avoid repeatedly sanding one spot without checking the surrounding area.
- Use equipment suited to large areas and to edges.
Sanding direction can depend on the condition of the floor, the way it was laid and the machine guidance, so it is not always simply a case of following the grain on every pass.
5. Not sanding the edges and corners properly
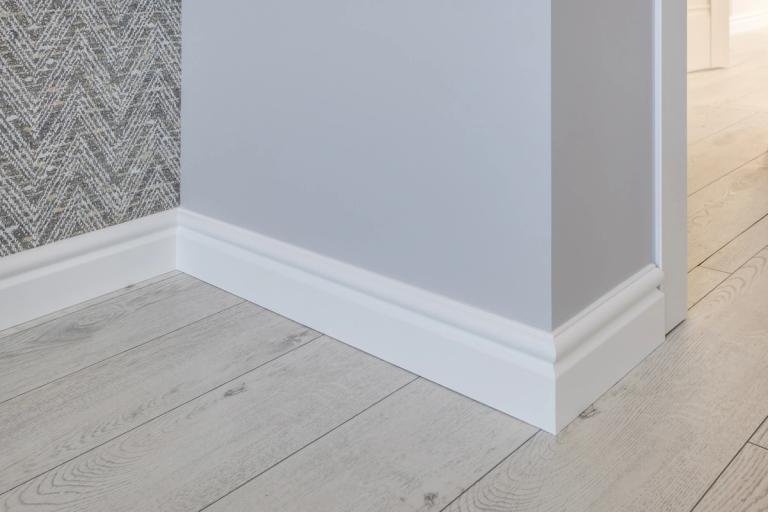
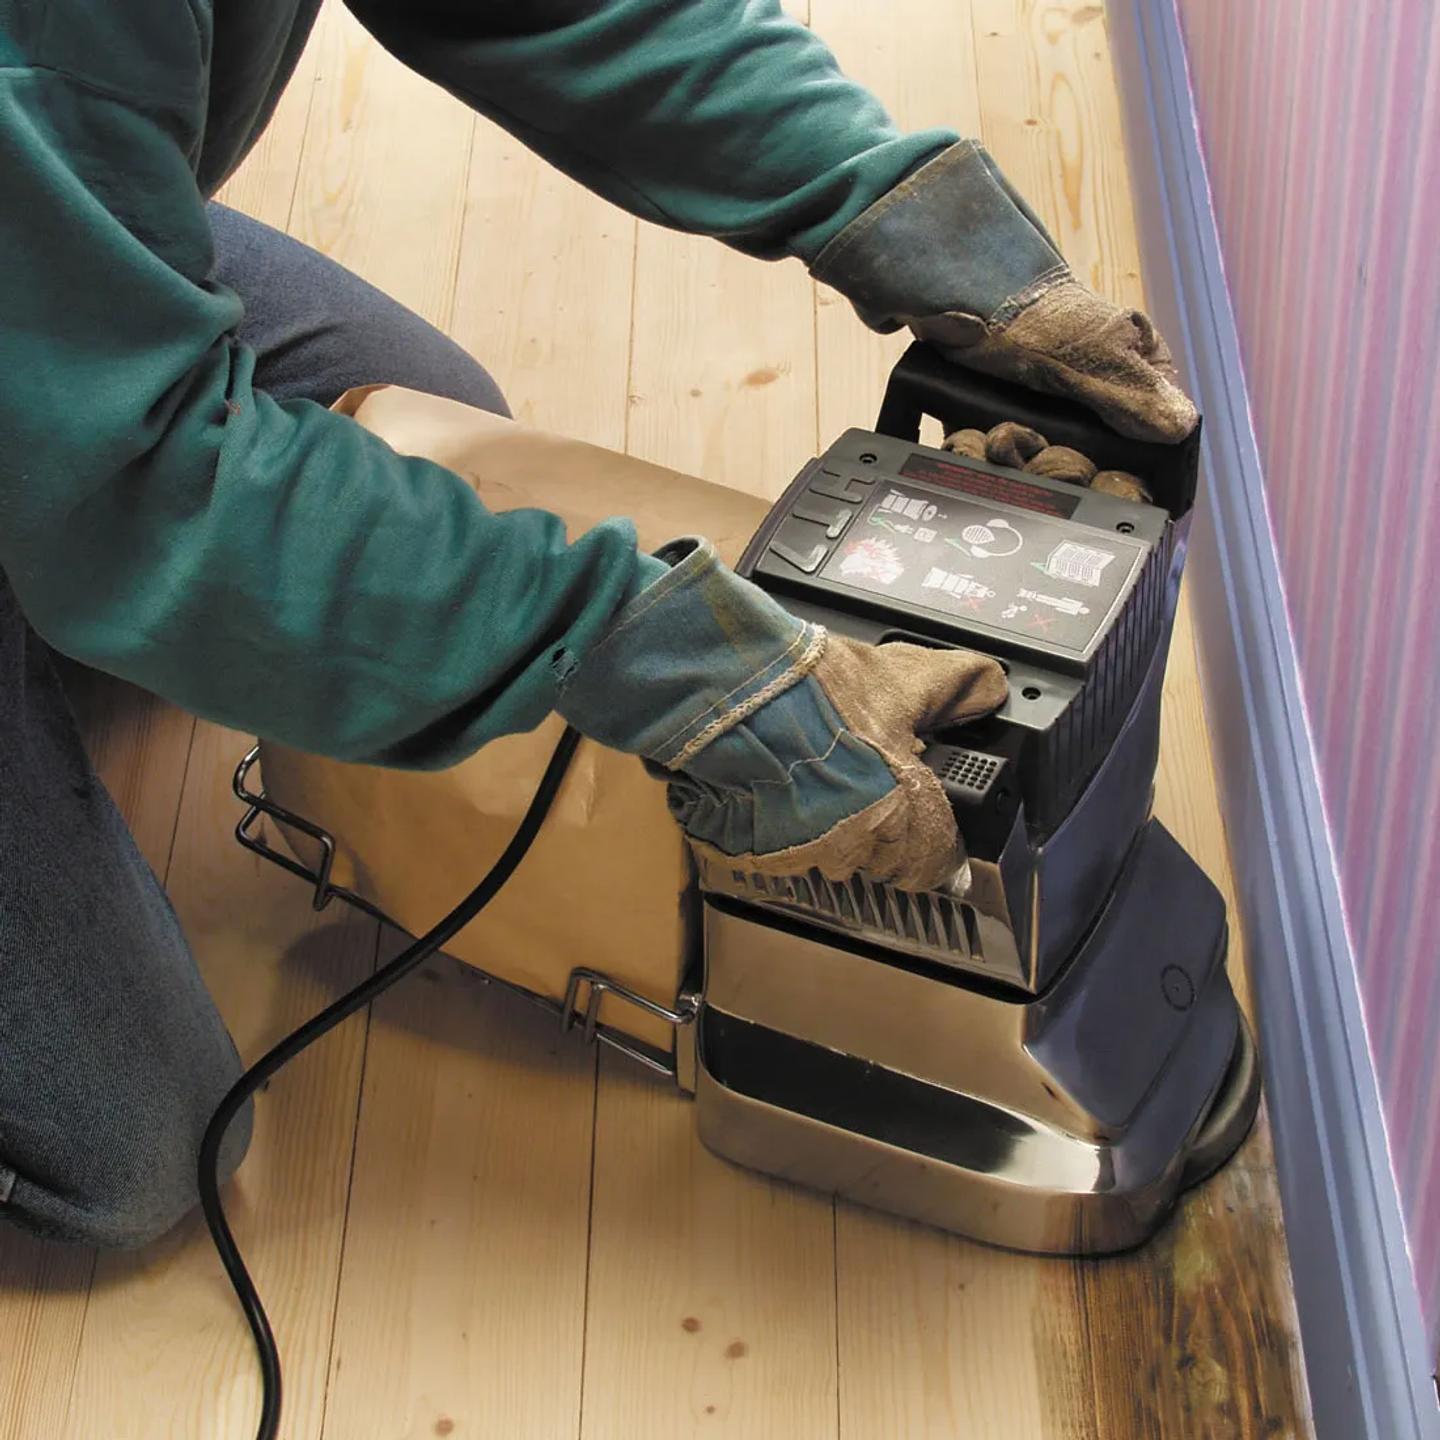
Edges, corners and the areas around fixtures need a different approach from the open floor. Common mistakes include leaving old finish along the skirting boards, creating a visible difference between the main floor and the perimeter, over-sanding the edges so they dip, using a machine that is too large for confined spaces, and failing to blend the edge work into the main floor.
How to achieve an even finish around floor edges
- Use a suitable floor edging sander where required.
- Follow the manufacturer's instructions for safe operation.
- Match your abrasive progression to the main floor where appropriate.
- Avoid heavy pressure or repeated sanding in one location.
- Check the transition between the centre and edges before applying any finish.
6. Sanding a floor that is not suitable for sanding
Not every floor can be sanded, and getting this wrong can cause irreversible damage. Solid wood can usually be sanded, engineered wood depends on its wear layer, and laminate generally cannot be sanded at all.
Can you sand laminate flooring?
Most laminate flooring should not be sanded. Its decorative surface is a printed layer rather than solid timber, so sanding can permanently damage it instead of restoring it. Scratches or wear on laminate usually need other repair methods or replacement of the affected sections.
Can you sand engineered wood flooring?
Some engineered wood can be sanded, depending on the thickness of the real-wood wear layer, how often it has been sanded before and the manufacturer's guidance. Check the flooring specification or get professional advice before you start.
How many times can you sand a hardwood floor?
There is no universal number. It depends on whether the floor is solid or engineered, how much usable timber remains, previous sanding and refinishing, existing damage and how much material needs removing.

7. Ignoring moisture problems before sanding
Moisture can undermine a restoration. Mistakes include sanding floors affected by unresolved damp, ignoring cupping, swelling or movement in the boards and assuming sanding will cure distortion. Sanding a distorted floor before the moisture issue is resolved can cause further problems as the timber continues to change shape.
How to avoid moisture-related floor sanding problems
- Look for signs of damp, swelling or distortion.
- Investigate and fix moisture sources before starting restoration.
- Allow the timber to stabilise where necessary.
- Follow the flooring and finish manufacturers' requirements.
- Seek professional assessment if there is moisture damage or significant movement.
8. Failing to Remove Dust Between Sanding Stages
Dust and debris affect the quality of the finished floor. Leftover dust on the surface, debris trapped beneath abrasives and finish applied over contamination are all common causes of rough results.
Skipping suitable dust extraction and protective equipment is also a health risk, as the HSE guidance on cutting and sanding wood explains.
How to clean a floor after sanding
- Use suitable dust extraction equipment during sanding.
- Remove loose dust with an appropriate vacuum and attachments.
- Clean the surface in line with the finishing product's instructions.
- Pay particular attention to edges, corners and gaps.
- Let the floor reach the required condition before applying finish.
Be cautious about wet cleaning. Whether it is suitable depends on the timber and the finish you plan to use.
9. Applying floor finish before the surface is ready
Even a well-sanded floor can go wrong at the finishing stage. Problems arise from applying varnish or oil over dust, leaving previous coatings partly in place, ignoring the finish manufacturer's preparation requirements, finishing timber with unsuitable moisture levels, mixing incompatible products and rushing drying or curing times.
Why does my floor feel rough after sanding and refinishing?
Roughness can come from remaining sanding scratches, raised wood grain, dust trapped in the finish, inadequate preparation or problems with how the finish was applied. The right remedy depends on whether the roughness is in the timber or in the coating, so identify which it is before doing anything else.
How to prevent poor finish adhesion
- Make sure the floor is clean and properly prepared.
- Follow the finish manufacturer's requirements for sanding and surface condition.
- Check compatibility with any existing coatings.
- Respect the specified drying and curing times.
- Do not apply finish over unresolved moisture or contamination.
10. Using the wrong floor sanding equipment
Different parts of the job need different tools. Using a large sander where edging equipment is better suited, choosing unsuitable abrasives, tackling corners with the wrong machine, not understanding the controls, skipping a pre-use inspection of the machine and accessories, or ignoring the operating and safety instructions all raise the risk of damage.
What equipment do you need to sand a wooden floor?
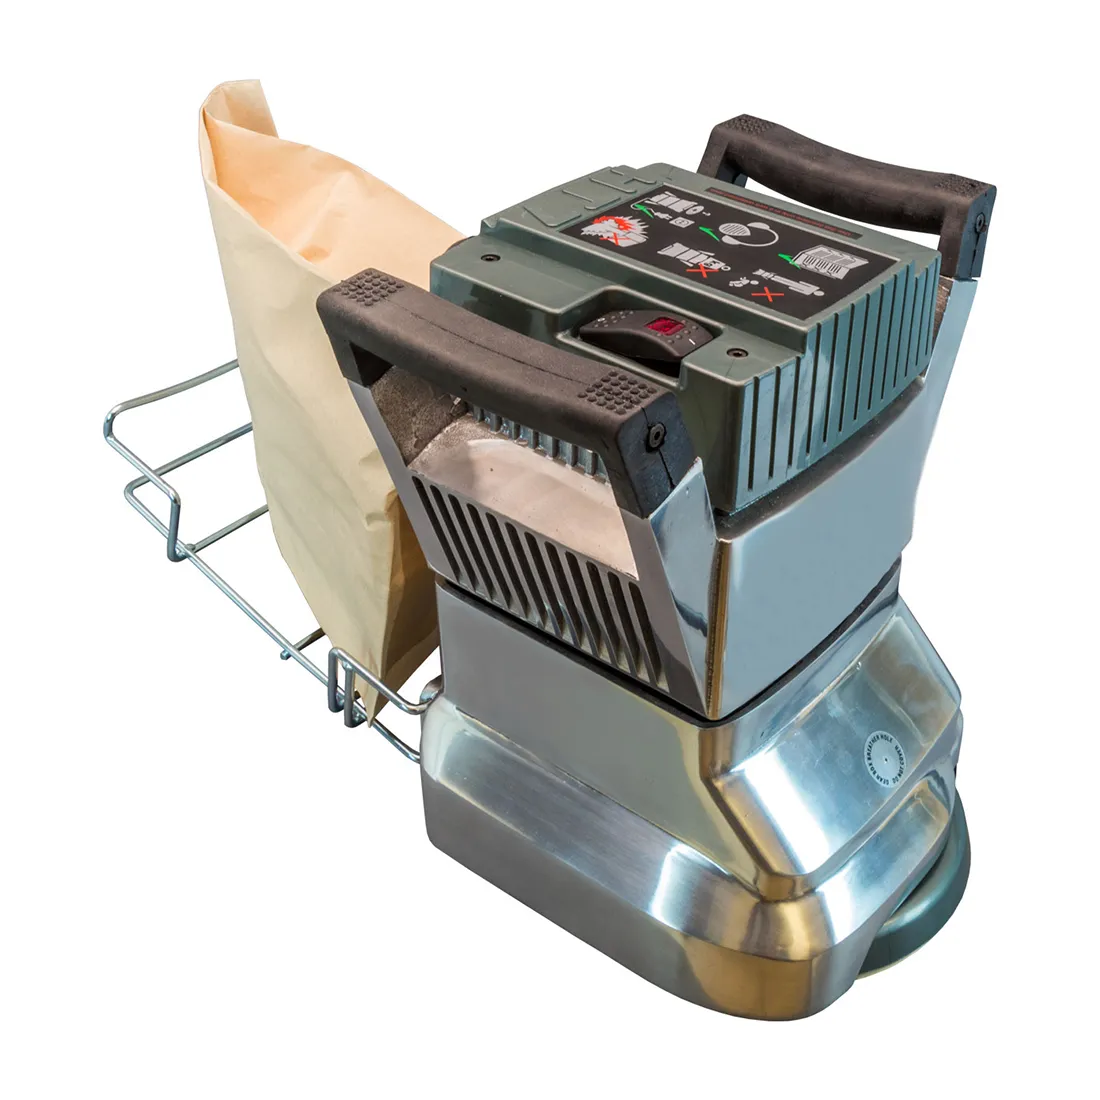
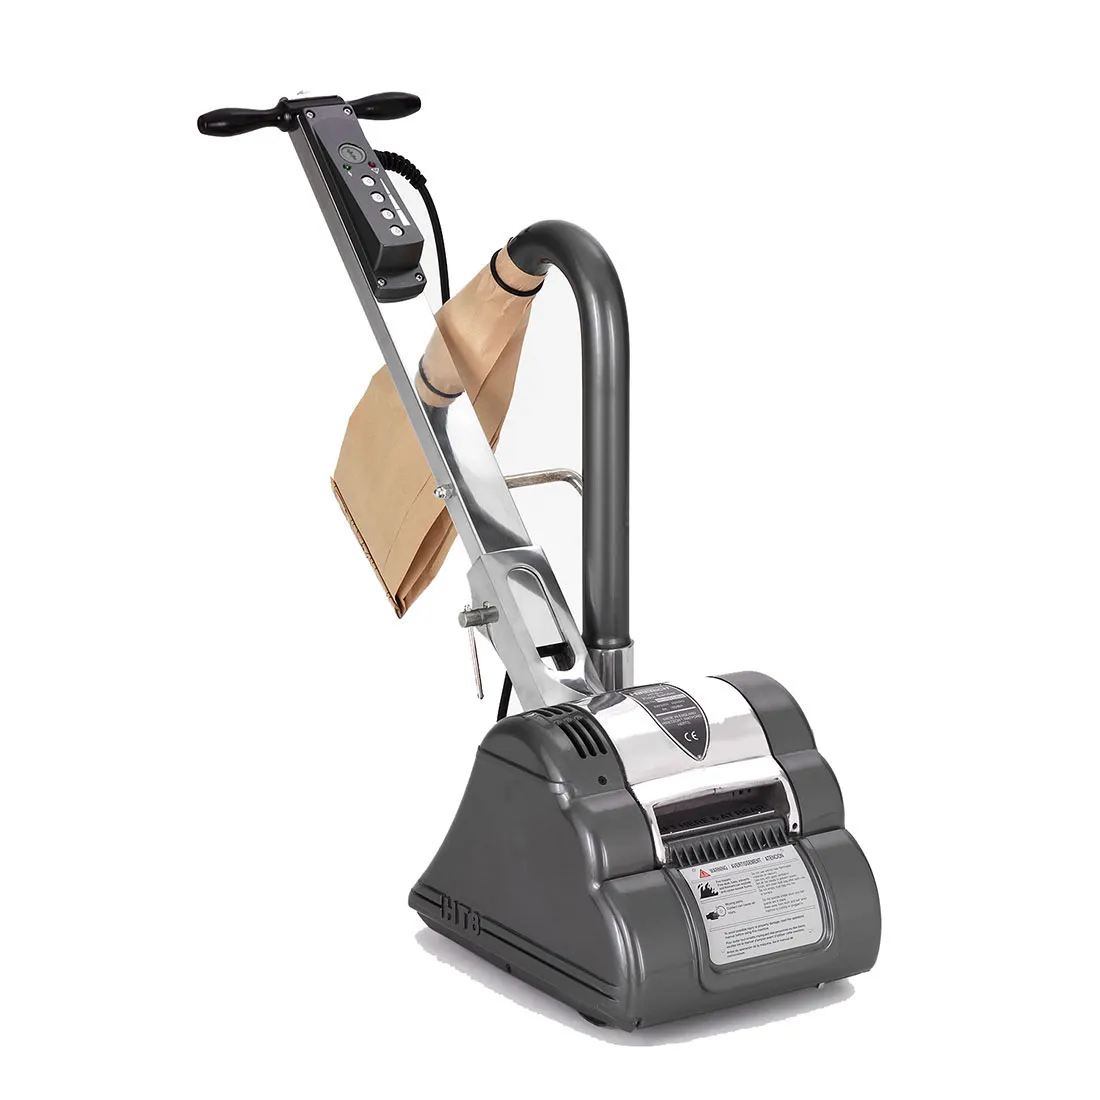
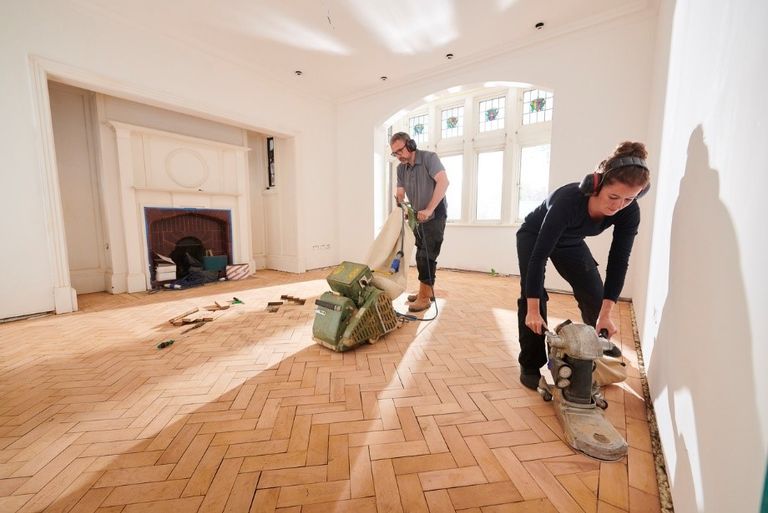
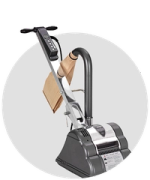
- Floor sander: for larger open areas.
- Edging sander: for edges and confined spaces.
- Abrasive sheets or belts: suited to the machine and each stage of sanding.
- Dust extraction equipment: to keep dust under control.
- Personal protective equipment: such as eye protection, hearing protection and a suitable dust mask or respirator.
The right combination depends on your project, so not every floor needs exactly the same kit.

11. Rushing the Floor Sanding Process
Rushing leads to skipped inspections, missed abrasive stages, marks that go unnoticed until after finishing, dust left between stages and coatings applied too soon. Edges and corners also take longer than most people expect.
How long does it take to sand wooden floors?
It depends on the room size and layout, the floor's condition, existing coatings, the equipment used, the number of sanding stages and the preparation and cleaning needed. Sanding time is also separate from the drying and curing time required by finishes. Rather than aiming for a fixed number of hours, plan generously for preparation, sanding, cleaning and finishing.
If this is your first project, our beginner's guide to hiring a floor sander is a useful place to start.
How to fix a floor sanding job that has gone wrong
If your floor sanding has gone wrong, start by working out what you are looking at. This table links common symptoms to likely causes and sensible next steps:
Not every problem can be fixed by sanding again, and further sanding can make some damage worse. Stop and seek professional advice if you find:
- Deep gouges or significant timber loss.
- Uncertainty about the remaining wear-layer thickness.
- Moisture damage or unstable flooring.
- Suspected hazardous old coatings or adhesives.
- Significant unevenness or structural problems.
If the machine behaves unexpectedly, switch it off and stop work until you understand why.
Avoid floor sanding mistakes with the right equipment from HSS DIY
Sanding a floor doesn’t have to be hard work. Knowing what to do, step-by-step, and having the right tools for the job will stop those common floor sanding mistakes from happening.
If you are planning a floor restoration, equipment is one part of a successful project, alongside preparation and technique.
Before you hire:
- Choose equipment that suits your flooring and room layout.
- Plan for both a floor sander and an edging sander.
- Select suitable abrasives for each sanding stage.
- Read the equipment instructions before you start.
- Allow enough time for preparation, sanding and cleaning.
- Confirm equipment suitability and availability before you hire.
Ready to start? Explore our full Floor Sander Hire range, or find the right floor sanding equipment for your project.
Buy the materials. Hire the tools. One order. All in one place.
Get DIY Happy with The Home of Great Projects.
FAQs
Can you fix a badly sanded wooden floor?
You can sometimes. Shallow scratches and light marks can often be improved with careful corrective sanding and the right abrasive progression. Deep gouges or significant timber loss may need professional repair, so assess the damage and remaining thickness first.
How many times can a wood floor be sanded?
There is no set number. It depends on whether the floor is solid or engineered, how much usable timber is left, its previous sanding history and its condition.
Why do refinished floors sometimes feel rough?
Common causes are remaining scratches, raised grain, dust trapped in the finish or poor preparation and application. Work out whether the roughness is in the wood or the coating before deciding on a fix.
Can you stay in your house while floors are being refinished?
Often, yes, but it depends on the dust control in place, the products used and the drying and curing times. Check the finish manufacturer's guidance on ventilation, drying and when the room can be used again.
Is it cheaper to refinish wooden floors or replace them?
Refinishing is often more cost effective when the timber is sound and has enough thickness left. Replacement may make more sense where there is significant moisture damage, structural problems or too little usable wood. If in doubt, get a professional assessment.
Meet the people behind our Tips & Advice
From quick fixes to bigger DIY projects, get to know the people behind the guides helping you get the job done with confidence.