









⏱ Read time: 9 min | 🌿 Difficulty: Beginner | ⏰ Time: 1 day (8 hrs) | 👷 2 people
Quick answer. To build your own log store, stand four treated posts on paving slabs, join them with 3x2 rails, add a slatted floor and gappy slatted sides, then fix a sloping bitumen roof on top. Most DIYers finish in a weekend with hired power tools and around £265 of materials, and your firewood stays dry all winter.
Key takeaways
- A good log store keeps rain off and lets air through.
- Burn firewood at 20% moisture or less, which takes about two summers of drying.
- Our design measures 1.5m wide, 0.7m deep and 1.5m tall.
- Materials cost around £265, and tool hire starts from £60.12.
- On a budget? Heat treated pallets can replace most of the timber.
Table of contents
- What are log stores used for?
- Log store ideas: which type suits your garden?
- What materials do you need?
- Should you hire or buy the tools?
- How do I build a log store? Step by step
- How long does it take?
- How do I build a log store on a budget?
- What health and safety points should you consider?
- Downloadable project checklist
- FAQs
Logs piled against the fence and hoping for the best? There’s a better way. A log store keeps your firewood dry, tidy and ready to burn. Here’s how to build your own log store in a weekend with HSS DIY.
What are log stores used for?
A log store has one job: keeping your firewood dry enough to burn well. It lifts logs off damp ground, keeps rain off the top and lets the breeze dry them through the sides.
Damp logs hiss, smoke and give out less heat, and they’ll blacken your stove glass in no time. Wood is ready to burn at a moisture content (how much of its weight is water) of 20% or less.
Defra’s guide to buying, storing and seasoning wood recommends stacking logs off the ground, under a waterproof cover with open sides, somewhere sunny and breezy. In other words, a log store outdoors.
It protects what you’ve paid for. In England, wood sold in volumes under 2 cubic metres must be certified ‘Ready to Burn’ (GOV.UK), but rain will soak it straight back up. Our guide shows you how to use a moisture meter to check yours.

Log store ideas: which type suits your garden?
Pick the design that fits your space.
- Freestanding slatted store (our build). Best for: a winter's supply in most gardens. Time: one weekend.
- Lean-to store against a fence or wall. Best for: narrow side returns. Time: one day.
- Pallet store. Best for: tight budgets. Time: half a day.
- Log and kindling combo. Best for: kindling hunters. Time: add a shelf to our design.
What materials do you need?
To build your log store, you’ll need treated timber, a roof sheet, exterior fixings and four slabs. This table lists everything, with prices including VAT.
*Prices correct as of November 2026 and are subject to change. Check live project pages for current price.
Browse our treated timber and roofing sheets ranges for alternatives.
Shop the rest of the list: sawn timber, felt and roofing nails, decking screws, stainless wood screws, paving slabs and Ronseal Total Wood Preserver.
Should you hire or buy the tools?
We’ve put together the pros of both hiring and buying the tools below. Take a look and see which one will be benefit you more.
*Prices are correct as of November 2026. Check live product pages for accurate pricing.
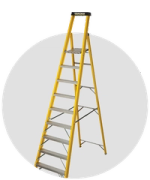
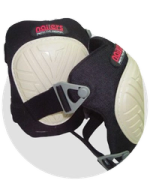
Shop the kit: hire a cordless circular saw or cordless combi drill, or buy an Irwin Xpert handsaw and your PPE.
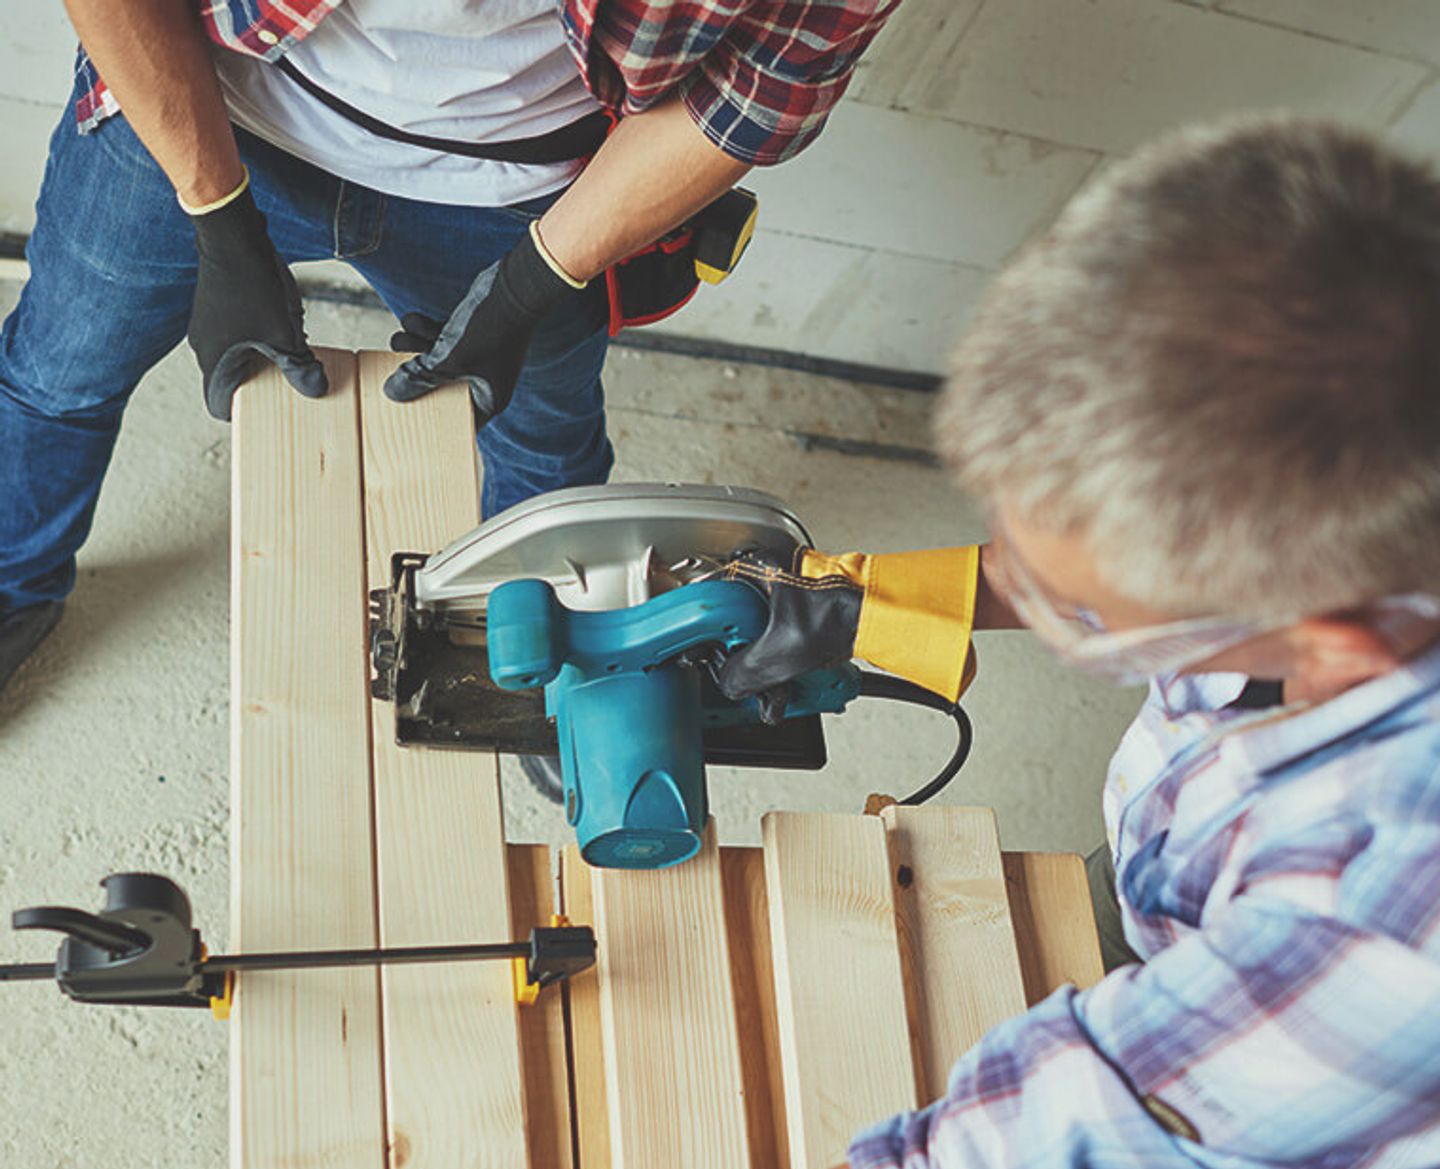
How do I build a log store?
Here's how to build your own log store in six steps.
Step 1: choose your spot and lay the base
Pick a sunny, breezy spot on firm ground near the back door. Lay a slab under each corner, 1.5m apart side to side and 0.7m front to back, and level each one. Keep clear of air bricks and gutter drips, and avoid moist ground, as HETAS advises.
Step 2: cut your timber
Cut everything first. Clamp, measure twice, cut once.
- Posts: 2 at 1,500mm (front) and 2 at 1,350mm (back).
- 3x2 rails: 4 at 1,500mm, plus a floor bearer of about 575mm.
- Rafters: 3 at 900mm.
- Floor boards: 9 at about 670mm.
- Back slats: 10 at 1,500mm.
- Side slats: about 20 at roughly 720mm, cut to fit later.
- Roof battens: 3 at 1,650mm.
Step 3: build the front and back frames
Lay the front posts flat and screw a 1,500mm rail across their front faces, 100mm up from the bottom, then another flush with the top. Use two 75mm screws per joint and check the diagonals match. Build the back frame the same way, but fix the rails to the inside faces so the outside stays clear for slats.
Step 4: join the frames and fit the floor
Stand both frames on the slabs, screw the bearer between the base rails and fix three rafters across the top. This is where a second pair of hands earns their cup of tea.
Screw the floor boards across the base rails, front to back, with 15mm gaps. Trim the end boards around the posts.
Step 5: add the back and side slats
Fix the back slats from the bottom up, using a 22mm offcut as a spacer, then fit the side slats. Drill a pilot hole (a small guide hole for the screw) near board ends to stop splitting. Leave the front open. Those gaps aren't a design flaw, they're the whole point.
Step 6: fix the roof
Screw the battens across the rafters at the front, middle and back. The 150mm drop gives a fall of about 12 degrees. Saw the bitumen sheet into two 1,000 x 930mm pieces, lay them side by side with corrugations running front to back, overlap by one corrugation and nail through the crowns. Follow the fixing guidance supplied with the sheet.
Brush preserver onto every cut end, as cutting exposes untreated wood. Check the tin for the minimum application temperature.
How long does it take?
Allow eight hours of work, which is one day, split across a weekend.
- Saturday morning (3 hrs): check your order, lay the slabs and cut the timber.
- Saturday afternoon (2 hrs): build and join the frames, then fit the floor.
- Sunday morning (3 hrs): fit the slats and roof, then treat the cut ends.
- Sunday afternoon: stack your logs and put the kettle on.
How do I build a log store on a budget?
Use reclaimed pallets for the floor, back and sides, and spend your money on the roof. That brings the bill to around £50 for the roof sheet, drive nails, a batten and screws.
Check each pallet's IPPC stamp. "HT" means heat treated, which is what you want. Avoid "MB", which means fumigated with methyl bromide. Stand three pallets upright, lay a fourth as the floor and screw them together. See our garden ideas on a budget for more.
What health and safety points should you consider?
The main risks are saw blades, splinters, timber dust and lifting.
- Wear safety glasses and ear defenders when sawing.
- Wear an FFP2 dust mask when cutting treated timber, and work outdoors.
- Use work gloves for rough timber and preserver.
- Remove the saw battery before changing blades.
- Lift the frames with two people.
- Never stack firewood next to your stove, as Woodsure warns it could ignite.
See our health and safety blog and wood burning stove care guide.
Log store building project checklist
Print it, pin it to the shed door and tick as you go.
Before you start
- ☐ Pick a sunny, breezy spot
- ☐ Order materials, PPE and tool hire
- ☐ Check every item has arrived
Build day
- ☐ Lay and level four slabs
- ☐ Cut all timber to the cutting list
- ☐ Build and square both frames
- ☐ Join the frames and fit the floor
- ☐ Fix the slats with even gaps
- ☐ Fit battens and the roof sheet
- ☐ Treat all cut ends
After the build
- ☐ Return hired tools on time
- ☐ Check logs read 20% moisture or less before burning
FAQs
How do I build my own log store with no DIY experience?
Follow a simple slatted design like ours and hire a cordless saw and drill. It's rated beginner.
Do I need planning permission for a log store?
A small freestanding log store rarely needs it, but rules differ for listed buildings and conservation areas. Read our garden planning permission guide and check with your council if unsure.
How long does firewood take to season?
Usually two summers or more, according to Defra. Split logs to under 10cm across and stack them loosely so air can circulate. Keeping newer wood at the back means your firewood store is always seasoning next winter's supply.
Should a log store have gaps in the sides?
Yes. Gaps of about 20mm let wind dry the stack. Solid sides trap damp.
What timber is best for a log store?
Pressure treated softwood. Our incised posts are treated to Use Class 4 with a 15 year warranty.
Can I put a log store outdoors against my house?
Yes, but leave a gap for air, keep air bricks clear and don't bridge the damp proof course. A freestanding firewood store avoids the issue.
Build a log store this weekend with HSS DIY
A log store is one of the most satisfying weekend builds going. For a day’s work and a modest outlay, you get a sturdy home for your firewood, a tidier garden and fires that crackle instead of hiss. It keeps paying you back every time you light the stove.
The skills you pick up here (measuring, cutting square and fixing timber) set you up nicely for bigger garden projects, like a raised bed or a new fence. Once you’ve built one thing you’re proud of, it’s hard to stop.
Ready to get started? Shop online at HSS DIY for tools and materials to buy & hire to build your own log store.
Buy the materials. Hire the tools. One order. All in one place.
Get DIY Happy with HSS DIY: The Home of Great Projects.
Meet the people behind our Tips & Advice
From quick fixes to bigger DIY projects, get to know the people behind the guides helping you get the job done with confidence.