






⏱ Read time: 8 min | 🛠️ Difficulty: Intermediate | ⏰ Time: 2 days (16 hrs) | 👷 2 man
Yes, it’s true. You really you can plaster a wall yourself. By following these steps, you’ll become a pro plasterer in no time. Make sure to protect the room, prime the surface, then trowel on two thin coats of finishing plaster to about 2mm. Brick walls need a hardwall undercoat first. Flatten and polish as it firms up, then let it dry fully before you decorate. Here's exactly how we do it.
Key takeaways
- A finishing skim coat goes on in two thin layers, about 2mm in total.
- Brick walls need an undercoat such as hardwall before you skim.
- Timing matters more than muscle. Trowel at the right moment and the finish almost polishes itself.
- Autumn is a cracking time to plaster, as mild temperatures help it set evenly.
- Hire the bigger kit, buy the consumables and get the lot in one order from HSS DIY.
Table of contents
- Why is autumn a good time to plaster?
- What are the plastering basics?
- What tools do I need to plaster a wall?
- How to plaster a wall step by step
- How do I plaster a brick wall?
- Can I wallpaper over plaster?
- How long does it take to plaster a wall?
- Is it cheaper to hire or buy plastering tools?
- What health and safety points should I consider?
- Your downloadable plastering checklist
- FAQs
- Ready to get plastering?
Why is autumn a good time to plaster?
Autumn is a good time to plaster your walls because the mild temperatures let plaster set at a steady pace.
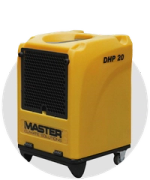
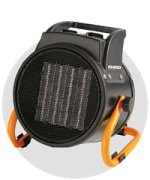
Summer heat dries plaster too fast and freezing rooms slow it down. Keep the room above 5°C, crack a window and never point a heater at fresh plaster. If the air feels damp, a dehumidifier helps remove moisture from the room. Take a look at our guide to preventing condensation in a winter renovation if you need some tips.
What are the plastering basics?
Like any job, there’s different names and terms for techniques, materials and equipment. Here’s a few that are linked to plastering.
- Skim coat: the thin finishing layer.
- Undercoat: a thicker base layer that levels uneven surfaces like brick.
- Suction: how fast a surface soaks water out of wet plaster.
- PVA: a diluted sealer that reduces suction and helps plaster grip.
- Hawk: the handheld board that holds your plaster.
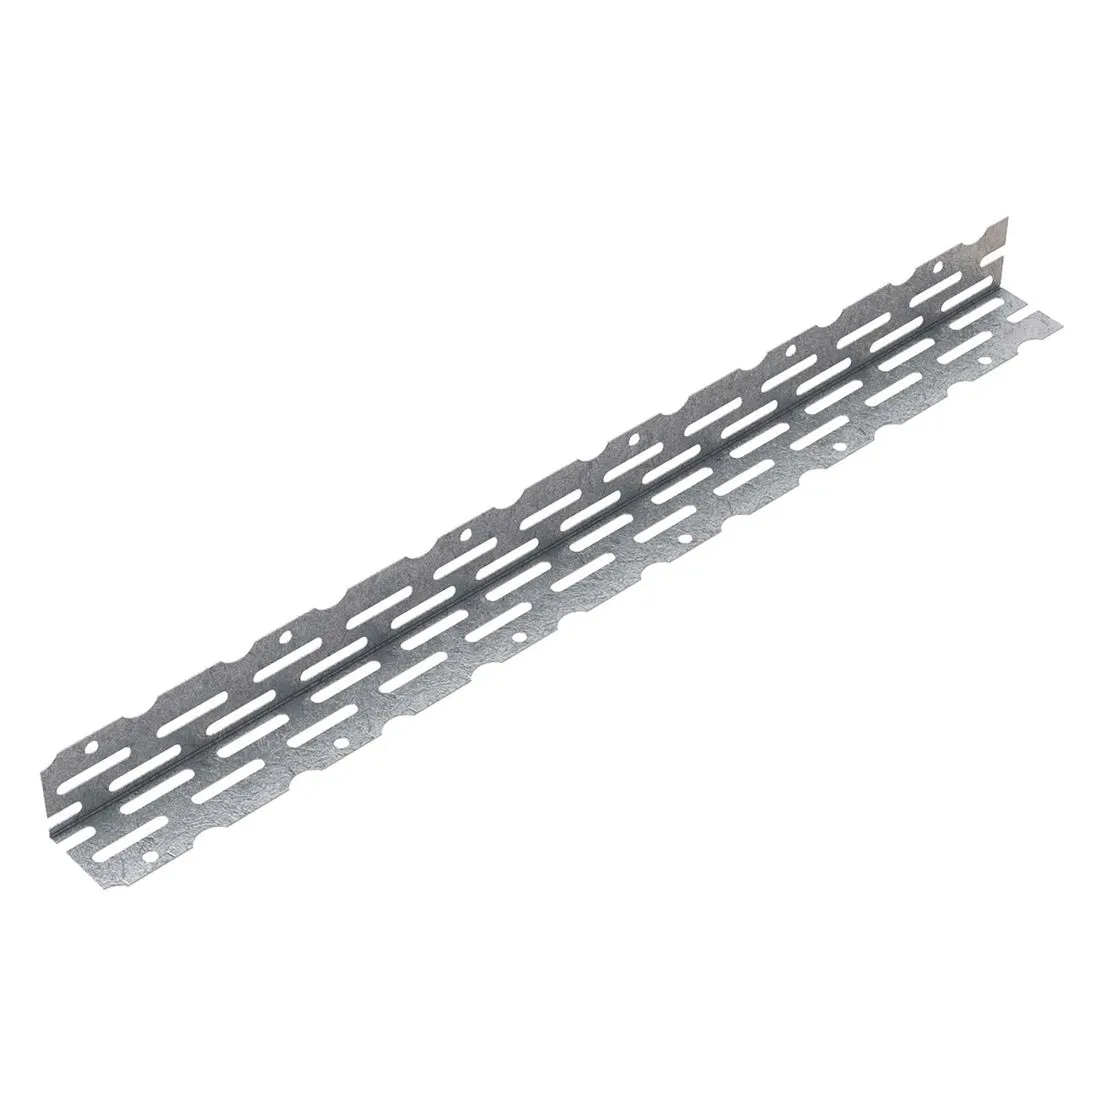
- Angle bead: a metal strip that gives outside corners a crisp edge.
- Scrim tape: mesh tape that stops plasterboard joints cracking.
Which plaster should I use?
The right plaster depends on the surface. This table compares the most popular options we stock.
What tools do I need to plaster a wall?
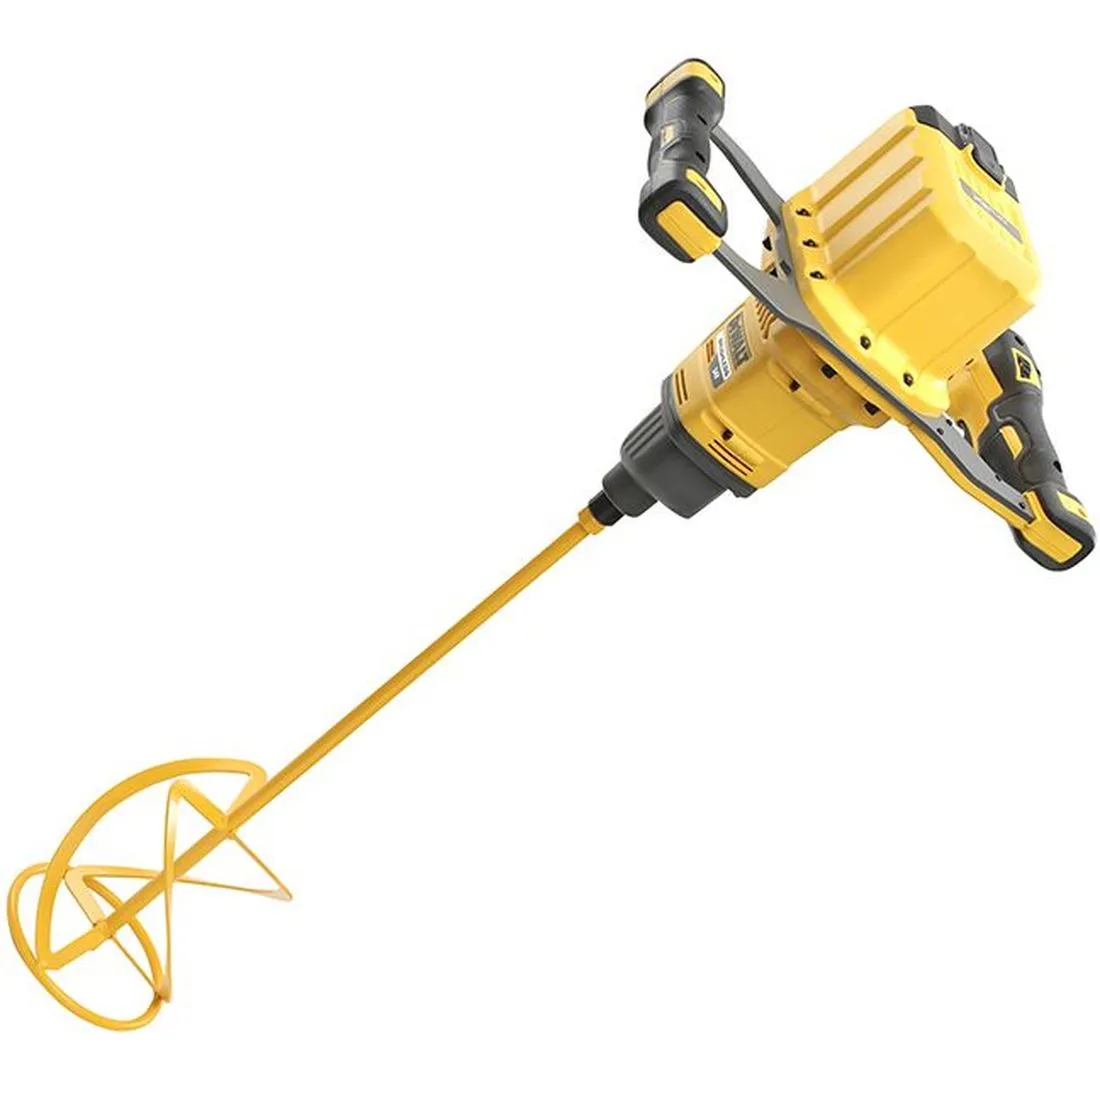
You’ll need a trowel, hawk, mixing drill, two buckets and safety kit. Here's what to hire or buy from HSS DIY.
Torn between trowels? Read what is the best trowel for plastering.
How to plaster a wall step by step
Step 1: clear and protect the room
Plaster gets everywhere, so clear the room and lay dust sheets. Switch off the power at the consumer unit before loosening socket faceplates, then mask skirting and door frames.
Step 2: Prepare the wall
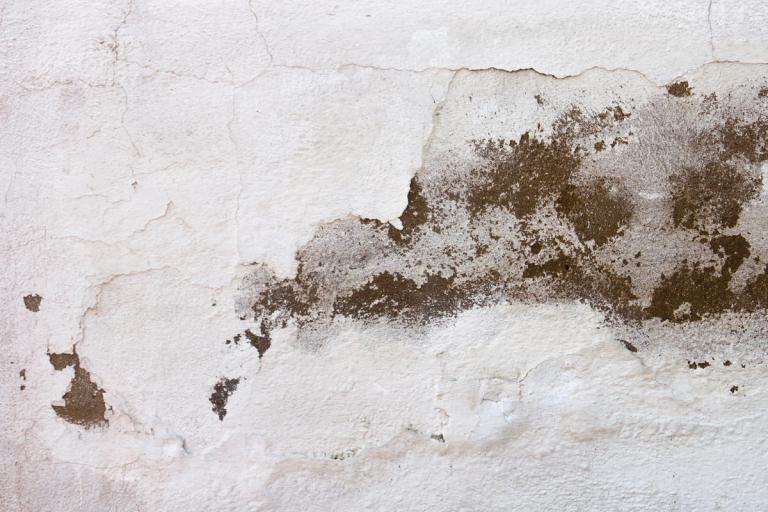
A clean, sound wall gives the best finish. If you spot damp, fix the cause first before you start plastering. Our guide to how to fix water damaged plastered walls explains how.
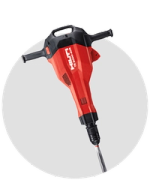
Next, tap the old plaster. If it sounds hollow, it’s blown and needs to come off. A light-duty SDS hammer drill on chisel mode makes quick work of it. Brush away any dust and loose bits.
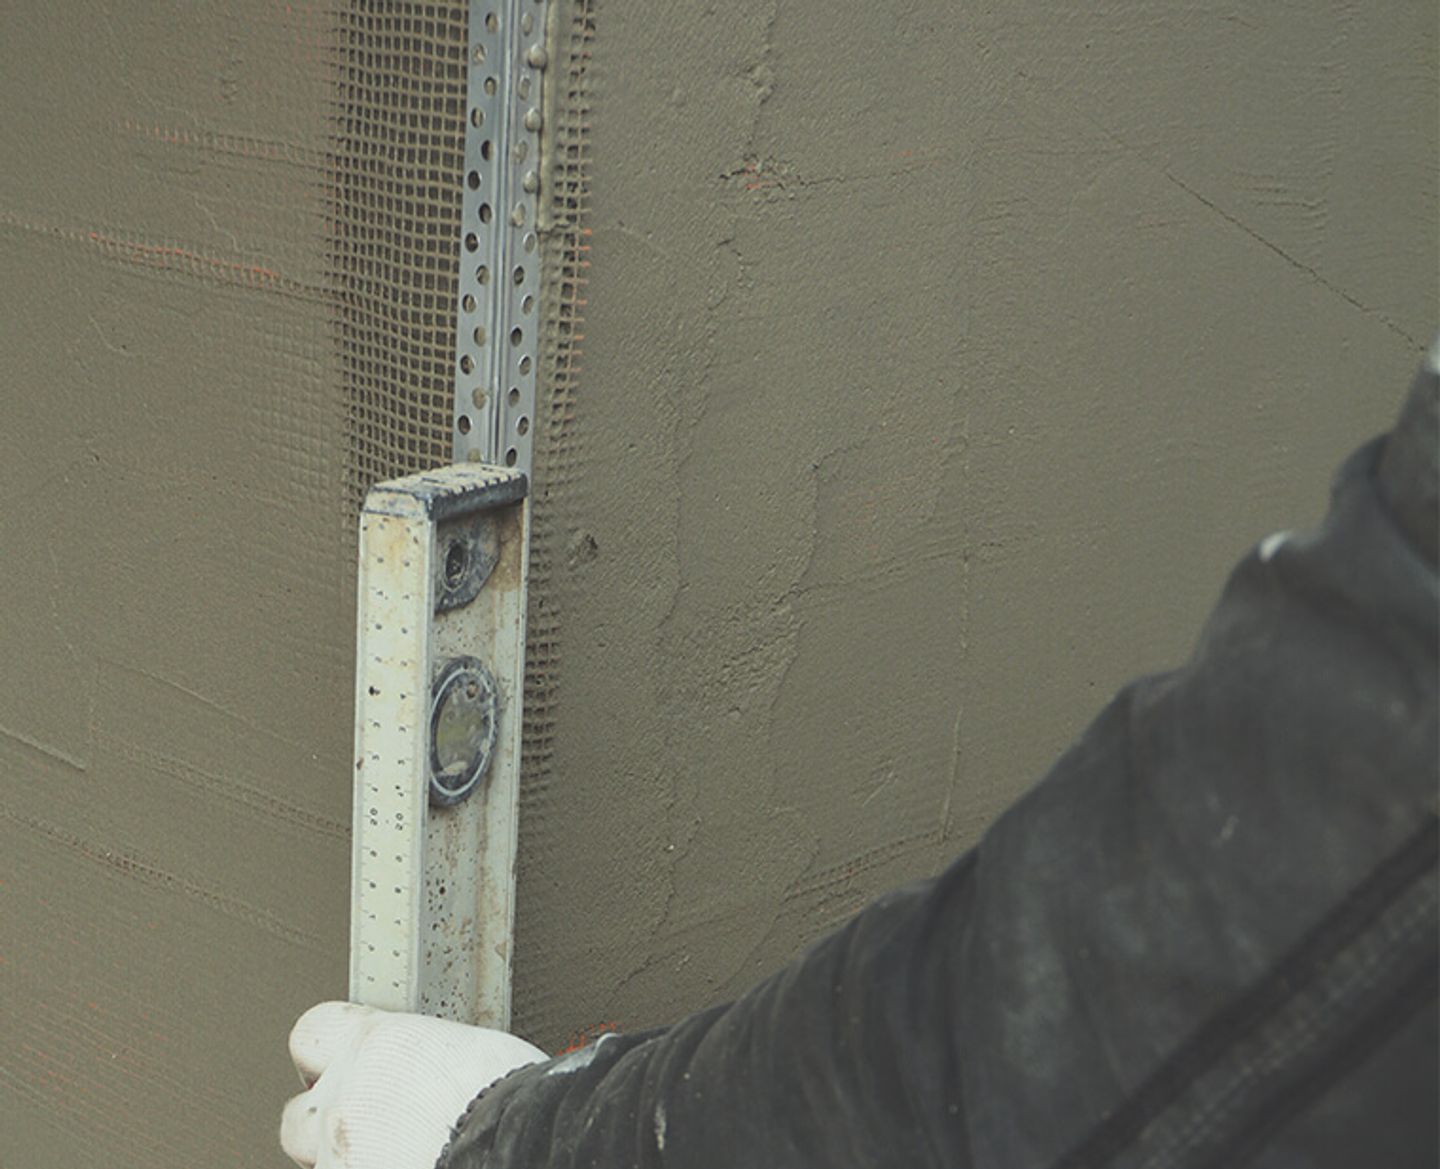
Finally, fix angle beads (the thin metal strip) along any outside corners to give you a straight, strong edge. Then cover the joins between plasterboard sheets with scrim tape (a self-adhesive mesh) to stop cracks forming.
Step 3: Control the suction
Bare walls soak up water. If the wall pulls the moisture out of your new plaster too quickly, the plaster can crack or come away. Sealing the wall first stops this.
Mix PVA with water as directed on the tin, brush it on and let it dry. Then brush on a second coat and start plastering while it’s still tacky, like the back of a sticky note.
- Shiny painted walls: PVA won’t grip, so use Bond It Plasterers Pre-Grit instead.
- New plasterboard: No sealing needed.
Step 4: Mix your plaster
Always add plaster to water, not the other way round. For a full 25kg bag of Multi-Finish, pour about 11.5 litres of clean, cold water into a clean bucket. If you’re a beginner, start with half a bag and about 5.75 litres. Sprinkle the plaster in, then mix with a paddle on a low drill speed until it’s like thick yoghurt.
Wash the bucket and paddle between batches. Any leftover bits of set plaster will make the next mix harden faster.
Step 5: Apply the first coat
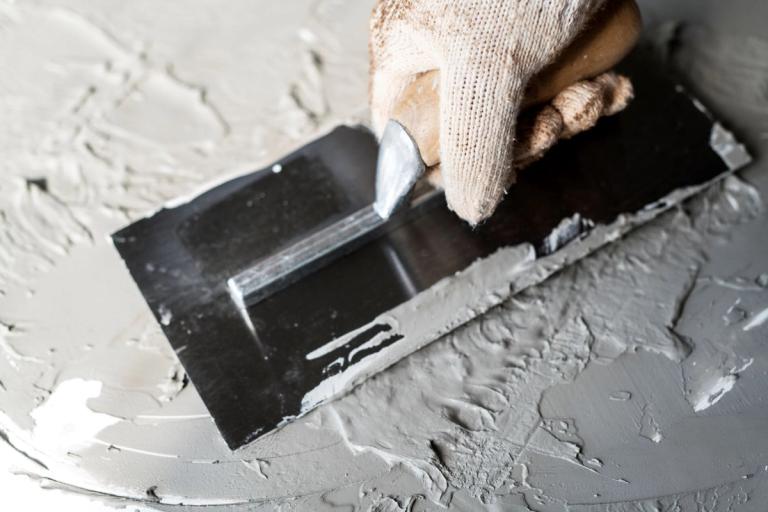
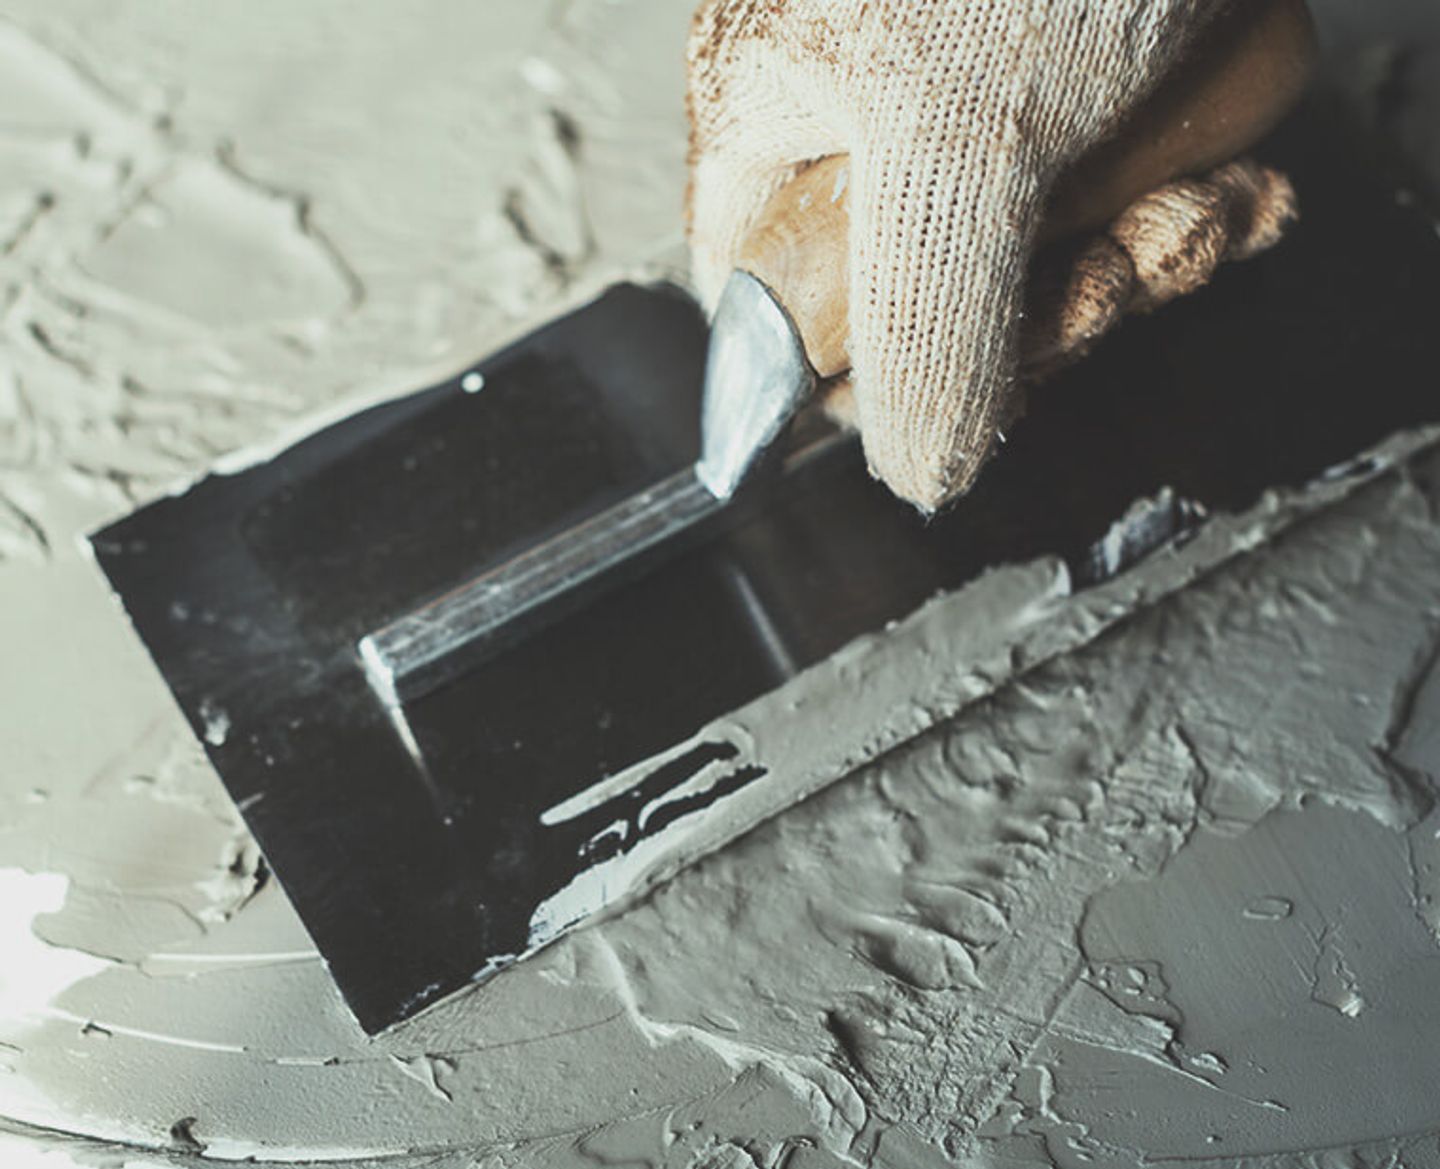
Load your hawk, scoop some plaster onto your trowel and push it onto the wall with the front edge slightly raised. Start in one corner and spread a thin layer, about 1mm, across the wall. Don’t worry about getting it perfect yet.
Step 6: Apply the second coat
When the first coat starts to firm up, usually after 20 to 45 minutes, apply the second. Fill any dips and build it up to about 2mm in total, then flatten the whole wall.
Step 7: Trowel to a smooth finish
It’s ready when you can press lightly with a fingertip and nothing sticks to it. Flick on a little water and run the trowel over the wall with firm pressure. Repeat once or twice as the plaster keeps firming, until it’s smooth and matt. Shine a plasterer’s light across the wall at an angle to show up any ridges.
Step 8: Clean up and let it dry
Wash your tools straight away. Never pour plaster water down the sink, because it can set in your pipes. Let the bucket settle, pour the water off and bin the solids.
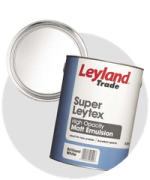
Let the plaster dry naturally with the room well ventilated, and don’t use heaters to speed it up. It’s dry when it has turned an even light pink all over, which usually takes a few days to a week. Before painting, apply a mist coat of watered-down emulsion.
From British Gypsum, the makers of Thistle. See the full Thistle playlist.
How do I plaster a brick wall?
Knowing how to plaster a brick wall starts with the undercoat. Brick is uneven and very absorbent, so it needs a thicker base before you skim.
- Dampen the brick with clean water to reduce suction.
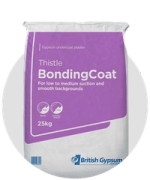
- Apply the undercoat. Spread Thistle Hardwall to about 11mm, or Bonding Coat on smooth engineering brick.
- Rule it flat with a long straight edge, then fill any dips.
- Key the surface by lightly scratching it as it firms, so the skim can grip.
- Skim it once the undercoat has set but not dried out, following steps 5 to 7.
British Gypsum's Thistle Multi-Finish installation guide gives timings for each stage.
Can I wallpaper over plaster?
Yes, once the plaster is fully dry and sealed, as bare plaster soaks up paste.
A skim usually needs at least a week to dry, and an undercoat plus skim can take four weeks or more. It's ready when the colour is an even pale pink, and a damp meter takes out the guesswork. Then brush on size, a diluted wallpaper paste, so your paper grips and slides into place.
Our guide on how to hang wallpaper like a pro takes it from there. Painting instead? Start with a mist coat of watered-down emulsion, as explained in how to paint a wall like a pro.
How long does it take to plaster a wall?
For an average brick wall, we’d suggest 2 days (16 hours) is needed to plaster a wall with two people, plus drying time. Here's how it breaks down.
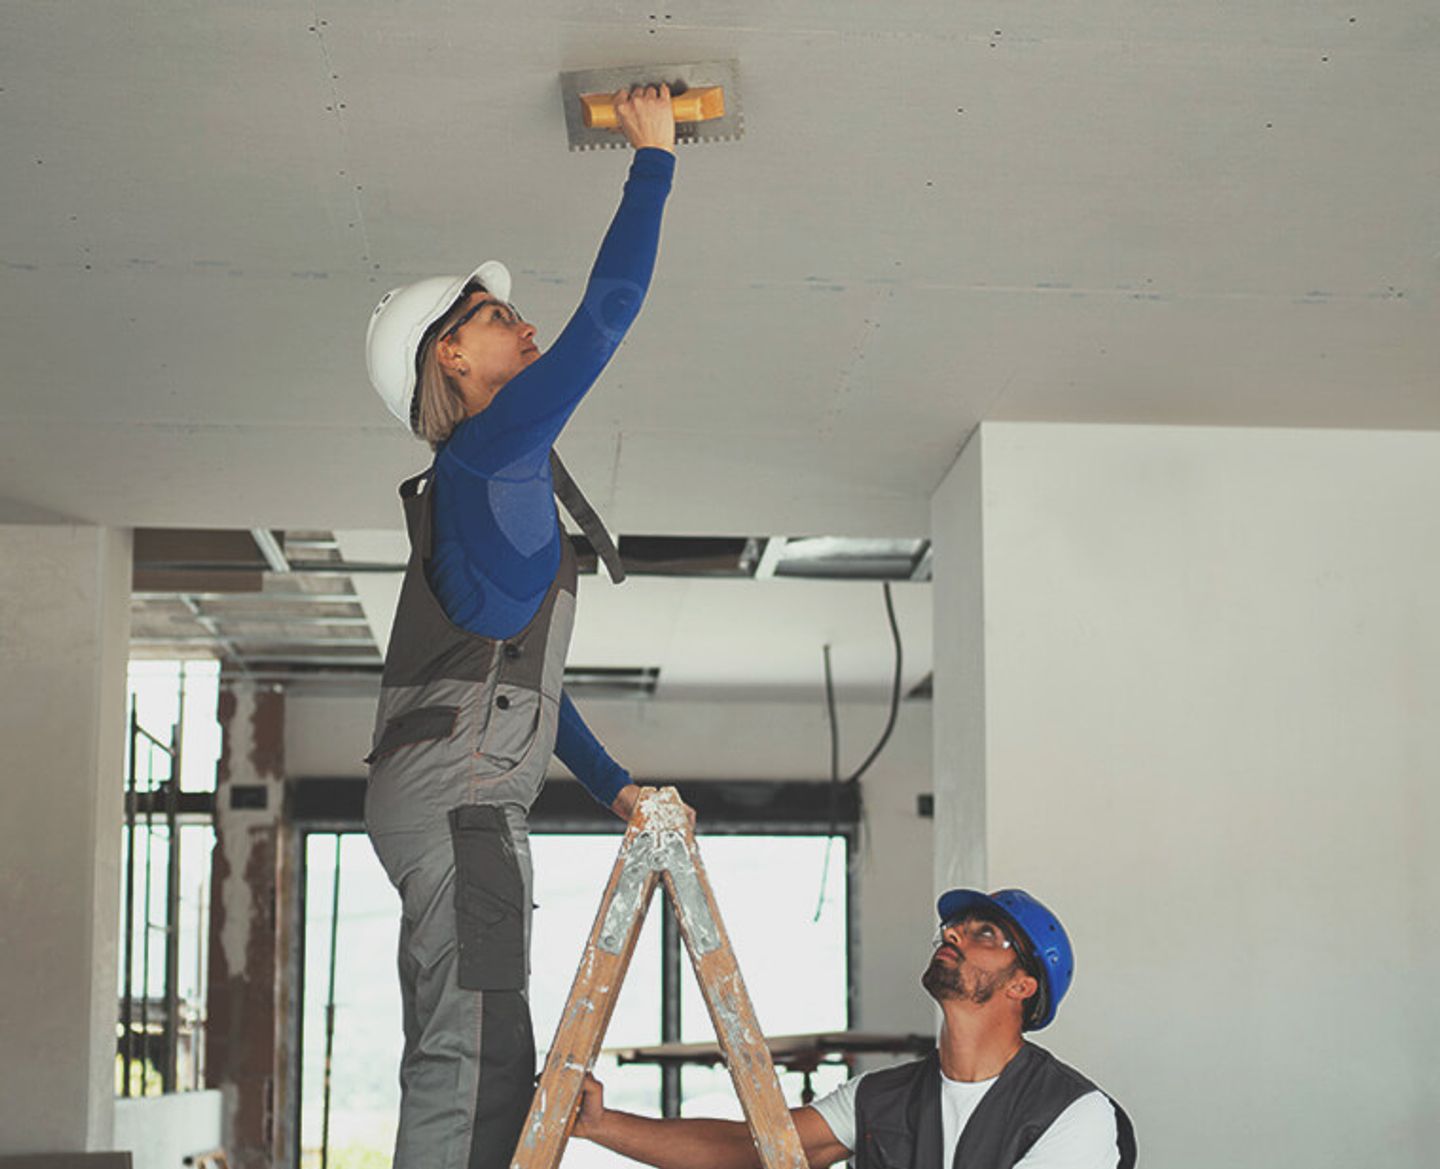
Why two people? Plaster waits for no one, so one mixes while the other applies.
Is it cheaper to hire or buy plastering tools?
For most DIYers, hiring the big kit and buying hand tools is cheapest. This table compares HSS DIY hire and buy prices.
Traders who plaster regularly will find buying pays off.
Example: skimming a 3.6m x 2.4m bedroom wall using your own drill costs around £130 for plaster, PVA, hand tools and safety kit.
What health and safety points should I consider?
The main risks are dust, splashes, working at height and heavy bags.
- Dust: wear an FFP3 mask when mixing. The HSE explains the risks of construction dust.
- Eyes: wear safety goggles. If plaster gets in your eye, rinse with clean water and get medical advice if irritation continues.
- Skin: wear gloves, especially with cement-based patching plasters.
- Height: use podium steps, never a chair. See the HSE's work at height guidance.
- Electrics: keep cables and plugs well away from water buckets.
- Lifting: bags weigh 25kg, so bend your knees and keep the load close.
Your plastering checklist
Print it off and tick as you go to help you stay on track.
☐ Order plaster (plus a spare bag), PVA, beads and scrim
☐ Buy a trowel, hawk and two buckets
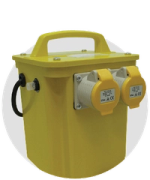
☐ Hire a mixing drill, transformer and podium steps
☐ Get an FFP3 mask, goggles and gloves
☐ Switch off power before removing faceplates
☐ Lay dust sheets and mask skirting
☐ Remove blown plaster and fix beads
☐ Seal the wall and plaster while tacky
☐ Apply two coats to about 2mm, then trowel up
☐ Wash tools straight away
☐ Ventilate and keep the room above 5°C
☐ Mist coat or size before decorating
FAQs
Is plastering hard for beginners?
Plastering for beginners takes practice, but it's very learnable. Start on a small wall, mix half bags and don't expect perfection first time.
How much plaster do I need?
A 25kg bag of Multi-Finish covers roughly 10m² at 2mm. Measure your wall and add a spare bag.
Can I plaster over old plaster?
Yes, if it's sound. Remove loose areas, seal with PVA and skim over the top.
Can I plaster over paint?
Yes, if the paint is firmly stuck. Gloss or silk finishes need a grit primer first.
What's the difference between skimming and plastering?
Skimming is the thin finishing coat. Plastering covers the whole job, including undercoats.
Why is my new plaster cracking?
It probably dried too fast, went on too thick or covered joints without scrim tape. Fill hairline cracks before decorating.
Plaster like a pro with HSS DIY
And there you have it. Plastering has a reputation as a dark art, but it can be mastered with practice and following the steps. With good prep, clean kit and timing, you'll save a small fortune on a plasterer.
At HSS DIY, you can hire or buy your plastering tools and equipment online 24/7, with next day delivery. Grab everything for your plastering project from plaster, mixing buckets, angle beads and more.
When making an order that has several items, they may be delivered separately.
Buy the materials. Hire the tools. One order. All in one place.
Get DIY Happy with The Home of Great Projects.
Meet the people behind our Tips & Advice
From quick fixes to bigger DIY projects, get to know the people behind the guides helping you get the job done with confidence.