


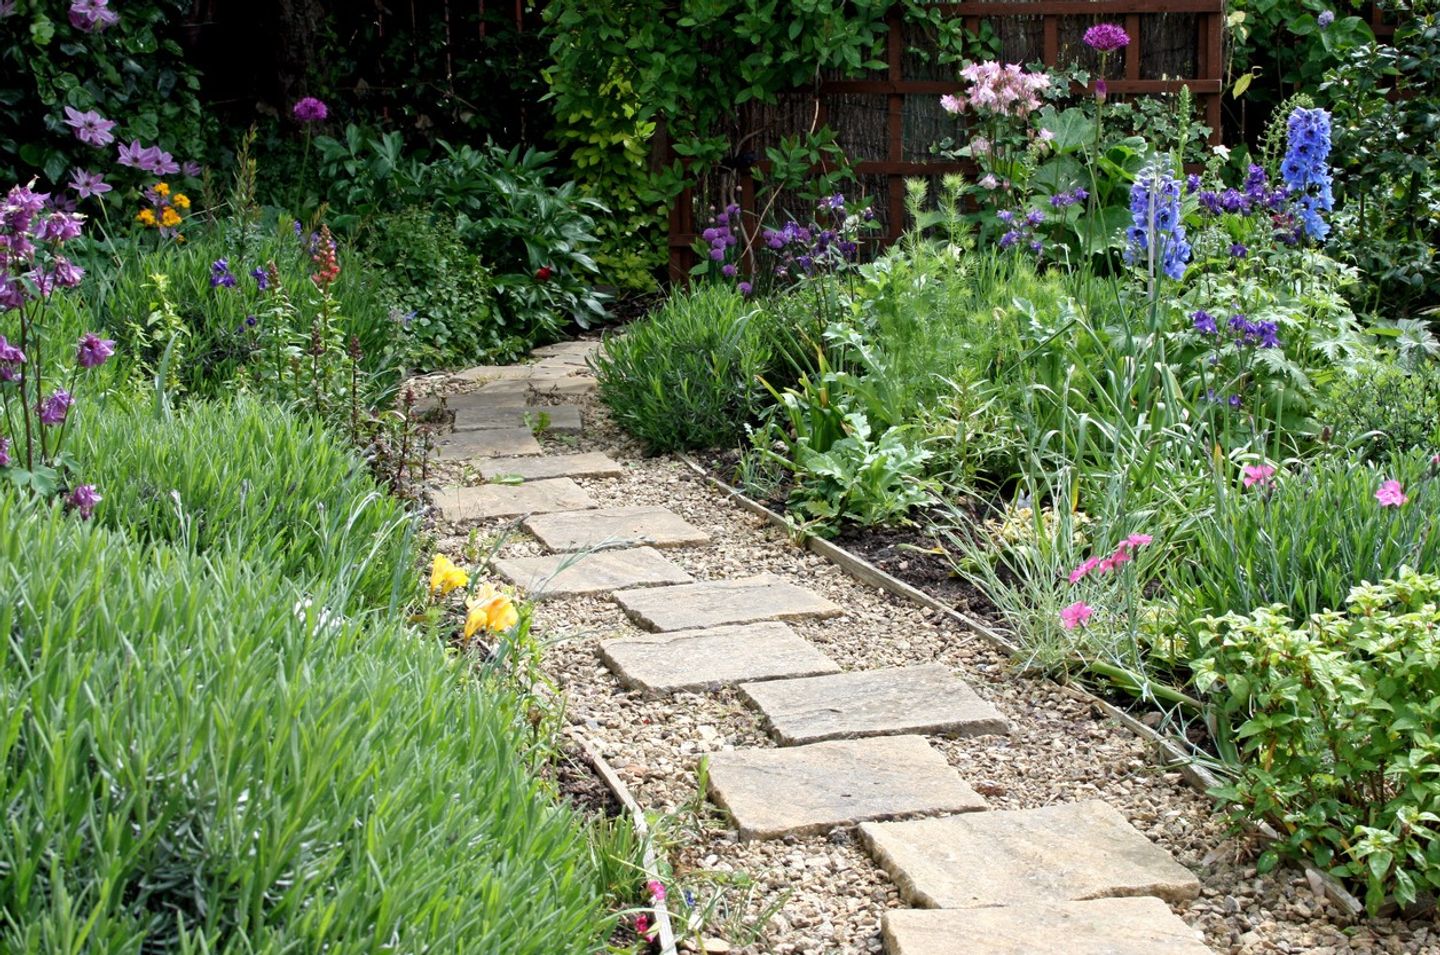
Stepping stones are a lovely finishing touch for any garden. Often, they bring a more natural, organic feel to your outdoor space than any type of solid paving.
With a bit of imagination and care, you can create something magical, reminiscent of a woodland clearing or fairytale glade, rather than just a functional pathway.
Laying a stepping stone path is also a simple way to maximise the ratio of greenery to hard landscaping in your garden, and protect the lawn from everyday use. And, of course, it will still do the primary job of any path: getting you from A to B, whether B means the greenhouse, shed, summerhouse, pergola, home office, vegetable patch or BBQ area.
There are dozens of other inspiring articles here in the HSS Hire blog section, covering tips, tricks, ideas and how-to guides for an array of home and garden improvement projects.
And one thing you’ll find in most of them is our favourite piece of common-sense advice: get your preparation right to get the best results. This article is no exception, so here’s your HSS step-by-step guide to creating a stepping stone path, starting with the groundwork.
What you’ll need to lay stepping stones:
- Measuring tape
- Wooden pegs
- String
- Rubber mallet
- Spade (for a small path) or HSS micro excavator (to make short work of a bigger one)
- Gardening fork
- Garden roller or tamper
- Spirit level
- Sharp sand
- Cement
- Wheelbarrow for transporting the stones and soil or gravel to the site
- Pointing trowel
- Your chosen paving stones
First, plan your path
Where do you want to go, and how do you want to get there? Deciding on your stepping stone’s route is the first step to success. Do you want it to be straight, simple and direct, or are you happy to take the scenic route, meandering around features, such as trees, patios and flower beds?
Plan the positioning of the stones to allow for the natural strolling stride of an average-sized person. Nobody wants an amble around the garden to feel like training for an Olympic triple jump. Why not ask different family members to walk over the route to determine how far apart the stones should be?
Measure and peg out the position of each stone
Once you’ve decided where each stone is going, measure and mark out the path using the measuring tape and wooden pegs. If you’re planning a straight path, run string between the pegs to check that your lines are straight.
You��’re going to be digging a trench slightly broader and deeper than the stones you’ll be using, so make sure you have the stones to hand before starting. Do a trial run by putting the stones on top of the ground to double-check that the positioning is correct. Then put them to one side for the next phase.

Credit: Credit:CBCK-Christine URL: https://www.istockphoto.com/
Dig holes or dig a trench
One approach is to dig a hole for each stone in your lawn and drop it in. If you fancy taking this shortcut, simply spray paint around the stones during your trial run, then use those markings to dig the holes.
However, the way to achieve a stunning result is to dig a trench the whole length and breadth of the pathway. A well-prepared excavation precisely the right depth with smooth sides and a level bottom is the key to success. Otherwise, you may end up with stepping stones that are loose and move around. That’s potentially dangerous and will spoil the look of your garden. What a waste of all that hard work!
Dig down to 20mm deeper than the stones you’ll be “planting”. Once you’ve dug out the trench, tamp the earth down at the bottom to provide a solid base, then check with a spirit level to make sure it’s perfectly flat.
Lay and secure your stepping stones
Mix some semi-dry mortar (three parts sharp sand to one part cement) and spread a 15mm thick layer of mortar over the area where your first stone will sit. One trade trick some landscapers use is to put a layer of ordinary PVA glue on top of the set mortar before placing the stone there. That bond isn’t going anywhere.
Lay the stone on the mortar and gently tap it down with the rubber mallet. Aim for the top of each stone to be just below the top of the trench. That will make it possible to mow over the stones once the path is complete.
Repeat the same process with each stone and leave it for 24 hours. Then you have a choice of methods to backfill the rest of the trench. It all depends on whether you want to surround your stepping stones with grass or gravel.
Make the stepping stones part of your lawn
Backfill the trench around the stones with good quality, weed-free soil. Tamp it well down, then plant grass seeds into the new soil. For fast growth, plant grass seeds in spring or early autumn. That’s when the soil is moist and warm — ideal lawn growing conditions.
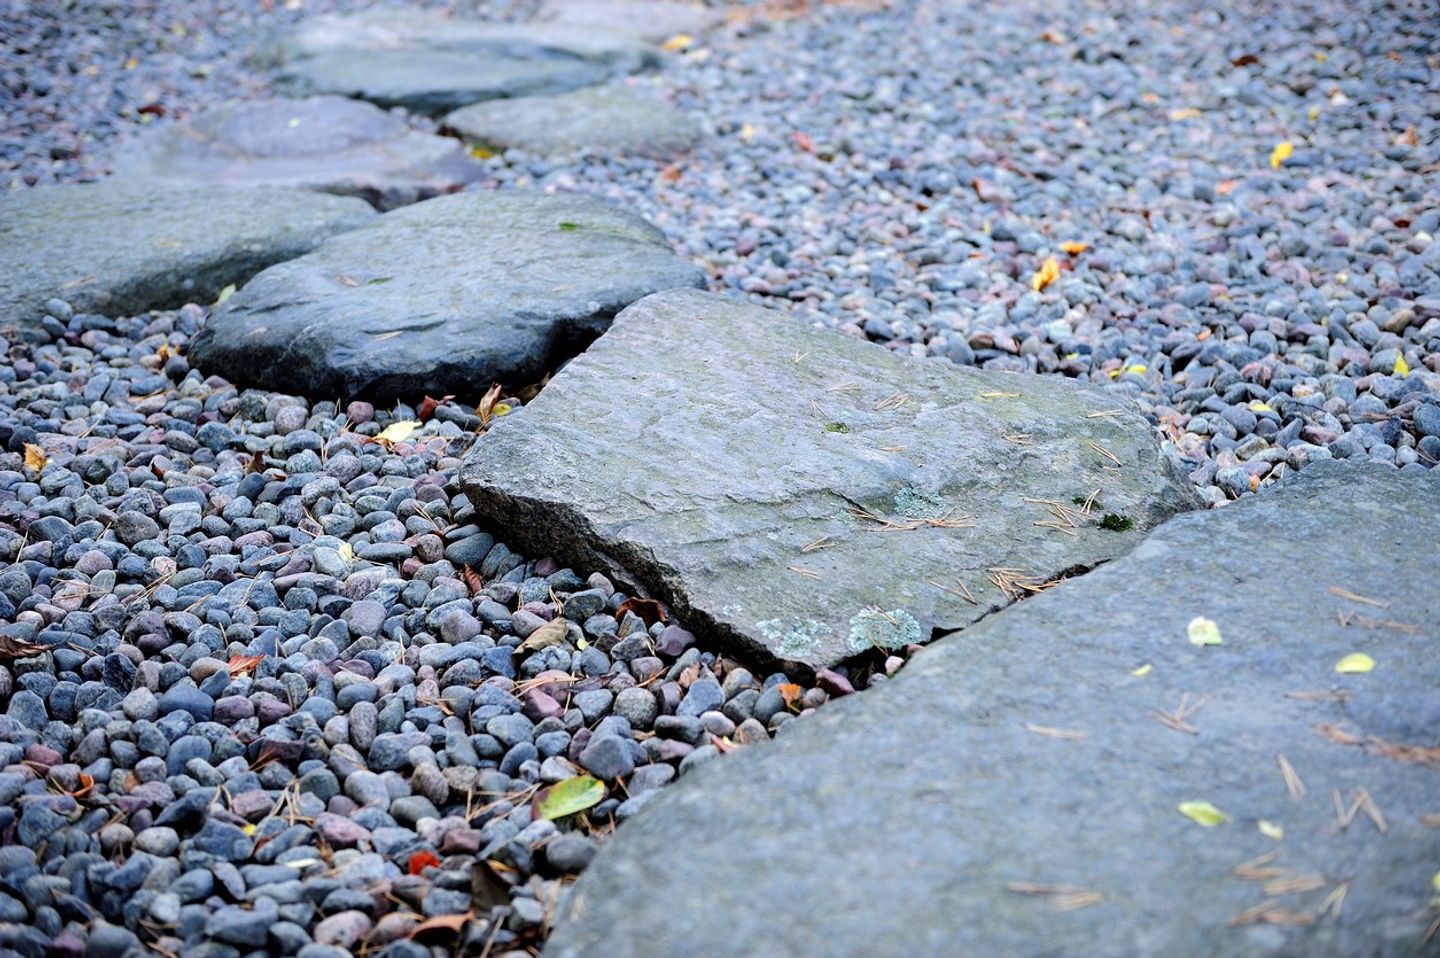
To fill the gaps with gravel
Do you want your stepping stones to be part of a gravel pathway? If so, simply use gravel to backfill the spaces between the stones. Then, rake the surface to create a neat, even surface and check that the gravel is perfectly flat using a spirit level.
That’s it, job done. But please do remember to let the cement set for 24 hours before stepping onto your beautiful new stepping stones.
Got any more jobs in mind?
There are two things you need to do a great job anywhere in the garden — the right advice and the right tools. At HSS, we can help with both. We’ve packed our blog with DIY wisdom, and each branch has state-of-the-art equipment to hire at incredibly reasonable prices. Find your nearest HSS depot here.


