



⏱ Read time: 8 min | 🌿 Difficulty: Beginner | ⏰ Time: Half a day (4 hrs) | 👷 1 person
The quick answer
To prevent frozen pipes, keep your heating on low through cold snaps, lag every pipe in unheated spaces like lofts, garages and outside walls, and cover outside taps. Fix dripping taps, find your stopcock before you need it and set the heating on a timer when you’re away. Most of it costs very little, takes an afternoon, and you’ll find everything you need in our plumbing range.
Key takeaways
- Any pipe in an unheated space is at risk once the air around it hits 0°C.
- Pipes split because ice expands by roughly 9%. The leak usually shows when it thaws, not when it freezes.
- Lagging, covered outside taps and a little background heat prevent most frozen pipes.
- Find your stopcock now. It’s the first thing you’ll need if a pipe goes.
- Never thaw a pipe with a blowtorch or naked flame.
In this guide
- What temperature would freeze pipes?
- Why do frozen pipes burst?
- Which pipes will burst if frozen?
- How do you prevent frozen pipes? Step by step
- How to avoid frozen pipes in garages, sheds and empty rooms
- What should you do if your pipes freeze?
- Health and safety checks
- Your free frozen pipes checklist
- FAQs
British winters don’t need to go full Beast from the East to cause trouble. A few nights of hard frost can turn frozen pipes into a soggy ceiling and a hefty pipe repair bill. The Association of British Insurers say, a claim to repair a burst pipe during a freezing spell can rise to around £7,500.
The good news is you can learn how to prevent frozen pipes with HSS DIY and we’ve put every precaution here in the order we’d tackle them.
What temperature would freeze pipes?
Water freezes at 0°C, so pipes can freeze once the air around them reaches freezing. A heated home usually keeps indoor pipes safe from that but it’s the cold spots that suffer.
The longer the cold lasts, the higher the risk of damage. Several days below zero with the heating off is when trouble starts, and pipes in draughty spots lose heat faster than the thermometer suggests.
Why do frozen pipes burst?
Frozen pipes burst because water expands by about 9% as it turns to ice. The ice blocks the pipe, so the water trapped behind it has nowhere to go and the pressure keeps building until the pipe wall or a joint gives way.
Severn Trent explains that this pressure can split pipes or pull joints apart. While the pipe is frozen, the ice acts like a cork. As Bournemouth Water points out, the leak won’t usually appear until the ice thaws, which is why so many bursts turn up days after the cold snap has gone.
Spot it early: if a tap gives no water or just a trickle in freezing weather, a pipe has probably frozen.
Which pipes will burst if frozen?
Any pipe can burst if it freezes, but unheated, exposed ones are most at risk. This table shows where to look first and what each spot needs.
How to prevent frozen pipes: step by step
Step 1: Find and test your stopcock
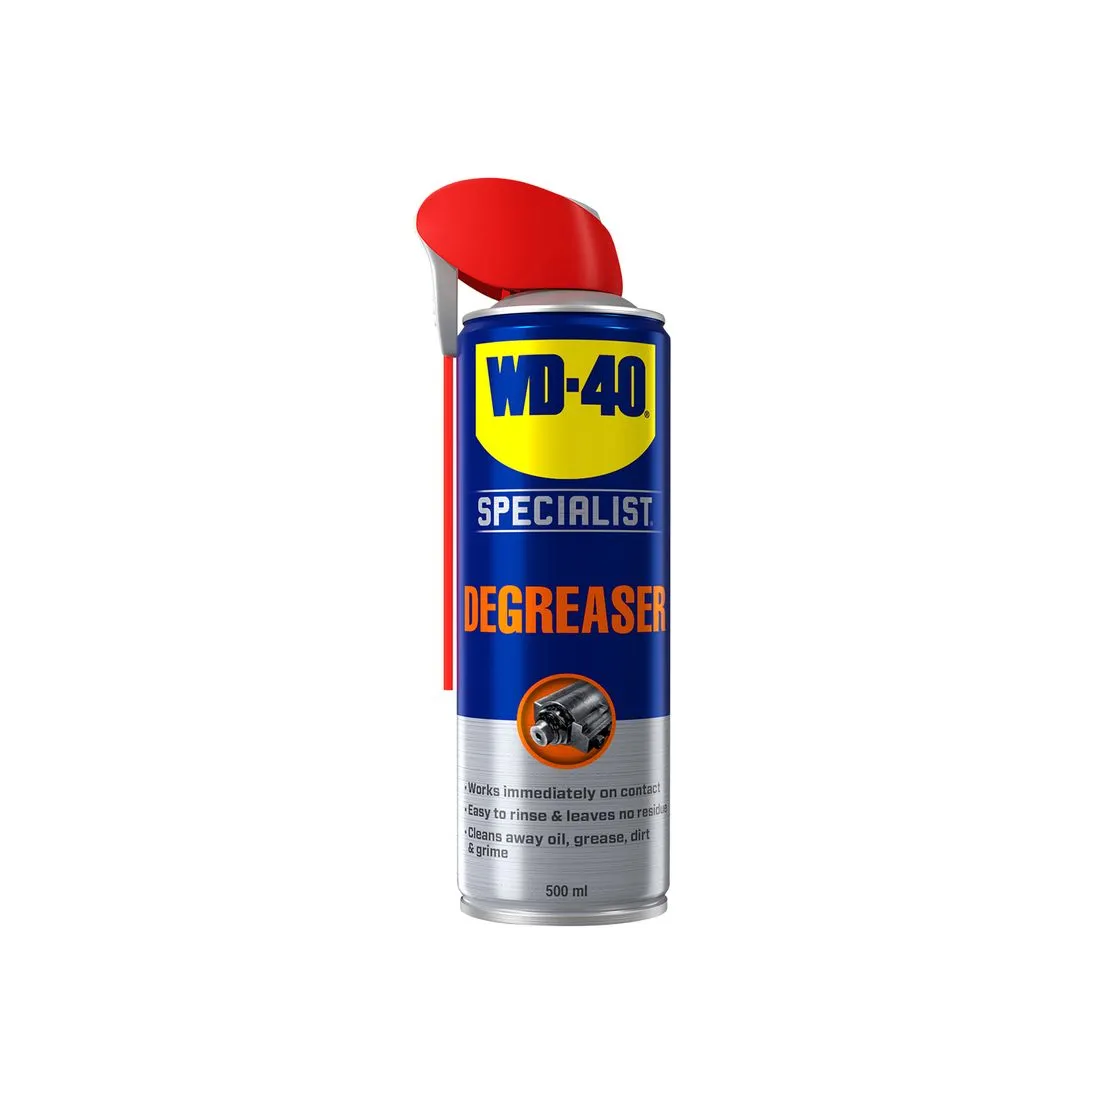
What to do: Your stopcock (also called a stop tap) controls the cold water coming into your home. According to United Utilities, it’s usually under the kitchen sink, or sometimes in a cellar or garage. Turn it clockwise to close, then back again. If it’s too hard to turn, spray some WD-40 on it.
Why it matters: If it’s seized, better to find out on a calm Saturday than at 2am with water pouring through the light fitting.
Step 2: Lag exposed pipes and the loft tank
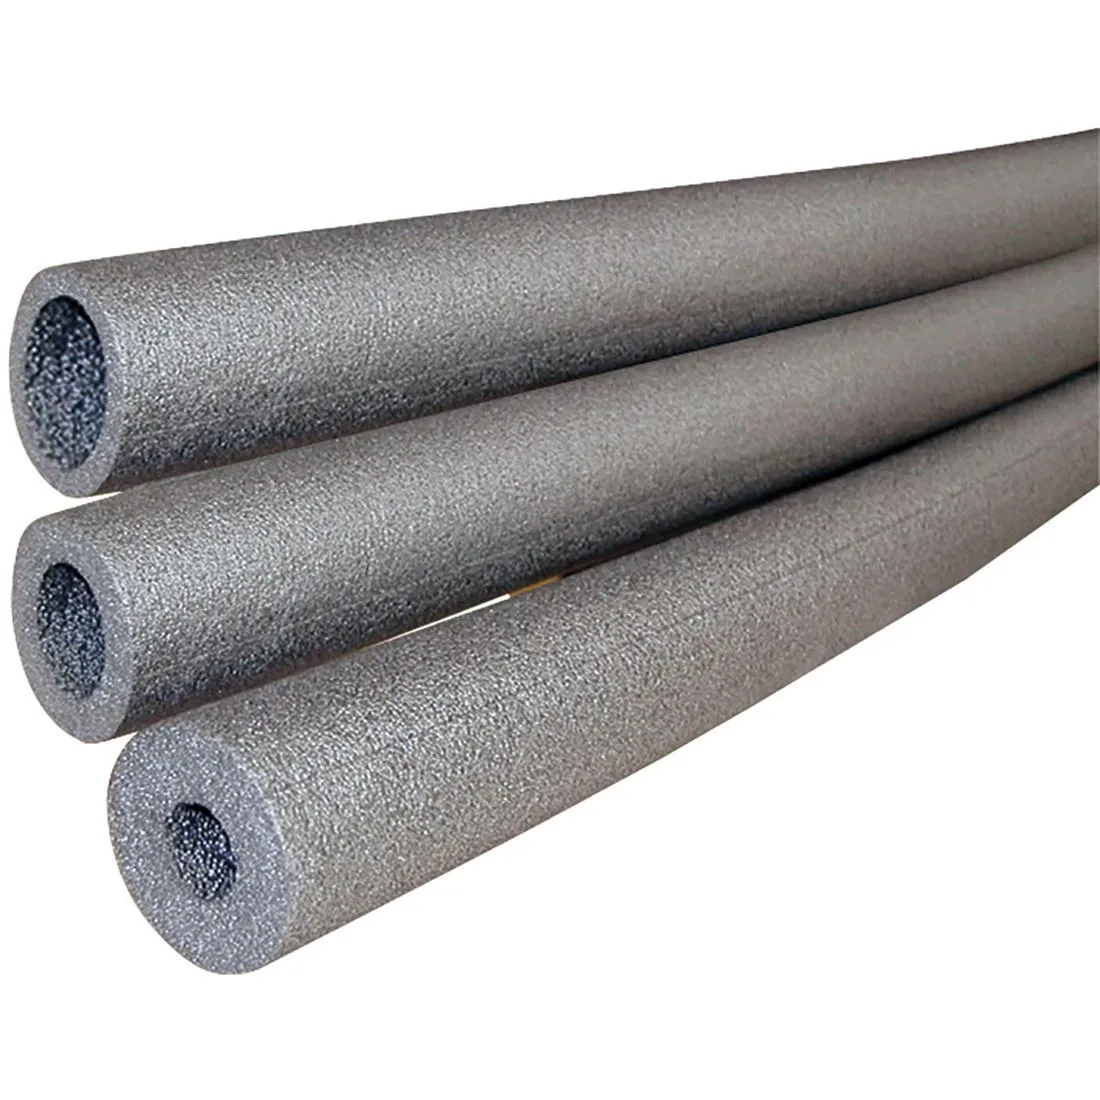
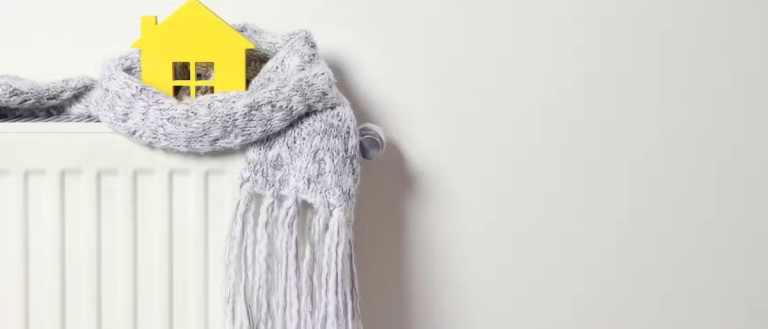
What to do: Pipe lagging is foam tubing that wraps around a pipe to slow heat loss. Think of it as a woolly jumper for your plumbing. Southern Water recommends lagging pipes in the loft and outside. Measure the pipe diameter first (usually 15mm or 22mm), slip the lagging on and tape the joins. You’ll find pipe insulation in our plumbing range.
Why it matters: It’s cheap, quick and the biggest single step you can take. Tackling the loft as well? Our guide to making your home more energy efficient covers insulation room by room.
Step 3: Isolate and cover outside taps
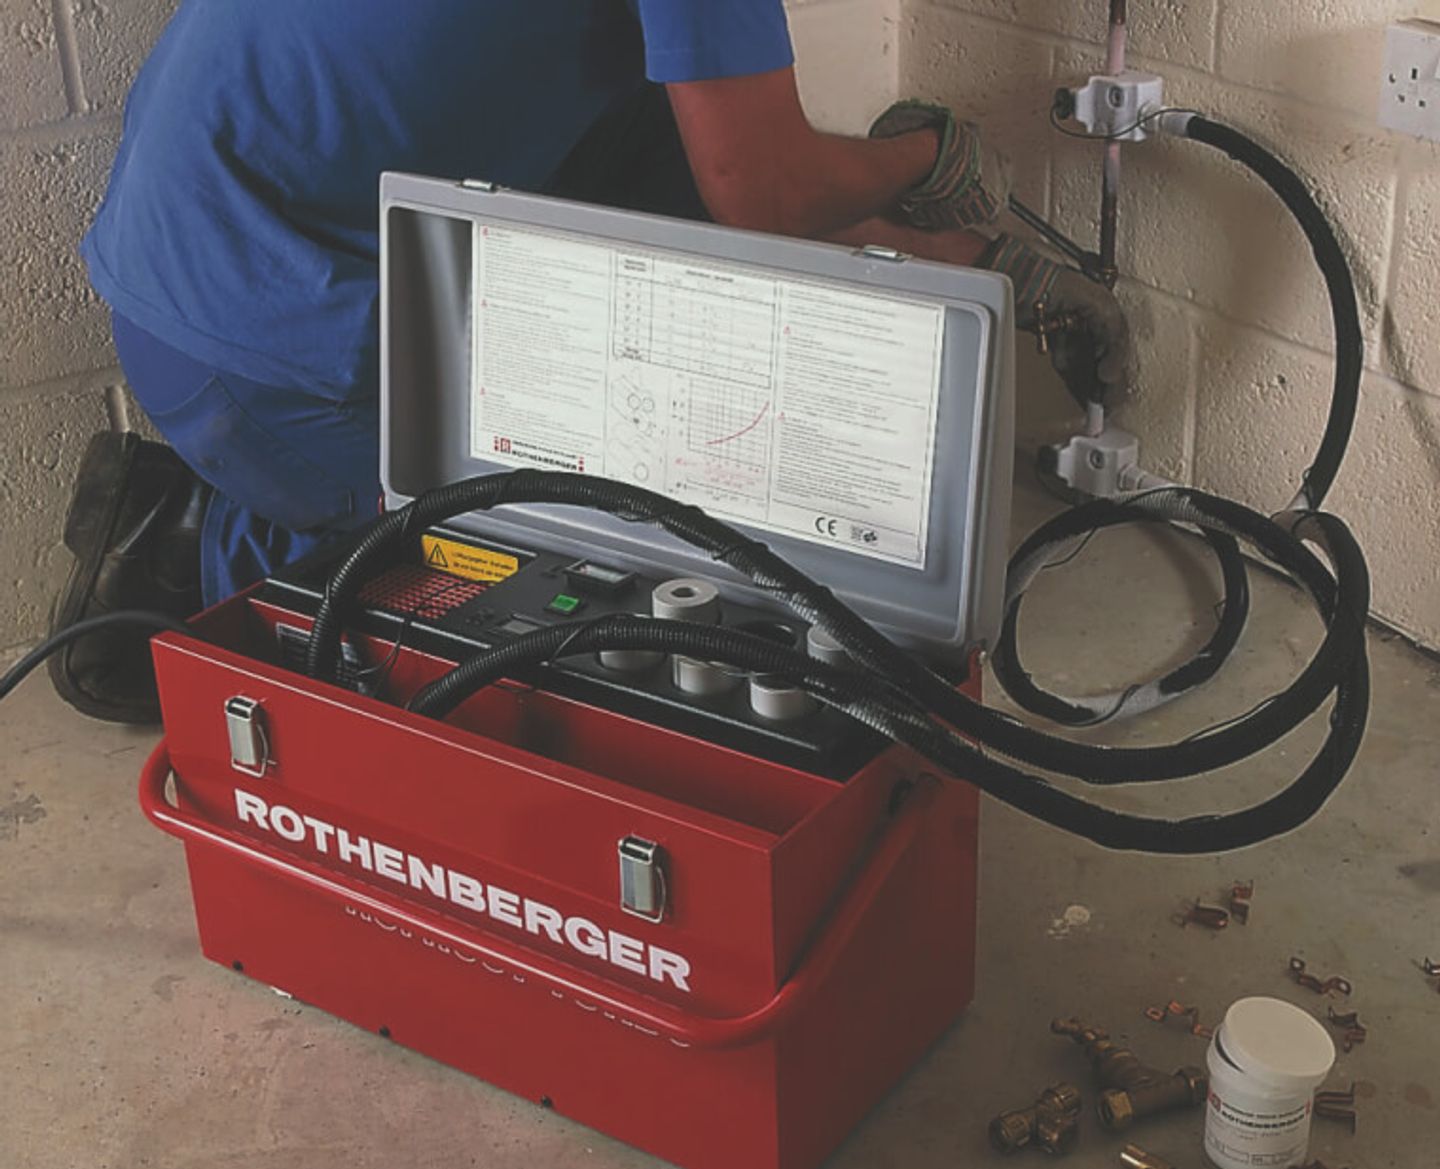
What to do: Turn off the indoor isolating valve, open the outside tap to drain it, then fit an insulated cover. If the valve itself needs replacing, our copper pipe fittings range has what you need.
Why it matters: An outside tap is the most exposed bit of plumbing you own.
Step 4: Fix dripping taps
What to do: Replace worn washers or cartridges. You’ll find washers, cartridges and replacement taps in our plumbing range.
Why it matters: Bournemouth Water warns that even a small trickle can freeze and block a pipe.
Step 5: Keep the heating ticking over
What to do: Keep the central heating on low or on regular intervals during a cold spell. If your boiler has a frost setting, switch it on.
Why it matters: Background warmth reaches pipes under floors and inside walls.
Step 6: Let warm air reach the cold spots
What to do: On very cold nights, the Northern Ireland Housing Executive suggests opening the loft hatch slightly and leaving doors open on cupboards under sinks.
Why it matters: Pipes hidden behind cupboard doors are often first to freeze.
Step 7: Protect your boiler condensate pipe
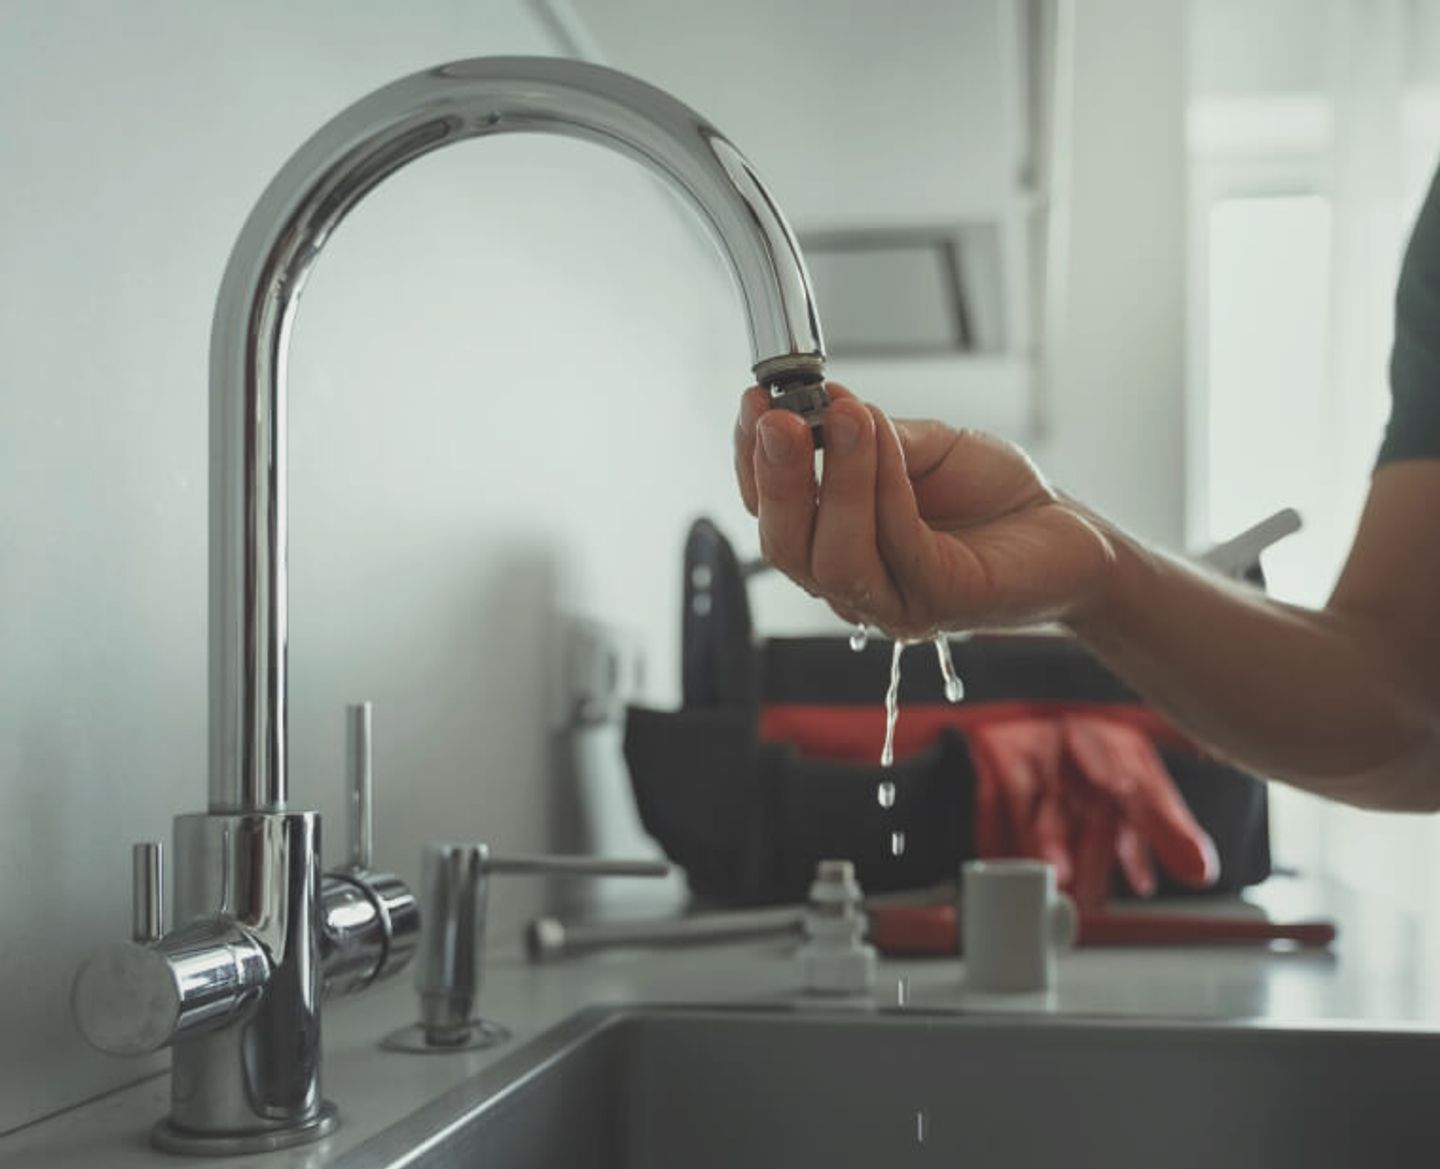
What to do: If you have a condensing boiler, find the plastic condensate pipe that runs outside to a drain. Check it’s lagged. If it freezes, your boiler will usually stop working until it’s thawed. Thinking of replacing the boiler anyway? See our tips for selecting a new boiler.
Why it matters: No boiler means no heat, which puts every other pipe at risk.
Step 8: Plan for when you’re away
What to do: Set the heating on a timer and ask a family member, friend or neighbour to pop in and check everything is ok.
Why it matters: If your pipe bursts and no one is home, water can run in your house for days unnoticed.
How long does insulating pipes take?
Here’s a realistic timeline for an average house. Total: around 4 hours, so half a day for one person.
- 15 minutes: find and test the stopcock.
- 1.5 to 2 hours: measure and lag loft, garage and under-sink pipes.
- 30 minutes: isolate, drain and cover outside taps.
- 30 minutes: fix any dripping taps.
- 15 minutes: check heating timer and frost settings.
- 30 minutes: check the condensate pipe and do a final walk-round.
How to avoid frozen pipes in garages, sheds and empty rooms
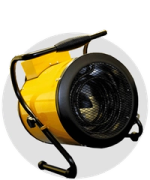
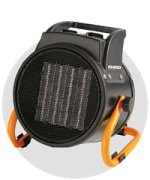
The surest way to prevent frozen pipes in an unheated space is to lag them and add a little thermostat-controlled heat. An oil-filled radiator is ideal: set it low and it gives off steady, gentle warmth, which is just enough to keep pipes above freezing.
Keep it clear of water, boxes and anything that could catch. If your shed has no power, lag the pipes and drain them for the winter instead.
Hire or buy? Hire for a one-off cold snap or a room mid-renovation. If your garage freezes every winter, buying usually works out cheaper. This table compares HSS DIY hire and buy prices at the time of writing.
*Prices are correct as of November 2026 and are subject to change, so check live product pages before ordering. For running costs, see are portable electric heaters worth the money? and our comparison of electric heaters vs gas central heating.

What should you do if your pipes freeze?
If your pipes freeze, turn off the stopcock, then thaw the pipe slowly with gentle heat. Never use a blowtorch, heat gun or naked flame.
- Turn off the stopcock. The ABI advises doing this straight away.
- Open the tap fed by the frozen pipe, so water can escape as the ice melts.
- Thaw from the tap end back towards the tank. Use a hot water bottle, warm towel or hairdryer, keeping the hairdryer well away from water, as NIHE recommends.
- Check for splits along the pipe and at every joint once water flows again.
What if a pipe has already burst?
Turn off the stopcock, switch off the heating and open all taps to drain the system, as the ABI recommends. If water is near sockets or light fittings, switch off at the consumer unit and don’t touch anything wet. Then book a qualified plumber for the pipe repair.
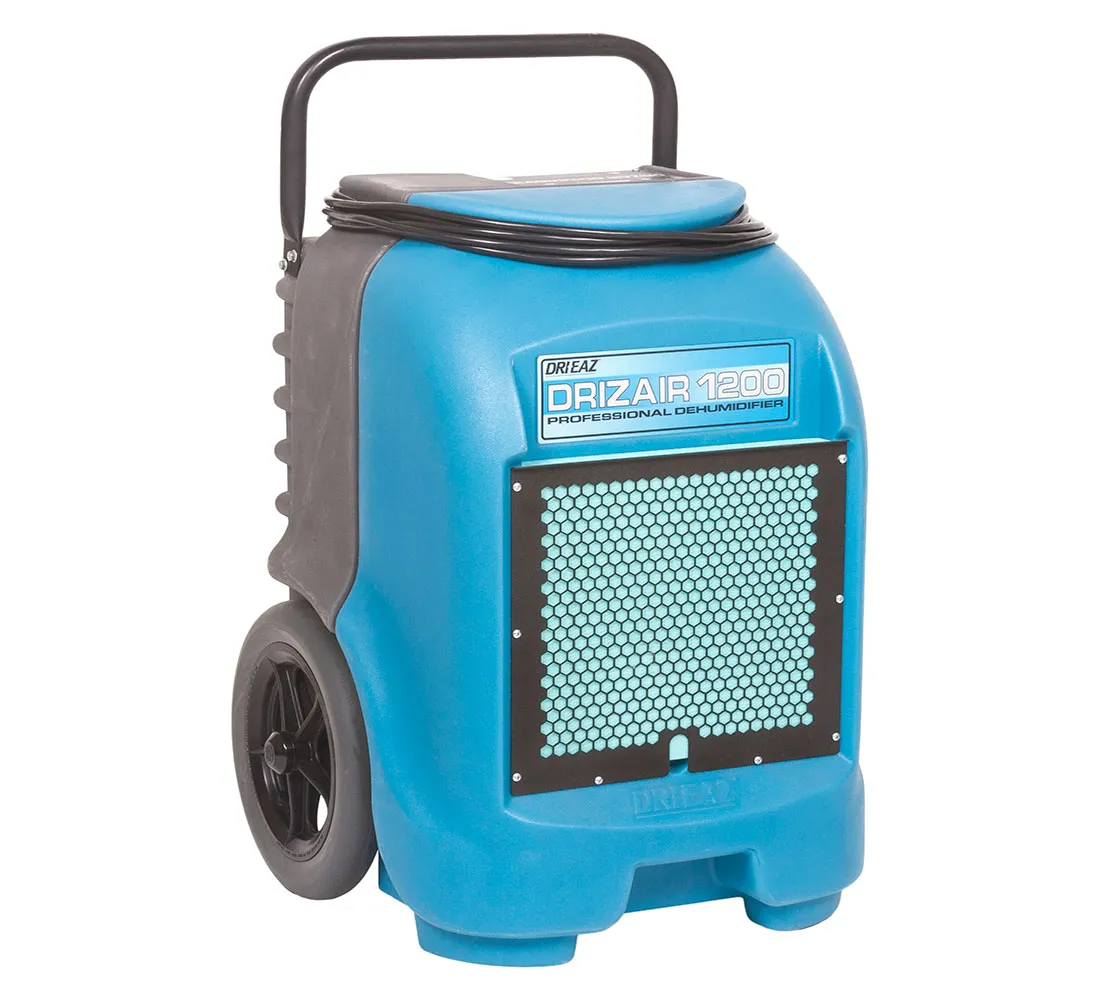
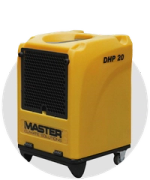
For the clean-up, hire a wet and dry vacuum and a dehumidifier, or browse our plumbing and pipework hire range. Take photos for your insurer first. If the water has spread, our guide to flood recovery, drying and restoration takes you through the full process.
What safety checks should you make before you start?
Most frozen pipe prevention is low risk. The main hazards are working in the loft, using heaters safely and keeping electricity away from water.
- Lofts: step only on joists or boarding, never on the plaster between them, or your foot could go through the ceiling. Make sure the loft ladder is secure, take a torch, and let someone know you’re up there.
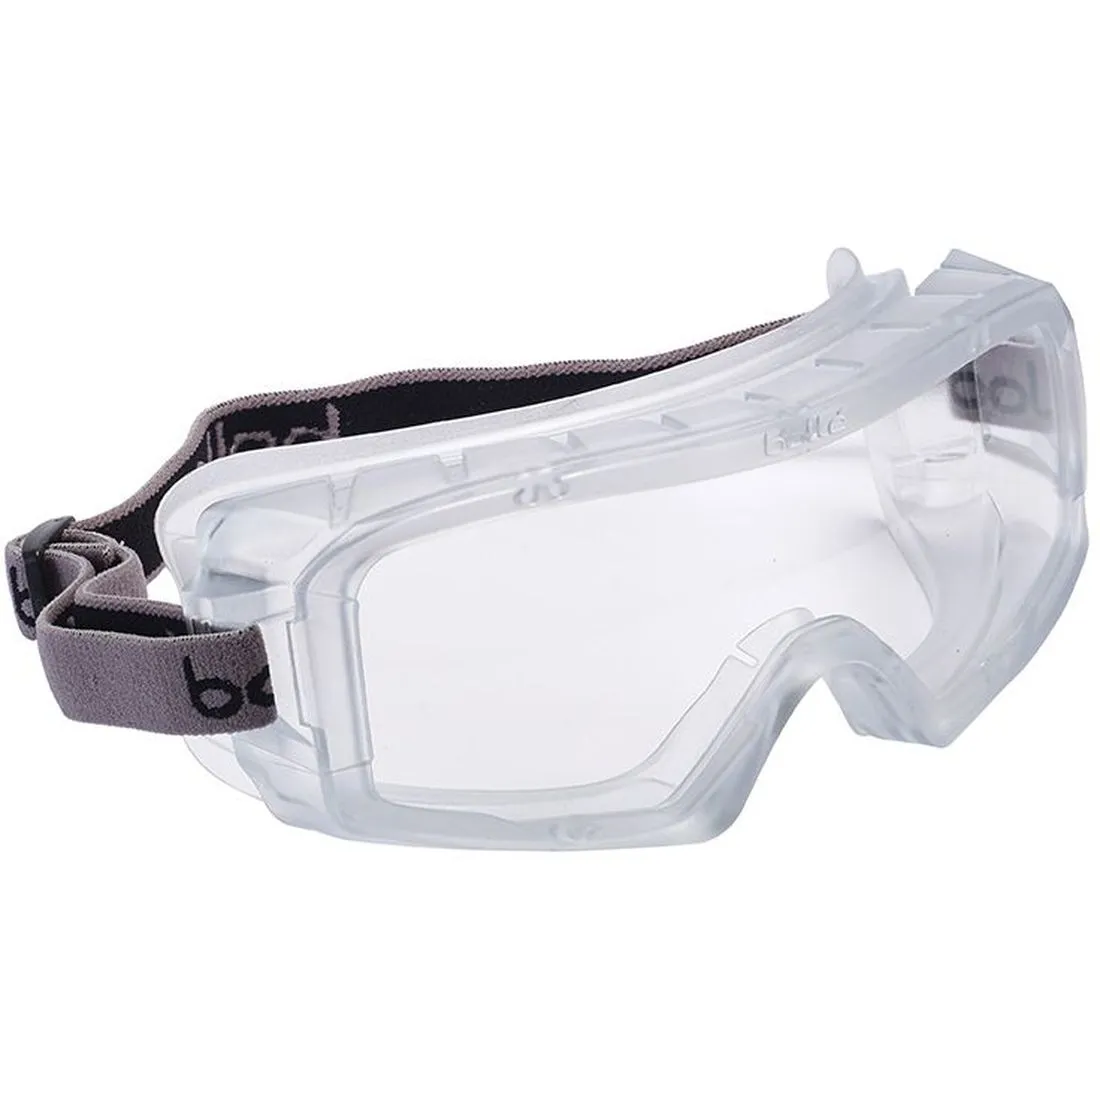
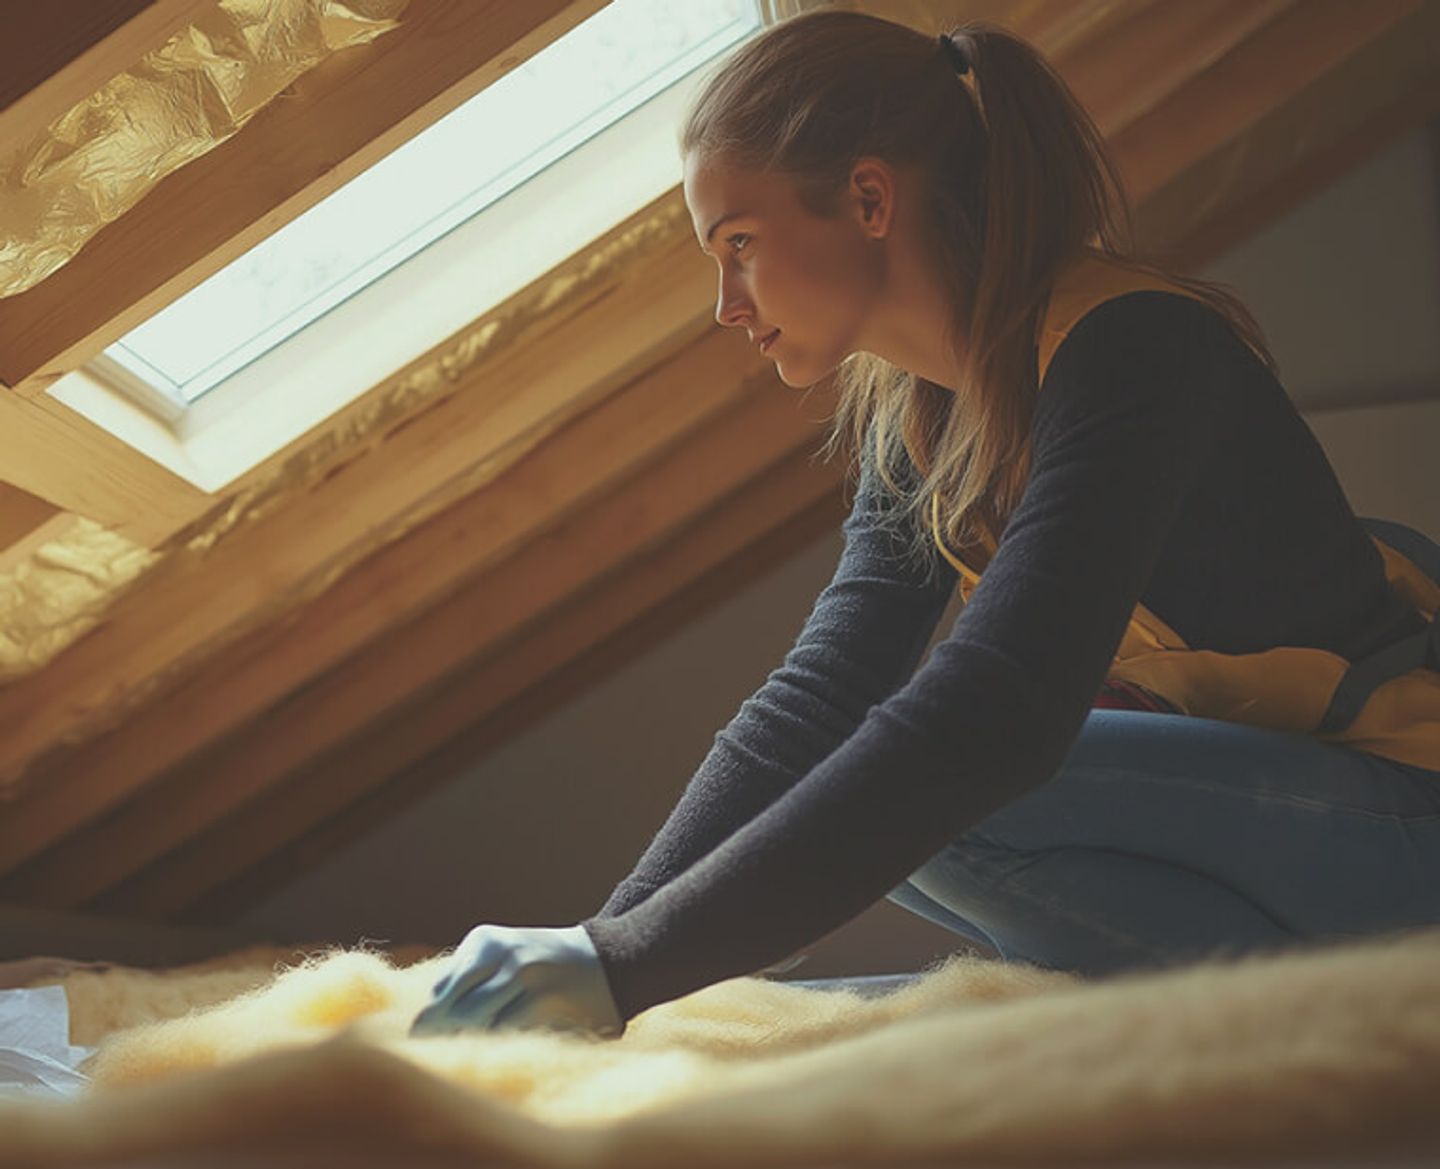
- Insulation: loft insulation and some lagging can irritate skin, eyes and lungs. Wear gloves, long sleeves and a dust mask when you handle it. If you spot old loose-fill insulation, leave it alone and see our loft insulation guide first.
- Heaters: keep them at least a metre from curtains, boxes and anything else that could catch. Never cover them, and plug them straight into a wall socket rather than an extension lead.
- Water and electrics: never use a hairdryer or heater near water. If a leak reaches sockets or light fittings, switch off at the consumer unit before you go near it.
- Stopcocks: if one won’t turn, don’t force it with grips, as old valves can snap. Call a plumber instead.
Your free frozen pipes checklist
Screenshot or print off this checklist to help you stay on track when you’re insulating your home to prevent frozen pipes.
Before the first frost
- Find the stopcock and check it turns
- Lag loft pipes and fit a tank jacket
- Lag garage, shed and utility pipes
- Isolate, drain and cover outside taps
- Fix dripping taps
- Check the boiler condensate pipe is lagged
- Set heating timer and frost setting
During a cold snap
- Keep heating on low or on regular intervals
- Open loft hatch slightly and under-sink cupboard doors
- Run a heater in unheated rooms with plumbing
- Arrange for someone to check on the house if you’re away
Frequently asked questions
Does leaving a tap dripping prevent frozen pipes?
We wouldn’t rely on it. Water companies warn that a small trickle can itself freeze and block a cold pipe. Lagging and background heat are far more dependable.
How long does it take for pipes to freeze?
There’s no fixed time. It depends on how cold it gets, for how long, and how exposed the pipe is.
Will home insurance cover a burst pipe?
Many policies cover escape of water, but some have conditions about heating or draining an empty home. Check yours before you go away.
Can I lag pipes myself?
Yes. It’s a beginner job needing nothing more than lagging, tape and scissors. Just take care in the loft.
Is it cheaper to hire or buy a heater for frost protection?
For a short cold snap, hiring is often cheaper. If you need one every winter, buying usually wins.
Prevent frozen pipes this winter with HSS DIY
And there you have it.
Frozen pipes are miles easier to prevent than to fix. Spend half a day lagging, covering and checking now, and you can watch the frost forecast with a brew in hand instead of a bucket.
Hire or buy dehumidifiers, heaters, pumps and pipe insulation online 24/7, with next day delivery or collect from one of our partner branches. If your order has several items, just be aware they may arrive separately.
Buy the materials. Hire the tools. One order. All in one place.
Get DIY Happy with HSS DIY: The Home of Great Projects
About the author: the HSS DIY team
We’re the DIY and hire specialists at HSS DIY, The Home of Great Projects. Our practical guides help you tackle home and garden jobs with the right kit.