






⏱ Read time: 8 min | 🔨 Difficulty: Intermediate | ⏰ Time: 1.5 days (12 hrs) | 👷👷 2 person
To remove a non-load-bearing internal wall yourself, first confirm it isn't structural, check for asbestos and have any cables or pipes made safe. Then protect the room, strip off the plasterboard or plaster, cut out the studs or blocks from the top down, remove the head and sole plates and make good. Most stud walls come down in a day.
At a glance
- Never assume. A hollow-sounding wall can still be structural. If in doubt, ask an engineer.
- Make it safe first. Isolate the electrics, get cables rerouted by an electrician and test for asbestos in pre-2000 homes.
- Work from the top down and contain the dust with polythene, FFP3 masks and a vacuum.
- Hire, don't buy, for a one-off job. Hiring a reciprocating saw costs about a tenth of buying one.
Table of contents
- What is a non load bearing wall?
- How do I know if a wall is load-bearing?
- Do you need permission to remove an internal wall?
- What tools do you need to remove a non-load-bearing wall?
- Should you hire or buy the tools?
- How to remove a non load bearing wall yourself: step by step
- How long does it take to remove an internal wall?
- How do you remove a non-load-bearing wall yourself safely?
- FAQs
What is a non load bearing wall?
A non load bearing wall, or partition wall, divides a space but carries no weight from the floors or roof above. Take it out and the house stays put.
This table shows the two types you'll find in most UK homes and how each one comes down.
Jargon buster: the head plate is the timber fixed to the ceiling, the sole plate is fixed to the floor and noggins are the short braces between studs.
How do I know if a wall is load-bearing?
You can't be certain by looking, but the signs in this table point to a structural wall. If any apply, get a structural engineer in first.
Taking out a load-bearing wall needs engineered support and building control approval, so it isn't a DIY job.
Do you need permission to remove an internal wall?
In England, removing a non-load-bearing wall will likely not need building control approval, provided it doesn't affect fire escape routes, ventilation, drainage or electrics. That's according to the Planning Portal, which also recommends an engineer's report to confirm the wall isn't load-bearing.
- Fire escape routes. A wall around your hall or staircase, especially in a house with three or more storeys, may protect your escape route. Ask building control first.
- Flats. Your lease may need the freeholder's consent. See the Planning Portal guidance on flats.
- Listed buildings. Internal changes can still need listed building consent.
- Outside England. Rules differ in Scotland, Wales and Northern Ireland, so check with your council.
Autumn is a great time for this job. It's indoors, so the weather can do its worst, and you'll be open plan well before Christmas. Plaster dries slowly in cold, damp months though, so read our guide to preventing condensation in a winter renovation.
What tools do you need to remove a non-load-bearing wall?
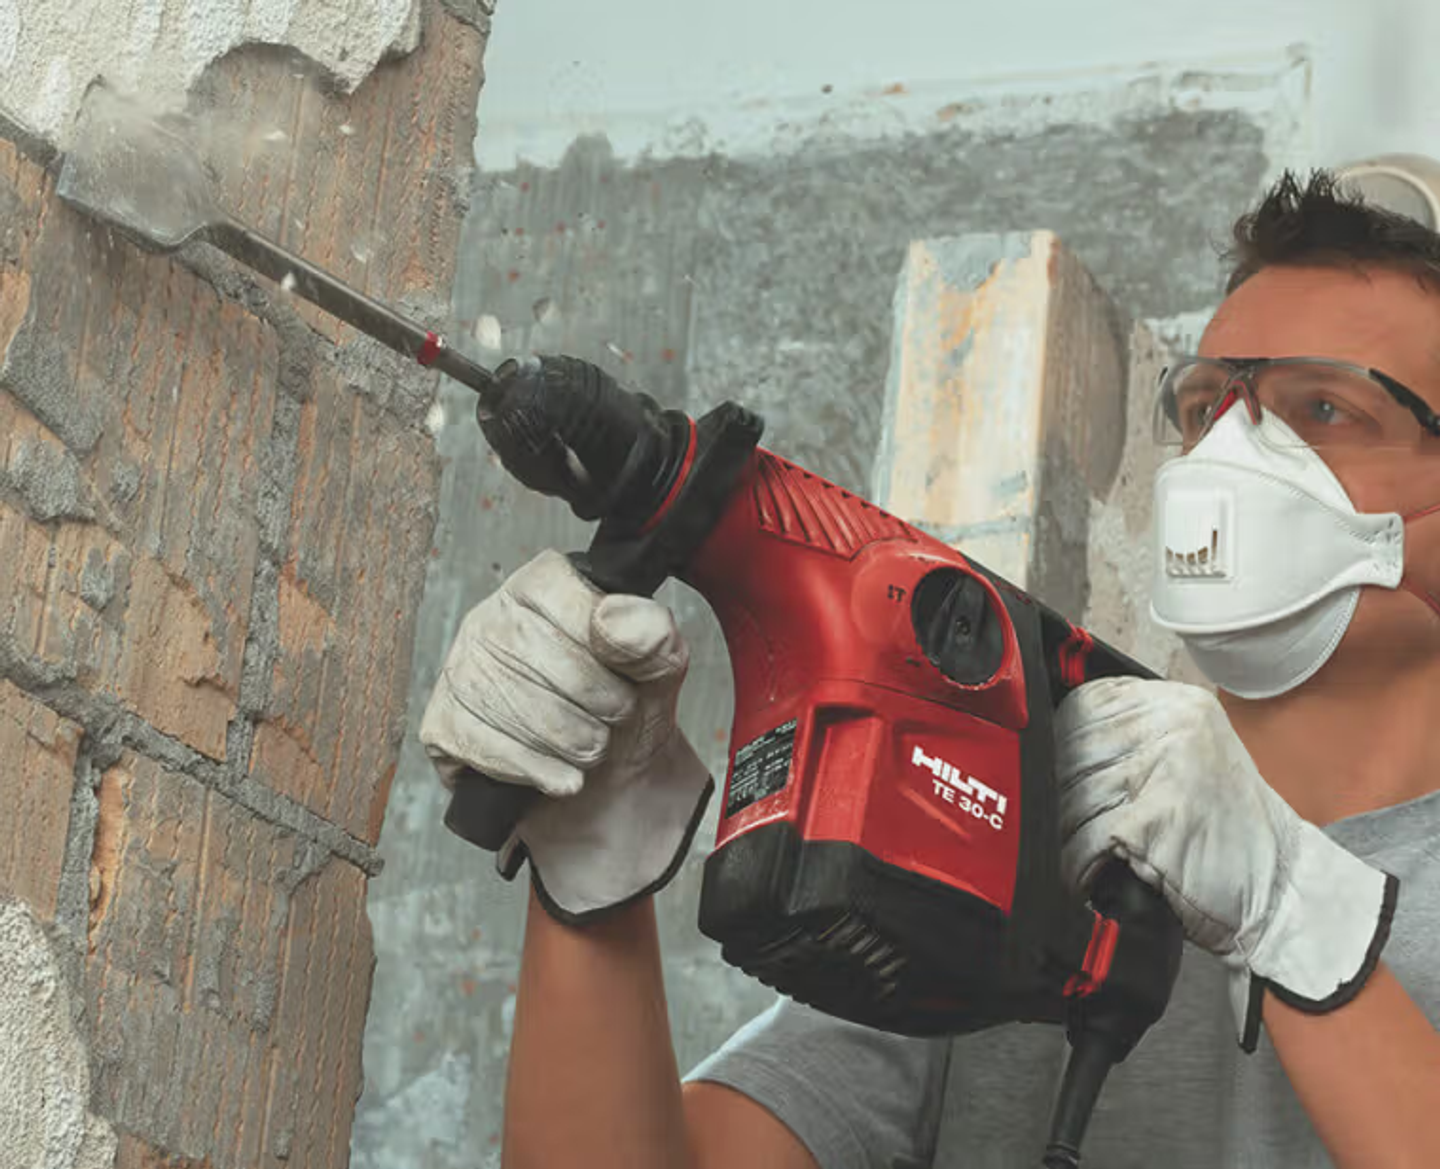
You need hand tools for the strip-out, a reciprocating saw for the studs and, for block walls, a light breaker.
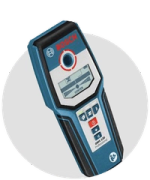
- Faithfull 3-in-1 detector (buy): finds studs, metal and live cables.
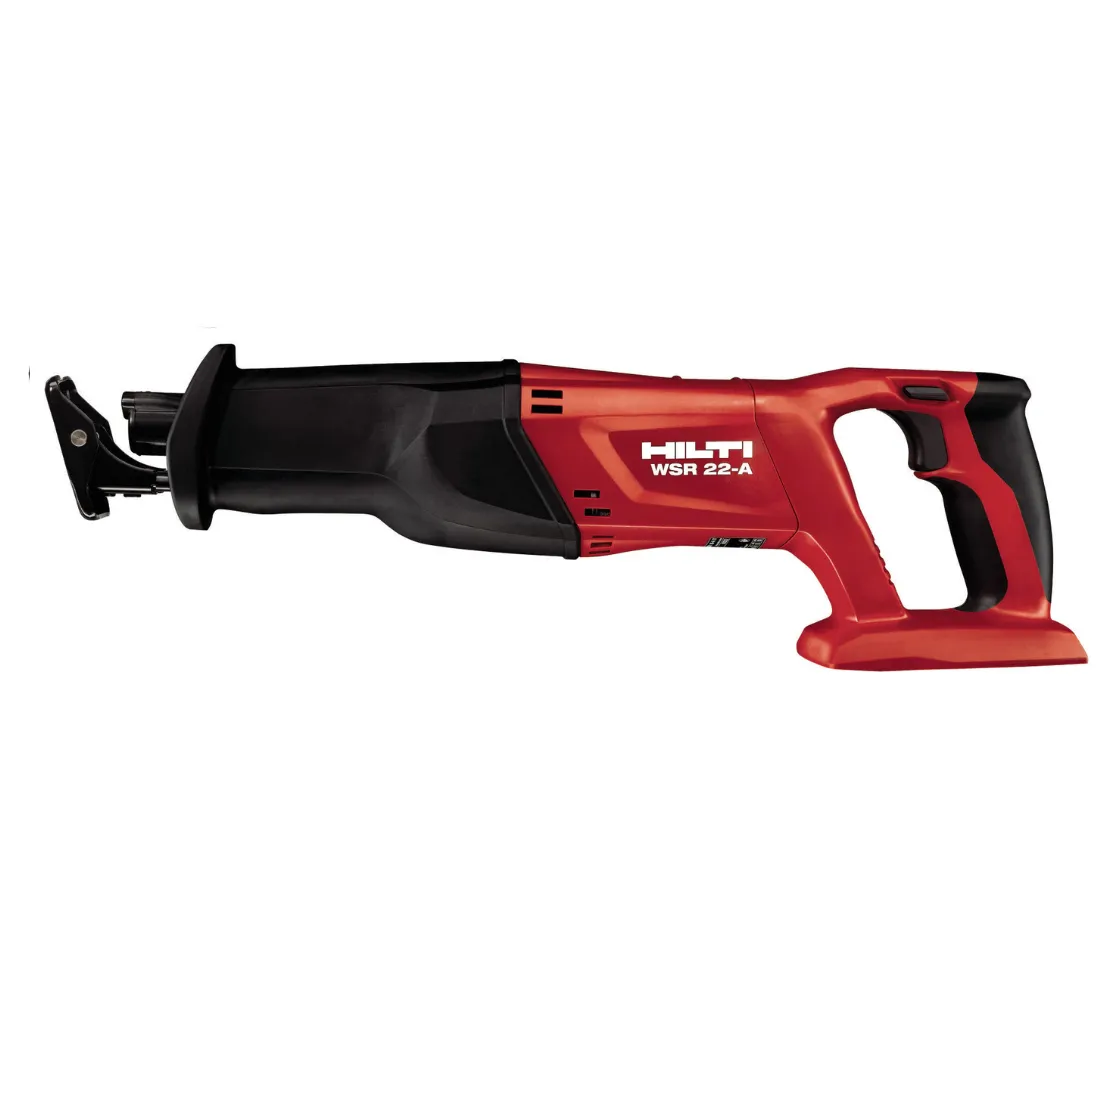
- Hilti 22V cordless reciprocating saw (hire): cuts studs, nails and screws. No transformer needed.
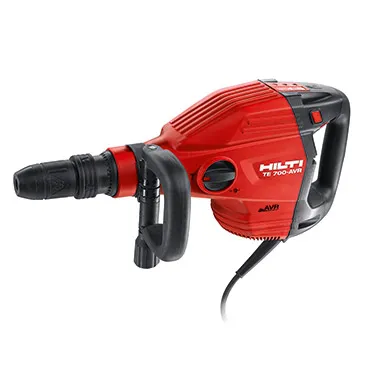
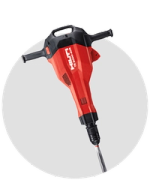
- Hilti TE 700-AVR breaker (hire): breaks out block or brick partitions.
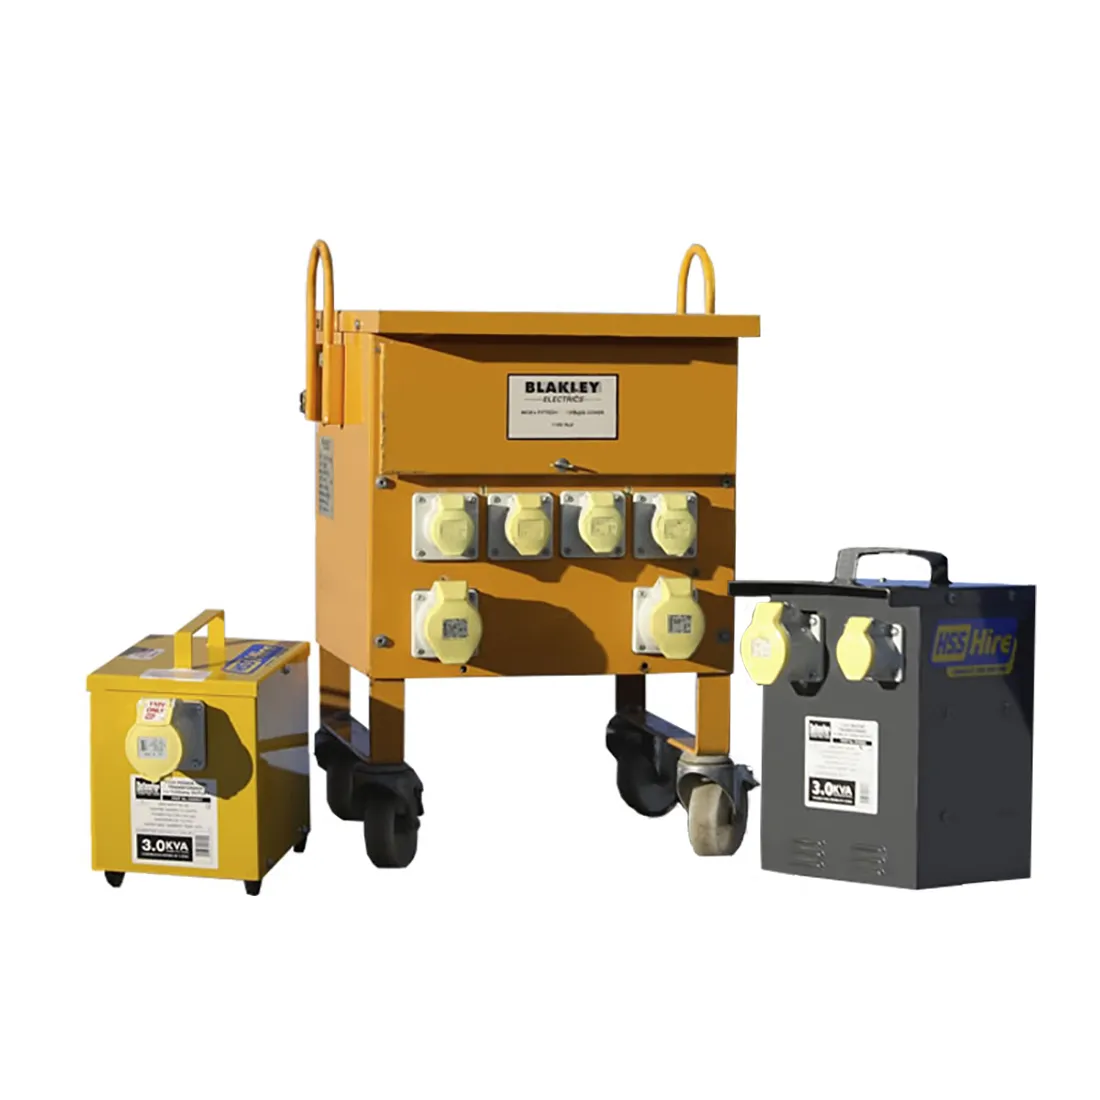
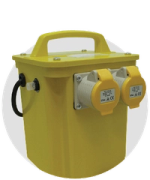
- 3kVA transformer (hire): powers 110V tools like the TE 700-AVR from a household socket.
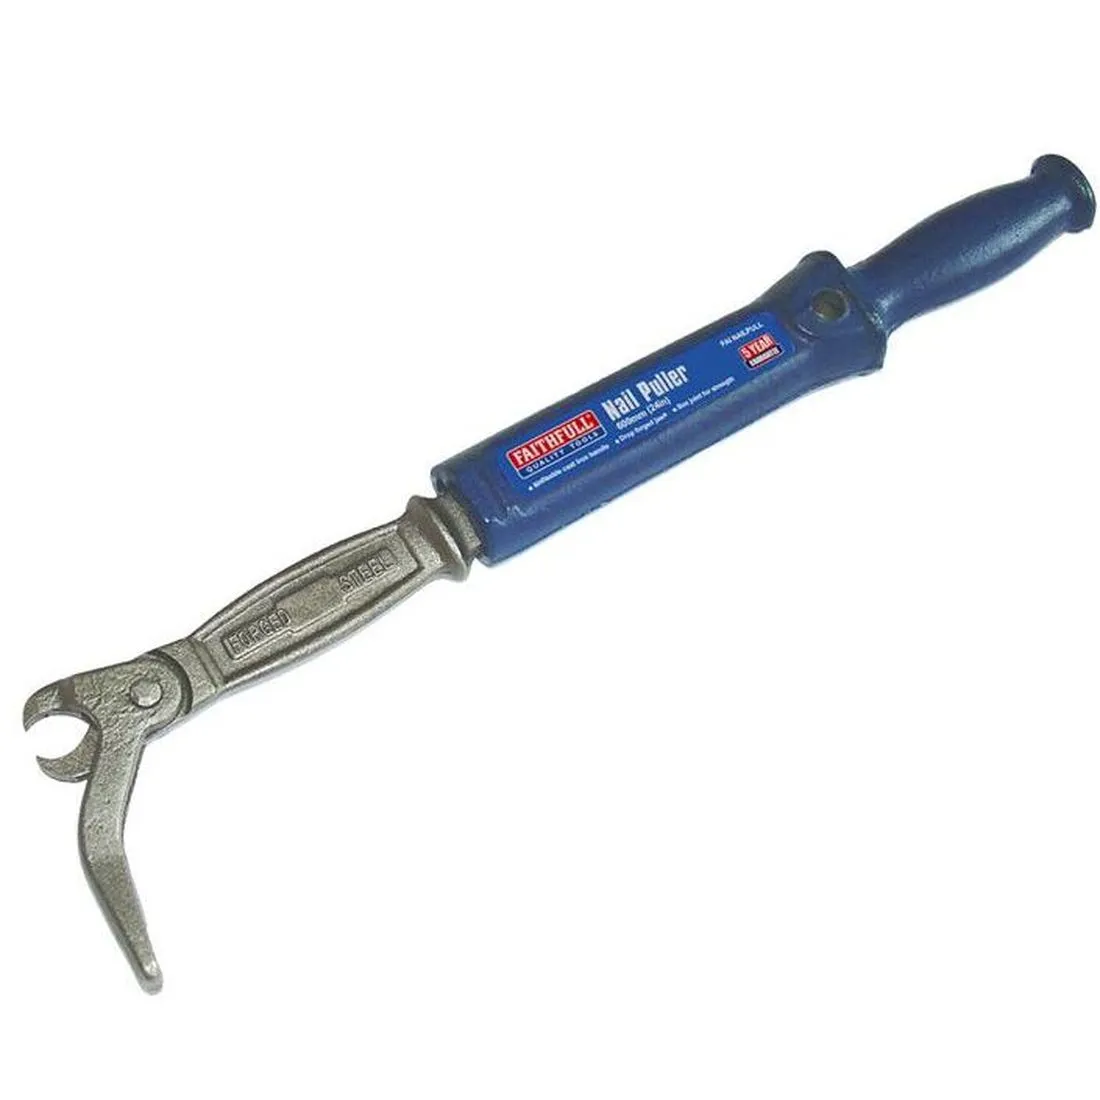
- Faithfull 60cm nail puller (buy): levers off skirting, linings and plates.
- Ox club hammer and brick bolster (buy): knock out blocks by hand.
- ProDec polythene dust sheets (buy): protect floors and seal doorways.
- Rubble sacks (buy): bag plasterboard, timber and rubble.
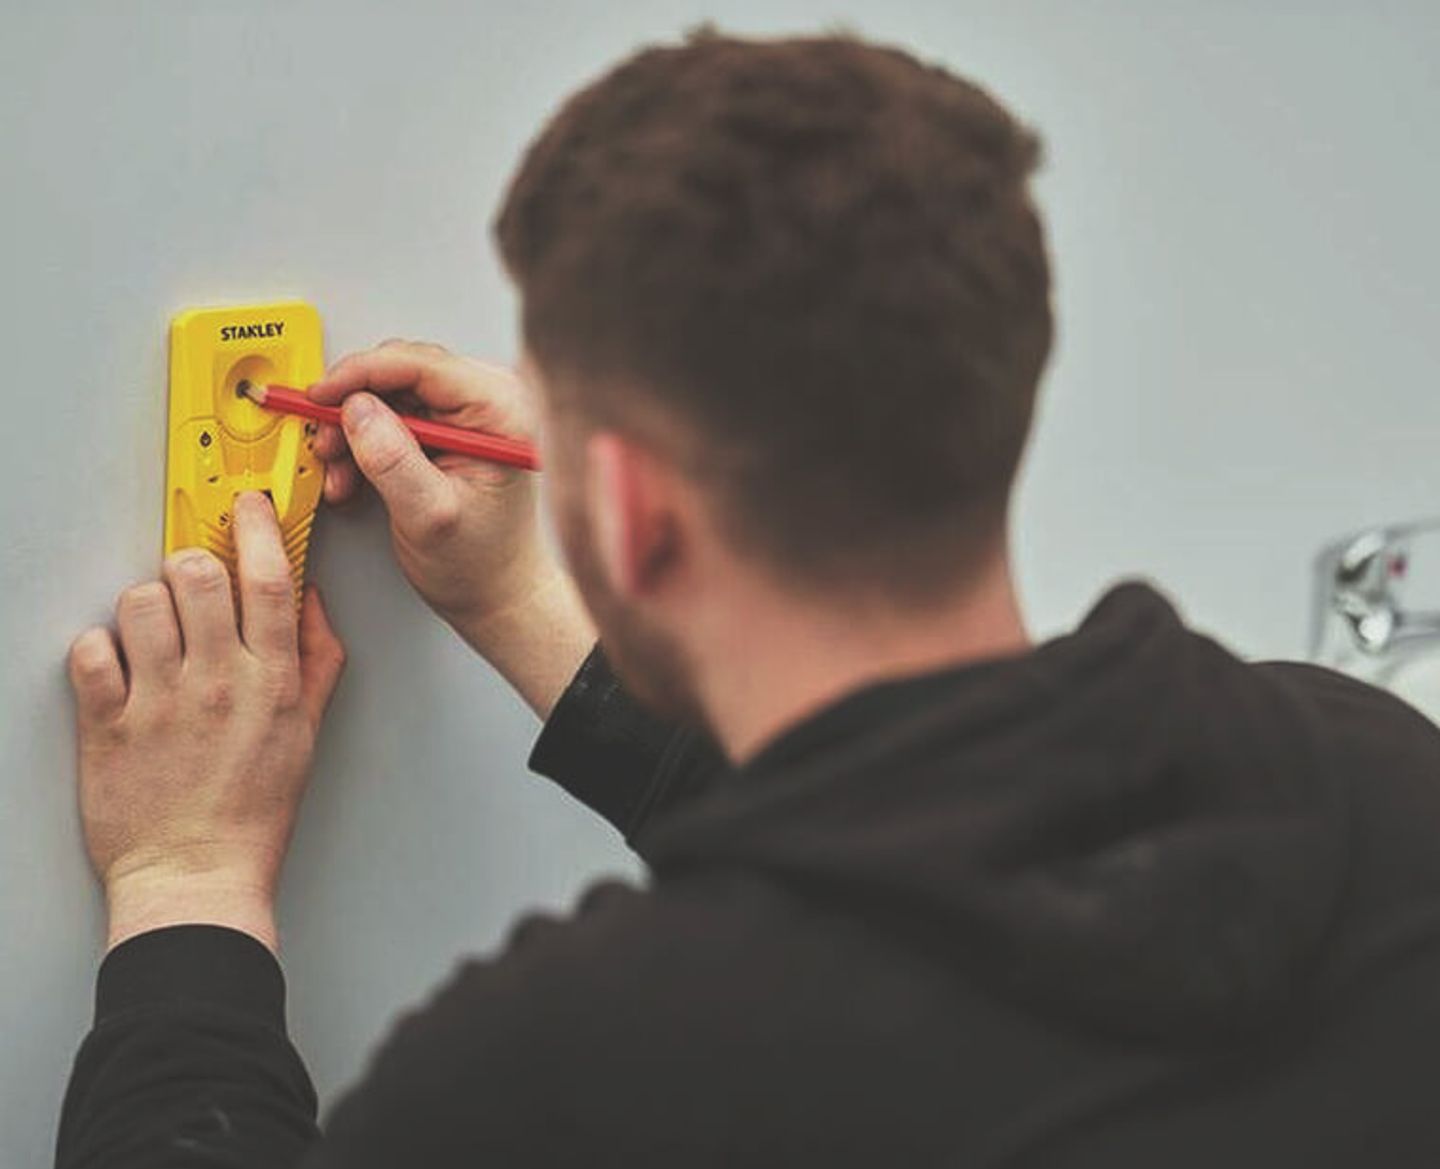
Top tip: 110V site tools won't plug into a household socket, so add the transformer to your order. If your order has several items, they could arrive separately.
Should you hire or buy the tools?
Hire the power tools and buy the consumables. Unless you're a trader knocking down walls every week, a £475 saw is an expensive ornament.
This table compares HSS DIY prices at the time of writing (October 2026). Hire prices are "from" prices and vary with hire length.
Example stud wall kit: saw hire, detector, claw hammer, nail puller, FFP3 masks, glasses, gloves, ear defenders, dust sheets, 20 rubble sacks and a bag of plaster comes to about £178. Buy the saw instead and it's around £604.
How to remove a non load bearing wall yourself: step by step
How do I remove a non-load bearing wall neatly? Taking down a non load bearing wall is careful demolition followed by tidy making good. Here's how to remove an internal wall yourself in eight steps.
Step 1: Check for hidden cables, pipes and asbestos
Find what's inside the wall before you damage it. Switch off the circuits at the consumer unit and scan the wall with your detector.
- Get a qualified electrician to disconnect and reroute any sockets, switches or cables.
- Drain and cap any pipes or radiators.
- Homes built or refurbished before 2000 may contain asbestos in partitions or textured coatings, says the HSE. Test first.
Step 2: Prepare and protect the room
Plaster dust gets everywhere, including places you didn't know you had.
Lay dust sheets, tape polythene over doorways, open a window and put on your PPE.
Step 3: Remove skirting, architrave and fittings
Lever off skirting, architrave and door linings with the nail puller. Then run a utility knife along the ceiling and wall joints so the plaster doesn't tear away with the wall.
Step 4: Strip the plasterboard
Knock a hole between two studs, then pull the boards off in the biggest pieces you can. Bag plasterboard separately from other waste.
Step 5: Cut out the studs and noggins
Cut each stud through the middle with the reciprocating saw and twist the halves free. Use a blade for wood with nails. Our guide to different types of saws explains blade choices.
Step 6: Remove the head plate and sole plate
Prise the head plate off slowly, as it's fixed into the ceiling joists and rough levering cracks plaster. Lift the sole plate last, checking for pipes or cables underneath.
Step 7: Make good the walls, ceiling and floor
Fill the scars so the room looks like it was always open plan. This is where a good job looks great and a bodge looks, well, like a bodge.
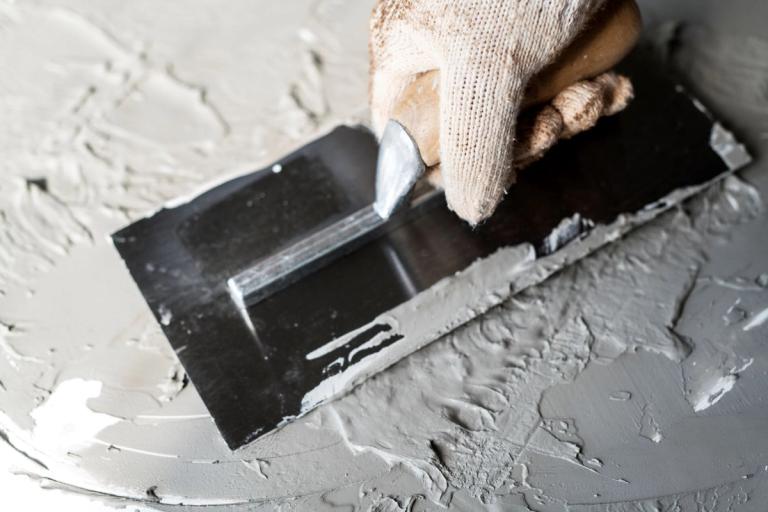
Patch small gaps with Filltite filler and skim larger areas with Thistle Multi Finish using our plastering guide. Fill the floor strip with matching boards or levelling compound.
Step 8: Clear the waste and clean up
Vacuum rather than sweep, as the HSE advises against dry sweeping. Our skips take building waste, but plasterboard must be bagged and clearly marked.
How do you take down a block or brick partition?
Start at the top and remove one course at a time. Never knock blocks out from the bottom, or the wall above can drop on you.
Chop off the plaster, then break each course free with a club hammer and bolster or the breaker. Our Kango breaker vs hammer drill guide helps you choose.

How long does it take to remove an internal wall?
A stud wall takes two people about 12 hours, or 1.5 days, including making good. A block wall adds roughly a day.
How do you remove a non-load-bearing wall safely?
Wear the right PPE, control the dust and never cut blind. This table matches each hazard to its control, and our health and safety advice covers hired tools.

What our customers say
⭐⭐⭐⭐⭐ "Very helpful, and great equipment. The electric jackhammer smashed out a conservatory base and wall..." - Matt’s review about our hired jackhammer.
⭐⭐⭐⭐⭐ "Hired an sds drill to remove plaster from old wall in stone house which had damp issue. Staff in stirling branch extremely friendly and helpful. Would recommend to anybody." - Andrew’s review about our hired drill.
Project checklist
Need some help staying on track of your project? Print off our free checklist and tick off each stage as you go.
FAQs
Can I remove just part of a non-load-bearing wall?
Yes. In a stud wall, frame the opening with a new head timber and a stud on each side so the rest of the wall stays rigid, then finish the edges with plaster beads for crisp corners.
What should I do if the wall turns out to be load-bearing halfway through?
Stop straight away and call a structural engineer. Warning signs include joists resting on the head plate or a ceiling that sags or cracks as studs come out. Don’t remove anything else until it’s been checked and supported.
Will knocking two rooms into one affect my heating?
It can. A bigger room needs more heat, so your existing radiators may struggle. Check their output and add or upsize a radiator before you redecorate.
Do I need a permit for a skip?
Only if it sits on a public road or pavement, where you’ll need a permit from your council. A skip on your own driveway doesn’t need one.
Do I need to tell my home insurer?
Check your policy before you start. Some insurers ask to be told about building work, and not telling them could affect a future claim.
Can I remove an internal wall in a rented home?
Not without your landlord’s written permission. Doing it without consent could cost you your deposit, or more.
Ready to knock two rooms into one?
And there we have it. You can remove a non-load-bearing wall yourself safely, once you have the know how.
Once you’ve checked walls for pipes,cables and asbestos, do your prep, strip the plasterboard and plates, you can start to knock down the wall brick by brick. Don’t forget your PPE and other safety equipment to keep you safe.
Removing an internal wall yourself can turn a poky layout into a bright, sociable space in a weekend. The real skill is in the checks beforehand and the making good afterwards.
At HSS DIY, you can hire and buy online 24/7 with next day delivery. If your order has more than one item, they can be delivered on the same day but at different times.
Buy the materials. Hire the tools. One order. All in one place.
Get DIY Happy with The Home of Great Projects.
Non-load-bearing wall removal checklist
From HSS DIY, the Home of Great Projects. Tick off each box as you go.
Before you start
☐ Wall confirmed as non-load-bearing (structural engineer or building control if in doubt)
☐ Fire escape routes, lease and listed building rules checked
☐ Asbestos test arranged if the house was built or refurbished before 2000
☐ Electrician booked to disconnect sockets, switches and cables
☐ Plumber booked if pipes or radiators are on the wall
Kit ready
☐ 3-in-1 stud, metal and live wire detector☐ Reciprocating saw (cordless, or 110V with a 3kVA transformer)
☐ Breaker or club hammer and bolster (block walls only)
☐ Nail puller, claw hammer and utility knife
☐ FFP3 masks, safety glasses, ear defenders, gloves and safety boots
☐ Polythene dust sheets, tape and rubble sacks
☐ Filler and multi-finish plaster for making good
On the day
☐ Circuits isolated at the consumer unit
☐ Wall scanned for cables, pipes and studs
☐ Furniture out, floors covered, doorways sealed, window open
☐ Skirting, architrave and door linings removed
☐ Ceiling and wall joints scored with a utility knife
☐ Plasterboard or plaster stripped from the top down
☐ Studs and noggins cut out, or blocks removed one course at a time from the top
☐ Head plate and sole plate removed
Finishing off
☐ Ceiling, wall and floor gaps filled and plastered
☐ Plasterboard bagged and labelled separately
☐ Waste removed by skip or recycling centre
☐ Room vacuumed, not swept
☐ Hired tools cleaned and ready for collection or return
Buy the materials. Hire the tools. One order. All in one place.
Get DIY Happy
Meet the people behind our Tips & Advice
From quick fixes to bigger DIY projects, get to know the people behind the guides helping you get the job done with confidence.