


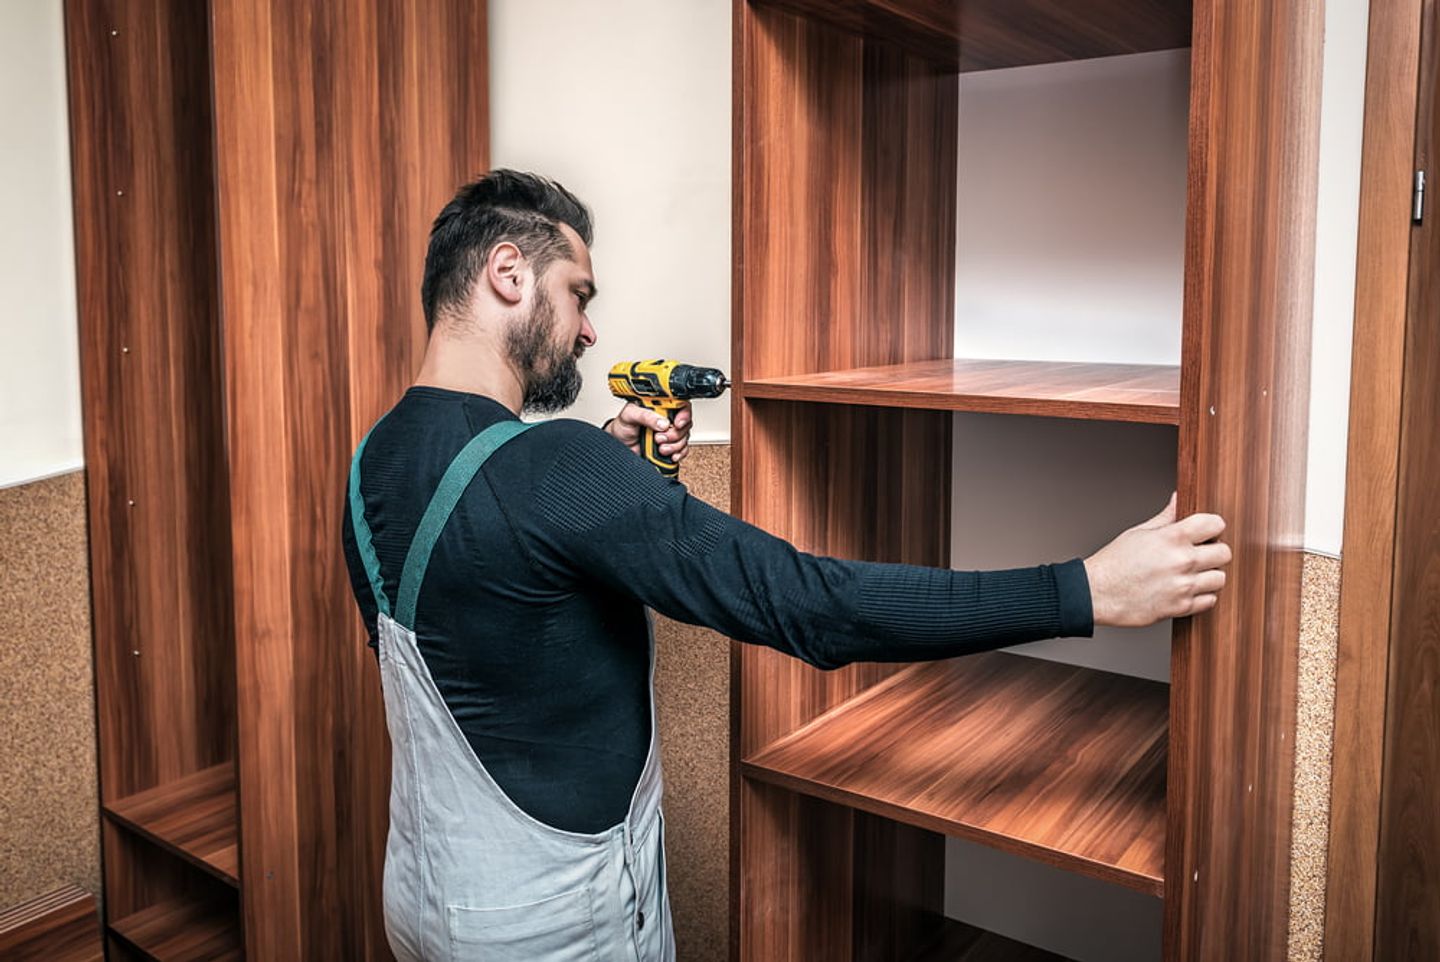
The thought of making your own wardrobe may seem daunting, however by following these simple steps you can actually make a simple, modern wardrobe which can help store those extra clothing items. This wardrobe style is perfect if you’re looking to increase your storage capacity or need a wardrobe for a spare bedroom and even better – you can store so much more than just clothes if you add a few shelves or a shoe rack. Below you’ll find the materials and tools you will need. You can make the task much simpler by using cordless drills, which you can hire.
Materials
- 12 Pieces of Planed Timber (34mm x 34mm)
- 6 Pieces at 740mm
- 4 Pieces at 430mm
- 2 Pieces at 1800mm
- 8 Pieces of Tongue and Groove Cladding (94mm x 7.5mm)
- 2 Pieces of Spruce Plywood (9mm – 740mm x 430mm)
- 2 1826mm Pine Dowels (35mm)
- 1 Hanging Rail (700mm)
- 4 Swivel Castors
- 2 Pieces of Polypropylene Rope (150mm)
Wood Screws
- 4mm x 60mm
- 4mm x 65mm
- 3.5mm x 25mm
- 3.5mm x 50mm
- 25mm Steel Nails
Tools
- Drill (with 2mm, 4mm and 10mm drill bits)
- Hammer
- Saw
- Tape Measure
- Pencil
- Glue
- Sandpaper
How to Make a Wardrobe – Step by Step
1. The Back Frame
You should start your wardrobe making process by assembling the back frame as this helps to form the structure. Take two of the 740mm pieces of timber and drill your first holes (4mm) into the ends of them and then again about 18mm in from the ends. You can then screw these 740mm pieces on top of the 1800mm pieces using the 4mm x 60mm screws.
2. Top and Bottom Frames
Now you have your back frame, your wardrobe structure is starting to take form. Repeat the above process with another two of the 740mm pieces, drilling the pilot holes as you did with the first two pieces. These pieces can then be screwed to the ends of the 430mm pieces using 4mm x 60 mm screws. Then, nail and glue the plywood to the top and base frames – this is where you use your steel nails.
3. Trim and Connect the Tongue and Groove Cladding
Off of two of your pieces of 94mm cladding pieces, trim 6mm. You can then connect all 8 of your cladding pieces to the back frame using steel head nails – make sure to use two nails at the top and bottom of each before nailed along the longest edge.
4. Fix on the Top and Base Frame
Along the long edge of the base and top pieces, drill 4 holes in each. Then place the wardrobe so that the back is flat on the floor, screw the base and top pieces onto each end of the back piece. You can then fix the support poles by drilled through the plywood at the base and top. Make sure it is 53mm in from the front and side of the two pieces. Holding the poles in place, insert 3.5mm x 50mm screws to secure.
5. Add the Rail
Drill holes in the top piece and the hanging rail using the 10mm drill bit, 50 mm from either end. Then, drill two holes into the top 90mm from the side and 250mm from the front.
6. Fit the Rope and Castors
With your piece of rope, thread it through the holes in the top of the wardrobe and then tie a knot to secure. Then, repeat this by threading another piece of rope through the hanging rail and again tie a knot to secure. By drilling holes into the base frame you can screw in the castors and then you can move the wardrobe much easier.
7. Options
Now you have your main structure you can accessories it if you wish – by adding a shoe rack or attached some shelves to the back cladding.


