






⏱ Read time: 7 min | 🌿 Difficulty: Beginner | ⏰ Time: 1.5 days (12 hrs) | 👷 1 person
The quick answer
To wallpaper a room, prepare smooth, clean, sealed walls, measure and cut each length with 10cm extra, then paste and hang your first drop against a vertical plumb line. Smooth out air bubbles with a paperhanging brush, butt each new length tightly to the last, match the pattern and trim the excess with a sharp blade.
💡Key takeaways
- Yes, you can wallpaper a room yourself. Non-woven, paste-the-wall paper is the easiest start.
- Prep decides the finish. Fill, sand and seal before any paper goes up.
- Never trust a corner. Every wall starts with a plumb line.
- Hire the big kit, buy the hand tools.
📑Contents
- Can I wallpaper a room myself?
- What wallpaper tools do I need?
- Is it cheaper to hire or buy?
- How much wallpaper do I need?
- How do I prepare walls for wallpaper?
- How to hang wallpaper step by step
- Common wallpapering mistakes
- Health and safety
- How long does it take?
- Downloadable checklist
- FAQs
Whether you’ve moved in to a new home or fancy a change, we've broken down how to wallpaper a room into simple steps for beginners, so you get a pro finish first time.
Let’s get into it!
🙋Can I wallpaper a room myself?
Yes, you absolutely can. If you can measure accurately and use a spirit level, you can wallpaper a room yourself with no trade experience.
Pick a bedroom or living room with flat walls for your first go, and leave stairwells and ceilings for later. Choose non-woven paper if you can. Pasting the wall will be easier than pasting the paper, so there's no soaking or booking (folding pasted paper on itself to soak). Also check the label for the pattern repeat - the distance before the design repeats. A free match pattern needs no lining up at all, which is kindest on your patience.
🧰What wallpaper tools do I need?
A few inexpensive hand tools, the right adhesive and something safe to stand on is what you’ll need to wallpaper your walls. Here are our picks from the HSS DIY wallpapering range.
💷Is it cheaper to hire or buy wallpaper tools?
For one room, hire the bigger kit and buy the hand tools. This table compares HSS DIY prices at the time of writing (October 2026, inc. VAT).
📏How much wallpaper do I need?
To work out how many rolls to buy, you just need to know how many drops go round the room and how many you can cut from each roll. A drop is one full-height strip of wallpaper, running from the ceiling down to the skirting board. A standard UK roll is about 10m long and 53cm wide, according to Which?.
Count how many drops (vertical lengths) fit around the room, then how many drops each roll gives you. A standard UK roll is about 10m long and 53cm wide, according to Which?.
- Add up the width of every wall and divide by 0.53. Round up for your number of drops.
- Add 10cm, plus one pattern repeat, to the wall height. That's your drop length.
- Divide 10m by your drop length and round down for drops per roll.
- Divide total drops by drops per roll, round up and add a spare.
Worked example: a 3.5m x 3m bedroom with 2.4m high walls
1. Measure round the room. 3.5m + 3m + 3.5m + 3m = 13m of wall.
2. Work out how many drops you need. Each drop covers 53cm, so 13m ÷ 0.53m = 24.5. Round up to 25 drops.
3. Work out how long each drop is. Take the wall height and add 10cm for trimming: 2.4m + 10cm = 2.5m. Patterned paper? Add the pattern repeat shown on the label too.
4. Work out how many drops each roll gives you. 10m roll ÷ 2.5m = 4 drops per roll.
5. Work out how many rolls to buy. 25 drops ÷ 4 = 6.25. Round up to 7, then add 1 spare: 8 rolls.
Tip: don’t subtract the door or window. The leftover paper covers any mistakes.
Make sure every roll shares the same batch number, or you may spot a slight colour shift between drops.
🧽How do I prepare walls for wallpaper?
Before you start wallpapering, make sure your walls are clean, dry, smooth and sealed.
- Clear the room and lay dust sheets.
- Strip any old paper. Our how to remove wallpaper guide covers this in detail.
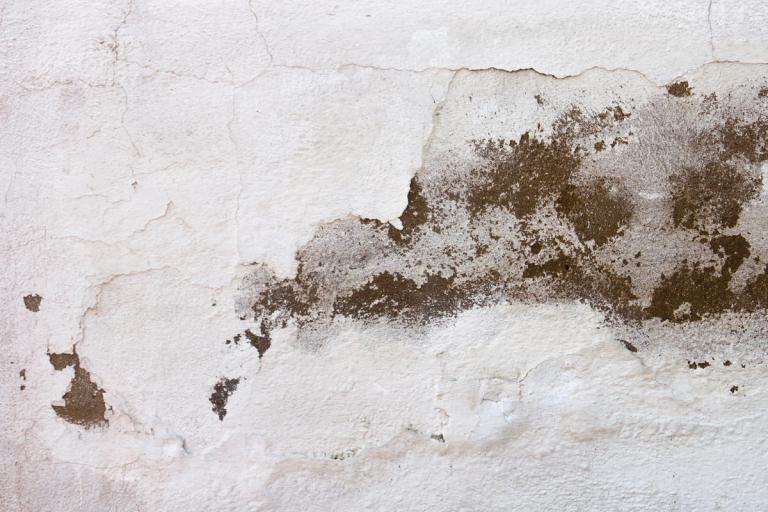
- Check for damp, and never paper over it. Here's how to spot the early signs of damp.
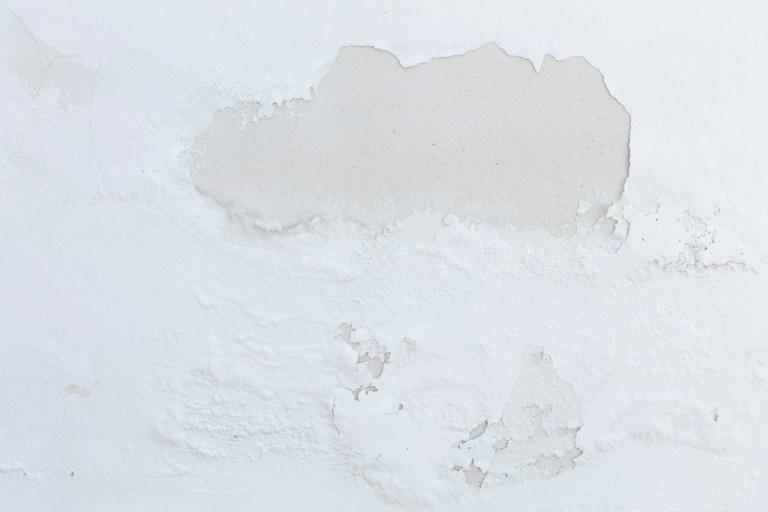
- Fill holes with Toupret Quick Dry Filler, then sand smooth with sanding sheets and wipe off the dust.
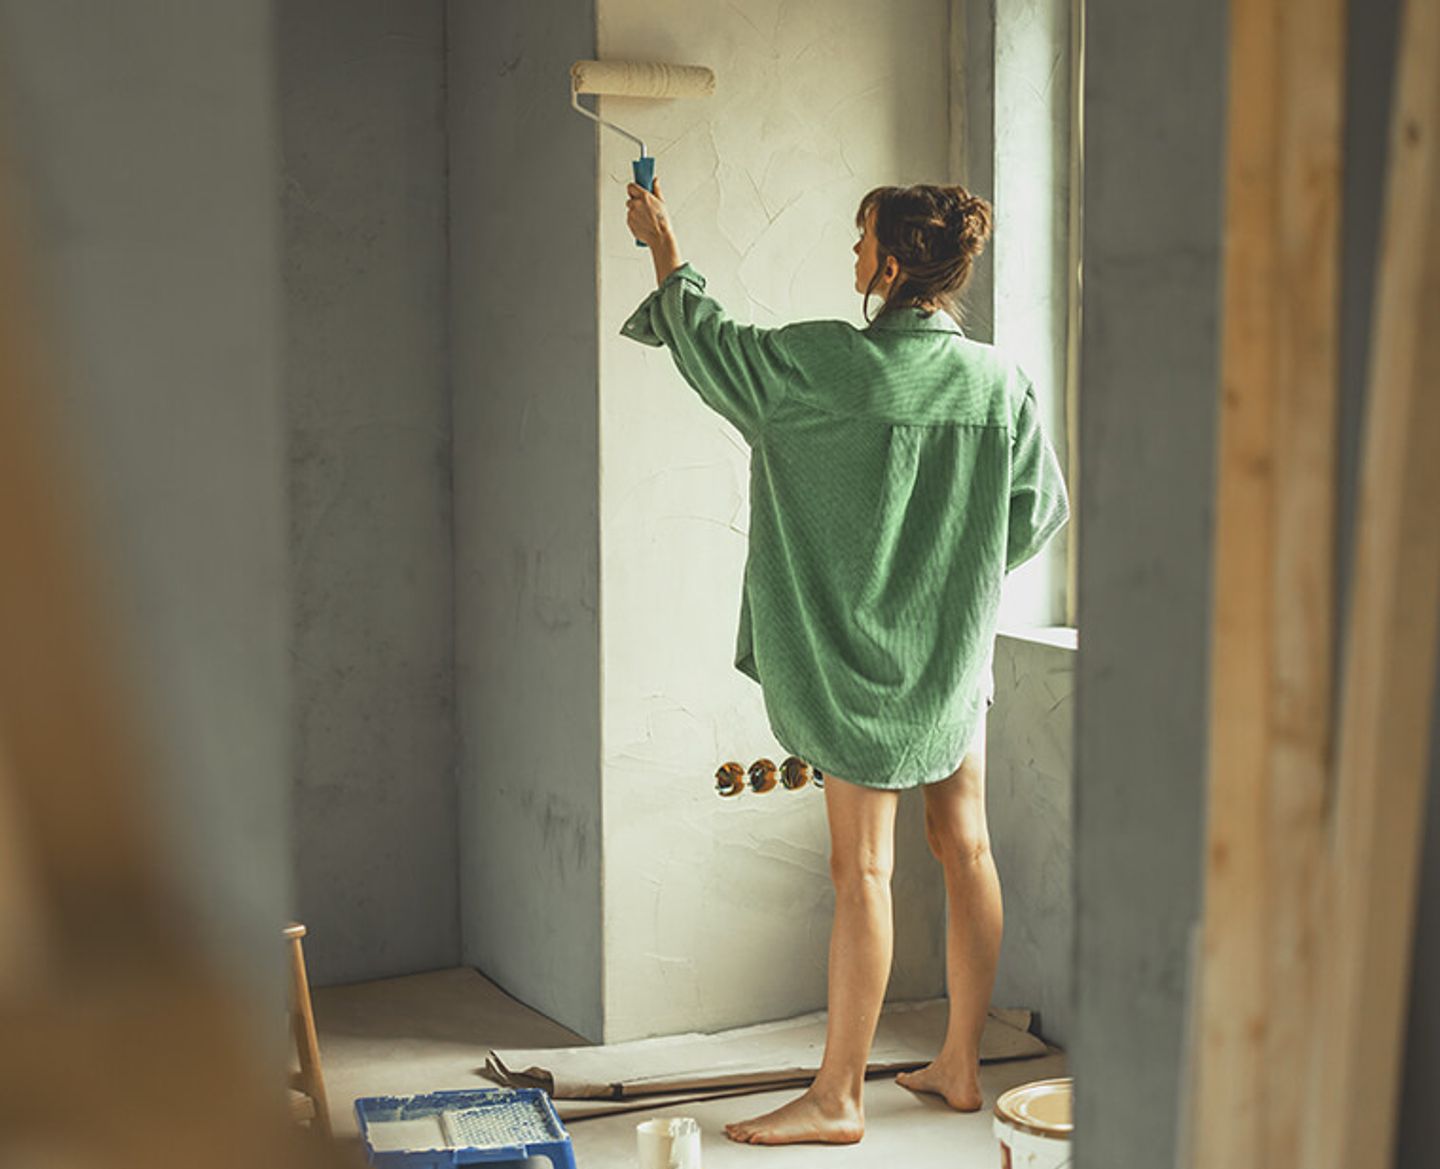
- Seal the walls (sizing). Bare plaster and filled patches soak up paste like a sponge, so your paper won’t stick properly. Roll on a thin coat of Solvite Wall Sealer and let it dry first. It also helps the paper slide into position, so lining up the pattern is easier.
- On uneven walls, hang lining paper horizontally (cross-lining) so its seams never line up with your wallpaper seams. Leave it to dry overnight.

🪜How to hang wallpaper step by step
Hanging wallpaper is all about getting the first drop straight, so take your time with it. After that, it’s the same seven steps repeated round the room.
Our first of many wallpapering tips: start beside a window or in a discreet corner and work away from it. The last drop rarely lines up perfectly with the first, so put that seam somewhere nobody looks.
Step 1: mark a plumb line
Draw a straight vertical line on the wall to line your first drop up against. This is called a plumb line. Walls and corners are rarely straight, so never use them as your guide.
Measure one roll width minus 2cm out from the corner, then use a spirit level to draw a pencil line from ceiling to skirting. A laser level does the same job and is quicker on tall walls. The extra 2cm lets the paper wrap slightly round the corner and hides any gaps.
Step 2: cut your lengths
Cut each drop to the wall height plus 10cm, so you have 5cm spare at the top and bottom to trim.
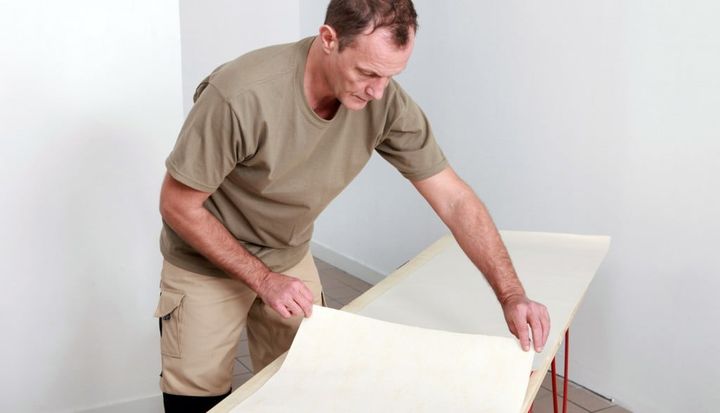
On patterned paper, decide where the pattern should sit at the ceiling line before you make your first cut. Then line up each new length against the last one on your pasting table before you cut it.
Write a number and an arrow showing which way is up on the back of each length in pencil, so they go up in the right order.
Step 3: paste
How you paste depends on your wallpaper, so check the label first.
- Paste-the-wall: roll adhesive onto the wall, a little wider than one drop. Only paste one drop at a time so the adhesive doesn’t dry before you hang.
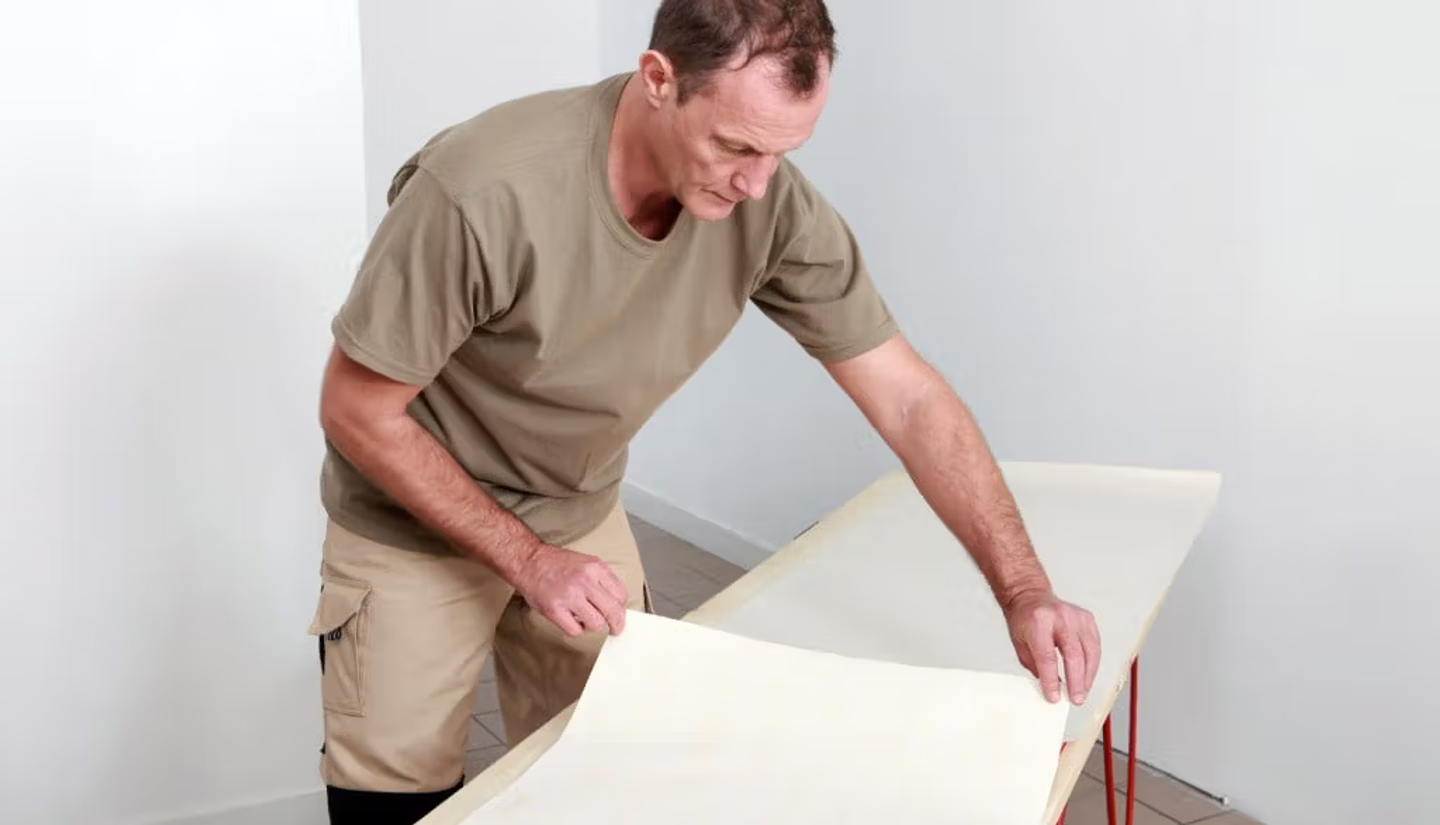
- Paste-the-paper: brush paste from the centre of the length out to the edges, then book it. Fold both ends into the middle, pasted sides together, without creasing the folds. Leave it to soak for the time on the label. Soak every length for the same time so they all stretch equally and the pattern stays matched.
Wipe any paste off your pasting table as you go, so it doesn’t end up on the front of the next length.
Step 4: hang and smooth
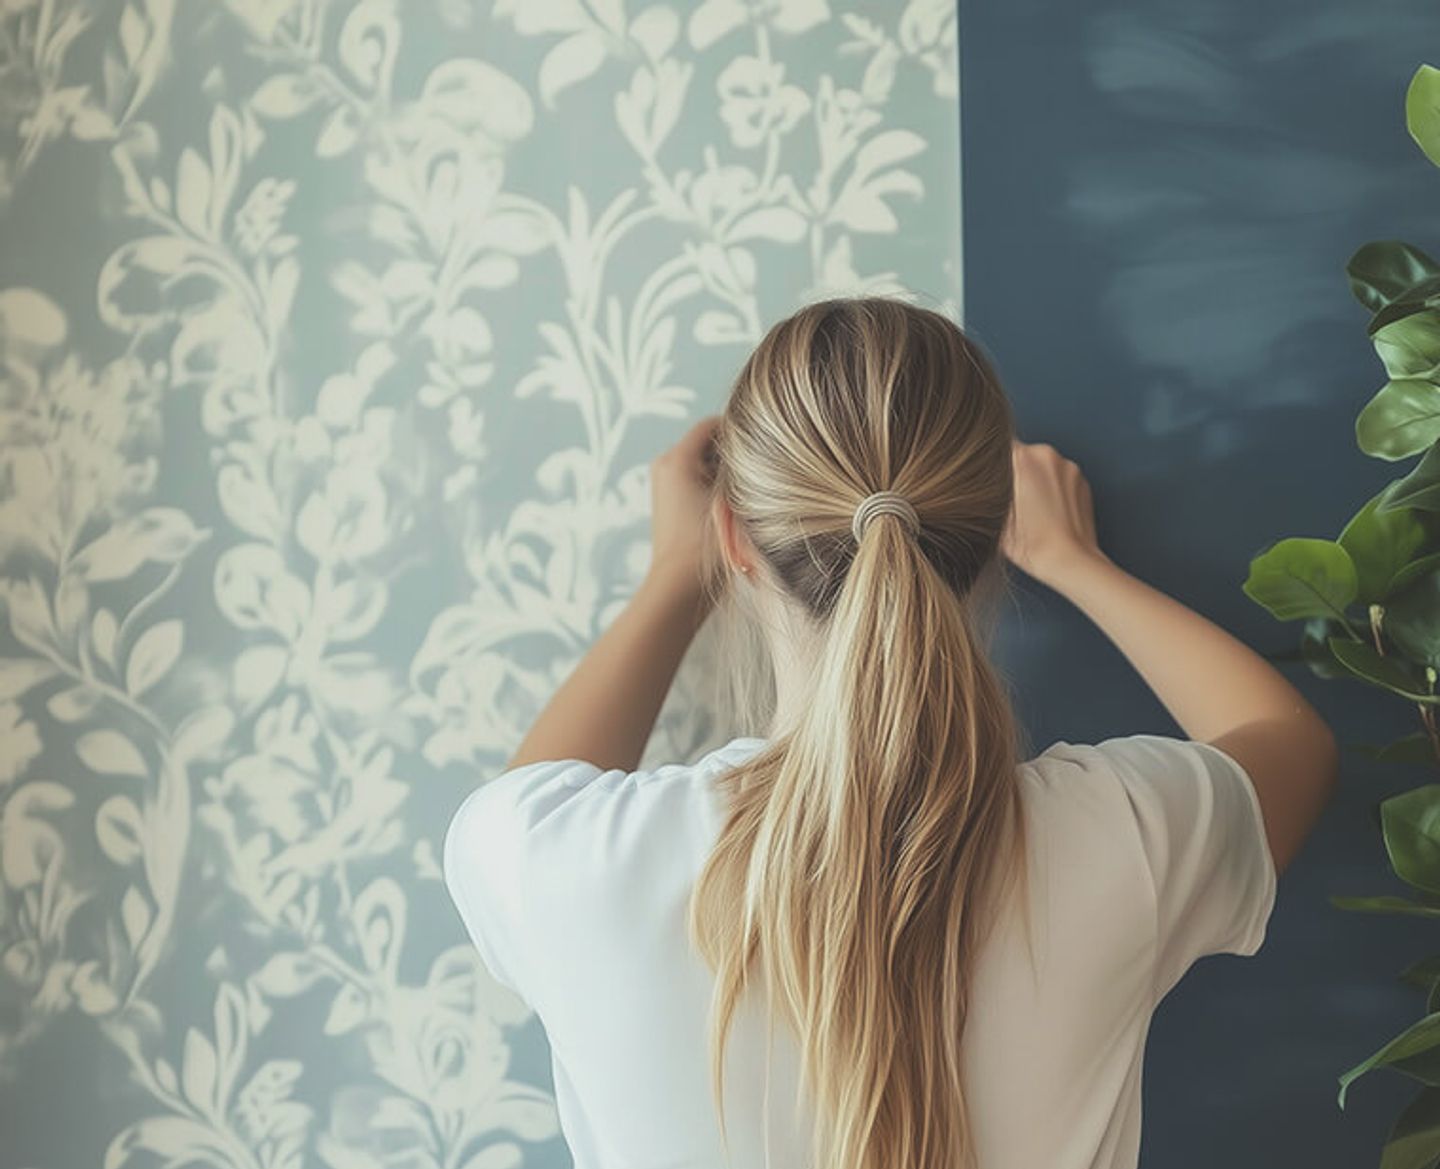
Position the top of the drop first, then smooth it down. Hold the paper at the ceiling line with the 5cm spare overlapping, and slide the edge so it sits exactly on your plumb line. Work your paperhanging brush from the centre outwards and downwards to push out air bubbles. Brush firmly, but don’t drag the paper or it can stretch.
Step 5: trim
Crease the excess into the ceiling and skirting line, then cut along the crease. Run the back of your scissors along the join to mark it, peel the paper back slightly, and cut along the mark. Brush the paper back into place. Use a sharp blade when trimming as a blunt blade tears wet paper.
Step 6: hang the next drop
Match the pattern, then slide the new drop until its edge is tight against the last one. This is called a butt join. Don’t overlap the edges, as overlaps leave a ridge that catches the light.
If a seam lifts, press it down gently with a damp sponge. On flat papers you can use a seam roller instead, but don’t use one on embossed paper, because it flattens the raised pattern.
Step 7: wipe as you go
Sponge any paste off the front of the paper straight away, before it dries. Use clean water and change it often, because dried paste can leave shiny marks on some papers. Every few drops, step back and check that the pattern and seams still line up.
🔌How do you wallpaper around sockets, corners and windows?
Hang the full drop over the obstacle first, then trim it to fit. Cut a little at a time, because you can always take more off, but you can’t put it back.
- Sockets and switches: turn off the power at the consumer unit and loosen the faceplate. Then hang the paper over it, cut a cross from corner to corner, trim the flaps and tuck the edges behind the plate. This gives a neat edge with no gaps. Only tighten the plate again once the paper is dry.
- Internal corners: wrap the paper about 1cm round the corner, then mark a fresh plumb line on the next wall before you hang. Corners are rarely straight, so this stops the next wall going wonky.
- Window recesses: hang the drop over the recess, cut along the top and bottom edges of the opening, then fold the flap into the recess. Fill the gaps above and below the window with short offcuts, matching the pattern, so the design runs on without a break.
⚠️What are the most common wallpapering mistakes?
Most disasters come from rushing the prep or the first drop. This table shows the usual culprits and the fix.
🦺What health and safety checks do I need?
The main risks are working at height and working near electrics.
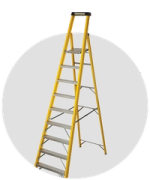
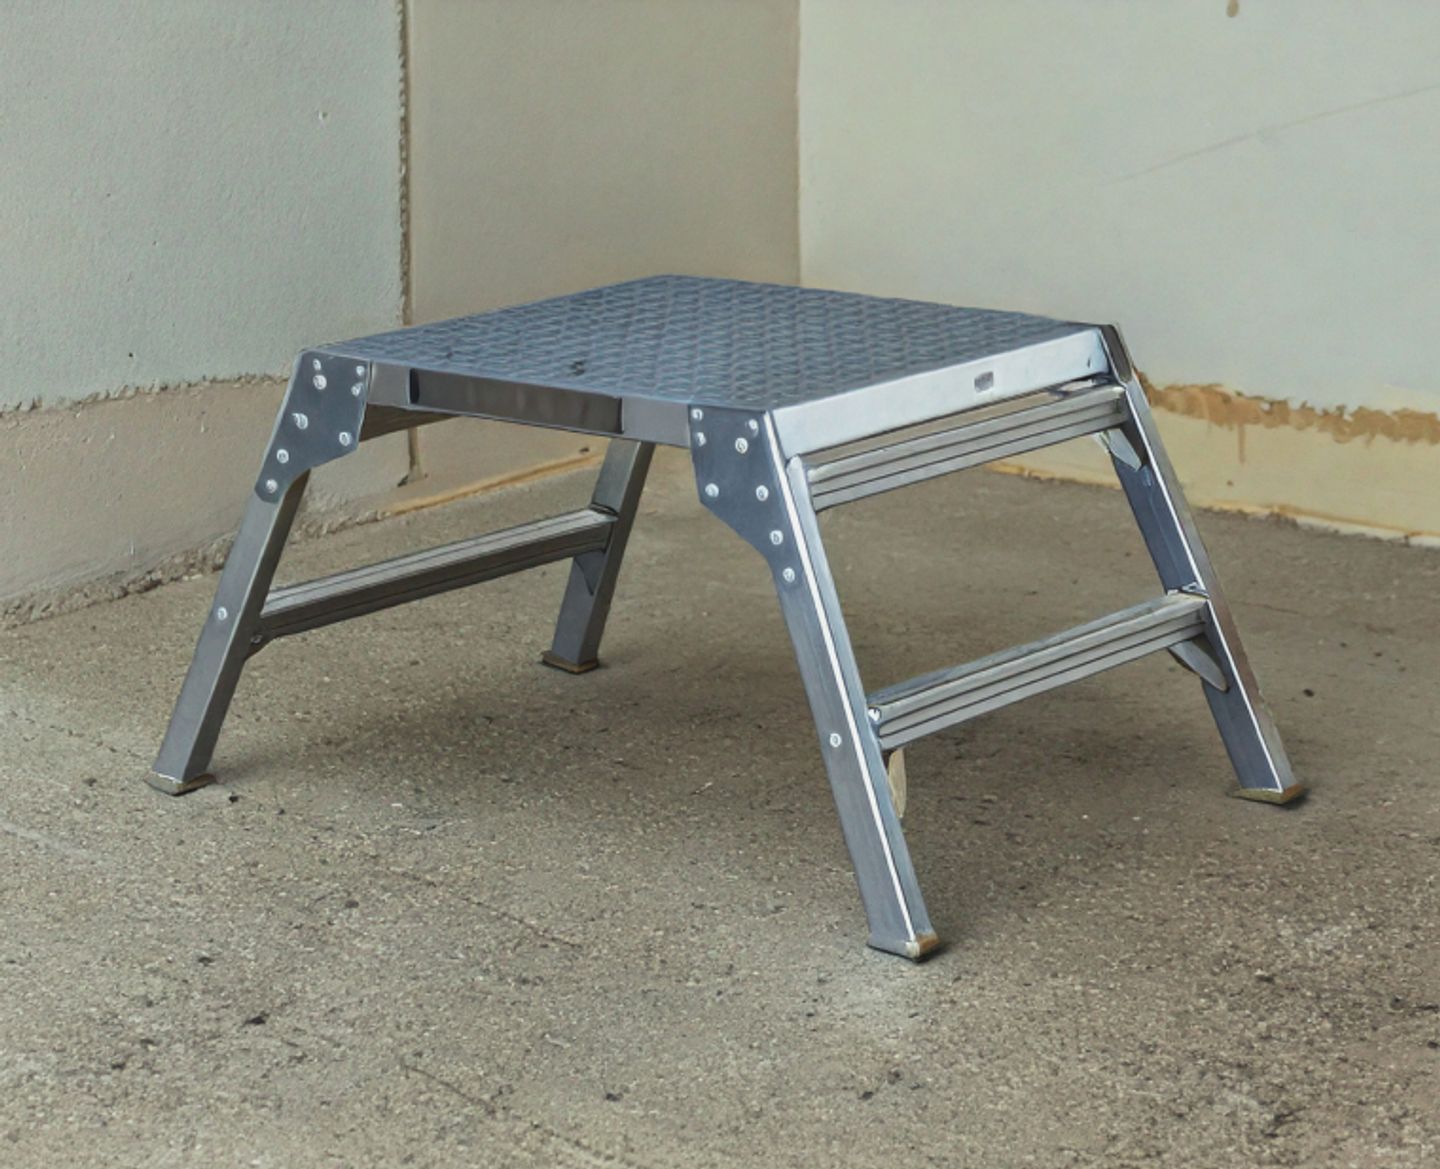
- Height: use a stable platform, never a chair. Browse our ladders and steps hire range and read the HSE guide to safe use of ladders and the Ladder Association's Get a Grip campaign.
- Electrics: keep wet paste and water away from live fittings.
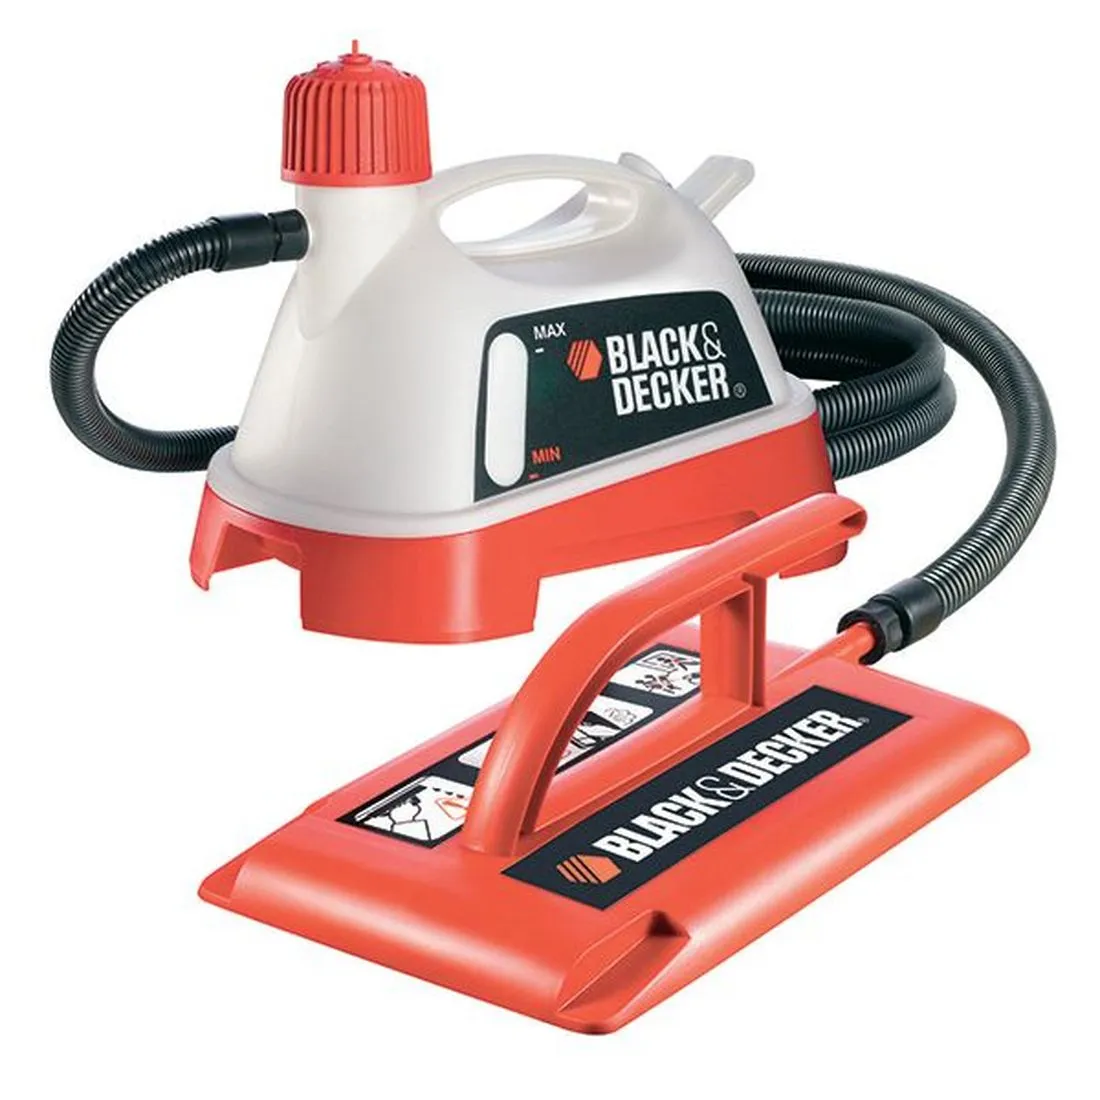
- Steam and blades: steamers produce scalding steam. Wear safety glasses and grip gloves, and cut away from your hands.
- Ventilation: keep a window ajar while paste dries. Battling condensation? Read our winter renovation damp guide.
⏰How long does it take to wallpaper a room?
It might take about 1.5 days (12 hours) for a beginner to wallpaper an average bedroom, with old paper already removed.
⭐What our customers say
⭐⭐⭐⭐⭐ "Everything worked out perfectly. Hired wallpaper stripper for a weekend. Fantastic price with free delivery / collection. Drivers were great, really helpful and around good blokes. Will use again.” - Jamie’s review on our wallpaper stripper.
⭐⭐⭐⭐⭐ "Hired a wallpaper steamer and was great , got it all off in no time. It was easy to use. Was easy to collect and drop back off no problems.." - Sue’s review on our wallpaper steamer.
✅Your wallpapering checklist
Screenshot or print this checklist to keep you on track with your wallpapering project.
☐ Rolls bought with matching batch numbers, plus a spare
☐ Tools, adhesive and dust sheets ready
☐ Walls checked for damp
☐ Power off, faceplates loosened
☐ Holes filled, sanded and sealed
☐ Plumb line marked on each wall
☐ Pattern checked before each cut
☐ Paste sponged off as you go
☐ Faceplates refitted once dry
❓FAQs
Can I wallpaper over existing wallpaper?
We don't recommend it. Old paper can lift under wet paste and take your new paper with it.
Should I paint before or after wallpapering?
Paint ceilings and woodwork first, so drips can't land on your new paper.
Where should I start on a feature wall?
Centre your first drop on the wall or chimney breast so the pattern is balanced.
Can you wallpaper a bathroom or kitchen?
Yes, with a moisture-resistant vinyl and a suitable adhesive. Avoid splash zones behind taps.
Do I need lining paper?
On uneven, patched or freshly skimmed walls, yes. Some heavy papers recommend it too, so check the label.
🏡Ready to give your room a new look?
Wallpapering doesn’t have to be a dreaded task no one wants to tackle. With the right steps and tools, anyone can do it!
Nail the wall prep, start from a true plumb line and take your time with the first drop. The rest of the room follows, and you get the bragging rights when you have visitors round.
HSS DIY has everything you need for a seamless wallpapering project. Grab everything in our decorating project bundle, shop online 24/7 and choose next day delivery. Keep in mind, if your order has more multiple items, they may arrive separately.
Buy the materials. Hire the tools. One order. All in one place.
Get DIY Happy with The Home of Great Projects.
👋About the author: the HSS DIY Team
Our DIY and trade specialists share practical advice to help you choose the right tools and get the job done properly. Meet our authors.