


If you're looking to add a touch of character to your rooms, wall panelling is an affordable and easy DIY solution. The right wall panels can transform any of your rooms from plain to eye-catching, giving it a unique personality and style. You can choose from traditional and timeless Victorian style panelling to something more modern like slats.
If you are wondering how to panel a wall yourself, we’ve put together a straightforward step-by-step guide to help you transform your space, whether it's in the lounge, bedroom, hallway or dining room.
Materials Needed to Panel a Wall
You'll need a few basic materials to get started. You can buy ready-made kits from some retailers, or search for local timber merchants that offer a wood cutting service so you can get the right sized panels without having to cut them yourself.
- Sheets of MDF or wood panelling
- Tape measure
- Saw
- Spirit level
- Pencil, or marker
- Adhesive
- Caulk or filler
How to Panel Walls
Before you start with the panels you will need to make sure the wall they are going on is prepared by smoothing it, making sure it is level, and painting it if necessary. For a neat and long-lasting finish make sure the wall is fully dry before fixing any panels down.
Step 1 - Measure and Mark: Measure the wall where you want to install the panels and mark it accordingly. Remember, accuracy is crucial here for a seamless finish. You could try sketching out your design first, so it is easier to visualise the finished result.
Step 2 - Cut the Panels: Based on your measurements, cut the panelling sheets with a saw. Ensure the panels are cut straight, and the edges are neat. You may want to smooth them with sandpaper. If you are not comfortable cutting the panels yourself a timber merchant may be able to do this for you.
Step 3 - Paint the Panels: Add a coat of wood primer before you secure the panels to the wall.
Step 4 - Apply Adhesive: Apply a generous amount of adhesive on the back of the panels.
Step 5 - Fix the Panels: Start from a corner, fix any vertical panels onto the wall first, ensuring it's levelled, then apply the horizontal panels if applicable. Repeat this process until the entire wall is covered.
Step 6 - Finish Off: If you are securing the panels with nails make sure you fill in any nail holes with filler, sand down when dry, and paint the panels if desired.
Credit: Image by rawpixel.com on freepik.com
What Are the Different Wall Panel Styles?
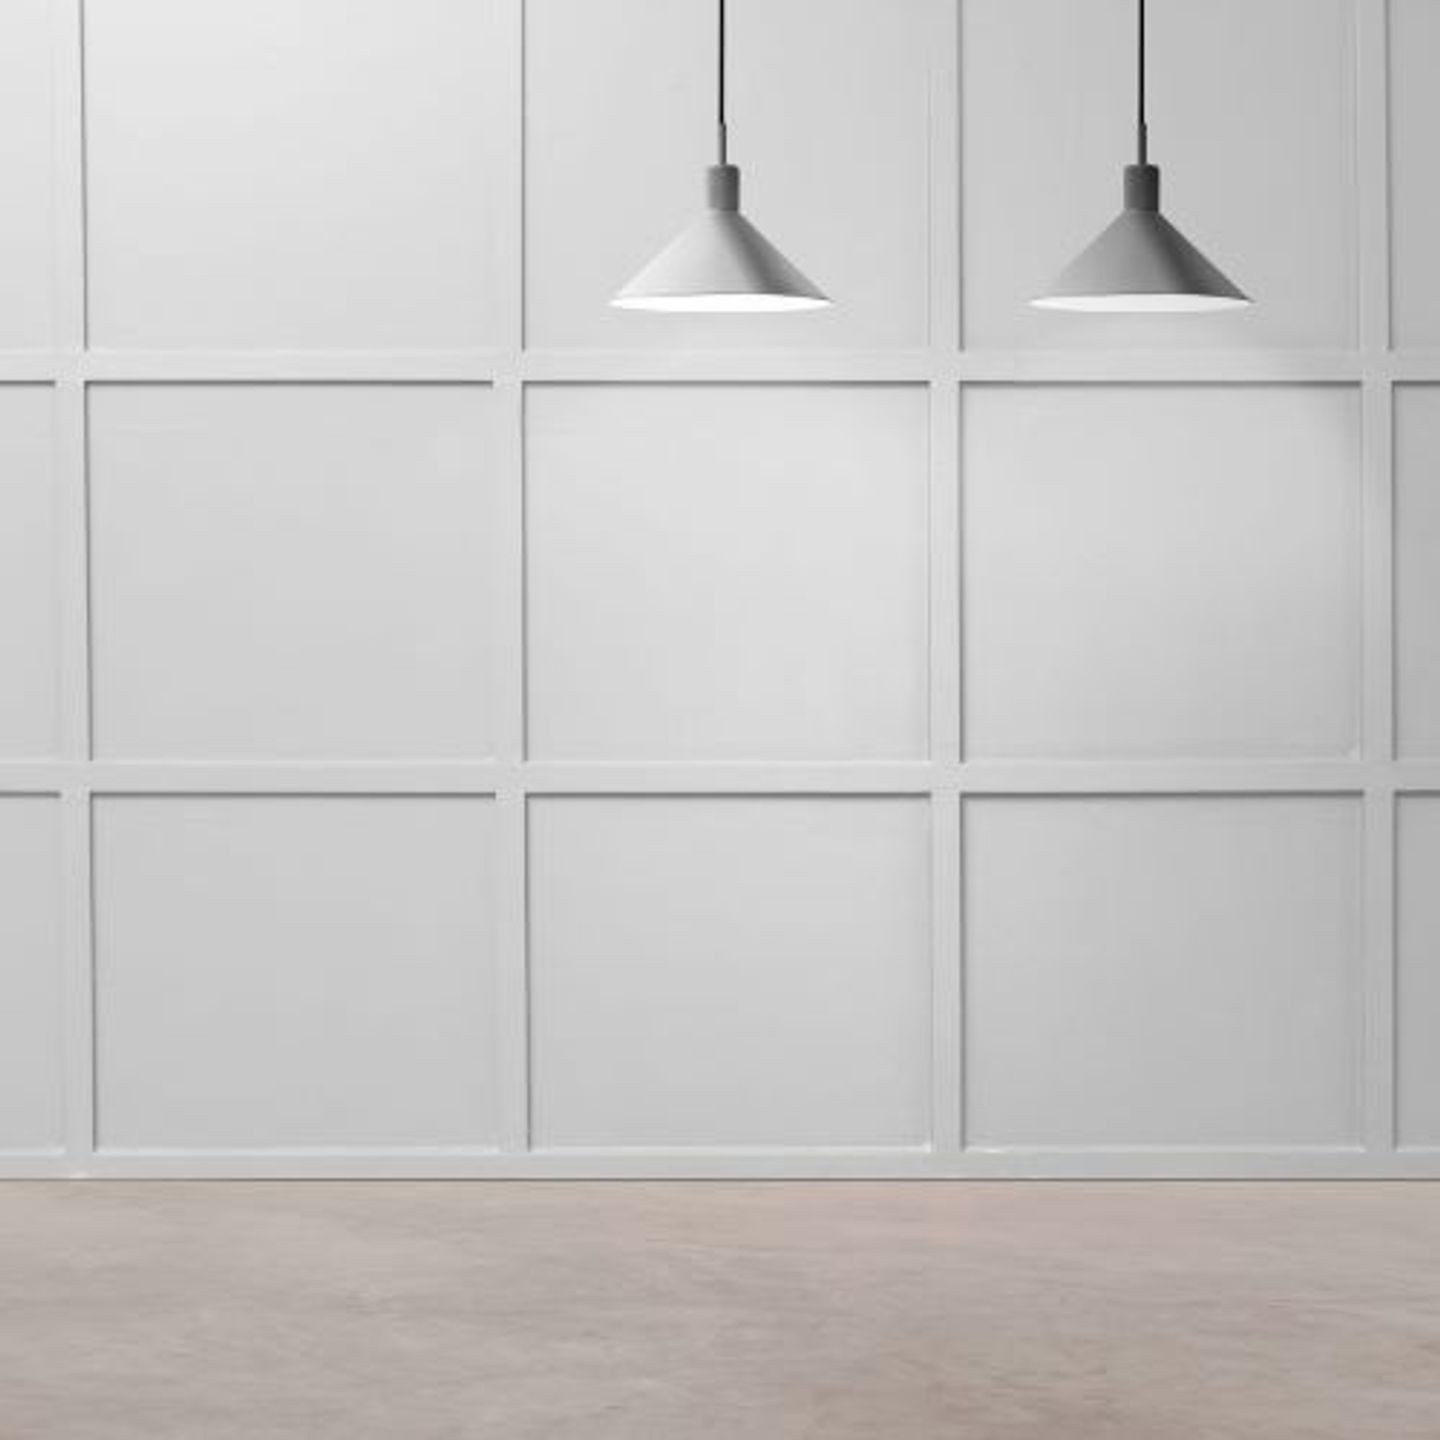
- Shaker Style / Batten & Board - this features a series of squares and is popular in bedrooms and living rooms.
- Wainscoting / Raised Panel - this has a traditional look, and you will need to get to grips with 45-degree mitre cuts to join the corners together.
- Shiplap / Tongue & Groove - this can be applied to walls to provide a nautical look.
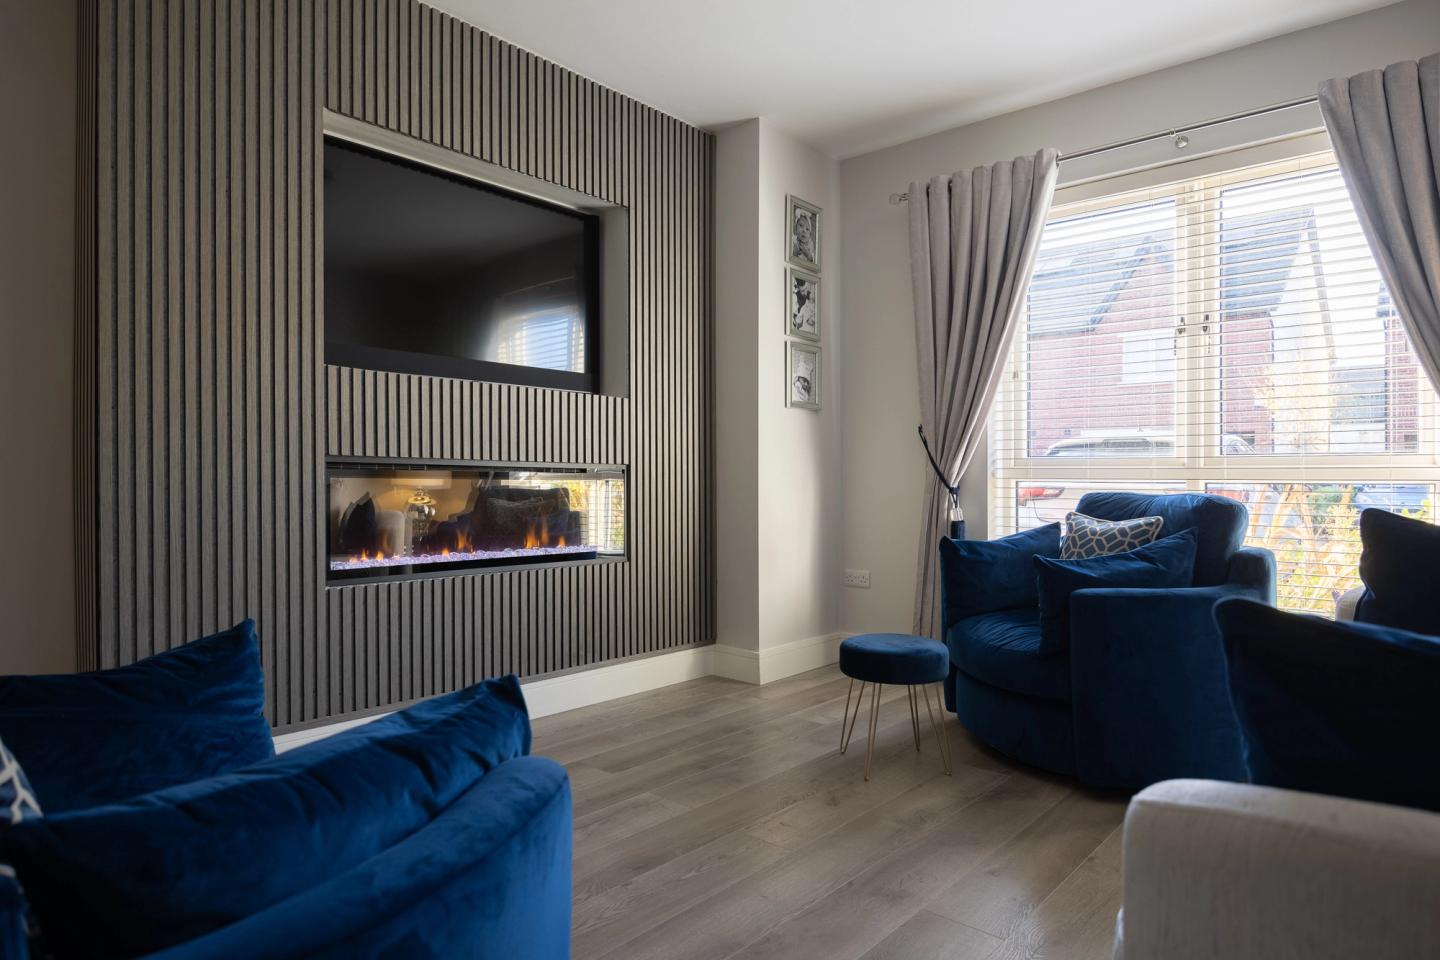
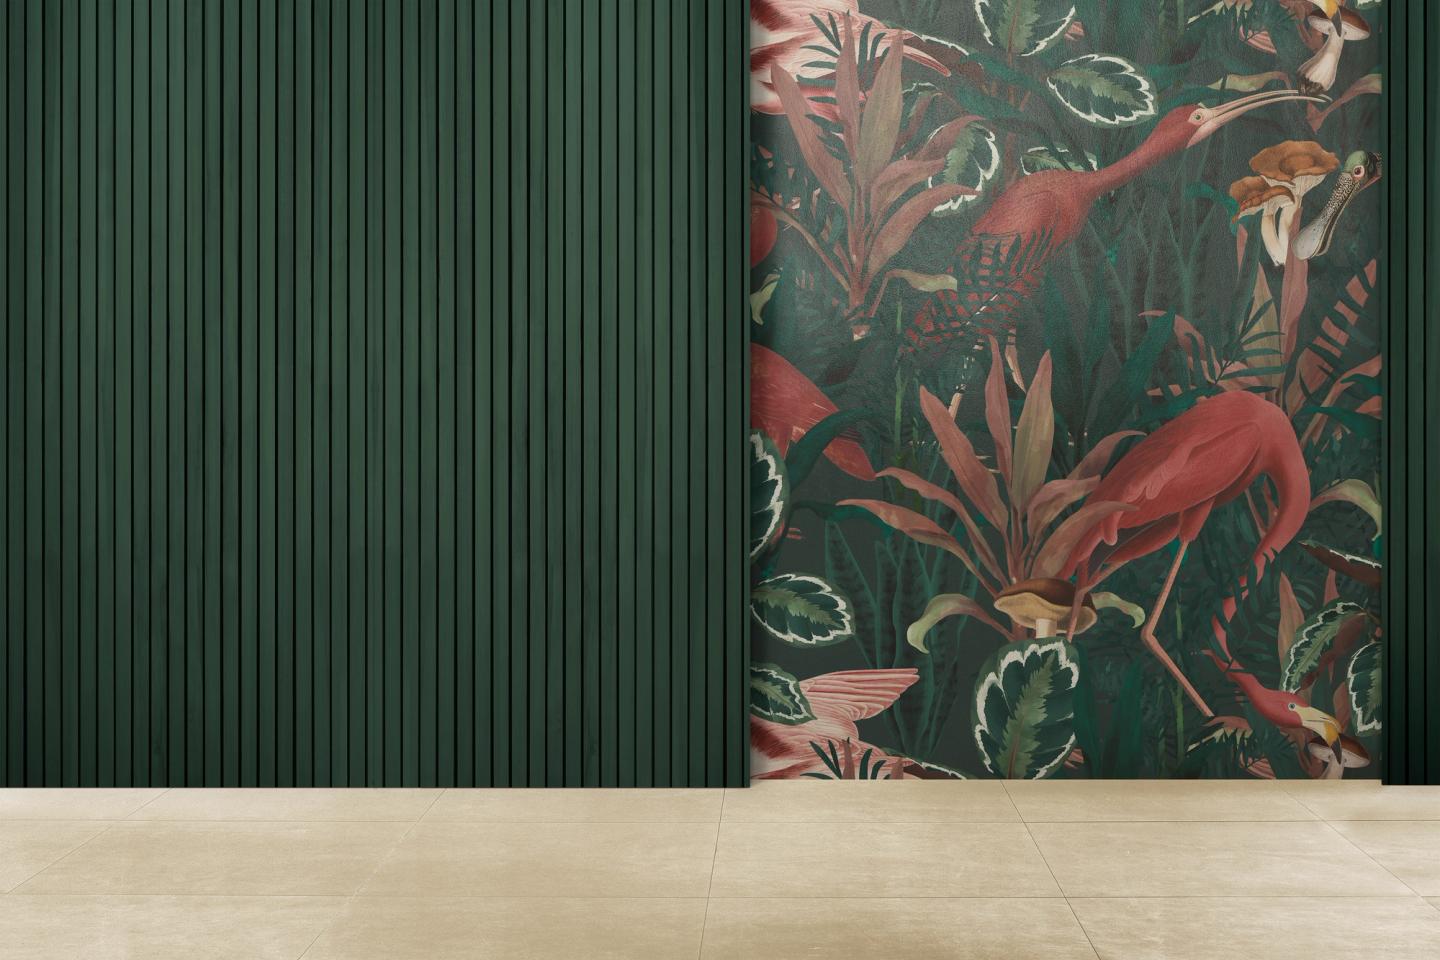
- Slatted / Strip Panel - a quick and easy way to add a textured look to a wall.
Credit: Image by rawlpixel.com on freepik.com
FAQs About Wall Panels
How thick should the wood be for wall panelling? This is really down to your personal preference. You could try buying a few sample pieces first to see how they look on the wall you want to add it to.
Can you use wood panels in a bathroom? Bathrooms are a great place to add nautical style shiplap panelling. Just remember you will need to use bathroom paint to prolong the life of your new look.
Design Ideas for Wall Panelling
- For a stand-out look you could apply patterned wallpaper to the wall with beaded panels painted in a contrasting colour placed over the top.
- Geo style panelling will add a modern look to your room, although it can take a bit more planning time as it can be abstract in design with many different sized pieces.
- Go for a half and half look in your hallway with panelling on the bottom half of your walls to help protect against scuff marks.


