


If you're here because you've got a project that requires a circular saw and guide rail, you've come to the right place for information and guidance.
Circular saws and guide rails can be useful for a range of tasks, including DIY home renovations and woodworking projects. However, they can also be intimidating for those who are unfamiliar with how to use them safely and effectively. That's why we're here to help it seem a little less daunting.
This blog provides comprehensive information on how to use a circular saw and a rail as part of your projects. Unleash your inner DIYer and explore the basics of tools and how they work with us - step-by-step!
Circular saws and guide rails: What are they used for?
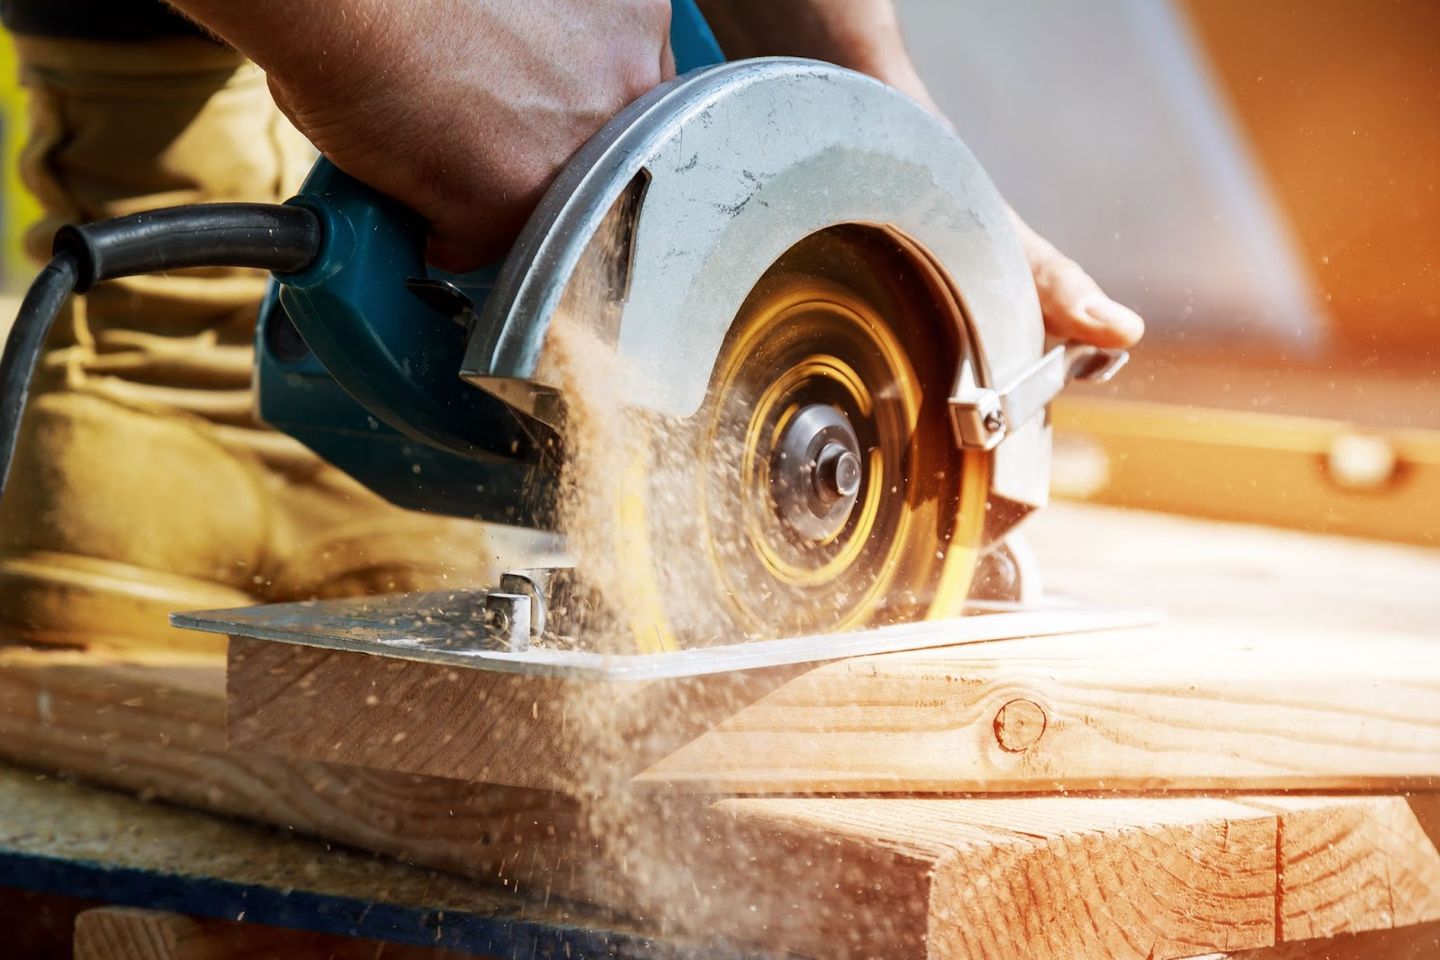
Circular saws are one of the most versatile and commonly used power tools in the construction and woodworking industries. The blades slice through a wide range of materials with precision and speed using a rotary motion that enables them to slice through wood, metal, and plastic. Typically, the most popular types of circular saws are:
- Manual tools - the most conventional and oldest type, allowing users to manually create cuts with hand-held tools.
- Plunge saw -stationary circular saws are larger and more powerful, and are designed for use in workshops or factories where more heavy-duty cutting tasks are required.
The addition of a guide rail to a circular saw can improve its performance and accuracy, although it is not necessary for use. A guide rail is a tool used in cutting that provides a straight track for the saw to move along while attached to the material being cut. Essentially, a guide rail eliminates the need for measuring and marking, guaranteeing perfectly straight cuts.

So, why use a guide rail with a circular saw?
We know what you might be thinking, do I REALLY need a guide rail? Here are a couple of benefits that will help you to see why a circular saw could make the job easier and give it that professional finish:
- Enhanced accuracy: Having a guide rail minimises the likelihood of errors or mistakes, resulting in a more polished finish that is achievable even for novices. Despite the circular saw being created for greater accuracy, they can in fact create crooked cuts, which is why a rail helps to eradicate any flaws and inconsistent lines.
- Maximum safety: By using a guide rail, the saw is less likely to wander or slip, reducing the risk of accidents and injuries. This is especially important when working with large or heavy materials.
- Increased efficiency: The use of a guide rail enables quicker and more efficient cutting by allowing the saw to move smoothly and swiftly along the track. This can be advantageous for extensive projects, saving both time and energy.
- Versatility: This combination of tools has the ability to cut through various materials, making it a versatile tool for a variety of projects, such as construction, woodworking, and metalworking.
- Work surface protection: When using circular saws, work surfaces can easily become scratched or damaged. To minimise this, guide rails can be used to prevent the saw's base from touching the surface. This can help keep the surface looking clean and free from scratches.
How to set up and use a circular saw with a guide rail for maximum precision
Now that you have a better understanding of the tools used in combination with each other, it's time to cover the main stages of using a circular saw and guide rail in the most effective way.
If you've got this far and haven't yet found the right saw for your project, HSS have an extensive range of saws and cutting equipment perfect for home DIY and large industrial projects - take your pick and hire what you need today!
Step 1: Choose a compatible saw and rail
Before you dive into your next sawing project, make sure you've got the perfect match of circular saw and guide rail to conquer the task at hand. To make accurate cuts, it is important to select a saw that is compatible with your guide rail and ensure that the guide rail is long enough for the intended cuts. Additionally, verify that your saw is in good working order, including having a sharp blade and a properly secured blade guard. When working with larger materials, it is possible to combine several guide rails, which typically have lengths of up to 3 metres.
Step 2: Put the guide rail securely in place
After acquiring your saw and guide rail, the next step is to prepare the guide rail for cutting. Begin by measuring and marking the material at the desired cut location. Then, place the guide rail over the marked spots on top of the adhesive strips - you can also use clamps if you feel it's necessary.
Step 3: Adjust the saw
In order to accurately cut your materials, it is necessary to adjust the depth and angle of the circular saw to match the thickness and angle of the wood. To adjust the saw blade's depth, use the depth adjustment knob, and to set the blade's angle, use the bevel adjustment knob. When using a guide rail, it's important to adjust the blade depth to match the rail's thickness to avoid cutting into it.
Step 4: Start the cutting process
With the preparations complete, it is time to begin the cutting process. But before you begin, let's make sure that you're safe. It is important to wear appropriate safety gear, such as eye and ear protection, and ensure that the work area is free of potential hazards.
Now, it's time to turn on the saw and let it reach full speed before making contact with the material. You want to ensure that the saw is running smoothly and that you're getting a clean and even cut. Start by slowly guiding the saw along the guide rail, keeping the blade firmly pressed against the rail. Remember, patience is key here! Don't rush, take your time, and let the saw do the work!
Step 5: Create the perfect finish
After cutting, ensure the saw is powered off and wait until the blade comes to a complete stop before removing it from the wood. Afterwards, remove the guide rail with caution and examine the cut for precision and evenness. To get a flawless surface, you may need to sand or trim any uneven edges.

Frequently asked questions, answered by experts
What is a circular saw used for?
As we've previously mentioned, this tool really is a versatile and nifty piece of equipment, perfect for both small and large projects. But for clarity, here are a few reasons why you might consider using a circular saw:
- Cut large sheets of plywood or MDF for carpentry or construction projects.
- For making precise cuts in hardwood flooring or wall panelling.
- For cutting metal pipes or ductwork for HVAC installations.
- Cut PVC or plastic pipes for plumbing installations.
- For making clean cuts in kitchen countertops or other solid surface materials as part of a kitchen renovation.
- Cut large pieces of sheet metal for roofing projects.
What are the risks of not using a guide rail?
While using a guide rail is not mandatory, choosing not to use one may lead to accuracy and safety concerns in certain situations. Here are just a few consequences of not utilising a rail:
- Inaccuracy: Without a guide rail, it can be tough to make straight and precise cuts, which could cause your cuts to be uneven or jagged. This could result in parts not fitting together properly.
- Safety concerns: Using a circular saw without a guide rail increases the chance of the blade wandering, which could lead to injuries. So, it's definitely worth investing in additional equipment to reduce the hazards!
- Damage to workpiece: Lastly, a circular saw without a guide rail may damage your workpiece by making uneven or crooked cuts. As you may imagine, this would cause you to waste materials and spend extra time on repairs or rework.
By following these safety precautions and tips and tricks, you’ll be well on your way to achieving professional, sleek results with your cutting equipment.


