


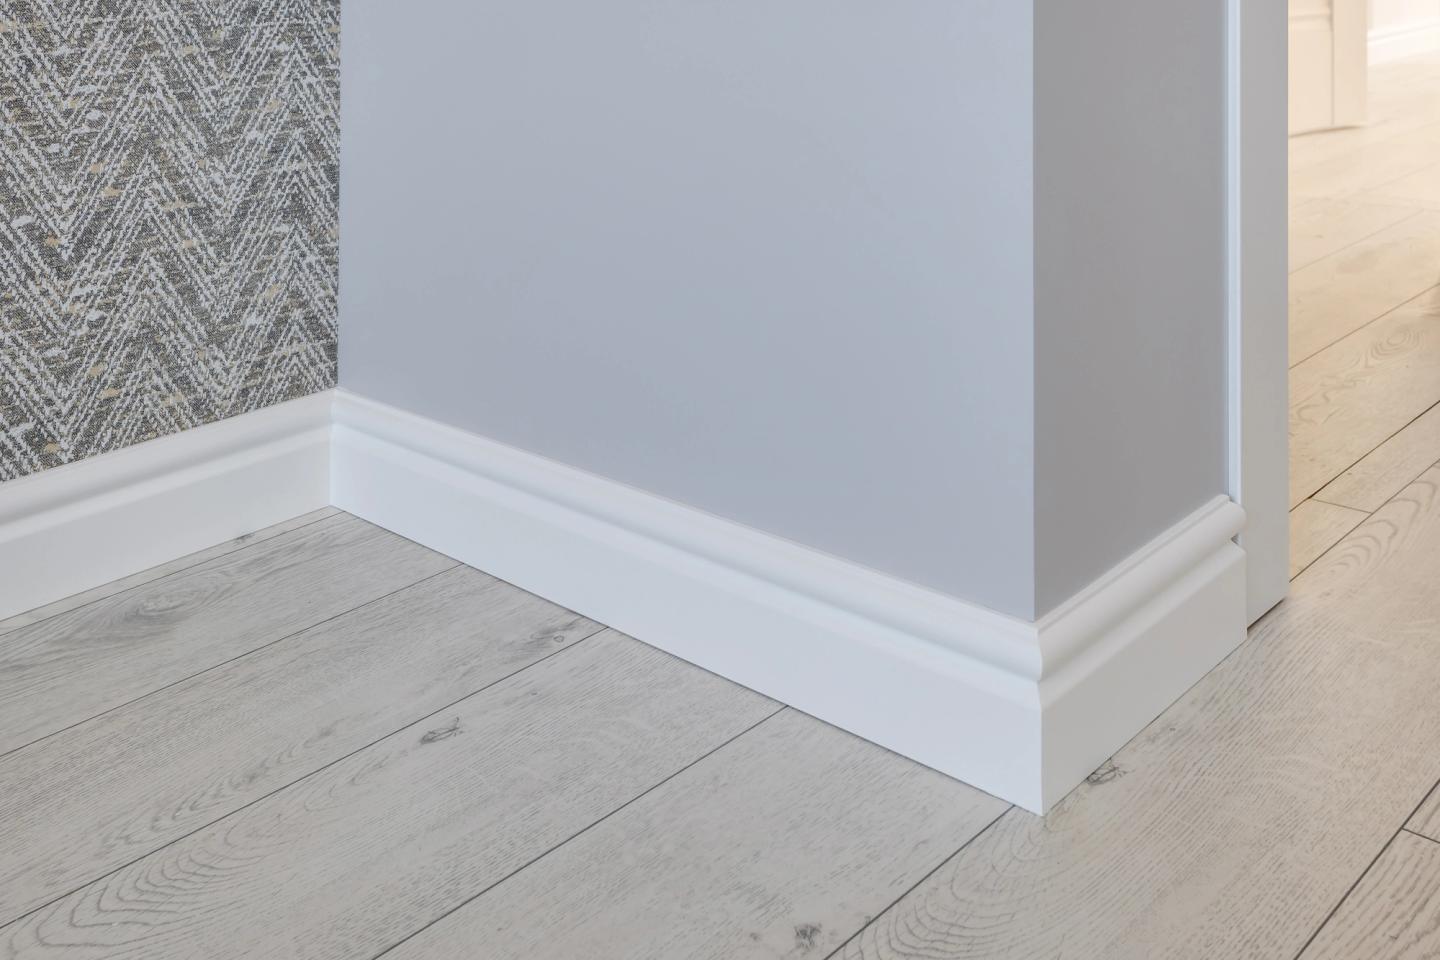
Considering revamping your skirting boards? You’re in luck - HSS Hire is here to help.
When it comes to skirting board restorations, there’s plenty to consider so we've put together some top tips & tricks you will need to get the job done without any hassle.
In this blog, we will go over:
- Tools & equipment you'll need for sanding your skirting boards
- How to prepare your working area
- Tips and tricks on sanding for a smooth finish
- Priming and painting skirting boards
- How to use a floor-edging electric sander for those hard-to-reach areas
Once you've read our guide on sanding, you'll be ready to hire an electric sander & use it confidently.
Tools you'll need for sanding and finishing your skirting boards
Like every renovation and decoration job, you're going to need to ensure you're equipped with everything you need to complete the project at hand. We recommend gearing yourself up with the following:
- Dust mask: A dust mask will protect your lungs from the excess dust that is produced when sanding. A reusable mask will suffice for this, we offer a range of dust mask options to buy here at HSS.
- Sugar soap and a sponge: You can use a sugar soap solution for cleaning away the dust and marks produced from the sanding process. It is not recommended to use sugar soap alone to remove paint as it will not effectively lift paint from the surface.
- Sandpaper or an electric sander: The best grit sandpaper to use if sanding by hand is 120-grit sandpaper to help remove any rough edges from the skirting board. An electric sander takes much less time and is more efficient at smoothing edges.
- Wood knot solution: Resinous wood is stabilised by knotting solution unless you have MDF skirting boards. In addition to preventing knots from seeping into surfaces, knotting paint also helps minimise discolouration of final finishes.
- Carpet protector/dust sheet: Any varnish and dust will damage your floors unless they are protected. Be sure to line the floor with a dust sheet during the sanding process
- Masking tape or painter's tape: The purpose of masking tapes is to protect beadings, walls, doors and door frames from damage or stains. Simply fit the tape to the area that needs protecting, paint the skirting boards and remove the tape once the paint is touch dry.
- A small quality paintbrush: Removing dust from the skirting boards before painting means you can get rid of any dust left from sanding. A small, dry paintbrush works well for removing dust from skirting boards. Use this to clean any grooves on the skirting boards & you can use same tool for re-painting.
- Primer: You will need to apply one or two coats of primer to skirting boards that are wood-finished or have never been painted. If the boards are already painted, brand new or are already primed, you’ll be able to skip this step.
- Gloss or satin paint: Gloss paint is a traditional choice for skirting boards, offering a hardwearing and shiny finish. Painters and decorators who prefer a more modern look like to use bold satin colours for interiors, giving a semi-gloss finish that hides imperfections well.
Step 1: Preparing your working area and cleaning the skirting boards
When you're choosing to add a fresh coat of paint to your skirting boards or change the colour entirely, you may be wondering if sanding and cleaning the area is necessary.
The answer is yes! The reason for this is that paint can flake off and gather in the corners of your skirting boards which can create a messy appearance and scuff marks. By sanding and cleaning these areas before starting your decorating project, you'll ensure that the paint adheres properly and makes for a smooth surface.
Here's what you should do before getting out the sandpaper or switching on your electric sander:
Clear the floors: You want to allow yourself as much space as possible during the sanding and painting process. Clear enough room for you to add your protection sheets to the floor.
Clean the skirting boards: To get the best results, it's important to make sure your workspace is clean before you begin. Grease, dust and dirt can interfere with the sanding process. Use a cleaning solution made up of washing-up liquid or sugar soap and a cloth to remove this.
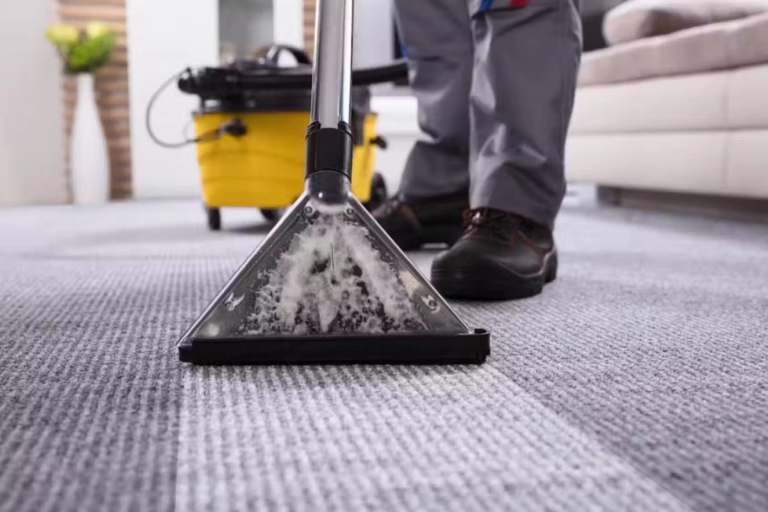
Protecting your flooring: If you are painting skirting boards on a carpeted floor, applying masking tape to the edges of the skirting board will help to protect the carpet. Another option is to place a piece of cardboard between the gap between the floor and the skirting board. In the case of bare floorboards that you plan to cover with carpet, drips of paint are less of a concern.
Step 2: Sanding for a smooth finish - Our top tips and tricks
Sanding is the second step of our process and it's where you can really make a big difference in the look of your space. Here are some tips to help you make the most of this part of the process to ensure the best finish:
- Using sandpaper will give you a smoother finish with fewer splinters, but it can also take longer and can be tiring on your hands if you are smoothing a lot of skirting boards. For an even smoother finish, try using a buffer or an edging sander instead.
- Only the top layer of paint needs to be removed unless there is an obvious problem or excessive paint build-up.
- Apply light pressure when using the sander. By doing this, the sander will rotate smoothly across the surface without skipping over any small splinters or bumps in the wood. If too much pressure is used, it will cause those splinters and bumps to become more prominent after the skirting boards are painted.
- If you have very thick paint which needs taking off, dab on some paint stripper. This will help break down the surface and make it easier to sand down. Try not to use too much of the stripper or it could damage the wood underneath.
- Before you start painting you will need to clear the dust away using a vacuum. Dust will settle on your newly-painted walls once they are dry, ensure all is removed before creating bumps and marks in the paint.
Step 3: Priming and painting the skirting boards
So your skirting boards look good as new - now the fun part!
- You're going to start by priming the top of your skirting boards with an oil-based wood primer. This will ensure that your paint adheres properly and lasts longer.
- Use masking tape as a guidance for painting straight lines. Be careful not to damage the freshly painted surface when removing the tape later on.
- Use a 2-inch brush to apply the paint. This will allow you to get all around the curves of your skirting board. Start from one end and work your way down, following the direction of the grain. We recommend using long strokes for better coverage.
- Let the paint dry! This is essential in avoiding smudging, so be patient throughout the drying process before removing the masking tape from the skirting boards.
Visit our painting and decorating hire page or our painting & wood care buying page for everything you need for your next big painting project!
Hire floor sanding equipment with HSS
If you're looking for floor sanding equipment that can handle any size of wooden floors, HSS has got you covered. We offer a wide range of floor and edge sanders designed to make your life easier.
Whether you're working with parquet, old boards, small spaces or large spaces, we've got the right tool for the job.
Pop into your local HSS branch or chat to one of our Live Experts online for more information on finding the right tool for the job.


