In the world of DIY and construction, precision is key. From hanging pictures to installing shelves, accuracy is crucial, and that's where using a level comes into play. If you're building a deck or adding an extension to your home, installing curtain rods, erecting a fence, tiling a floor or building custom furniture, this guide will talk you through some of the different types of levels available, and will also guide you through both how to use a laser level and how to use a spirit level.
What is the Difference Between a Laser Level and a Spirit Level?
A laser level is a highly efficient tool that emits a beam of light, used to produce accurate horizontal or vertical lines. It's a must-have piece of kit if you are looking to achieve professional-level accuracy in your work.
A spirit level is a much simpler tool that contains a small tube filled with liquid and a tiny air bubble to indicate when a surface is level. Spirit levels are ideal for smaller tasks where a laser might be too much, like hanging a picture or aligning a piece of furniture.
Laser Levels
No longer reserved solely for construction engineers, laser levels now offer affordable price tags and can be used for DIY projects at home. A laser level projects a coloured beam of light, usually red or green, to create a horizontal or vertical line onto a surface which you can then mark up, or use as a positioning guide. They are ideal for installing cabinets, tiling walls, or hanging a picture or dado rail on a wall.
It is also incredibly quick to get a reading so can be a time-saver too; unlike spirit levels that require a manual adjustment for each new position, a laser level can establish a perfectly straight line across a room in a matter of seconds. Many laser levels also have self-levelling capabilities, enhancing convenience and efficiency.
There are different types of laser level that are useful for different environments, here is a quick guide to the four main types:
Line or Spot Laser
The tool is fixed in position and projects a straight line of light along the horizontal or vertical axis. It is handy for indoor alignment tasks such as hanging pictures, or installing kitchen cabinets.
Cross Line Laser
A multi line laser that emits a cross onto the surface, providing both horizontal and vertical lines. These are perfect for tiling, wallpapering or any task that requires precise alignment against a wall or floor.
Rotary 360 Laser
A rotary level projects a constant 360-degree horizontal or vertical beam all the way around a room, making it ideal for large, outdoor projects like grading and laying a foundation. The laser beam is visible in all directions, so you can take measurements from any point.
Optical Laser Level
These are mainly used in the construction and surveying industries. They use a focused light beam to establish accurate horizontal and vertical planes, and are ideal for setting out foundations, for ensuring the correct pitch for drainage, and can help in mapping and land surveying by providing precise level references.
How to Use a Laser Level
Each type of level will have its own set of usage instructions, however as a guide they can be used as follows:
- Set Up the Laser Level: Place the laser level on a firm and flat surface or mount it on a tripod for stability. Ensure the laser level is at the height you desire.
- Turn it On: Switch on the laser level. The laser line/s or dot should be visible on the surface you're working against.
- Align the Bubble Vials: Look at the bubble vials on the laser level. Slowly adjust the device until the bubbles are centred, indicating that the level is perfectly horizontal or vertical.
- Project the Laser: Now, project the laser onto your desired surface. This will provide a perfectly straight guide for your work, whether it's hanging a picture or installing kitchen cabinets.

Credit Thanh Nguyen on Unsplash.com
Spirit Levels
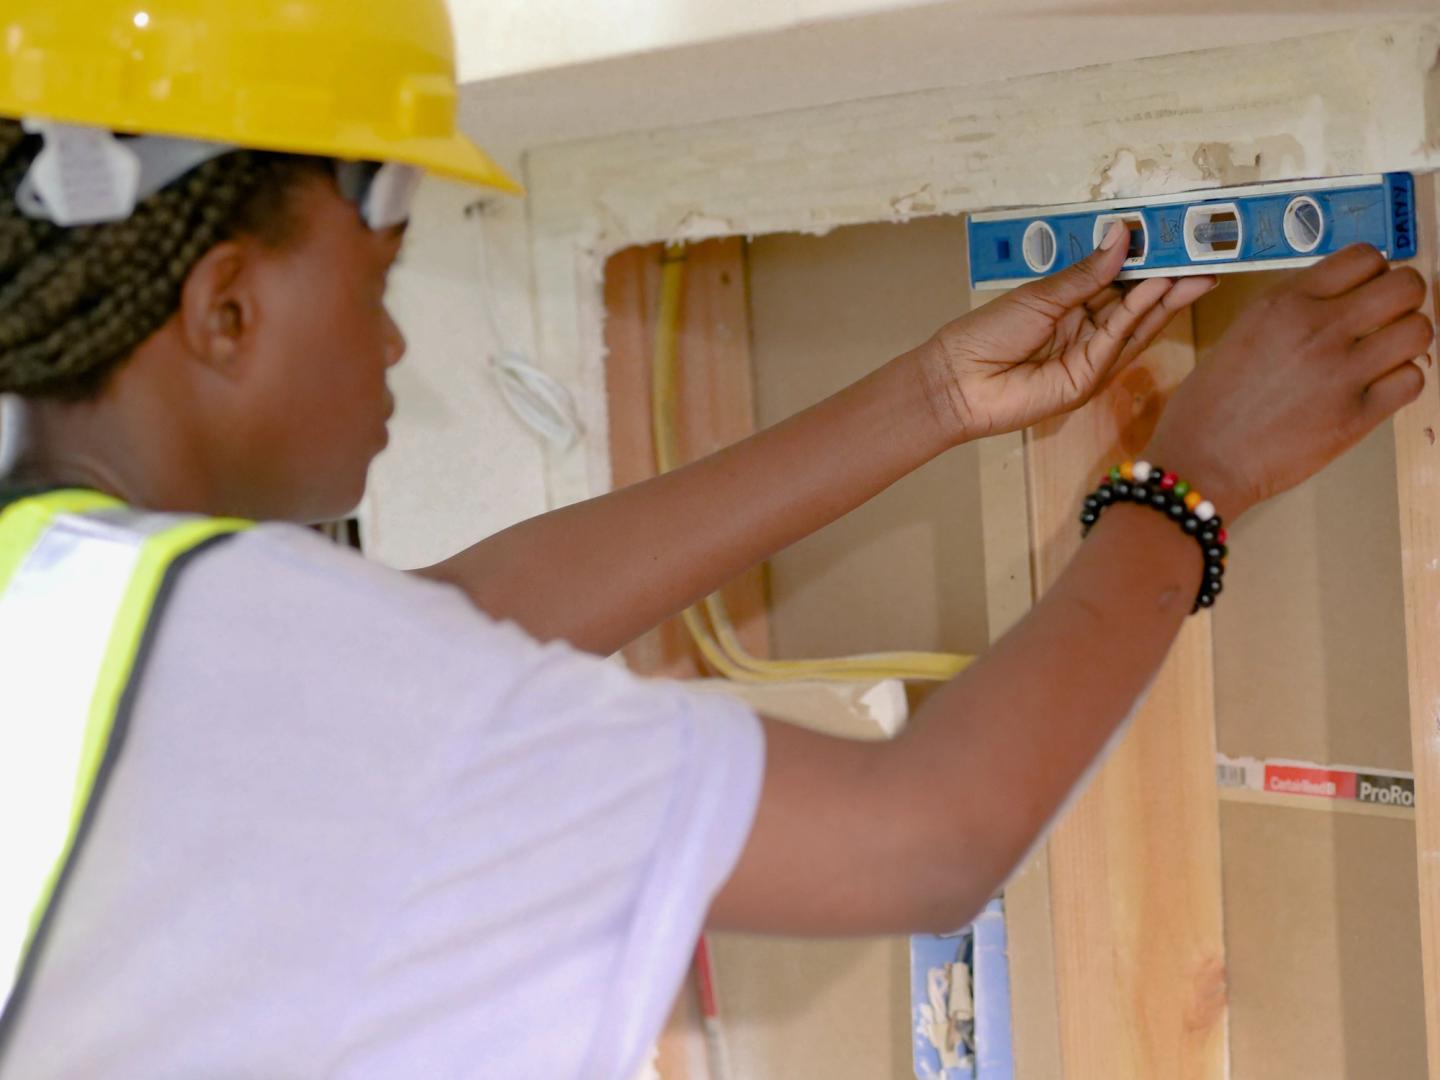
Also known as a bubble level, the principle of using a spirit level is simple: when the bubble is exactly in the middle of the two lines, the surface is level. There are different types and sizes of spirit level that are suited to different environments, and you can also buy a spirit level set that includes multiple levels. Below is a handy guide to the main types of spirit levels:
i-beam Levels
One of the most common spirit levels used by builders and carpenters, the “I” refers to the shape of the frame when looking at it from the end. It is lighter than a box beam, but less sturdy.
Box Beam Levels
The shape of the frame is rectangular, or box shaped, and provides a much more solid and sturdy tool than an i-beam level so is ideal for use on construction sites.
Torpedo Levels
The smaller size of a torpedo level makes it ideal for keeping in your toolbox, or for using in tighter spaces. It is a good all-rounder with vials for checking horizontal and vertical surfaces.
Scaffold Levels
Similar in size to a torpedo level, however the scaffold level incorporates magnets so the level can be used for checking metal surfaces such as pipework, or scaffolding.
How to Use a Spirit Level
As a general rule you can follow these steps on how to use a spirit level:
- Clean the surface: Make sure to clean where you will be using the level as any debris or dust could interfere with the accuracy of the level.
- Place the spirit level on the surface: Make sure the level has direct contact with the surface. You can place it either horizontally or vertically, depending on the alignment you're trying to achieve.
- Look at the bubble in the vial: If you're measuring for a horizontal plane, use the vial in the centre; if you're measuring for a vertical plane, use one of the vials at the ends. If the bubble is centred between the two lines in the vial, your surface is level or plumb. If the bubble is off to one side, your surface isn’t level.