


Learning how to use a tape measure correctly is an underrated skill to have as a savvy DIY-er. It’s useful for a variety of outdoor and small-scale interior projects - it’s one of the most useful tools in a builder’s tool belt.
With all of the useful equipment available to hire for a project, it’s important that you start with the basics. A tape measure can help with a handful of jobs, inside and outside the home. For example, when you need to determine how much excess wood to saw off, or at what exact point to drill, a standard tape measure has you covered. Even the smaller projects, like installing a shelf or finding the centre of your wall to hang a picture, are made much more efficient with this one, simple tool.
Start learning how to use a tape measure correctly, and finally finish all those DIY projects on your list, today.
How to use a tape measure: Finding the right type
DIY projects, and building renovations for that matter, are never the same twice. Whether outdoors or indoors, new obstacles and challenges appear that can impede the progress of your project.
Investing in the right tape measure for the job can easily prevent slip-ups later on. A common mistake is that, when approaching a project that requires exact measurements throughout, people think one standard tape measure fits all. This couldn’t be further from the truth.
In actuality, you should be considering the following before using your tape measure:
Size – Different tape lengths and widths are available in a range of tape measures. A larger, wider tape measure could help you tackle a sizable outdoor project that involves sawing or cutting, but many trades require a narrower, more precise blade. The damage and use you expect your tape measure to take should also be an important factor in considering its size. The bigger the tape measure, the hardier it’s likely to be.
Hook Type – All tape measures have a metal hook that moves in and out to assist in internal and external measurements. But, these hooks tend to be different shapes, depending on the price of your tape measure. Some hooks are small and flat, some are multi-directional, some have a folding hook with prongs, and other, more advanced tapes have a loop! All of these end hooks suit different specialist needs, and you need to bear in mind what exactly you’ll be measuring, from what direction, and make sure the hook type of your tape measure complements that.
Units of Measurement – All UK tape measures have metric measurements. You’ll tend to measure things in millimetre marks as a result! But, UK tape measures might still include imperial markings – some measure in 1-inch marks, or ½-inch measurements, depending on your requirements. The preference is yours. If you work in construction, though, imperial markings may be more useful, given the breadth of distances you’ll likely have to measure.
Accuracy – Tape measures have four standards of accuracy that determine the precise reading you’ll get. Most tape measures sold commercially are unclassified, but advanced tapes can be as accurate as Class I – correct to +1.1mm over the same distance, and ideal for when your DIY or building projects must be up to absolute scratch.
Material – Steel is the most common tape measure material, being strong and durable. But, for different trades – like fashion, for example – you could even purchase a cloth tape. The material of your tape measure blade is entirely up to you, and what job you intend it for, but we would recommend steel for its tried-and-tested properties.
Locking Mechanisms – Tape measures can have a locking mechanism, known as a blade lock, that keeps the blade extended while in use. Some tape measures have a conventional blade lock which is manually engaged, and an auto-lock. With an auto-lock mechanism, the press of a button releases the lock, which is extremely convenient.
Case Design – Similar to locking mechanisms, there are two different types of case design for a tape measure. A coiled tape will be stored in a closed case design, as is common, but sometimes tape measures will have an open reel case. The blade is exposed but more easily cleaned if used on a building site, and can be more convenient for measuring longer distances.
Taking accurate measurements and understanding metrics
Depending on the job you’d like to do, taking accurate measurements and understanding the metrics of your tape measure can vary. Therefore, it’s not as straightforward as you might think! For your convenience, we’ve explained both of these processes, below.
How do you make sure your measurements are accurate?
When taking accurate measurements with your tape measure, there are a few standard tips you should follow:
- Remove obstructions – It’s important to have a clear path between you and the object you’re measuring, so your tape measure can lie as flat and straight as possible.
- Place your tape measure securely – When taking accurate measurements, your tape should have a secure starting point. For interior projects, place your tape measure adjacent to the starting point, and for exterior projects, clip your tape over this point.
- Carefully extend the tape – When extending your measuring tape, it’s important that the tape stays flat, smooth and as straight as possible. This allows for the most accurate measurement possible.
- Lock in your measurement – For retractable tape measures, press the lock feature, and for manual tape measures, extend the tape until the tape blade reaches the end point.
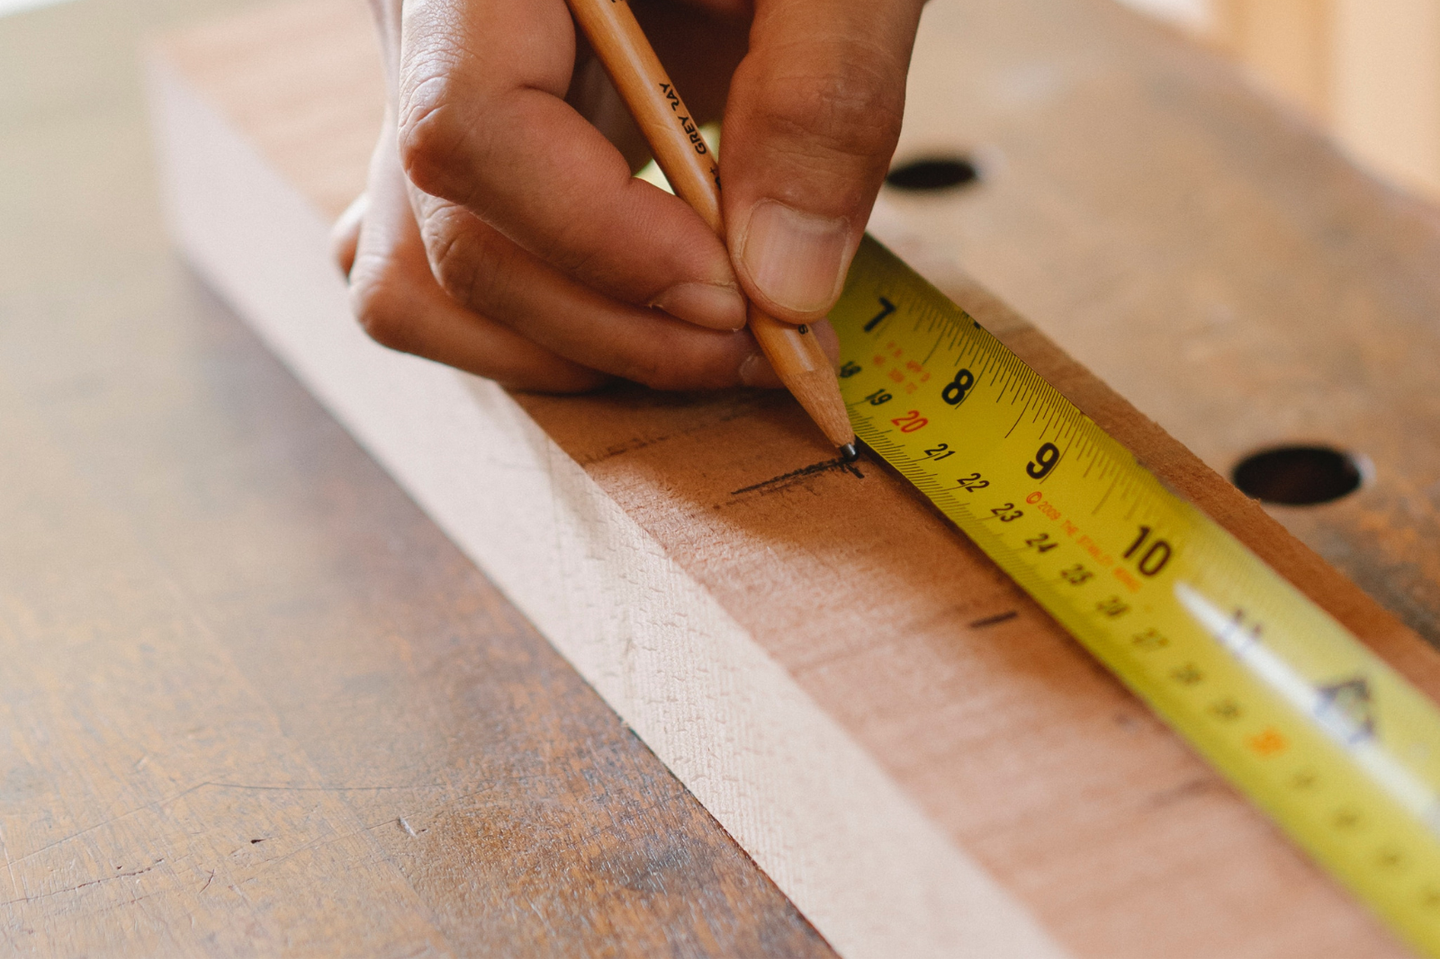
- Check your measurement – Using a pencil, identify the line on the tape that corresponds with the endpoint of your desired measurement, and record this value. Make sure you’re reading from the right indicator lines for a precise reading; if you’re measuring in imperial units, don’t forget to do so.
Understanding metrics: What do they actually mean?
How to use a tape measure is all about understanding the units well. Metric tape measures are based on centimetres over inches, which are further divided into millimetres. The larger lines on your tape will be centimetres, with the narrower lines between them being millimetres.
If you want to understand the metrics of your tape measure, align the first large mark of the tape with the bottom edge of an object – like a laptop, for example. Stretch your tape along the laptop, to its top edge! Calculate how many whole centimetres it measures, and if longer than that, read how many millimetres past the last whole centimetre that the length of the laptop measures.
Note down the number of whole centimetres, add a decimal point, and write down the millimetres that the laptop measured. This gives you your total measurement of length overall! Although the metric units you have to calculate may be greater depending on the length, mass and capacity of the object you’re measuring, the metric system is easy to understand with a little practice.
How to read a tape measure for different shapes and lengths
Reading your tape measure is easier said than done, particularly when the objects and distances you’re measuring can vary in length, dimension and shape. There are steps you can follow, though, to ensure precise measurements.
Long Distances
For long distances, people tend to read the imperial measurements on a tape measure. This is because inches can cover more distance, with more legibility. 12 inches is the same as 1 foot, and will generally be marked with a different coloured line on your tape. When you have extended your tape measure to its end point, remember to keep track of the whole inches and the inch increments to read the measurement exactly.
Short Distances
For short distances, reading the metric measurements on your tape will be the most efficient way to find the length of a distance. In our ‘Understanding Metrics’ section, we described an efficient way to tally up the centimetres between short distances; simply align the first large centimetre mark of your tape to a secure starting point between the first point of your desired distance and the end point, and stretch your tape along to the end point. Calculate how many whole centimetres your tape has stretched, and how many millimetres. If you have to, place a decimal between your whole centimetre total and your millimetres, and then you have your short distance!
Inside Dimensions
Reading inside dimensions can be challenging. First, it’s best to stretch your tape measure from one inside corner, like the corner of an alcove, to a spot you can comfortably reach without twisting the tape out of shape. Mark the distance between these two points with a pencil, and then measure from the opposite corner to the previous mark you’ve made. When these measurements are totalled together, you’ll have a readable final distance!
Outside Dimensions
Reading the measurements of outside dimensions is simple. Secure your tape measure to one end of an object or space, and extend your tape to the other end. When fully extended, your tape measure will give an accurate reading of the outside dimensions, and you can measure both lengthwise and width wise for an all-round reading.
Irregular Shapes and Curved Surfaces
Perhaps the most difficult reading of all, irregular shapes and curved surfaces can be particularly tricky to measure with tape. For irregular shapes, you must measure each individual side of the shape and add these measurements together. For curved surfaces, there are tape measures out there that attach to curved surfaces for an accurate reading of the surfaces’ length. Many people use digital tape measures to get a precise reading on an irregular or curved surface, as it removes some of the inefficiency of taking separate measurements, one step at a time.
Which tape measure is the most accurate?
With so many different tape measures on the market – retractable ones, laser ones and digital ones included – you might be wondering: which tape measure is the most accurate? We make a valiant attempt to answer this question, here!
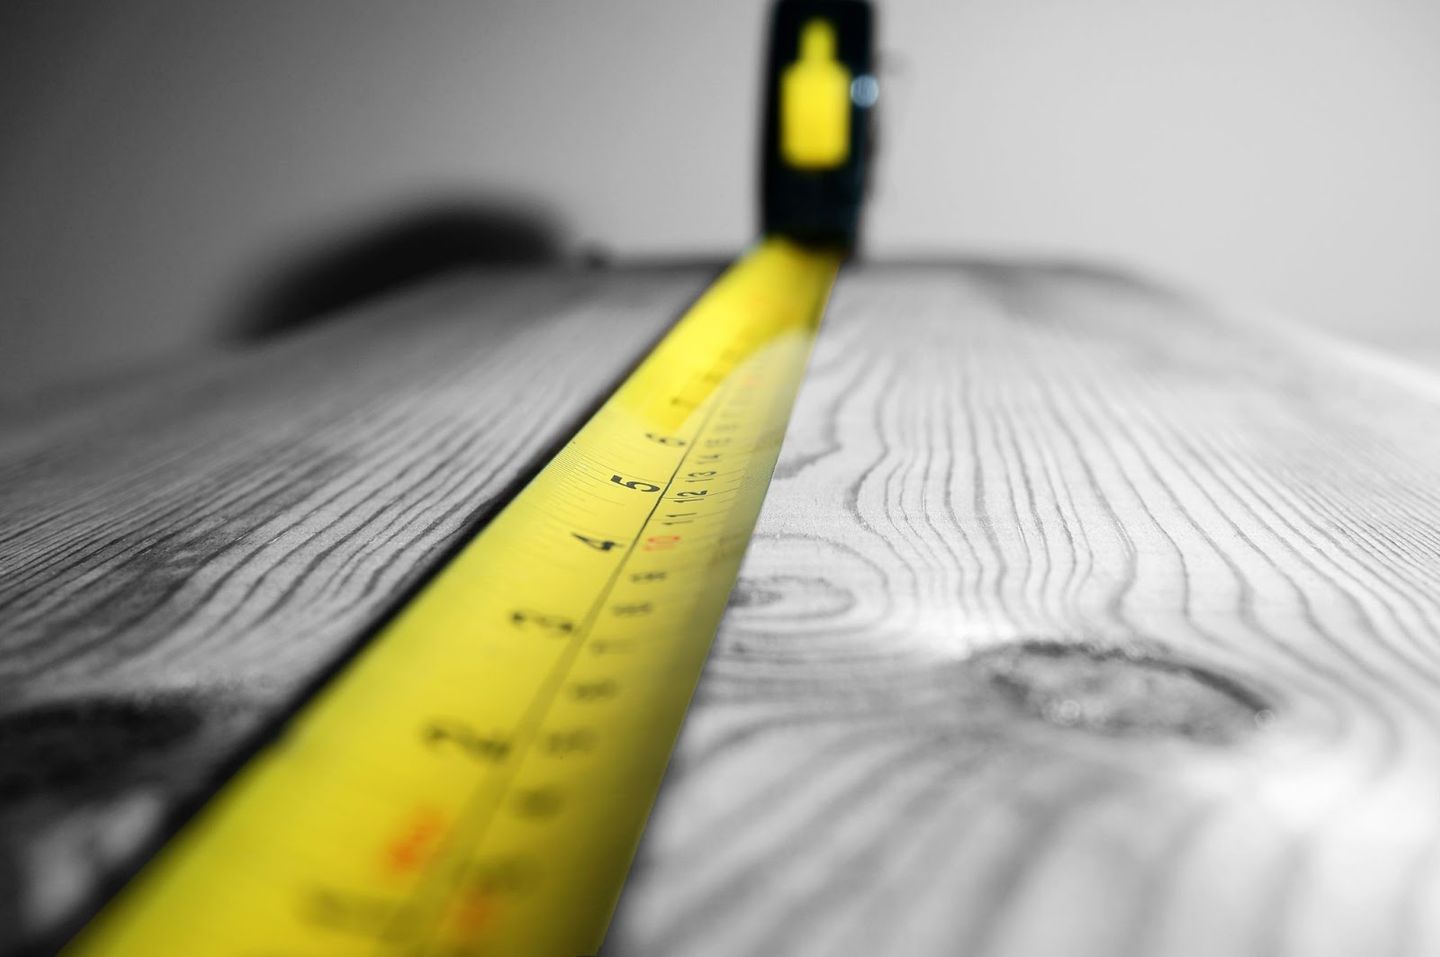
Retractable tape measures
Retractable tape measures have long been a tool belt staple for most DIY-ers and builders, and the range of different lengths, materials and hook types of these tools make them very accurate in various tasks around the house or in the garden. But, being manually operated, retractable tape measures are subject to human error; you have to be careful in reading the measurements, and in the way you measure the distance between two points. It’s always important to keep your retractable tape measure flat and smooth! This diminishes the accuracy of the tool, but not its usefulness.
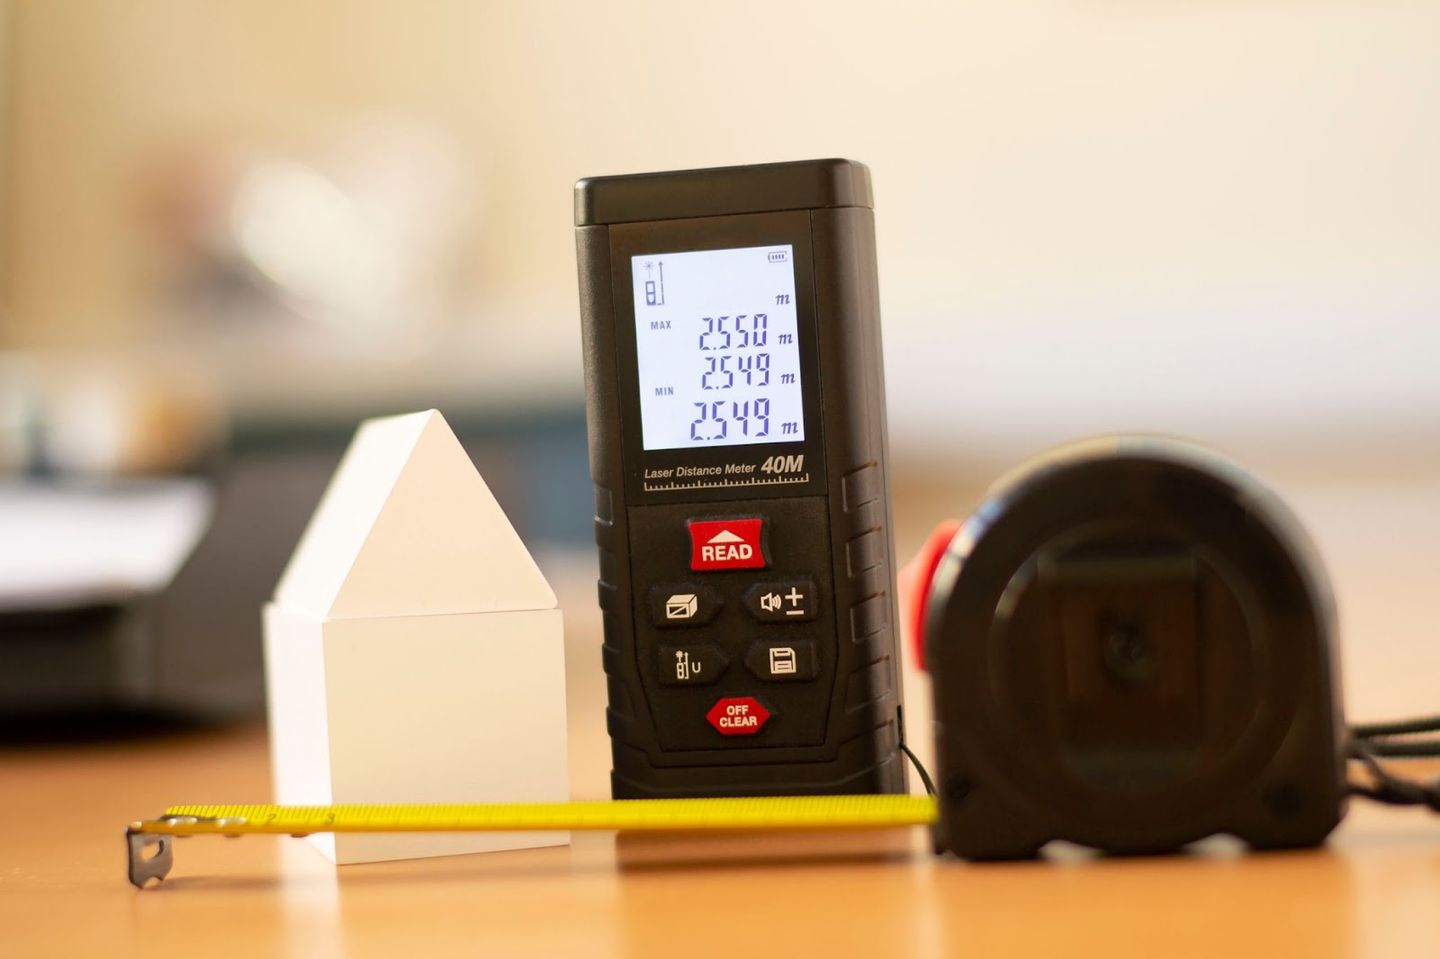
Laser tape measures
Laser tape measures are innovative. This is because, by emitting a pulse of light, they’re able to calculate distances to an extremely precise degree, all through timing how long it takes for the light to reflect and return. This means laser tape measures are unlimited in range, and work indoors and outdoors. But, this doesn’t mean that they’re the most accurate! You need an appropriate surface that the laser can reflect off, and, as with all technology, these tape measures must be regularly updated and improved.
Digital tape measures
Digital tape measures are much like retractable tape measures, with additional benefits. They measure the length of a distance or surface, and display it on an LED screen. Measurements are displayed, most often for UK users, in metric decimals. These tapes are particularly useful in measuring curved surfaces, like a staircase or archway. Because the measurements are calculated digitally, the opportunity for human error is also removed. This makes them far more accurate, and are probably the most accurate tape measures listed here, but we’d only recommend investing in one if you intend on measuring distances over 16 feet, or you’d like to undertake serious home renovations.
Ultimately, every tape measure is different, and might meet a different DIY or construction requirement that you have. Even with the four degrees of accuracy that most tapes adhere to, this is likely to change depending on whether your intended project is large-scale, outdoors, or a small-scale interior project.
FAQs
- Do you start at 0 or 1 when measuring? Always start with the 0 mark when measuring with your tape measure. This allows you to accurately pin down a measurement to the millimetre.
- Should I read the tape measure in cm or in? It depends on the distance you’re measuring! For shorter distances, centimetres will work fine, and for longer distances, inches are more readable.
- How long is a standard tape measure? A standard tape measure for non-professionals is around 12 feet, and for professionals, around 25. More advanced tapes can even reach 100 feet, though, and are commonly made from fibreglass for longevity.
- What is the black diamond on a tape measure used for? The black diamonds on a tape measure tend to stand 50 centimetres, or around 19 inches, apart. This is so they can show the centre-to-centre measurement between studs. This is perfect for homeowners intending to remodel their house, or construction workers.
We hope this article has broken down how to use a tape measure into easy and digestible tips and tricks! If you need to hire more than a tape measure for your project, or you’d like more information on completing a DIY renovation, we at HSS Hire have you covered. Don’t hesitate to reach out to us today.


