


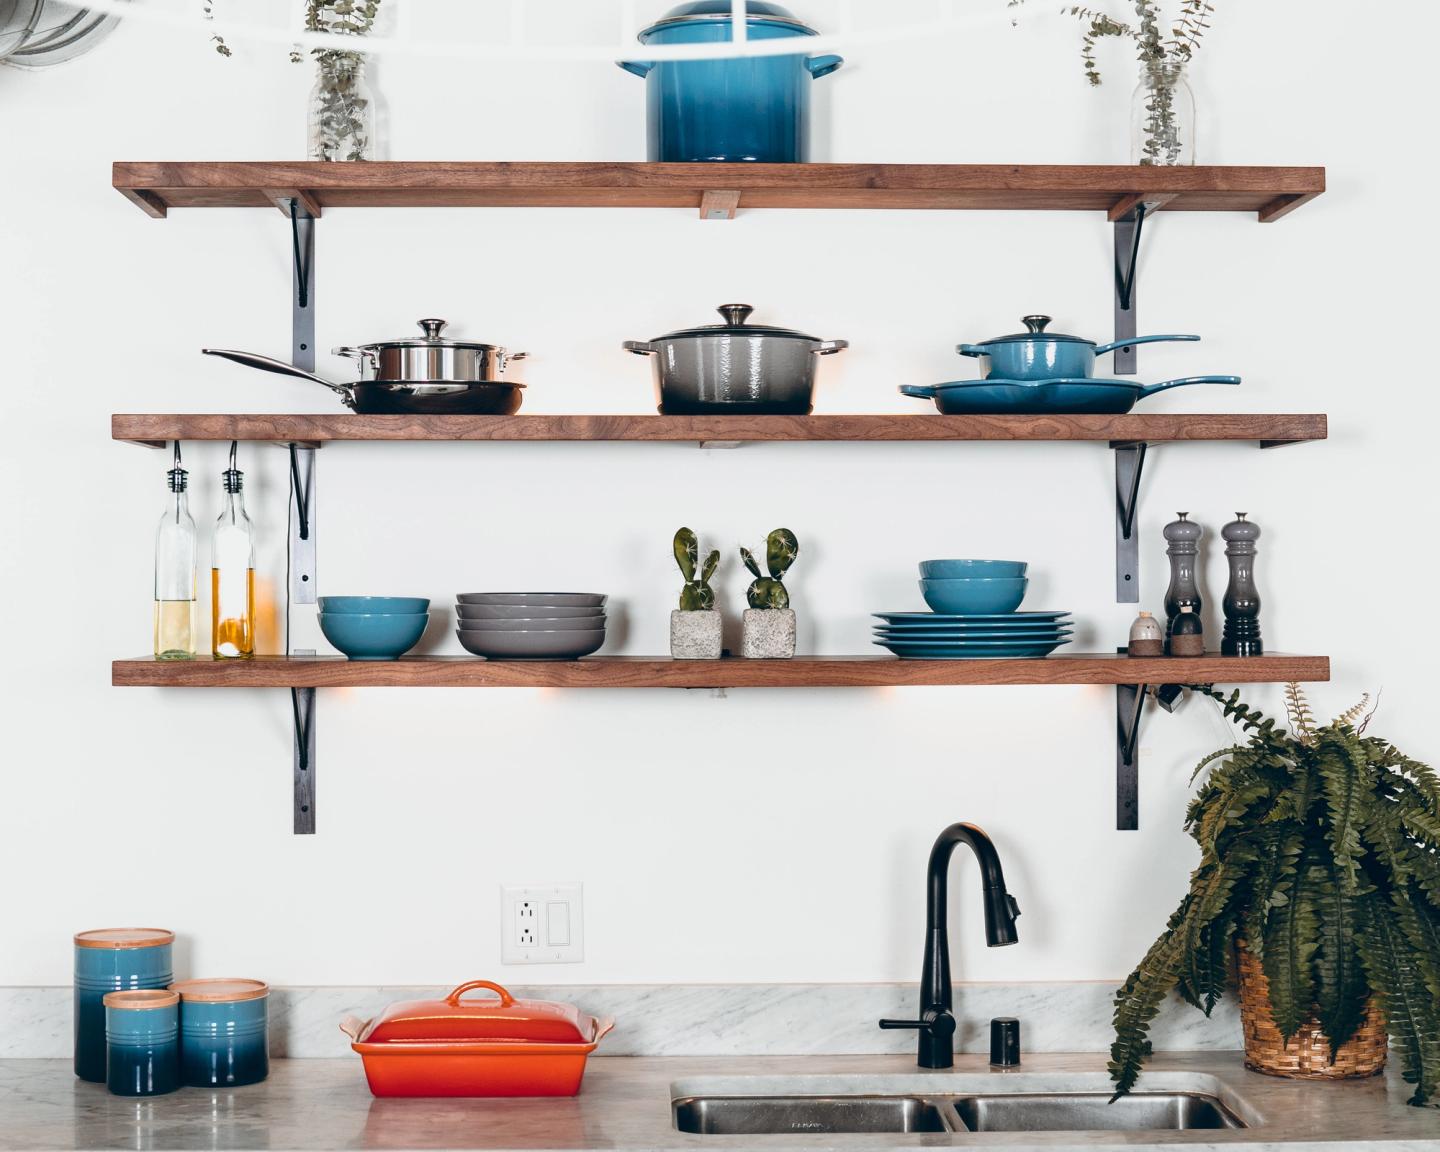
Knowing how to put up a shelf is essential when redecorating your home. Shelves can add more space, allowing you to display a variety of objects - like picture frames or decorative vases - and even be extra storage.
It may seem like a simple solution, but putting up shelves isn't the easiest home DIY project. That's why we've put together this nifty guide to help.
At HSS Hire, we have a wide range of specialist drilling tools available for hire, so you can elevate your home to a professional standard without the added labour cost.
There's nothing worse than investing in a tool to use it just that once! So we offer flexible hiring periods for our equipment - that way, you don't have to worry about finding long-term storage too.
These how-to shelving tips are easy to follow and will help you give your home the upgrade it deserves.
How to put up shelves: Let’s start with the toolkit
No matter if this is your first home renovation or if you're a seasoned DIYer, we all know that a workman is nothing without their tools. For shelves, there are some specific tools that are required.
You will need:
- A hammer drill
- A detector - either 2-in-1 or 3-in-1, depending on the type of wall your shelves are going on
- Protective eyewear
- Tape measure
- Spirit level
- Pencil
- Wall plugs
- Screwdriver - plus the correct size drill bits, dependent on your shelves and wall
- Masking tape
- Hammer
- The shelves you are hoping to put up - either adjustable shelves, a floating shelf, or bracket shelving
More often than not, the shelves you are putting up will come with the correct brackets and screws. If not, you're not to worry - HSS Hire has a range of equipment available to help you achieve your home improvement goals.
How to Put up a Shelf in 10 Simple Steps
Right, now that you’ve got your tools ready, it’s time to put up the shelf! We’ll begin with the prep stage, and then take you through how and where to start drilling.
Step 1: Know your wall
This may seem like a redundant step, but most homes are made up of different types of walls, which can influence the type of shelf you put up and its weight capacity.
Types of walls you might have:
- Masonry walls: This is a brick or concrete wall and usually makes your shelf more secure. It is best for heavier loads.
- Stud walls: Made from timber, this type of wall is made of studs (vertical) and noggins (horizontal). Any hollow sections should be avoided to ensure your shelf stays up.
- Plasterboard walls: Also known as a drywall, this style of wall uses a board material making them very thin.
Once you know the wall type, you can decide where to place your shelves.
Step 2: Decide where to place your shelves
When choosing the placement of your shelves, there are a few factors to consider. Not every wall can support the weight of a shelf so it’s important that you choose wisely.
Consider:
- If the shelves you have opted for are deep, it may not be the best idea to place them near doors or high-traffic areas.
- If you plan on using the shelves for more function than decoration, it is best to place them at eye level so you can reach them.
- If you are stacking shelves, use a tape measure to make sure there is enough room to space them apart.
Step 3: Discover any wall studs
Before you make any drill holes, it is best to check your wall is free from any hidden cables or pipes. You can do this with a stud detector or perform a tap test to determine their locations.
Step 4: Map your location
Once you've surveyed your wall for studs, you can pinpoint where exactly you want your shelf to go. To do this, put pencil marks on the places you need to drill - just be sure you don't press too hard so you can erase it after!
Step 5: Make sure your position is level
Once your markings mapped are out, you may want to use a piece of tape to see if your line is straight. Of course, we always recommend using a spirit level to be 100% sure. After all, no one wants to end up with a wonky shelf!
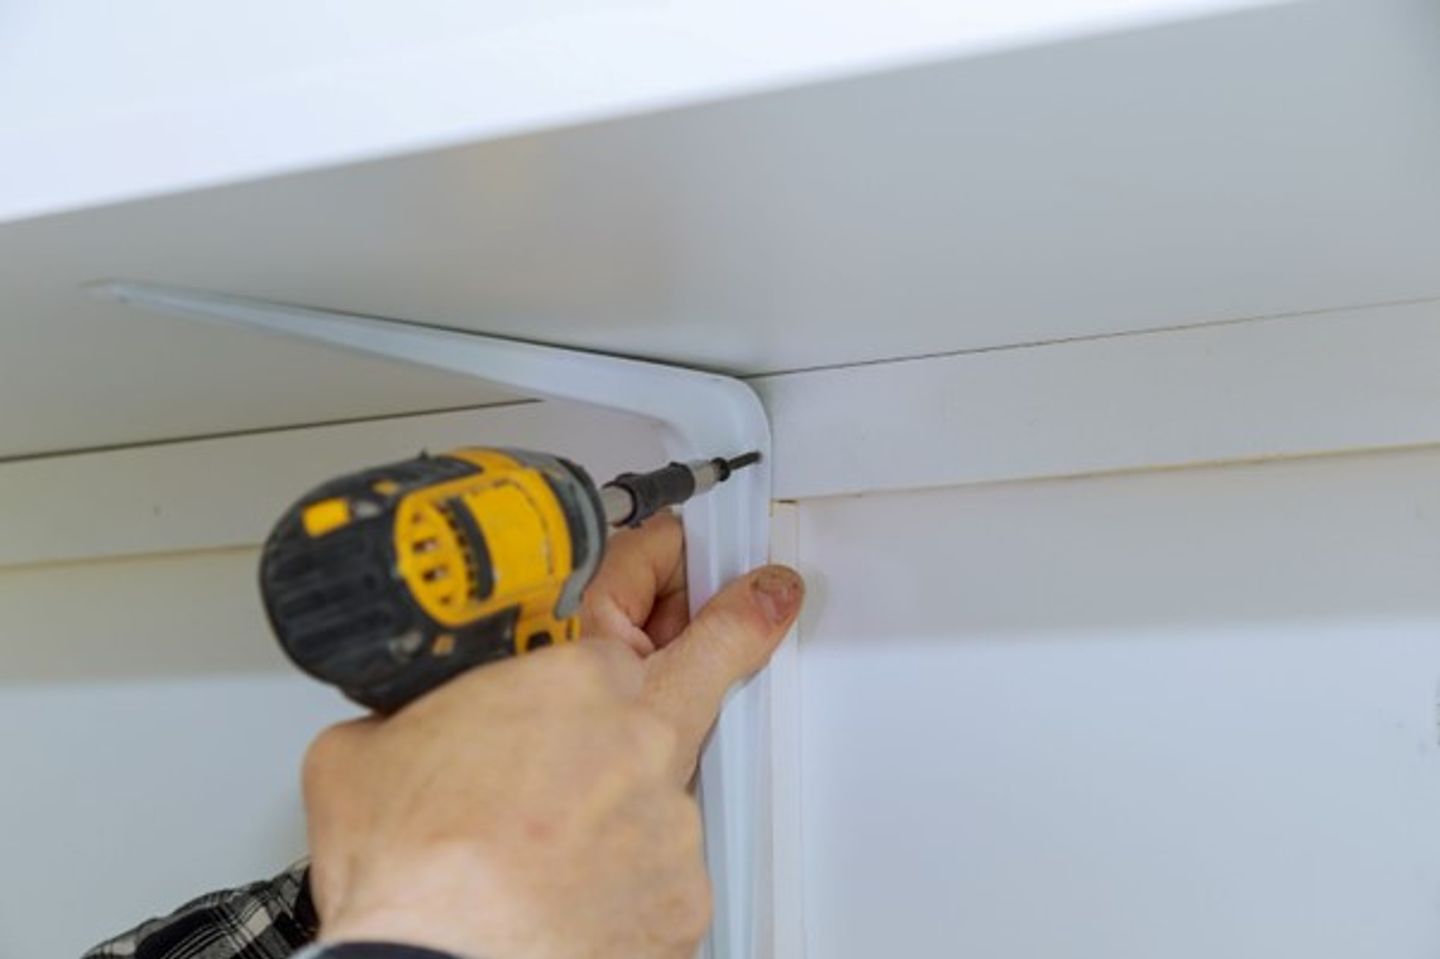
Step 6: Time to start drilling
By pre-marking out your position, this will allow you to get as accurate drilling as possible when it comes to attaching your shelf brackets. You want to place the centre of your bracket screws directly onto your markings, and use a power tool - such as a cordless power drill - to attach them.
Just be sure not to go too far, as you need to carefully remove these screws from the wall.
Need help deciding which drill to purchase? Check out our Drill Buying Guide.
Step 7: Attach your shelf brackets
Using the screw holes you have just made, attach your shelving brackets by reinserting the screws. Make sure the bracket is snugly attached to the wall.
If your wall is made from concrete or plasterboard, you will need wall plugs to ensure it stays securely in place.
Step 8: Place your shelf on the brackets
Depending on the style of your shelf, you may be able to place your shelf on the brackets and be done! If this is the case, get decorating your new space with your prized possessions.
Step 9: Screw your shelf on the brackets
Some shelves require you to screw the shelf into the brackets for added security. Before you start drilling, make sure your shelf is lined up correctly in accordance with the pre-drilled holes. That way you won't have to make new ones.
Step 10: Clean up
Once your shelf is finally in place, it's time to clean up your space. You may find you need to remove dust, pencil markings, or tape before finally relaxing in your updated space.
FAQs
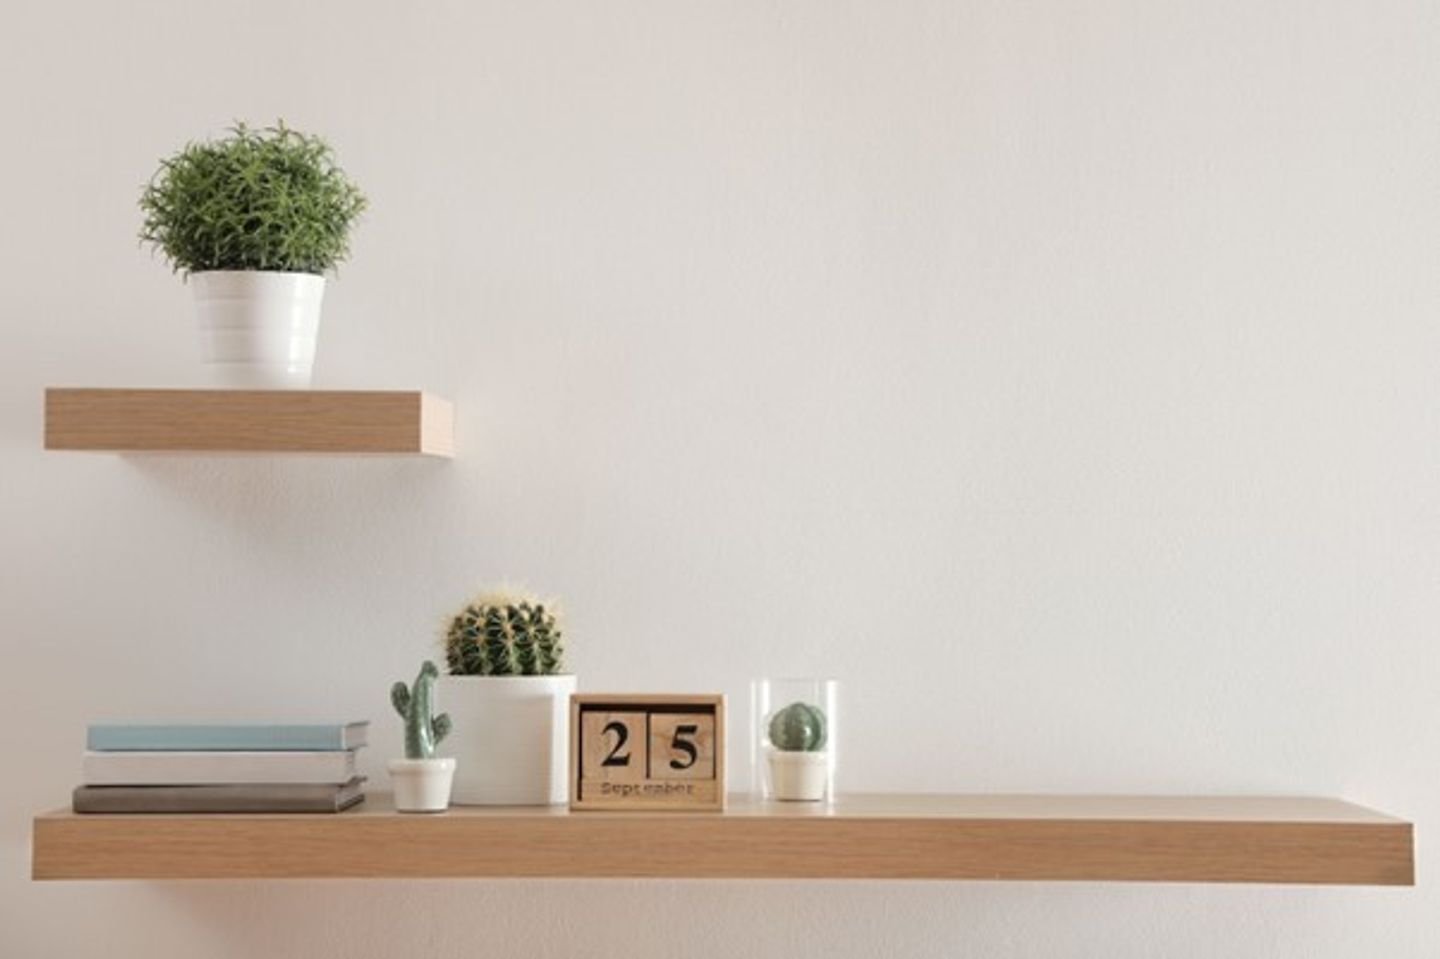
Floating or bracketed shelves - Is there one that is better?
As with anything, there are advantages and disadvantages to both types of shelves, but the main difference between them is their weight limits. More often than not, shelves with brackets can hold a higher weight load than a floating shelf.
How do I know if my shelf is level?
The best way to ensure your shelves are straight and level is to use a spirit level. If you've never used one before, simply place the tool on your shelf and if the bubble is within the guidelines, you are good to go!
Do I need to clean my wall before I put up my shelf?
Although cleaning your wall is not a necessary step to take before putting up your shelves, if you have previously had wall hangings or features, it may be best to clean it to remove any glue residue or previous notches.
What material should I use for my shelves?
Shelves tend to come in a variety of materials, including chipboard and MDF (medium-density fibreboard) - however, wood shelves are perhaps the most common. These can be oak, beech, or even pine.
How do I know how much weight my shelf can hold?
When you purchase your shelves - whether online or in-store - the description should inform you of how much weight your shelf is able to hold. Typically, a bracket shelf can hold more weight than a floating one, due to the added support involved.
We hope this article has shown you just how easy it is to put up shelves as a DIYer! If you need more information or equipment for your home renovation project, we have you covered here at HSS Hire. Don't hesitate to reach out to us today.


